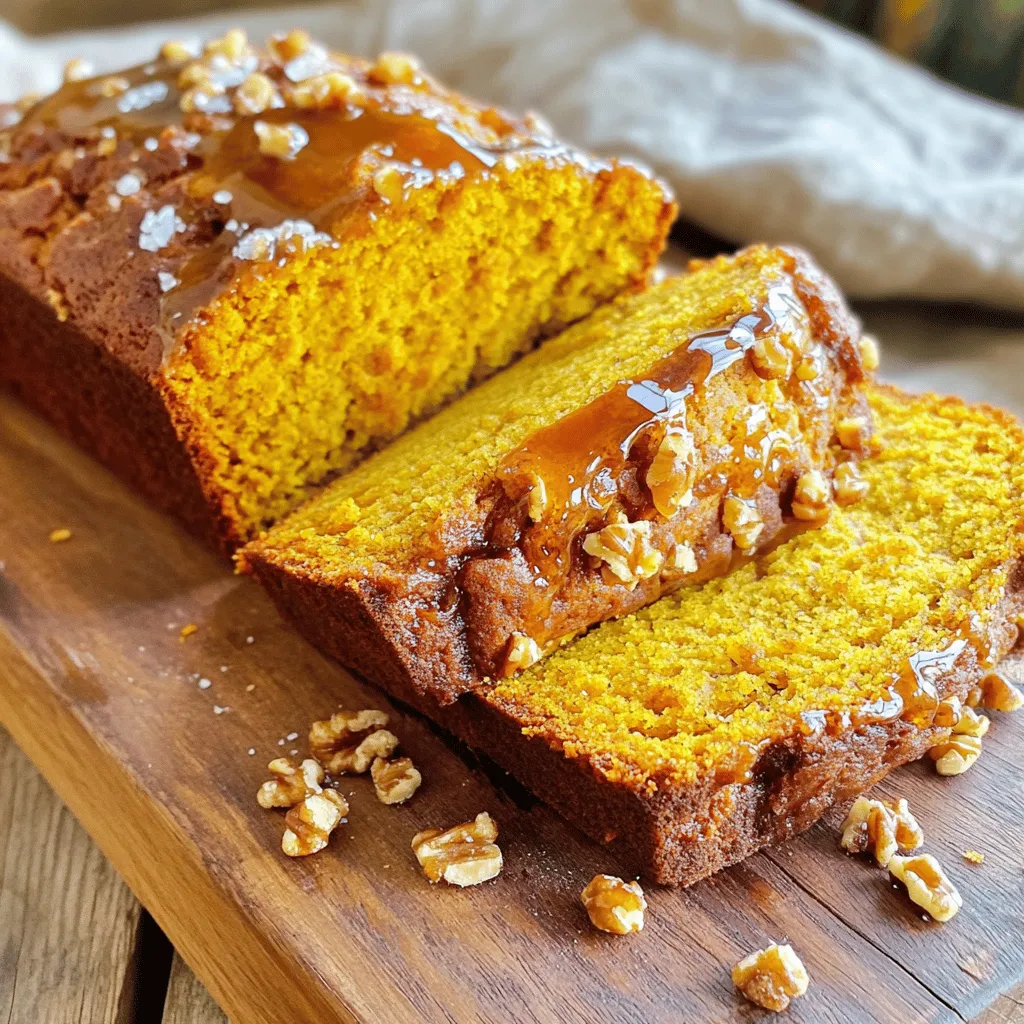
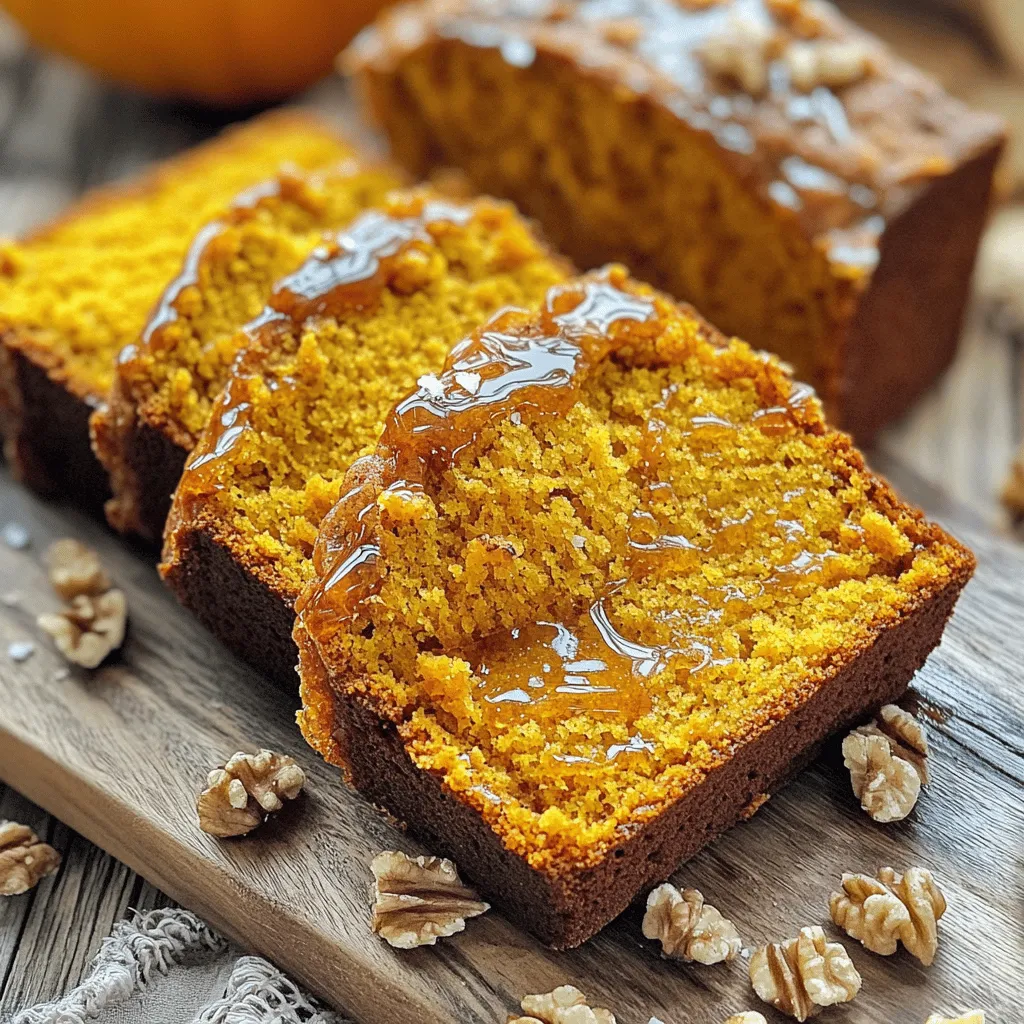
If you’re craving a fall treat that’s warm and cozy, look no further! My Salted Maple Brown Butter Pumpkin Bread is the perfect blend of sweet and nutty flavors. This moist, delicious bread combines pumpkin, brown butter, and a hint of maple, making it a standout for your autumn baking. Get ready to impress your friends and family with this easy-to-follow recipe that packs a flavor punch. Let’s dive into the ingredients and get baking!
Ingredients
Main Ingredients
– 1 cup unsalted butter
– 1 cup pumpkin puree
– 3/4 cup brown sugar, packed tightly
– 1/2 cup granulated sugar
The main ingredients are the heart of our bread. Unsalted butter adds richness. I love to brown it for deep flavor. Pumpkin puree brings moisture and a hint of sweetness. Brown sugar gives the bread its deep caramel notes, while granulated sugar balances the sweetness.
Additional Ingredients
– 2 large eggs
– 1/4 cup pure maple syrup
– 1 teaspoon pure vanilla extract
– 1 1/2 cups all-purpose flour
– 1 teaspoon baking soda
– 1 teaspoon baking powder
Eggs provide structure and help the bread rise. Maple syrup adds a lovely hint of flavor, while vanilla extract enhances all the tastes. The flour forms the base, while baking soda and powder help it rise, making the bread soft and airy.
Spices and Optional Add-ins
– 1 teaspoon ground cinnamon
– 1/2 teaspoon ground nutmeg
– 1/4 teaspoon ground ginger
– 1/2 teaspoon fine sea salt
– 1/2 cup chopped walnuts or pecans (optional)
Spices bring warmth to the bread. Cinnamon is a must for fall. Nutmeg and ginger add depth. Sea salt balances all the flavors. You can add walnuts or pecans for crunch, but that’s up to you!
This blend creates a delightful mix of flavors, perfect for a cozy day.
Step-by-Step Instructions
Preparing the Oven and Pan
First, you need to preheat your oven to 350°F. This helps the bread bake evenly. While the oven warms up, prepare your loaf pan. Grease it well or line it with parchment paper. This will help the bread come out easily after baking.
Making the Brown Butter
Next, let’s make the brown butter. In a medium saucepan, add the unsalted butter over medium heat. Watch it closely as it melts. Stir it often for about 5 to 7 minutes. The butter will turn a rich golden brown and smell nutty. Once it reaches this point, remove it from heat. Allow the butter to cool for a few minutes before using it in the batter.
Mixing the Batter
Now it’s time to mix the batter. In a large bowl, combine the pumpkin puree, brown sugar, and granulated sugar. Stir until it looks smooth. Then, add the cooled brown butter to the pumpkin mix. Do not forget to scrape in all those tasty brown bits! Mix in the eggs, maple syrup, and vanilla extract until everything is blended well.
In a separate bowl, whisk together the all-purpose flour, baking soda, baking powder, cinnamon, nutmeg, fine sea salt, and ground ginger. Once mixed, gently fold the dry mixture into the pumpkin mix. Be careful not to overmix! If you like, fold in chopped walnuts or pecans for a crunchy bite.
Baking the Bread
Pour the batter into your prepared loaf pan. Use a spatula to smooth the top. Before baking, sprinkle some flaky sea salt on the surface. This will enhance the flavor. Bake the bread in the oven for 55 to 65 minutes. To check if it’s done, insert a toothpick in the center. It should come out clean, or with only a few moist crumbs.
Once baked, let the bread cool in the pan for about 10 minutes. After that, carefully move it to a wire rack to cool completely before slicing.
Tips & Tricks
Achieving the Perfect Brown Butter
To get brown butter just right, watch the heat closely. Start with medium heat and stir often. The butter will melt, then foam up. Pay attention as it turns golden brown and gives off a nutty smell. This takes about 5-7 minutes. If you go too long, it can burn.
To enhance the nutty flavor, make sure to scrape the bottom of the pan. The little brown bits add depth to your bread. Let the butter cool before adding it to the batter. This will keep the eggs from cooking when you mix.
Mixing Techniques
Do not overmix the batter. This can make your bread tough. Mix just until you see no dry flour. This keeps your bread light and fluffy.
When folding in the dry ingredients, use a gentle hand. A spatula works best for this. Start from the bottom and scoop up to the top. This method helps keep air in the batter.
Serving Suggestions
For a great presentation, slice the pumpkin bread thick. Arrange the slices on a wooden board. Drizzle some extra maple syrup on top for a sweet touch. Add a sprinkle of flaky sea salt for a pop of flavor.
Pair your bread with a hot cup of coffee or tea. The warm drink balances the sweetness of the bread. Enjoy this treat with friends or family for a cozy moment.
Variations
Flavor Enhancements
You can make your salted maple brown butter pumpkin bread even more exciting. Here are some fun ideas:
– Adding chocolate chips or dried fruit: Toss in a cup of chocolate chips for a rich twist. You can also mix in dried fruit like cranberries or raisins for a chewy texture. Both options add a nice burst of flavor.
– Using different nuts or seeds: Walnuts and pecans work well, but you can try almonds or sunflower seeds too. They add crunch and flavor. Consider toasting them first to bring out even more taste.
Dietary Substitutions
If you need to change the recipe for dietary reasons, there are great options:
– Gluten-free flour options: You can swap the all-purpose flour with a gluten-free blend. Look for one that includes xanthan gum to help with texture. This way, everyone can enjoy this tasty bread.
– Vegan substitutes for eggs and butter: For a vegan version, use flax eggs instead of regular eggs. Mix one tablespoon of flaxseed meal with three tablespoons of water for each egg. For butter, use coconut oil or a plant-based butter. This makes the bread just as yummy without any animal products.
Storage Info
Room Temperature Storage
You can keep your salted maple brown butter pumpkin bread at room temperature for up to four days. To maintain freshness, store it in an airtight container. This helps prevent it from drying out. If you notice any moisture, you can place a paper towel in the container. This will absorb excess moisture.
Freezing Instructions
To freeze your pumpkin bread, wrap it tightly in plastic wrap. Then, place it in a freezer bag or an airtight container. This method helps keep the bread fresh for up to three months. When you’re ready to enjoy it, thaw the bread in the fridge overnight. You can also let it sit at room temperature for a few hours. For reheating, place slices in the oven at 350°F (175°C) for about 10 minutes. This warms the bread and revives its soft texture.
FAQs
How do I prevent my pumpkin bread from sinking?
To stop your pumpkin bread from sinking, mix your batter gently. Overmixing can add too much air, leading to collapse. Make sure your oven is preheated to 350°F. Place the bread in the center of the oven for even heat. Always test for doneness with a toothpick. If it comes out clean, your bread is ready.
Can I make mini loaves or muffins with this recipe?
Yes, you can make mini loaves or muffins! For mini loaves, bake for about 30-35 minutes. For muffins, check at 18-20 minutes. Keep an eye on them to avoid overbaking. This way, you can enjoy smaller portions or share with friends.
What can I substitute for pumpkin puree?
You can use butternut squash or sweet potato puree instead. These options keep a similar taste and texture. Applesauce also works, but it will change the flavor a bit. Choose what you like best!
How should I store leftover pumpkin bread?
Store leftover pumpkin bread in an airtight container. It will stay fresh at room temperature for about three days. For longer storage, wrap it well in plastic and freeze it. It can last up to three months in the freezer. Just thaw it overnight in the fridge before enjoying!
In this article, we discussed how to make delicious pumpkin bread. You learned about the key ingredients, including pumpkin puree, brown sugar, and spices. I provided a step-by-step guide to mixing and baking your batter. We also explored tips for perfecting brown butter and different variations for dietary needs.
Remember, the right storage keeps your bread fresh longer. Enjoy your baking, and don’t forget to share this tasty treat!
Salted Maple Brown Butter Pumpkin Bread
A deliciously moist pumpkin bread infused with the rich flavors of brown butter and maple syrup, topped with a sprinkle of flaky sea salt.
Ingredients
Instructions
- 1
Preheat your oven to 350°F (175°C). Prepare a 9x5-inch loaf pan by greasing it thoroughly or lining it with parchment paper to allow for easy removal after baking.
- 2
In a medium saucepan over medium heat, add the unsalted butter. Allow the butter to melt and keep cooking it, stirring consistently, for about 5-7 minutes until it turns a rich golden brown and emanates a lovely nutty aroma. Once browned, remove the saucepan from the heat and let the butter cool for a few minutes.
- 3
In a large mixing bowl, combine the pumpkin puree, packed brown sugar, and granulated sugar. Stir until the mixture is smooth and well incorporated.
- 4
Add the cooled browned butter to the pumpkin mixture (be sure to scrape in all the flavorful brown bits from the pan). Then, mix in the eggs, maple syrup, and vanilla extract until the ingredients are well blended.
- 5
In a separate bowl, whisk together the all-purpose flour, baking soda, baking powder, ground cinnamon, ground nutmeg, fine sea salt, and ground ginger until evenly combined.
- 6
Gradually fold the dry mixture into the wet ingredients, mixing just until combined—be careful not to overmix. If using, gently fold in the chopped walnuts or pecans.
- 7
Pour the batter into the prepared loaf pan, using a spatula to smooth the top for a nice, even surface.
- 8
Lightly sprinkle flaky sea salt over the surface of the batter to enhance the flavor of the bread.
- 9
Bake in the preheated oven for 55-65 minutes, or until a toothpick inserted into the center of the bread comes out clean or with a few moist crumbs.
- 10
Once baked, allow the bread to cool in the pan for approximately 10 minutes. Then, carefully transfer the loaf to a wire rack to cool completely before slicing.
Chef's Notes
To serve, cut the pumpkin bread into generous slices and arrange them on a wooden board. Drizzle a bit of extra maple syrup over the slices and garnish with a sprinkle of flaky sea salt. Pair with a steaming cup of coffee or tea for a delightful treat! Enjoy!


Recipe Creator
Remy
I’m Chef Remy, your recipe companion, here to bring warmth, bold taste, and simplicity to your kitchen.
View My Recipes