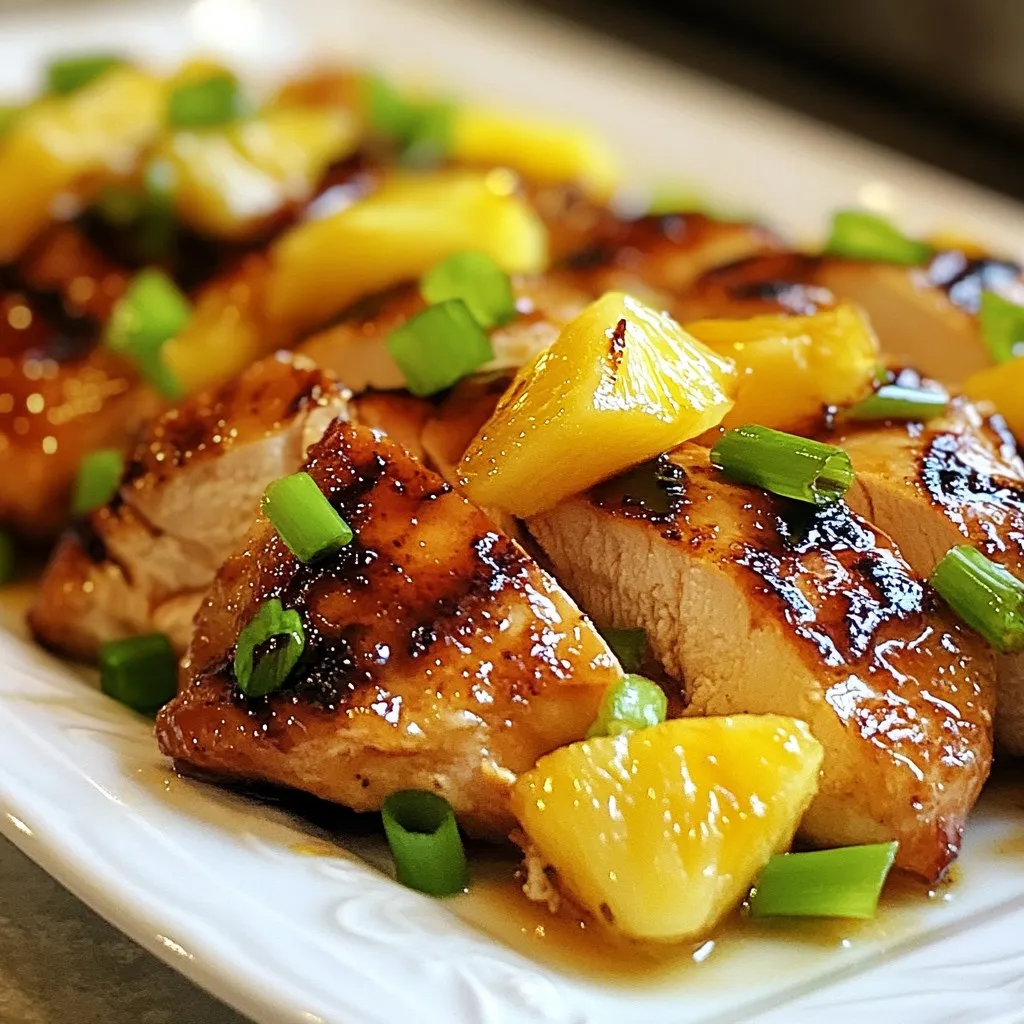
Brown Sugar Pineapple Chicken Flavorful Grilled Dish
A delicious grilled chicken dish marinated in a sweet and savory brown sugar and pineapple sauce.
1h 30m
4
Main course meals and dinner recipes
A delicious grilled chicken dish marinated in a sweet and savory brown sugar and pineapple sauce.
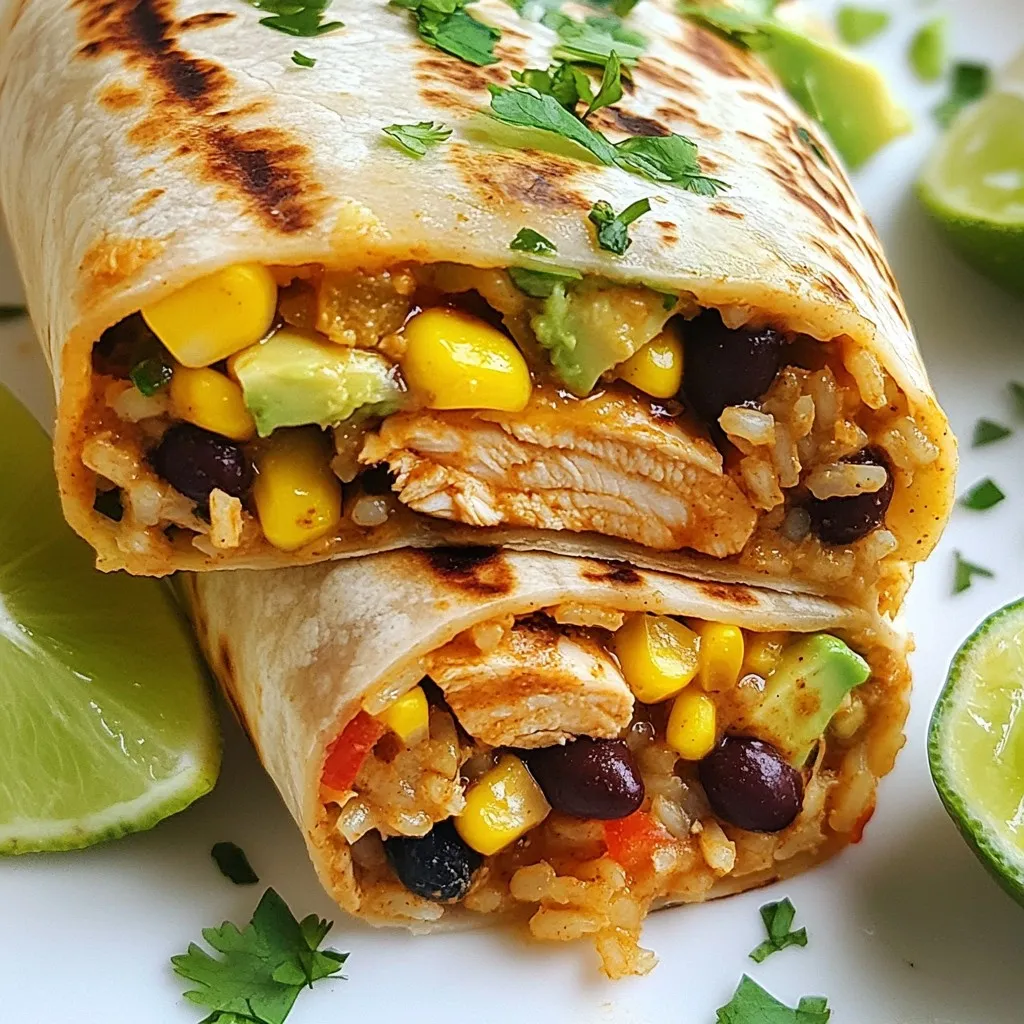
Delicious burritos filled with grilled chicken, brown rice, black beans, corn, cheese, and chipotle...
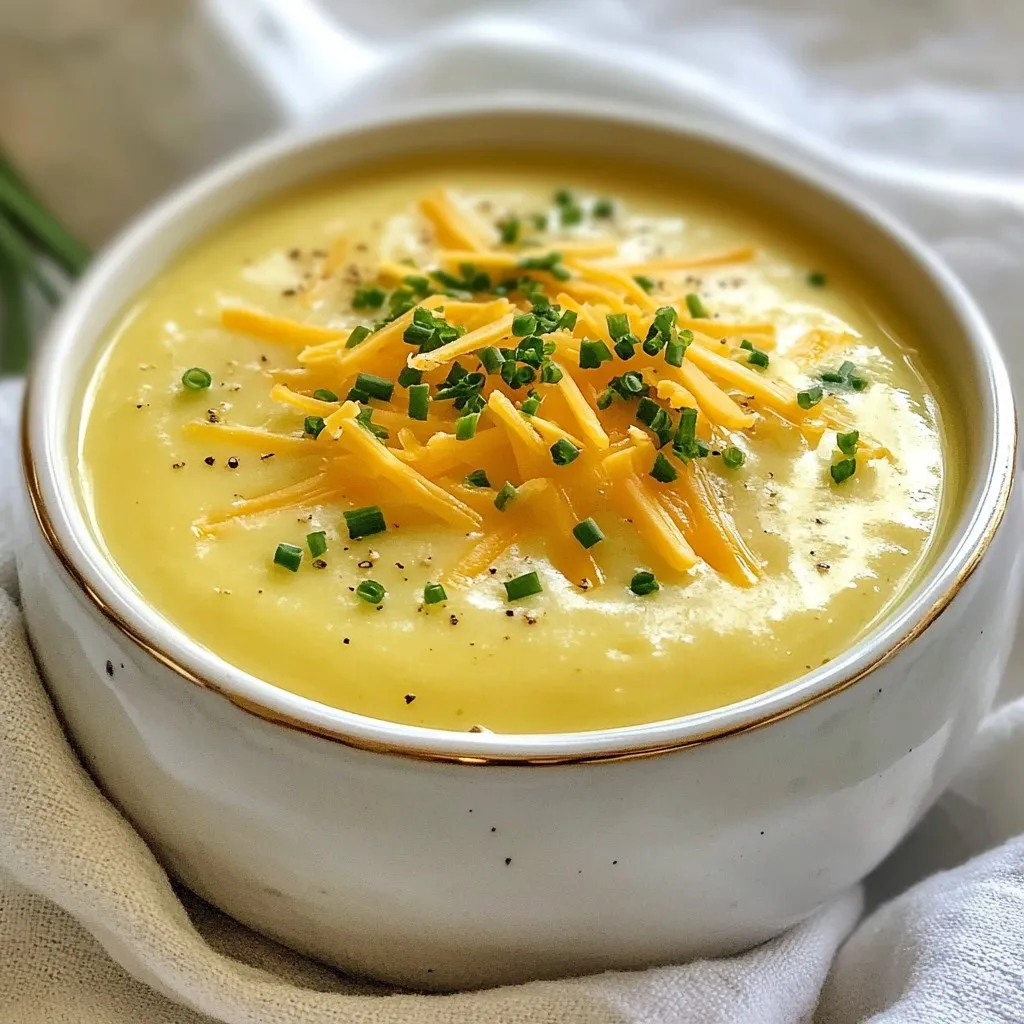
A creamy and flavorful potato soup enriched with sharp cheddar cheese, garlic, and herbs.
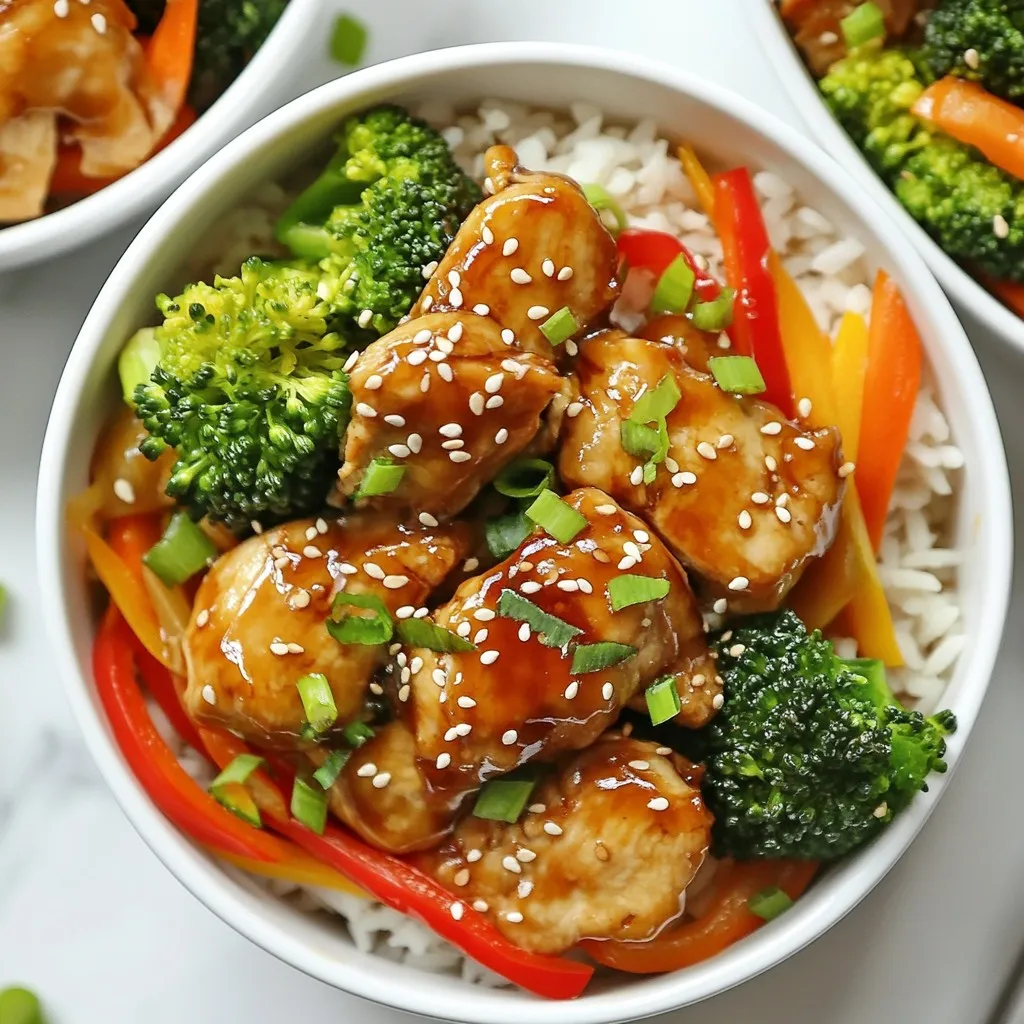
Delicious teriyaki chicken served over brown rice with fresh vegetables, perfect for meal prep.
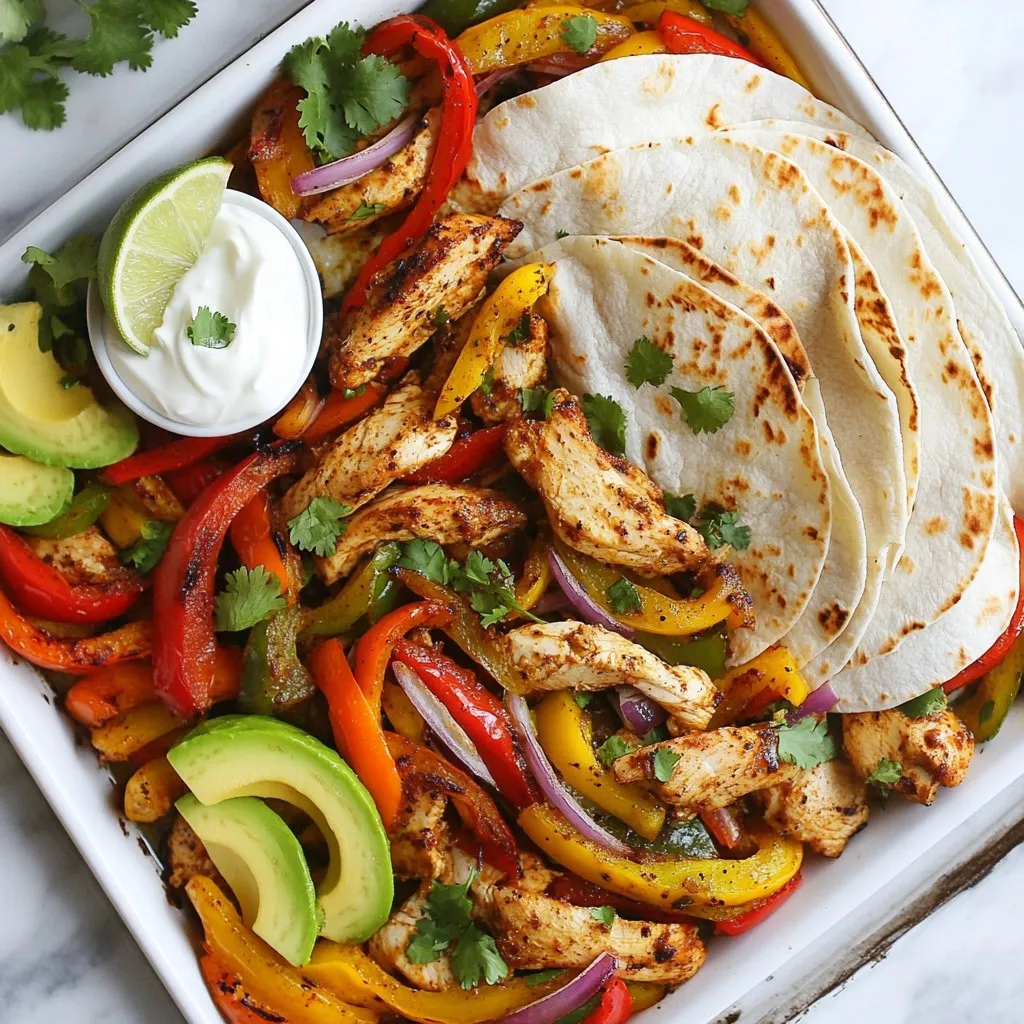
A flavorful and easy-to-make chicken fajitas recipe cooked on a single sheet pan.
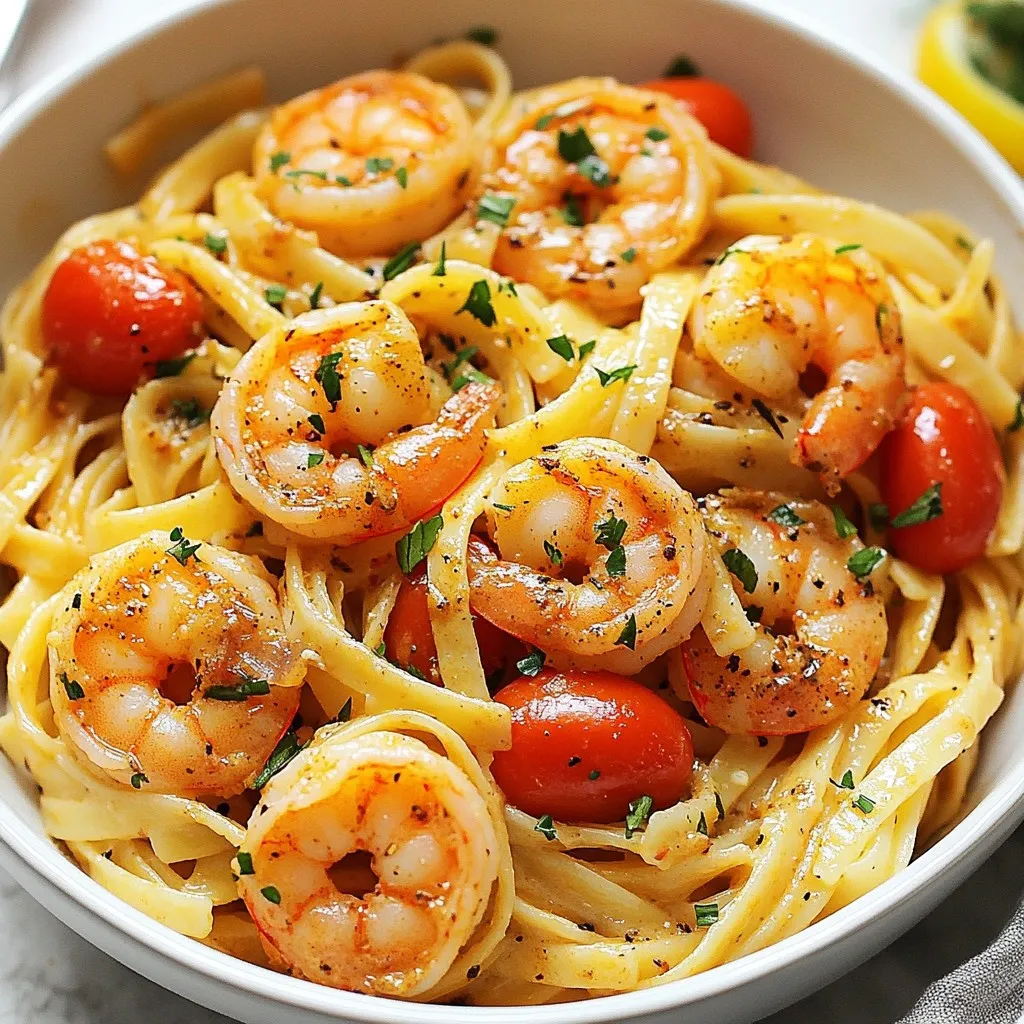
A quick and flavorful pasta dish featuring shrimp seasoned with Cajun spices, creamy sauce, and fres...
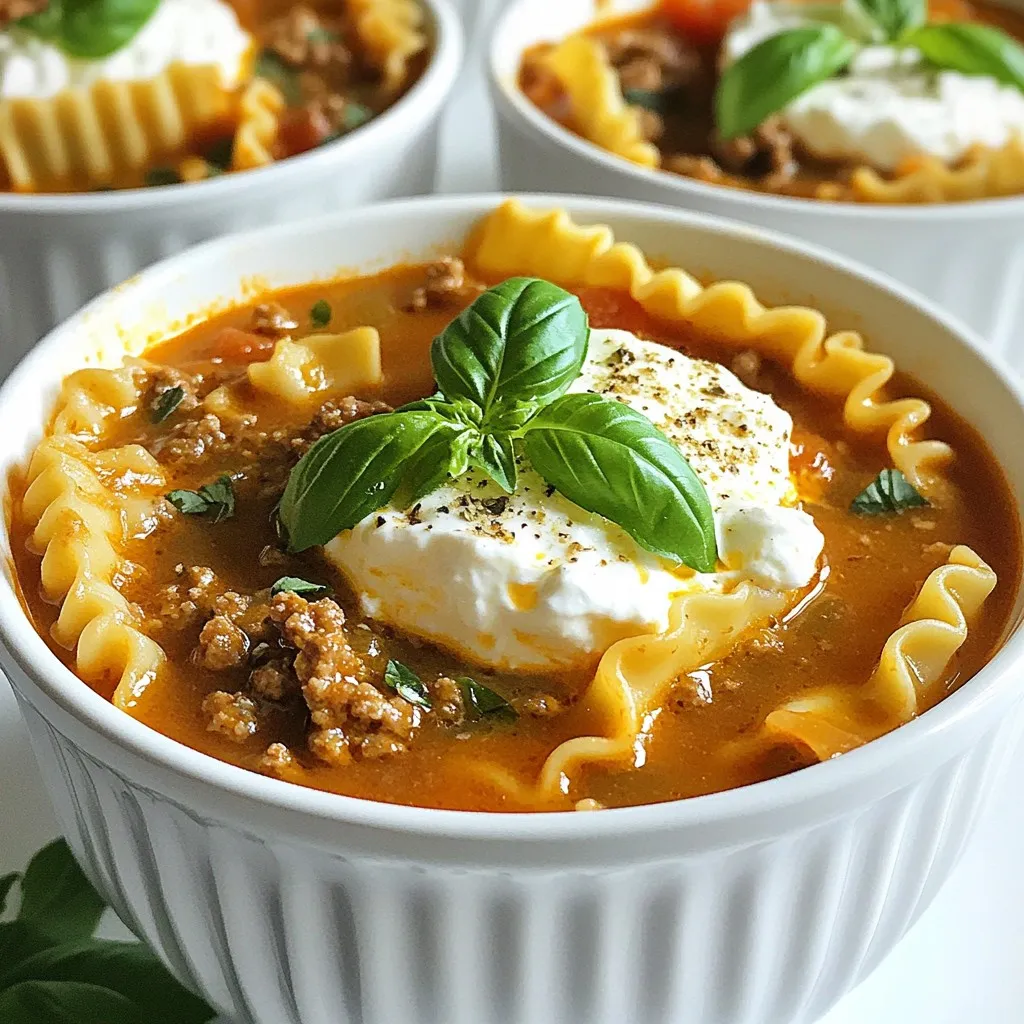
A comforting and hearty lasagna-inspired soup loaded with cheese and flavor.
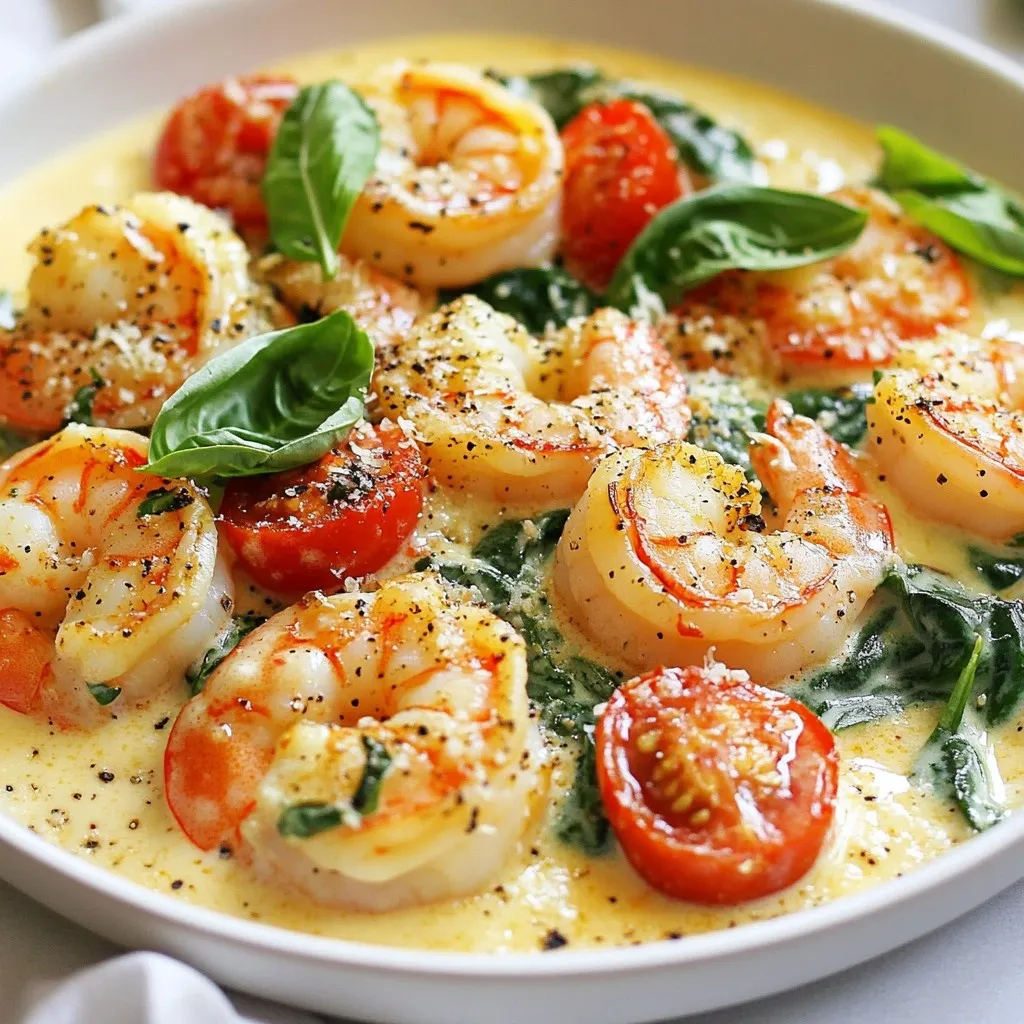
A rich and flavorful shrimp dish cooked in a creamy sauce with garlic, tomatoes, and spinach.
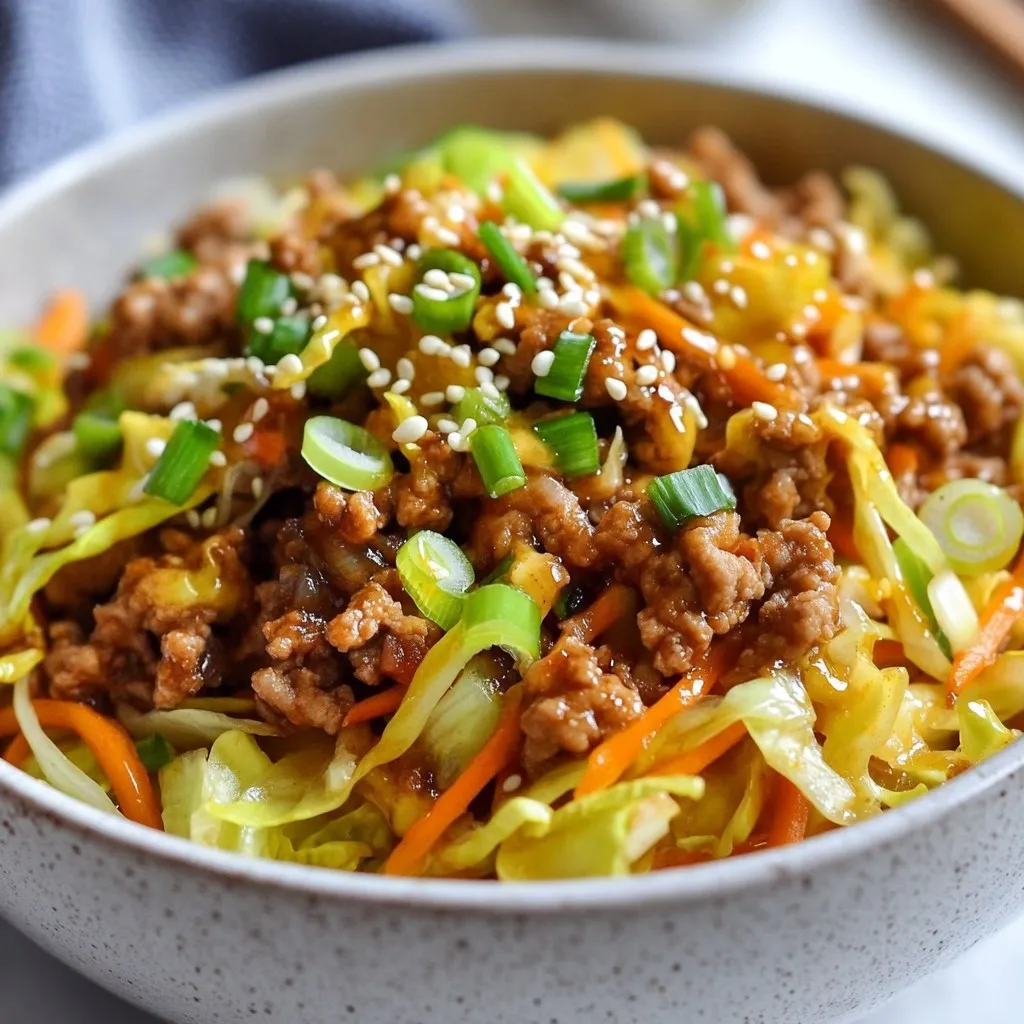
A healthy and low-carb twist on traditional egg rolls, served in a bowl with ground chicken or turke...
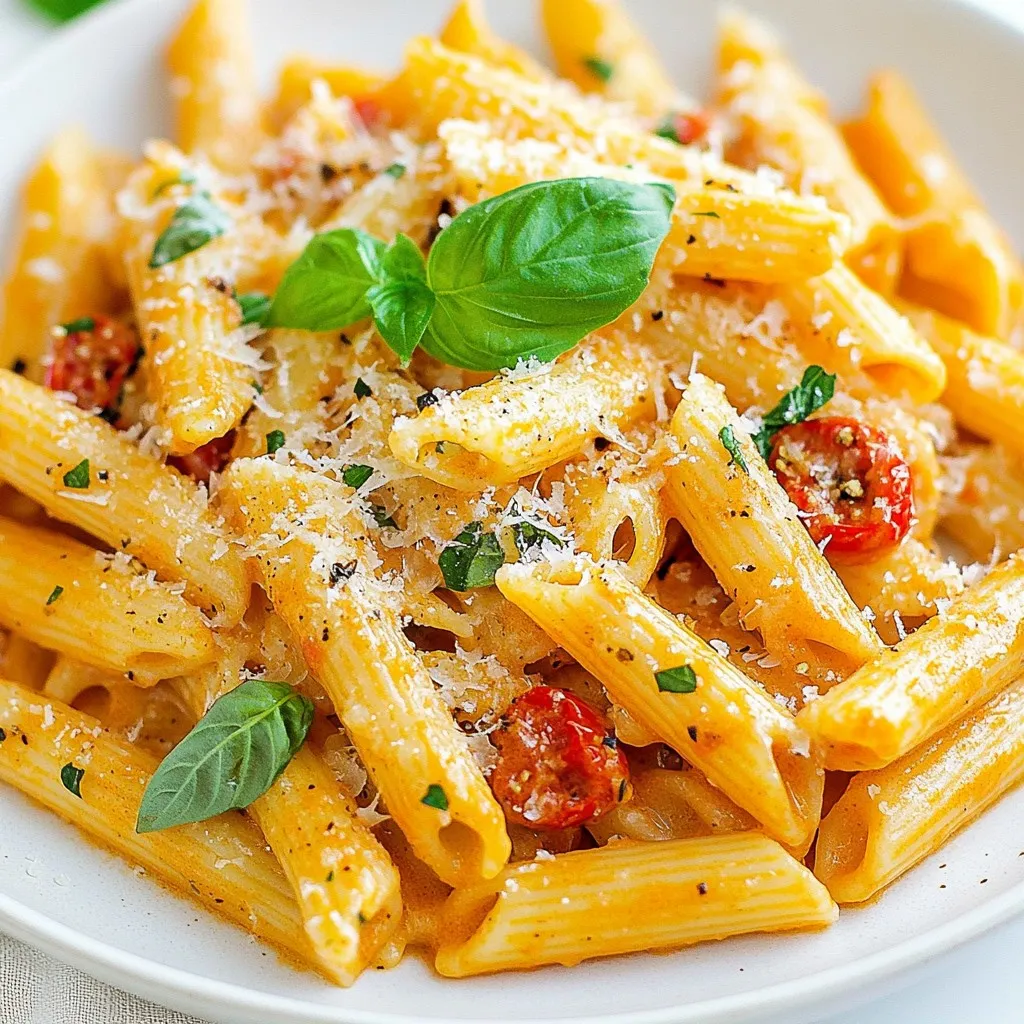
A rich and creamy pasta dish with fresh basil and a hint of spice.
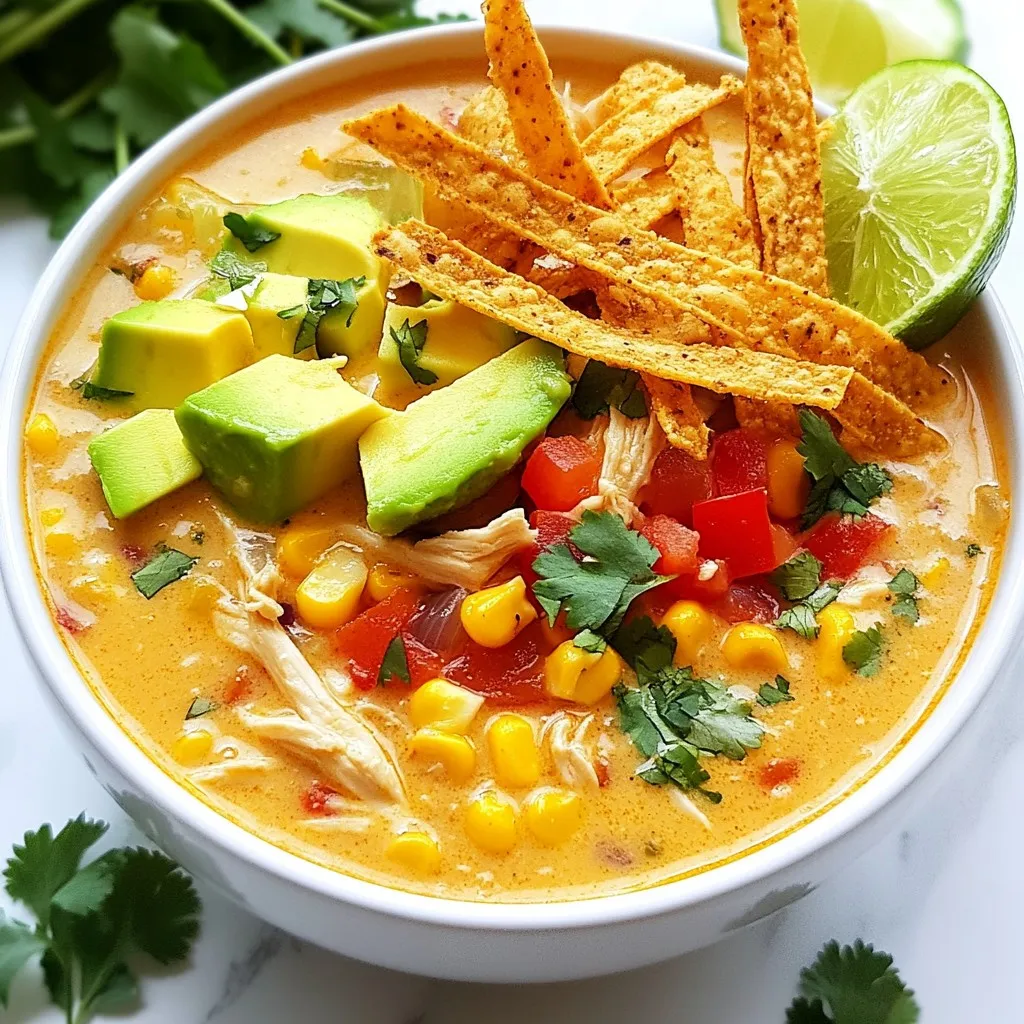
A rich and flavorful chicken tortilla soup with a creamy base, perfect for a comforting meal.
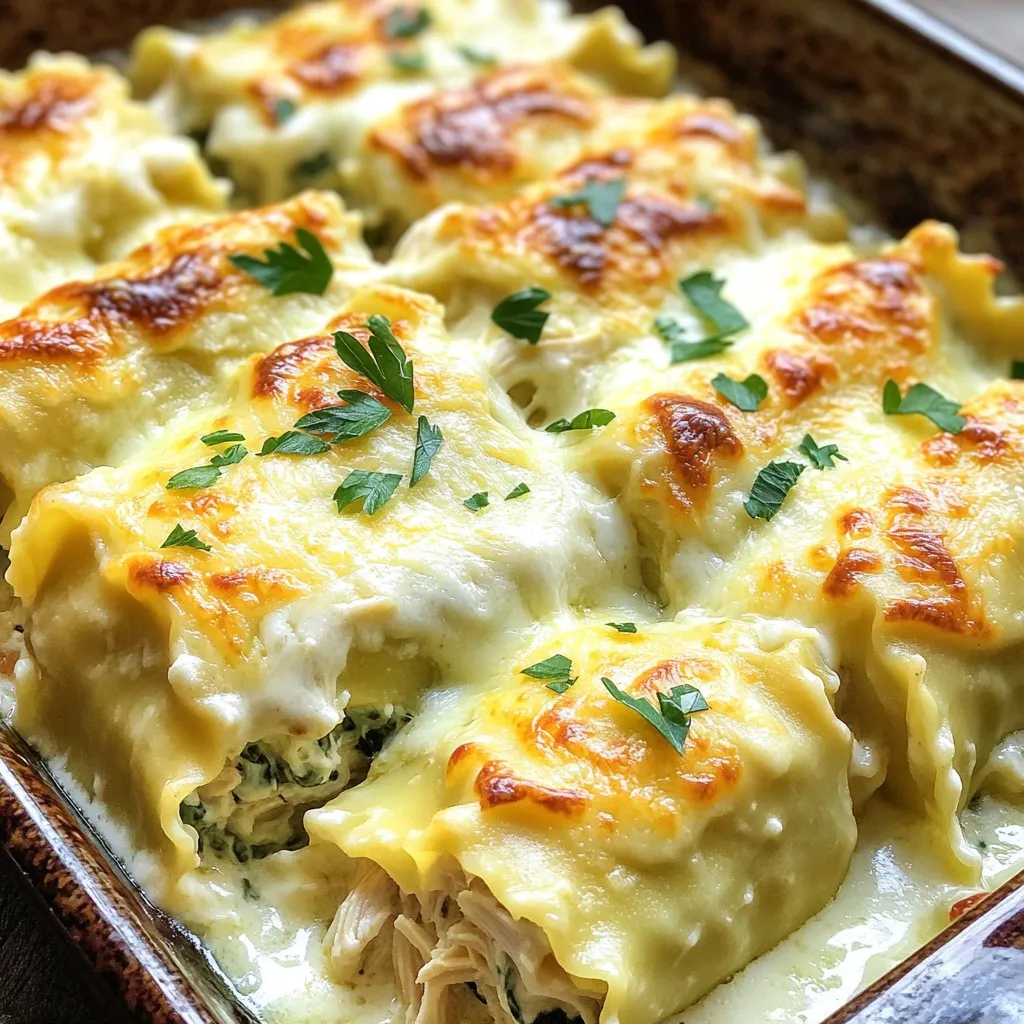
Delicious lasagna rolls filled with chicken, ricotta, and spinach, topped with creamy Alfredo sauce...