
Strawberry Crunch Cheesecake Tacos Delightful Treat
Delicious tacos filled with a creamy cheesecake mixture and topped with a crunchy strawberry blend.
30 min
8
Sweet treats and desserts
Delicious tacos filled with a creamy cheesecake mixture and topped with a crunchy strawberry blend.

A delightful treat combining popcorn, marshmallows, and colorful sprinkles for a fun snack.

Delicious cookies featuring fresh strawberries and a delightful crunch from shortbread cookies.
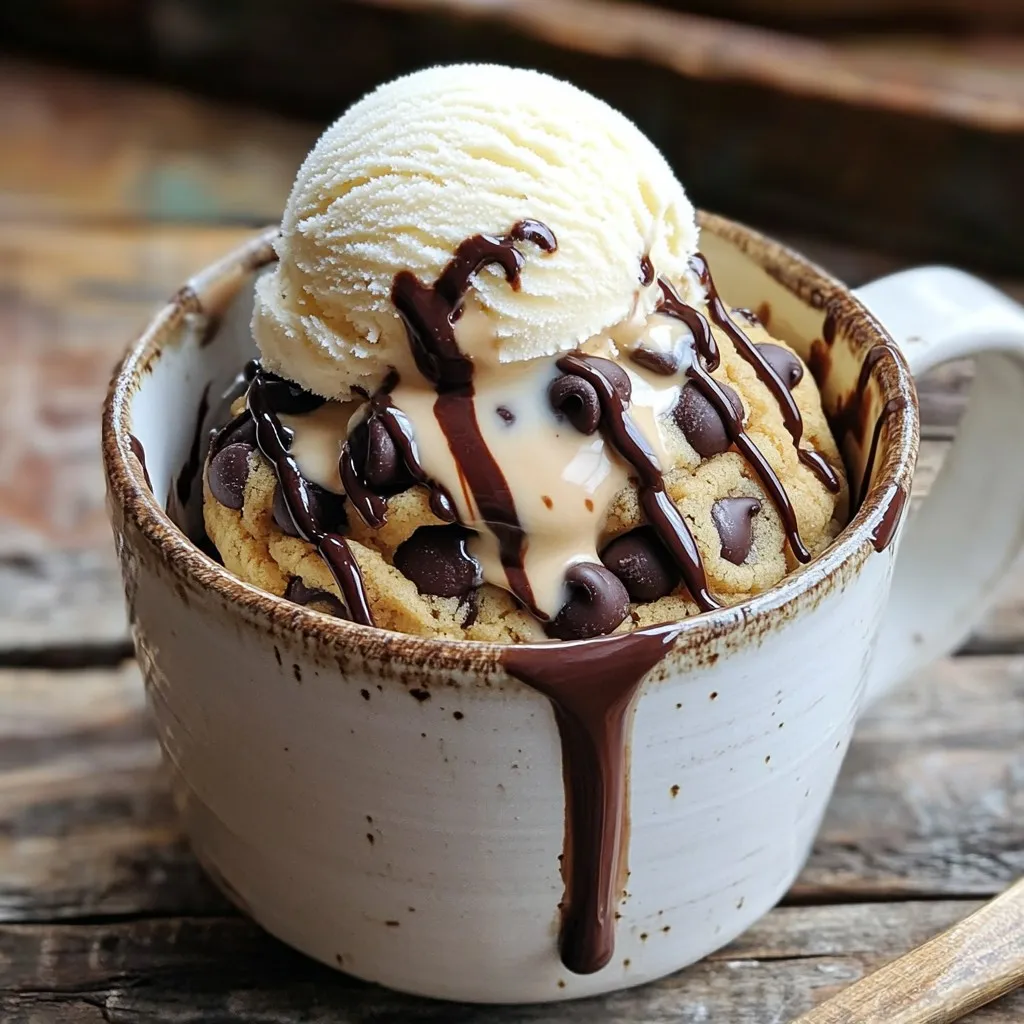
A quick and easy chocolate chip cookie made in a mug, perfect for satisfying your sweet tooth in min...
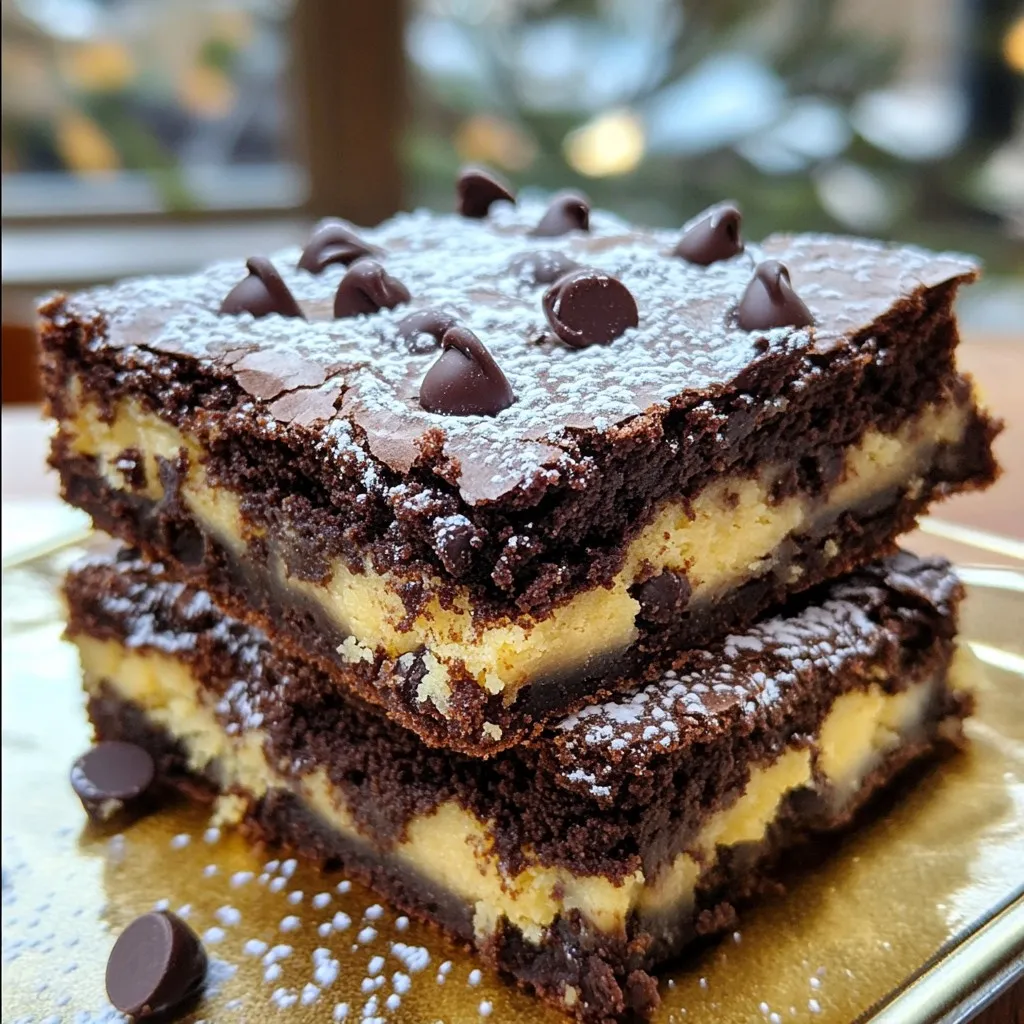
A delicious combination of fudgy brownies and chewy cookies in one dessert.
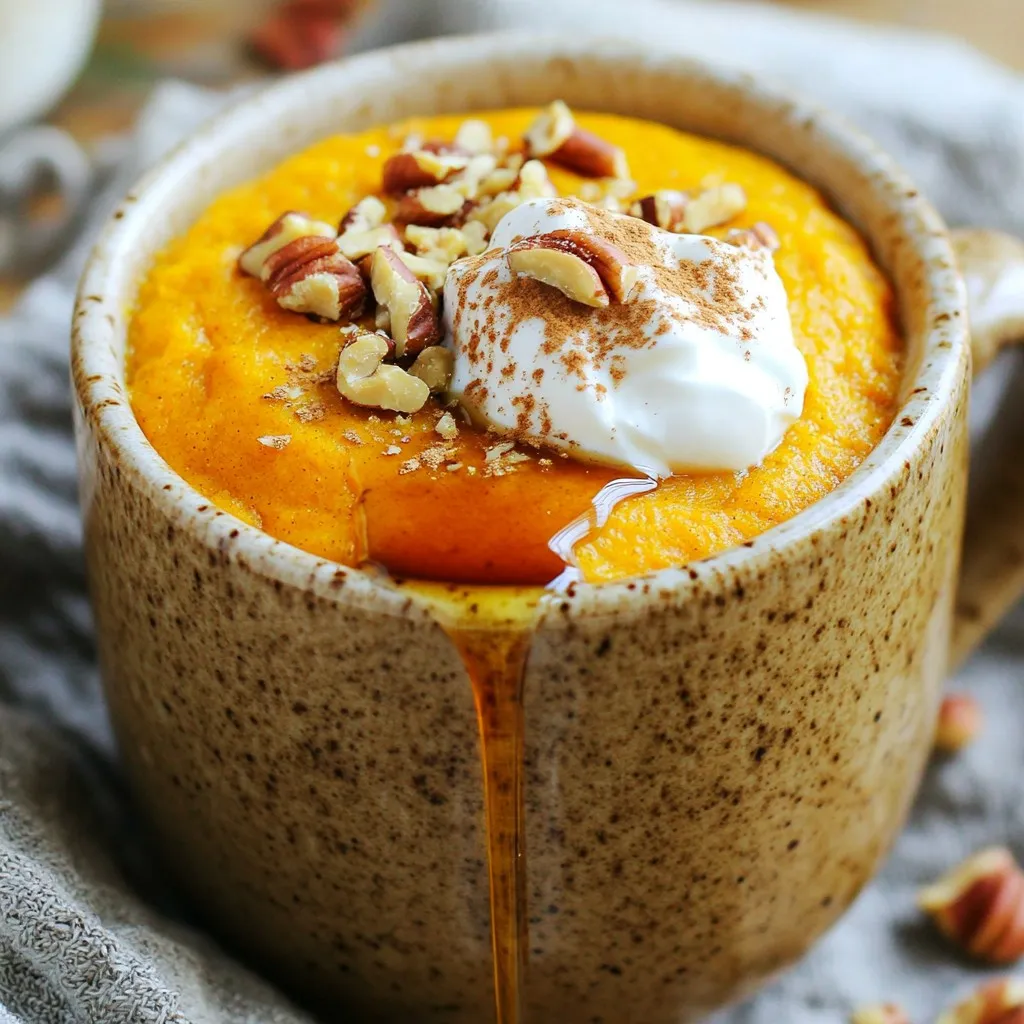
A quick and easy mug cake packed with protein and the warm flavors of pumpkin spice.
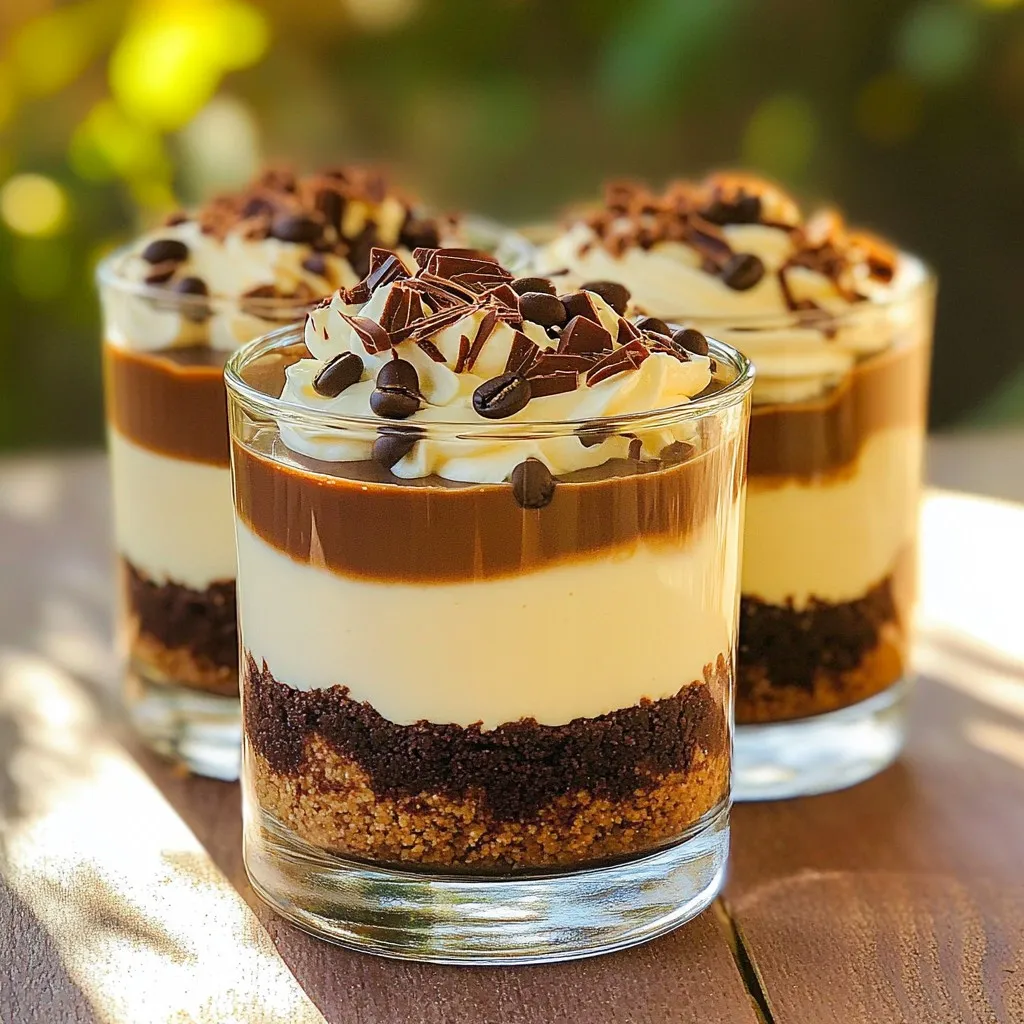
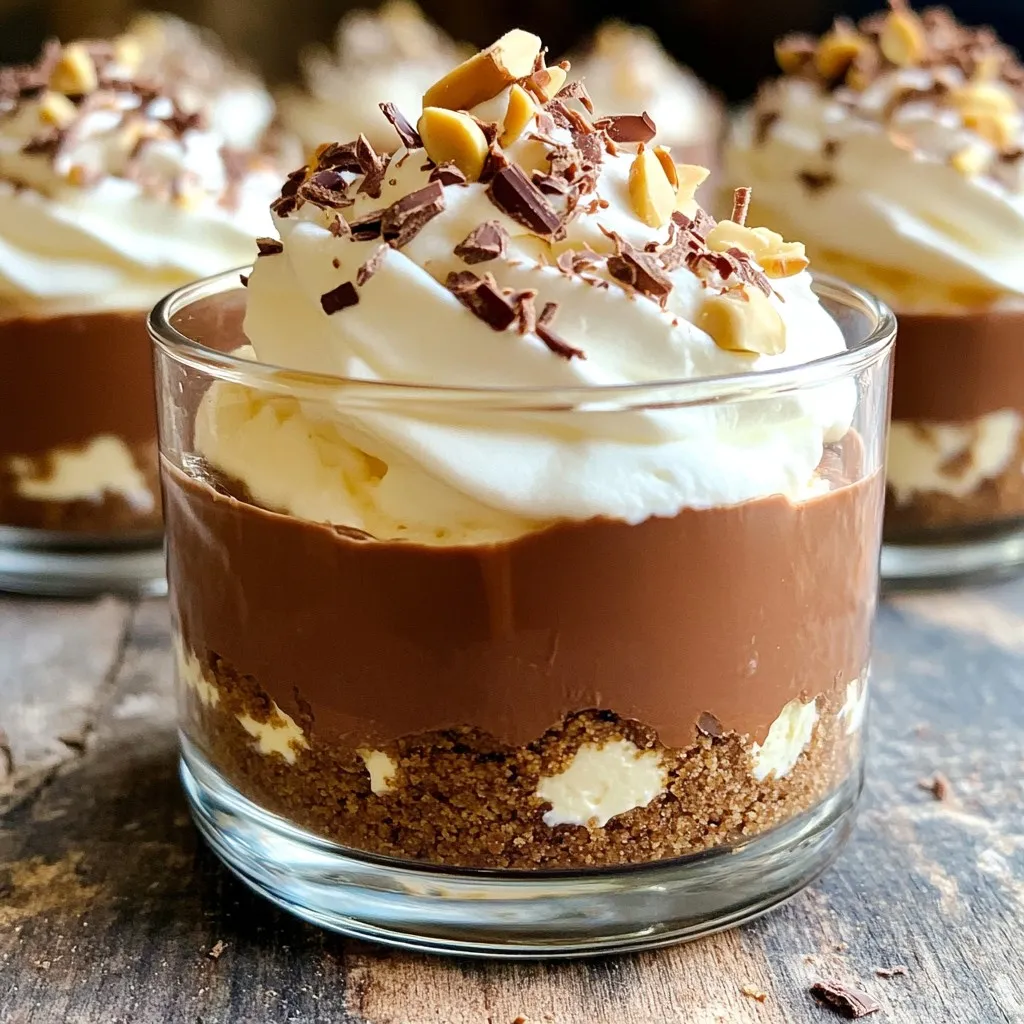
Delicious and creamy mocha cheesecake served in individual cups, perfect for a quick dessert.
Delicious and creamy no-bake cheesecake cups with a chocolate hazelnut flavor, perfect for a quick d...
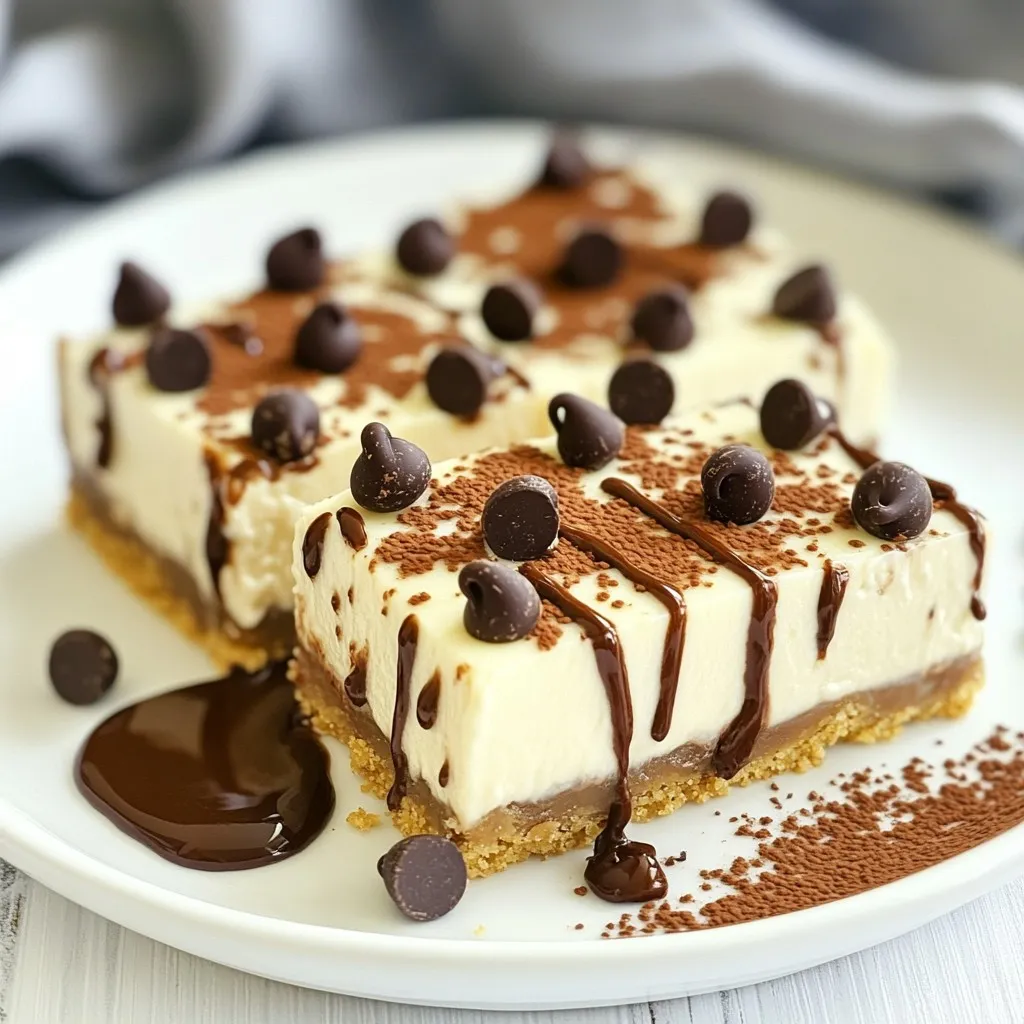
Delicious and creamy no-bake cheesecake bars with chocolate chips, perfect for a sweet treat.
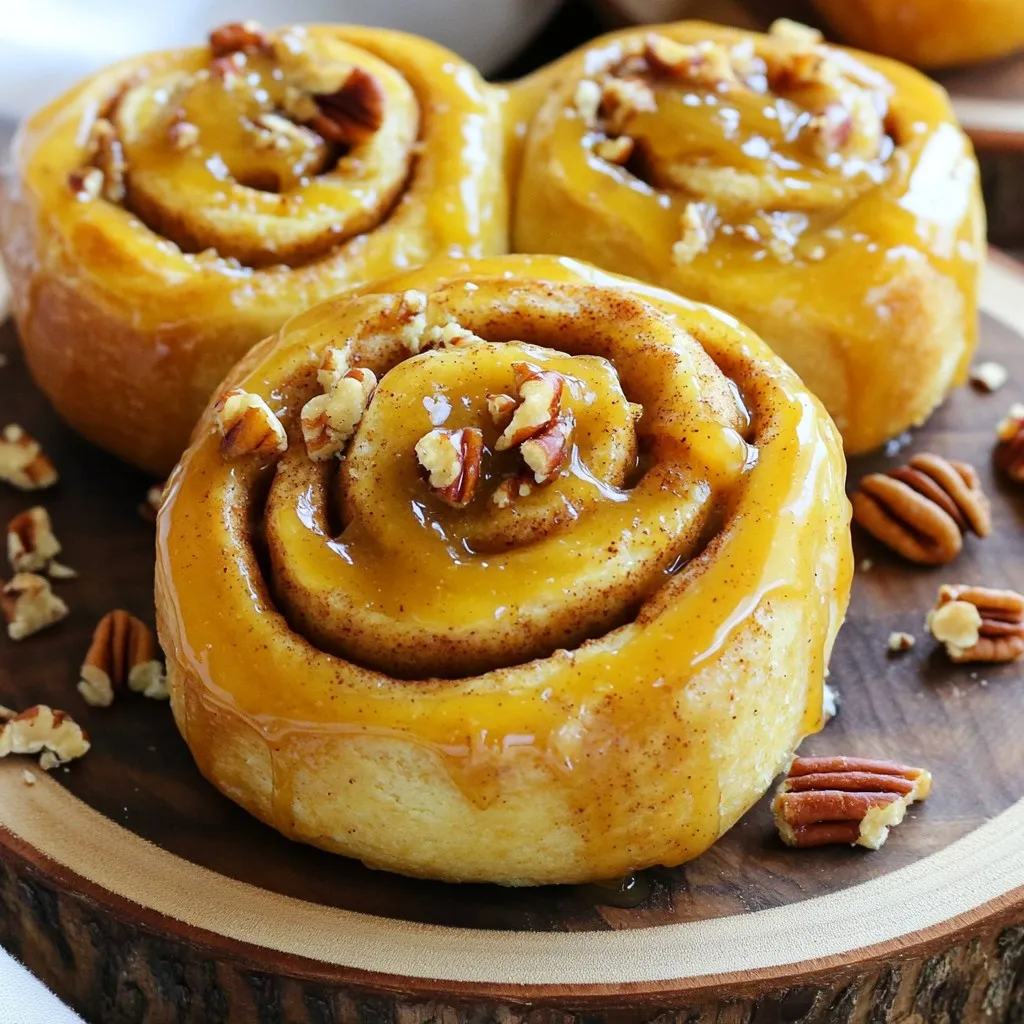
Delicious cinnamon rolls filled with apple butter and topped with a sweet maple glaze.
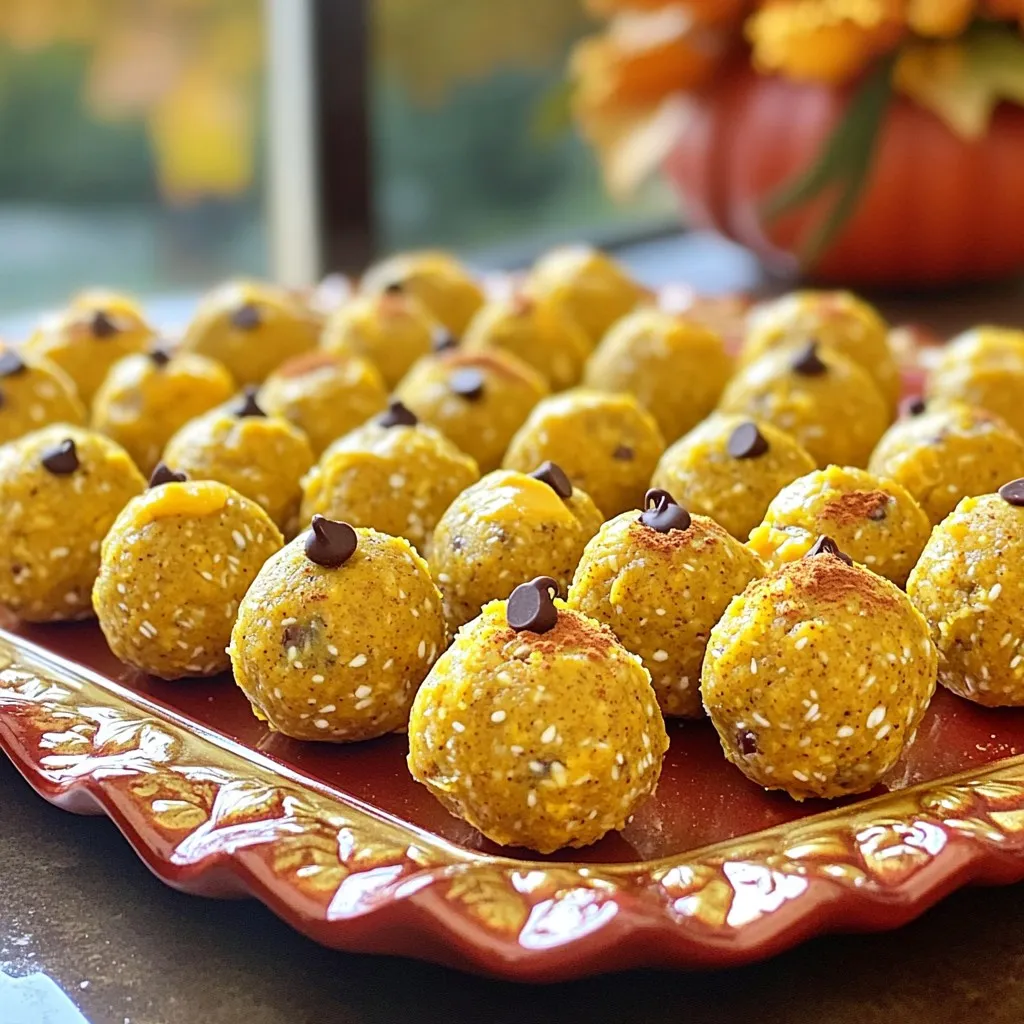
Delicious and nutritious no-bake energy balls infused with pumpkin spice flavor.
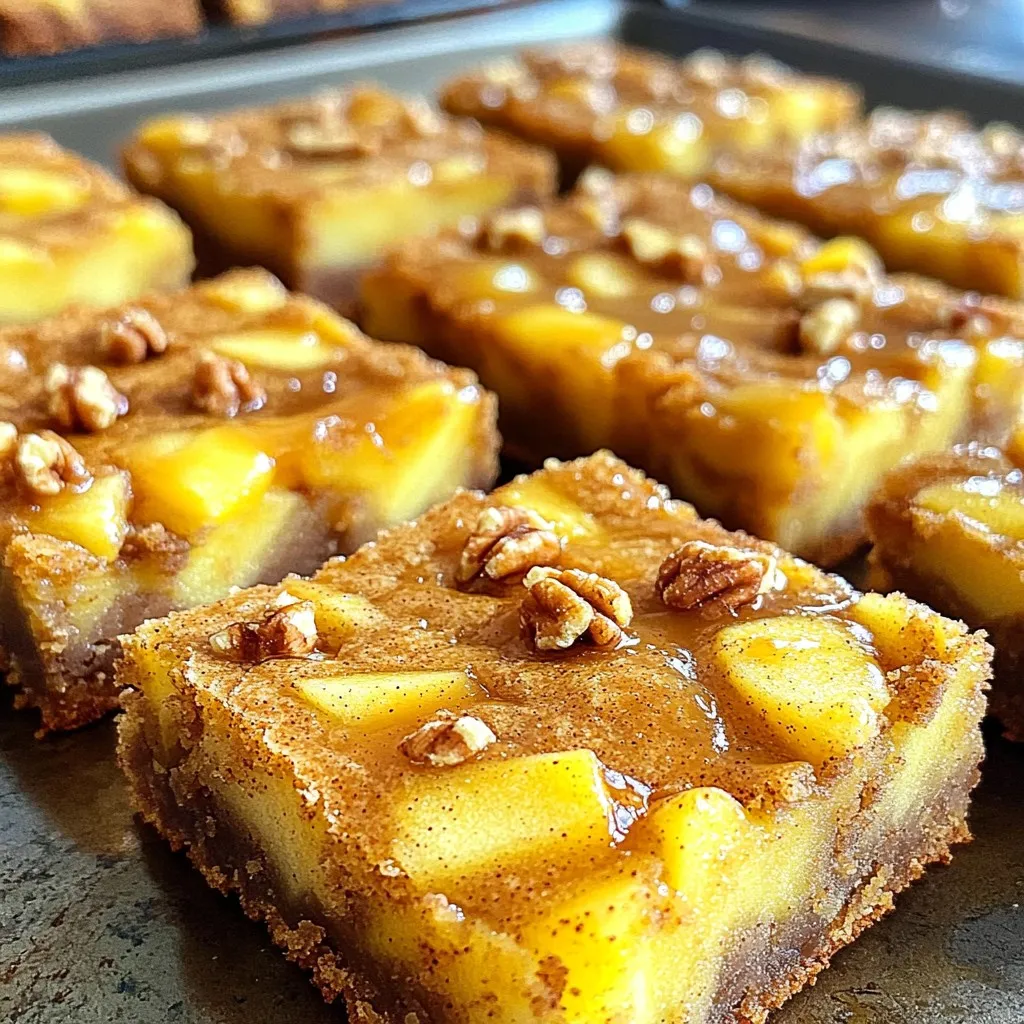
Delicious blondies made with browned butter, apples, and cinnamon, perfect for a sweet treat.