
Air Fryer Orange Chicken Bites Flavorful and Easy Meal
Crispy chicken bites coated in a tangy orange sauce, perfect for a quick meal or appetizer.
30 min
4
Starters and appetizers
Crispy chicken bites coated in a tangy orange sauce, perfect for a quick meal or appetizer.
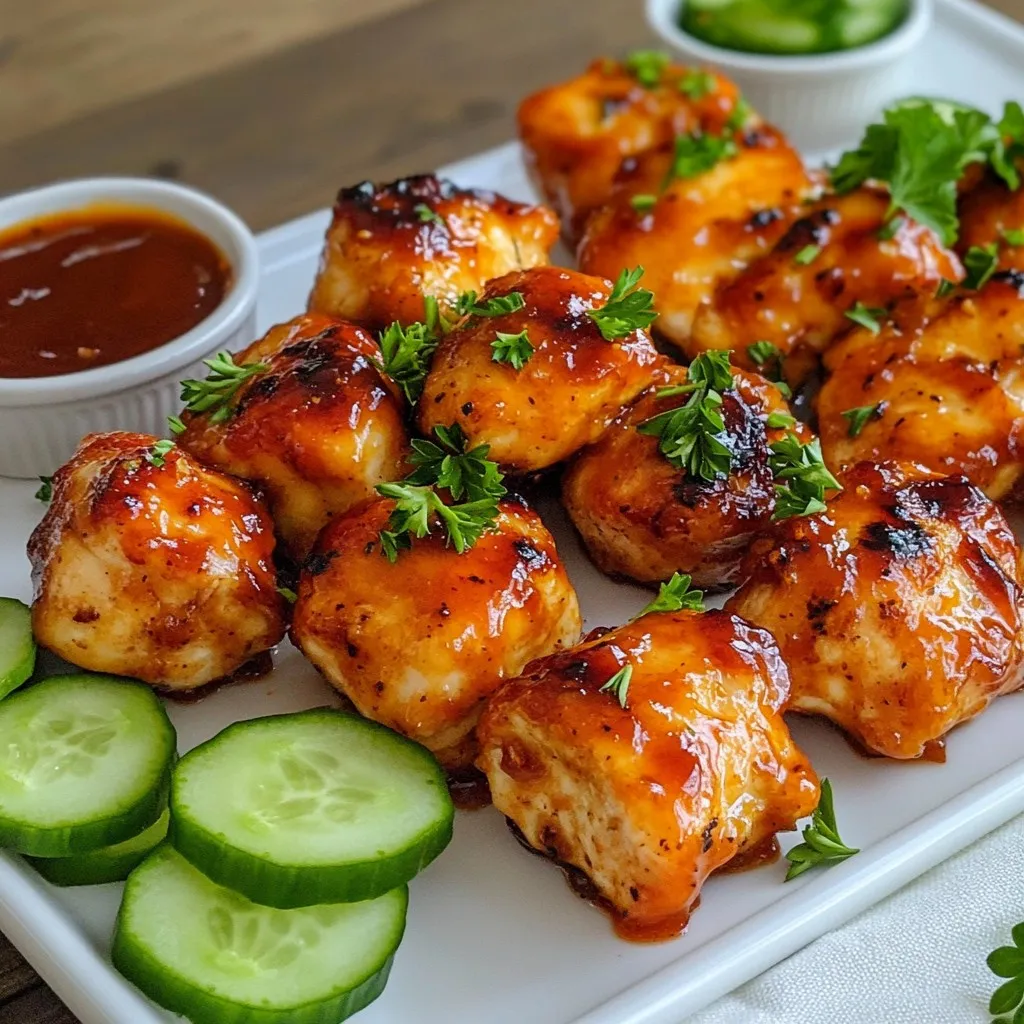
Delicious bite-sized chicken pieces marinated in a sweet and tangy honey BBQ sauce.

Delicious and crispy puffs made from leftover mashed potatoes, cheese, and green onions, perfect as...
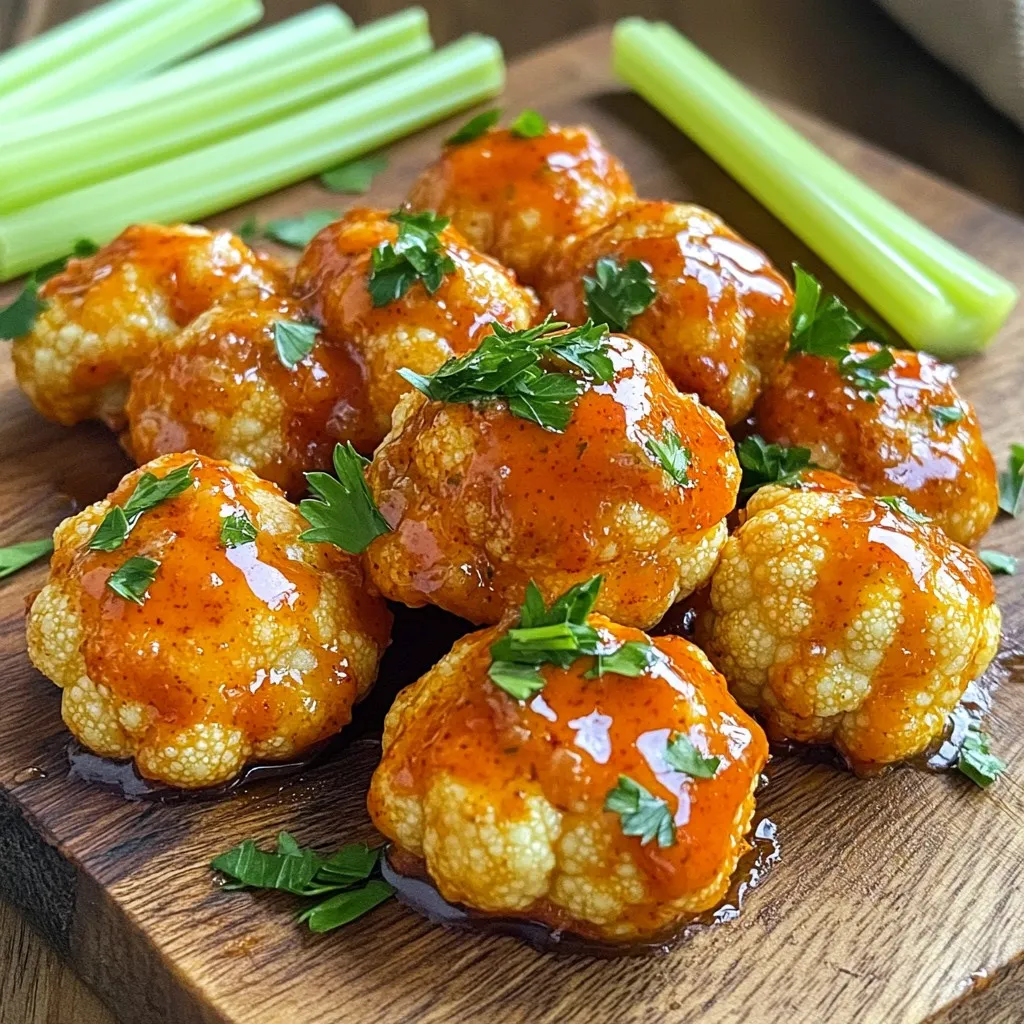
A crispy and flavorful appetizer made with battered cauliflower tossed in buffalo sauce.

Crispy and flavorful potato wedges seasoned with garlic and Parmesan, cooked to perfection in an air...
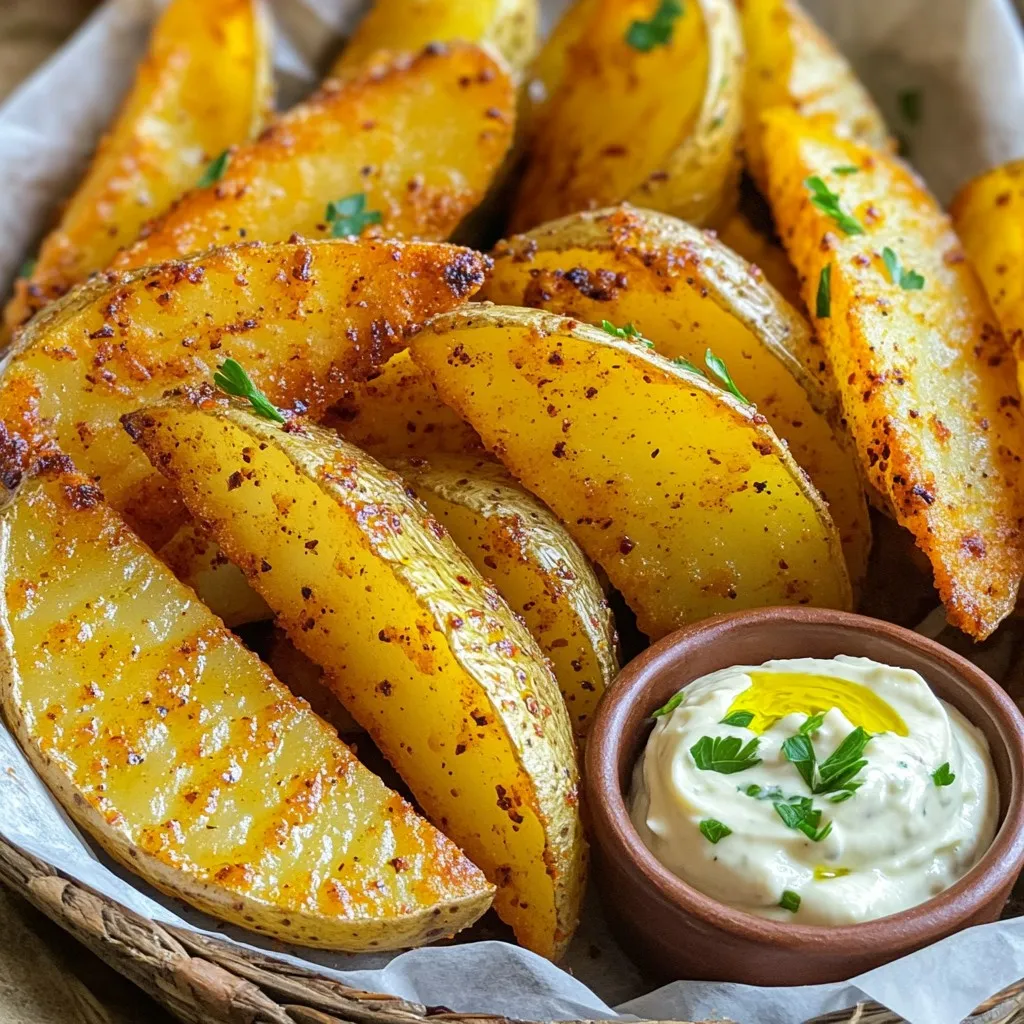
Crispy and flavorful potato wedges seasoned with Cajun spices, perfect as a snack or side dish.
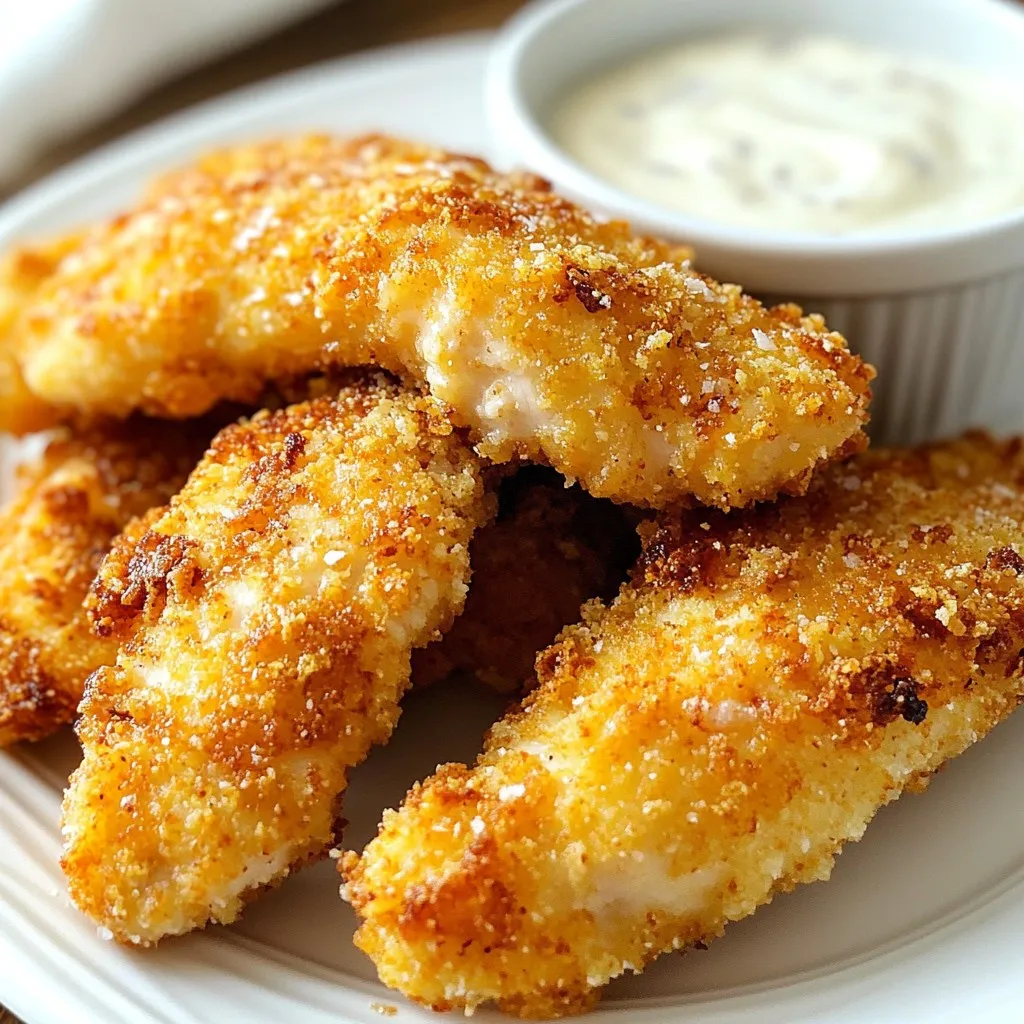
Deliciously crispy chicken tenders, perfect for dipping.
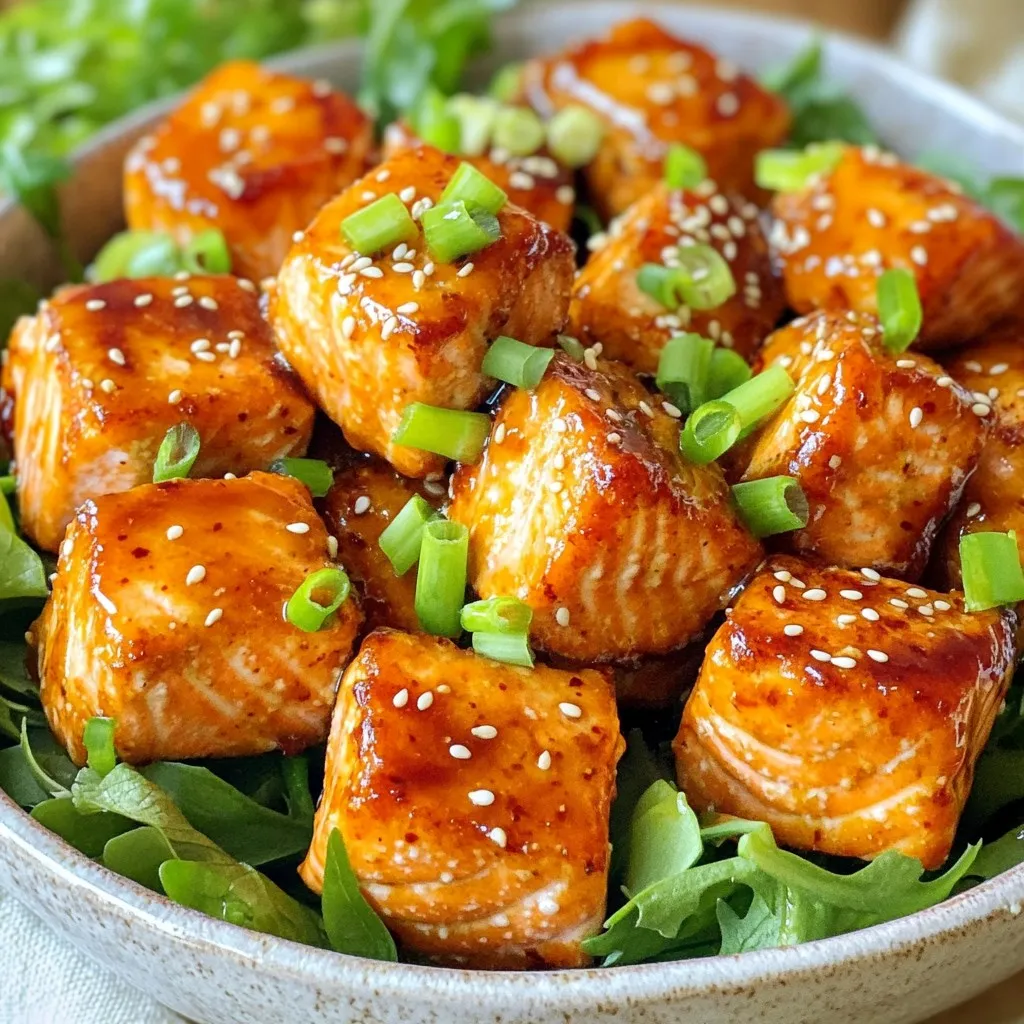
Deliciously crispy salmon bites marinated in a flavorful teriyaki sauce, perfect for a quick and hea...
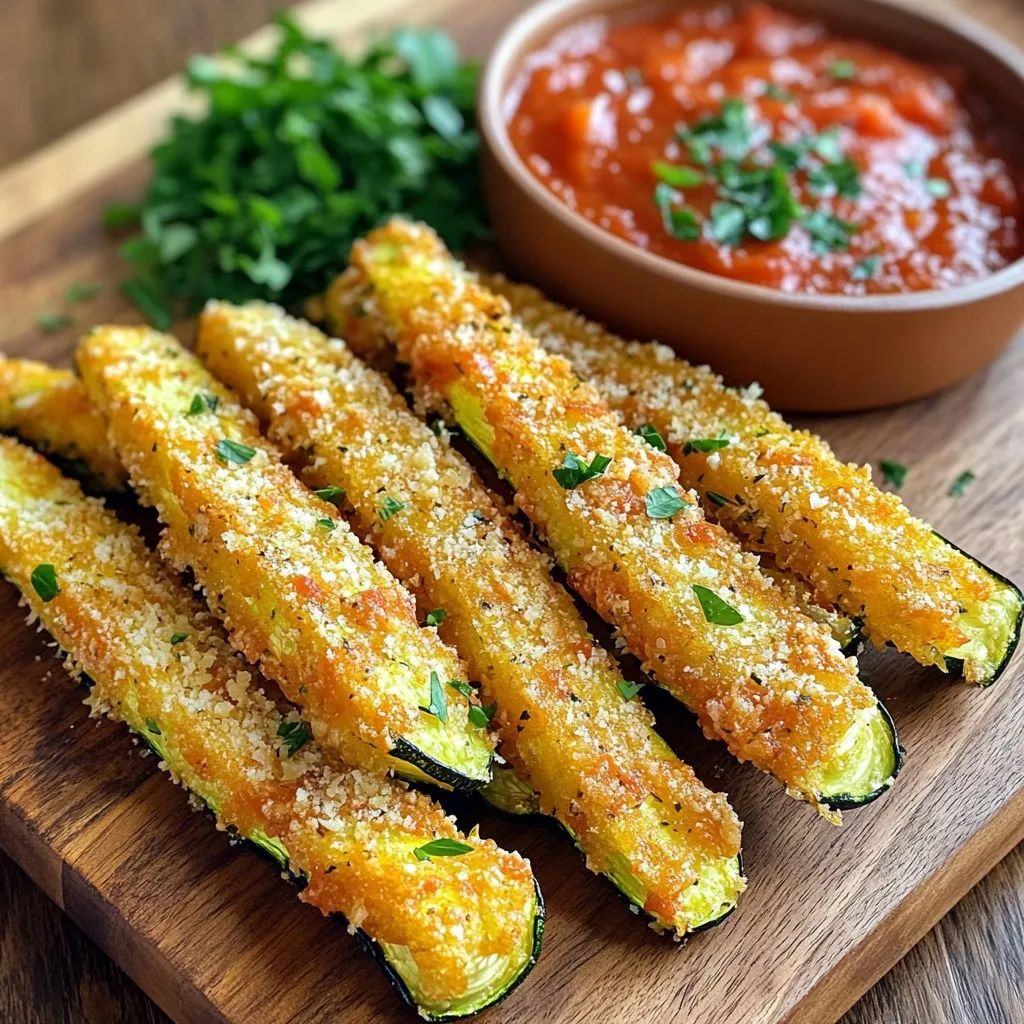
Deliciously crispy zucchini fries coated in Parmesan and Panko, perfect for a healthy snack or appet...

Delicious puff pastry tartlets filled with caramelized onions and brie cheese, perfect for appetizer...
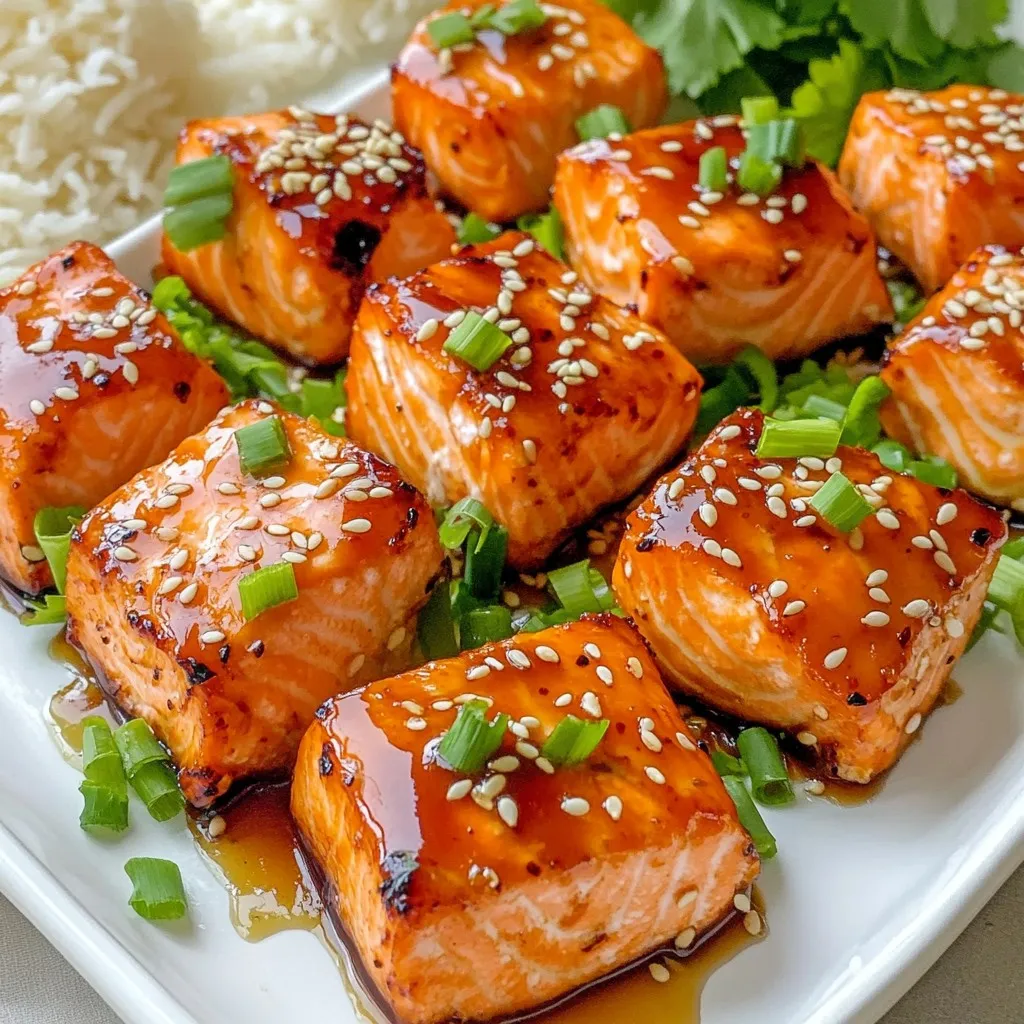
Delicious bite-sized salmon pieces marinated in teriyaki sauce, cooked to perfection in an air fryer...
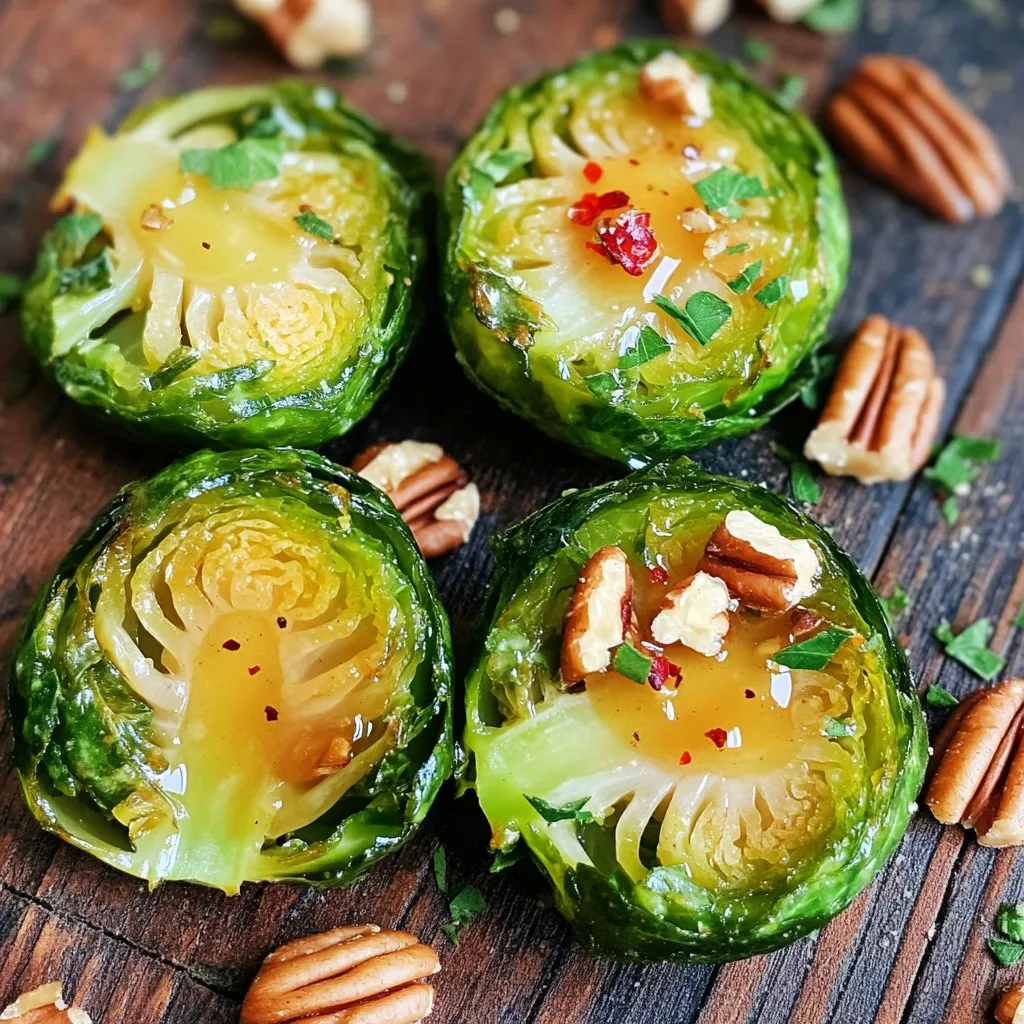
A delicious and healthy side dish made with Brussels sprouts, maple syrup, and Dijon mustard, cooked...