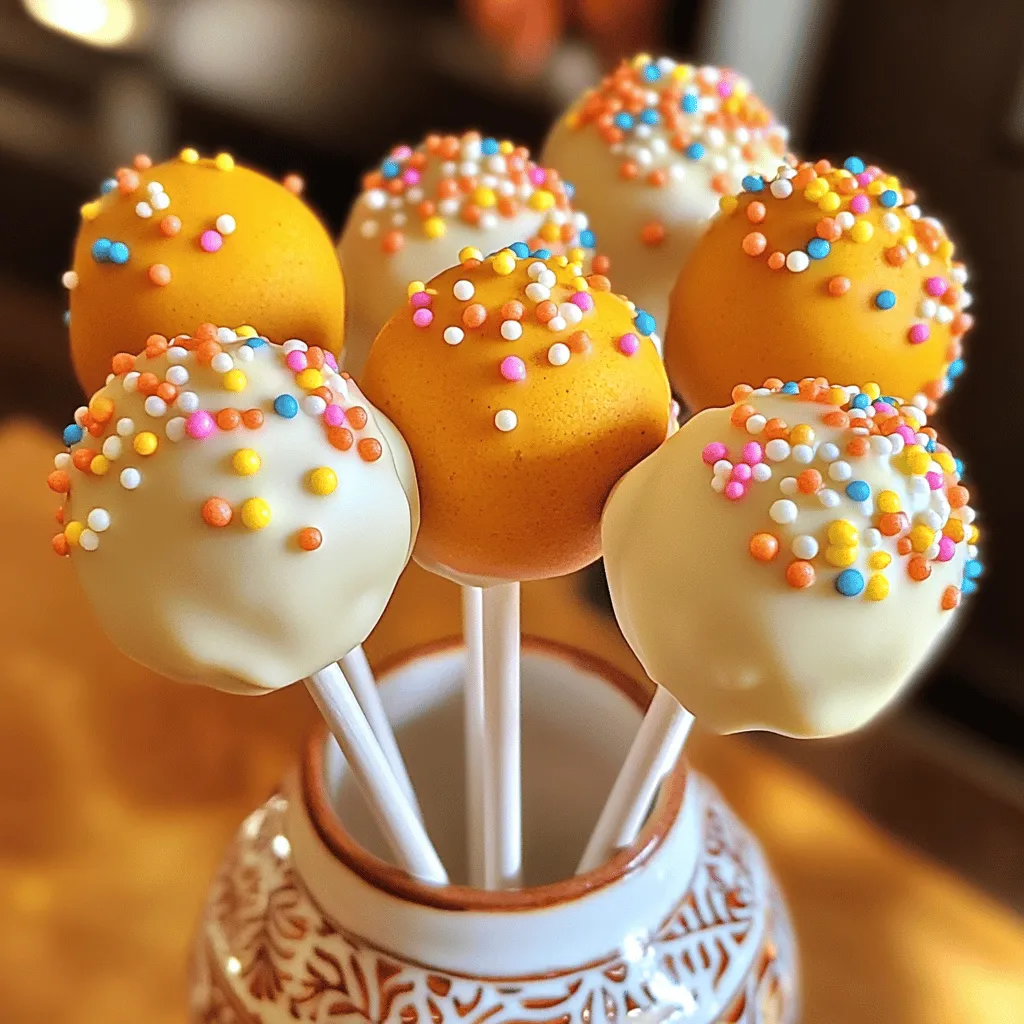
Looking for a fun, tasty treat to impress your friends and family? I’m here to share my simple recipe for pumpkin cake pops! These sweet bites are packed with flavor and perfect for fall gatherings. You’ll love how easy they are to make, and I’ll guide you through each step. From ingredients to tasty decoration ideas, let’s dive in and create a delicious dessert everyone will love!
Ingredients
Main Ingredients for Pumpkin Cake Pops
– 1 cup canned pumpkin puree
– 1 cup all-purpose flour
– 1/2 cup granulated sugar
– 1/2 cup packed brown sugar
– 1/2 teaspoon baking powder
– 1/2 teaspoon baking soda
– 1 teaspoon ground cinnamon
– 1/2 teaspoon ground nutmeg
– 1/4 teaspoon ground ginger
– 1/4 teaspoon salt
– 1/2 cup vegetable oil
– 2 large eggs
– 1 teaspoon vanilla extract
These ingredients make a moist and spiced pumpkin cake. Canned pumpkin puree gives it a rich flavor. The blend of spices creates warmth and comfort in every bite.
Optional Ingredients for Decoration
– 1 cup white chocolate chips (for coating)
– 1 tablespoon coconut oil (to thin out the chocolate)
– Sprinkles (for a festive finish)
You can coat the cake pops in white chocolate. Adding coconut oil makes the chocolate smooth. Sprinkles add color and fun to your treats.
Recommended Tools
– 9×9 inch baking dish
– Mixing bowls
– Whisk
– Baking sheet
– Parchment paper
– Lollipop sticks
– Styrofoam block or sturdy cup
Using the right tools makes the process easier. A baking dish helps shape the cake, while a whisk mixes ingredients well. A parchment-lined baking sheet makes cleanup a breeze.
Step-by-Step Instructions
Prepping for Baking
Start by preheating your oven to 350°F (175°C). This step is key to baking the cake evenly. Grease a 9×9 inch baking dish or use parchment paper. This will help the cake come out easily after baking.
Mixing Wet and Dry Ingredients
In a large bowl, mix the dry ingredients first. Combine 1 cup of flour, 1/2 cup of granulated sugar, 1/2 cup of brown sugar, 1/2 teaspoon of baking powder, and 1/2 teaspoon of baking soda. Add in 1 teaspoon of cinnamon, 1/2 teaspoon of nutmeg, 1/4 teaspoon of ginger, and 1/4 teaspoon of salt. Whisk until there are no lumps.
In another bowl, mix the wet ingredients. Combine 1 cup of pumpkin puree, 1/2 cup of vegetable oil, 2 eggs, and 1 teaspoon of vanilla extract. Whisk until smooth.
Now, slowly add the wet mix to the dry mix. Stir gently until just combined. Over-mixing can make the cake dense, so be careful.
Baking and Cooling the Cake
Pour the batter into your prepared baking dish. Spread it evenly across the dish. Bake for 25-30 minutes. Use a toothpick to check doneness; it should come out clean. Once baked, let it cool completely in the dish.
Forming Cake Balls
Once the cake is cool, crumble it into a large bowl. Use your hands or a fork to make fine crumbs. This helps shape the cake balls. Next, form small balls about 1 inch wide. Place them on a baking sheet lined with parchment paper.
Refrigerate the cake balls for about 30 minutes. This will help them firm up and make coating easier.
Coating and Decorating Cake Pops
In a microwave-safe bowl, combine 1 cup of white chocolate chips with 1 tablespoon of coconut oil. Microwave in 30-second intervals, stirring in between, until smooth.
Dip the end of each lollipop stick into the melted chocolate. Then, insert it into the center of each cake ball. Now, dip the whole ball into the melted chocolate until coated. Let any excess chocolate drip off.
While the chocolate is still wet, sprinkle your favorite decorations on top. To keep the cake pops upright, place them in a styrofoam block or a sturdy cup. Let the chocolate harden either at room temperature or in the fridge for about 15 minutes.
Tips & Tricks
Perfecting the Cake Texture
To get the best cake texture, focus on mixing. Start with dry ingredients. Whisk flour, sugars, baking powder, baking soda, and spices well. This helps them blend. Mix wet ingredients next, making sure the pumpkin puree is smooth. Combine the two mixtures gently. Over-mixing makes the cake dense, which we want to avoid. Bake until a toothpick comes out clean. Let it cool completely before crumbling.
How to Properly Coat Cake Pops
Coating your cake pops right is key. After shaping the cake balls, chill them for 30 minutes. This makes them firm and easier to coat. Melt white chocolate with coconut oil in short bursts in the microwave. Dip a stick into the chocolate, then poke it into each cake ball. This helps hold the stick in place. Next, dip the entire ball into the melted chocolate. Let the excess drip off before placing it on parchment paper.
Creative Decoration Ideas
Decorating cake pops can be fun! While the chocolate is still wet, sprinkle colorful sprinkles on top. You can also use crushed nuts or coconut flakes for a twist. If you want to be fancy, drizzle melted chocolate in a contrasting color over the pops. For a festive touch, dust a bit of cinnamon on top. These small details make your cake pops stand out and look special.
Variations
Flavor Combinations
You can mix things up with pumpkin cake pops. Try adding chocolate to the batter. It makes them rich and sweet. Another fun idea is to mix in peppermint flavor. This adds a cool twist, perfect for holidays. You can also try spices like cardamom for a unique taste.
Dietary Alternatives
If you need gluten-free options, swap the all-purpose flour for almond or oat flour. This keeps the texture light and fluffy. For a vegan version, replace eggs with flax eggs. Just mix one tablespoon of flaxseed meal with three tablespoons of water. Let it sit until thick. You can also use plant-based oil instead of vegetable oil.
Seasonal Add-ins
Add some fun with seasonal items. Chopped nuts like walnuts or pecans give a nice crunch. Dried fruit like cranberries or raisins adds sweetness. You can also sprinkle in some mini chocolate chips for extra flavor. These add-ins bring variety and make each bite exciting.
Storage Info
Best Practices for Storing Cake Pops
To keep your pumpkin cake pops fresh, store them in an airtight container. Line the bottom of the container with parchment paper. This prevents any sticking. Place the cake pops in a single layer, if possible. If you have many, add layers of parchment between them. This keeps them safe and keeps the chocolate coating intact.
Freezing Instructions
You can freeze cake pops for up to three months. First, let the cake pops cool completely. Then, place them on a baking sheet. Make sure they do not touch each other. Freeze them for about an hour. Once they are firm, transfer them to a freezer-safe bag. Remove as much air as possible. Label the bag with the date.
How to Thaw Properly
To thaw frozen cake pops, move them from the freezer to the fridge. Let them sit in the fridge for about 2 hours. This slow thawing helps keep the texture nice. Avoid thawing them at room temperature, as this can cause condensation. If you plan to eat them soon, just take out what you need.
FAQs
What can I use instead of white chocolate for coating?
You can use dark chocolate or milk chocolate. Both pair well with pumpkin. You might also try candy melts. They come in many colors and flavors. Just melt them down like white chocolate.
Can I make pumpkin cake pops ahead of time?
Yes, you can make them a day in advance. Just keep them in the fridge. This helps them stay fresh and tasty.
How long do cake pops last?
Cake pops last about a week at room temperature. If you store them in the fridge, they can last up to two weeks. Just make sure to seal them well to keep them moist.
Can I sell homemade pumpkin cake pops?
Yes, you can sell them! Make sure to check local laws on food sales. Packaging them nicely can help attract buyers. Share your tasty pumpkin cake pops with everyone!
In this article, we covered how to make delicious pumpkin cake pops. We discussed the main and optional ingredients, along with tools you need. You learned step-by-step instructions for mixing, baking, and shaping your cake pops. Tips helped you perfect the texture and coating. We also explored fun variations and storage methods.
With these insights, you can create tasty treats for any occasion. Enjoy making your pumpkin cake pops!
Pumpkin Cake Pops
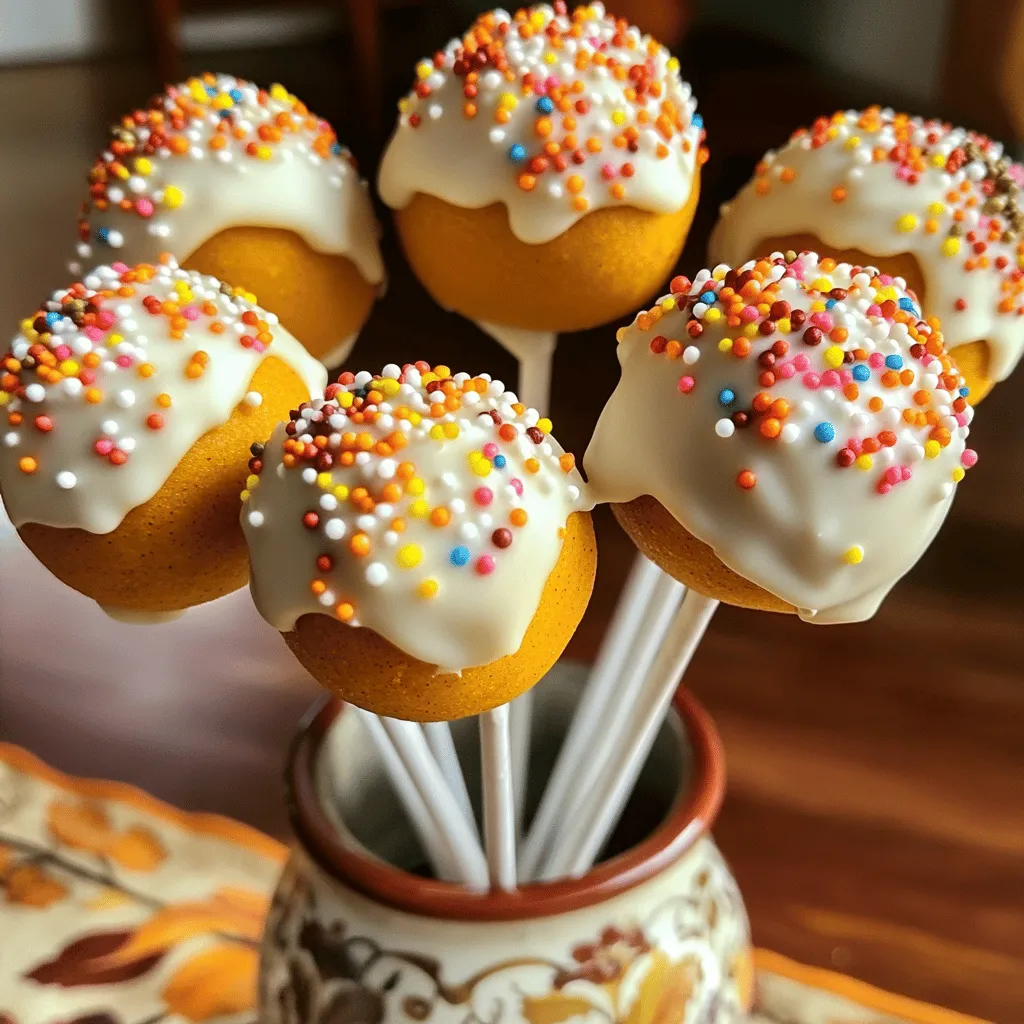
Delicious pumpkin-flavored cake pops coated in white chocolate and decorated with sprinkles.
Ingredients
Instructions
- 1
Preheat your oven to 350°F (175°C). Grease a 9x9 inch baking dish or line it with parchment paper to ensure easy removal of the cake after baking.
- 2
In a large mixing bowl, whisk together the all-purpose flour, granulated sugar, brown sugar, baking powder, baking soda, cinnamon, nutmeg, ginger, and salt. Make sure there are no lumps and the ingredients are well integrated.
- 3
In a separate bowl, combine the canned pumpkin puree, vegetable oil, eggs, and vanilla extract. Use a whisk to mix them together until the mixture is completely smooth and uniform.
- 4
Gradually pour the wet mixture into the bowl with the dry ingredients. Stir gently until just combined. Take care not to over-mix, as this could make the cake pops dense.
- 5
Pour the batter into your prepared baking dish, spreading it evenly across the surface. Bake for 25-30 minutes, or until a toothpick inserted into the center comes out clean. Once baked, allow it to cool completely in the baking dish.
- 6
After cooling, crumble the cake into a large bowl. Use your hands or a fork to break it down until it resembles fine crumbs; this will help in shaping the cake balls.
- 7
Using your hands, shape the crumbled cake into small balls, each about 1 inch in diameter. Place these formed cake balls on a baking sheet lined with parchment paper for easy retrieval later.
- 8
Refrigerate the cake balls for about 30 minutes, or until they become firm and easier to coat.
- 9
In a microwave-safe bowl, combine the white chocolate chips with the coconut oil. Microwave the mixture in 30-second intervals, stirring in between until the chocolate is completely melted and smooth.
- 10
Dip the end of each lollipop stick into the melted chocolate and then into the center of each cake ball to help secure it. Next, dip the entire cake ball into the chocolate, ensuring it's fully coated, and allow any excess chocolate to drip off.
- 11
While the chocolate is still wet, sprinkle decorative sprinkles on top for a fun touch. To ensure they stand upright, place the cake pops in a styrofoam block or a sturdy cup to harden properly.
- 12
Allow the chocolate to harden completely at room temperature, or you can speed up the process by placing them in the refrigerator for about 15 minutes.
Chef's Notes
Arrange your stunning cake pops in a brightly colored vase or on a whimsical cake stand for an eye-catching display. For an extra festive touch, consider a light dusting of cinnamon on top before serving!


Recipe Creator
Remy
I’m Chef Remy, your recipe companion, here to bring warmth, bold taste, and simplicity to your kitchen.
View My Recipes