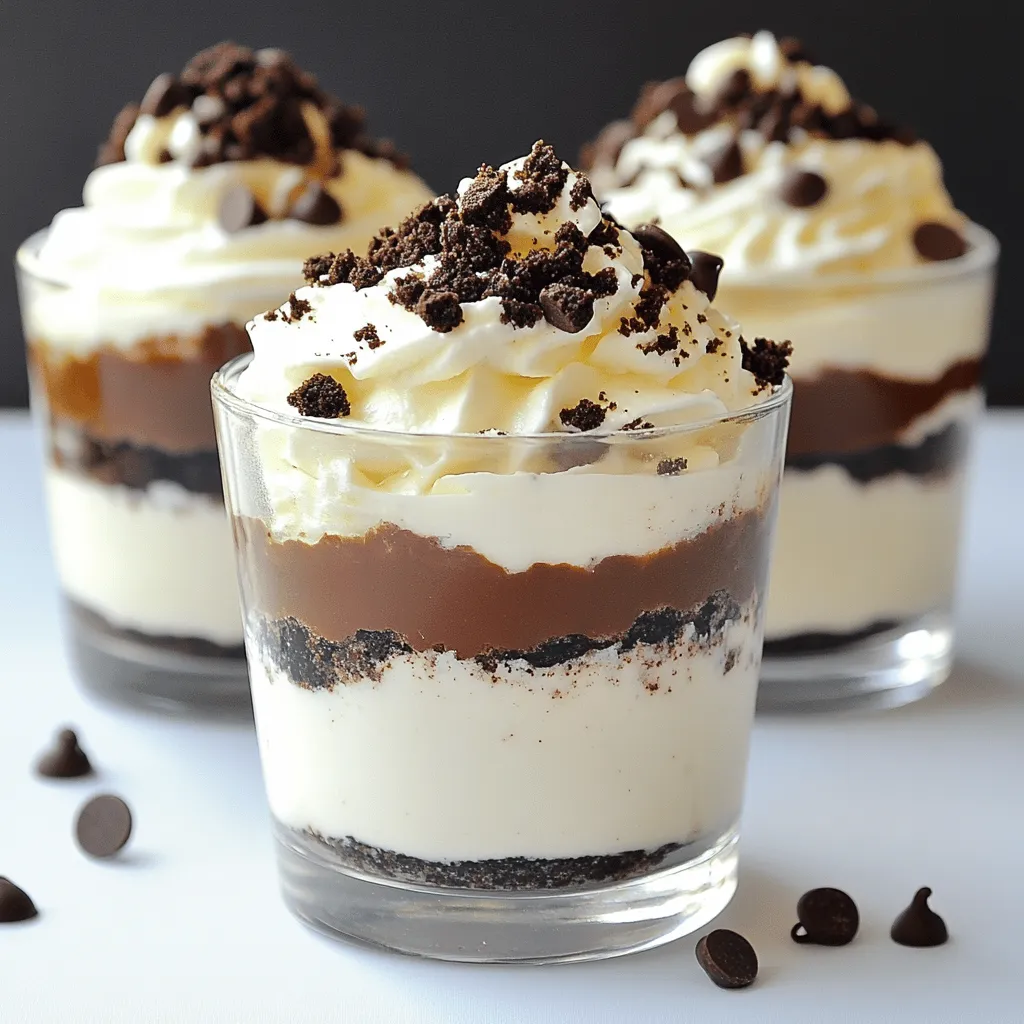
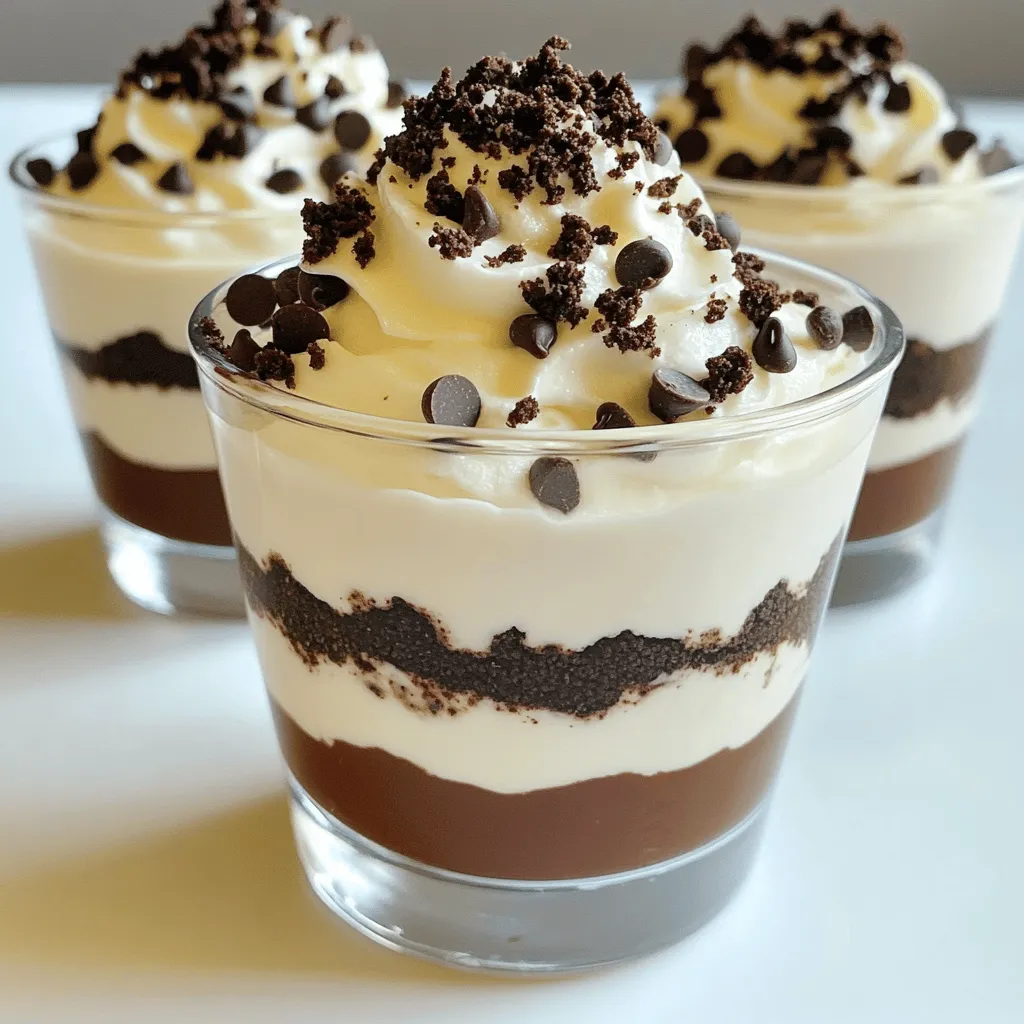
Indulging in sweet treats has never been easier with these Oreo Dessert Cups. They’re delicious, creamy, and completely no-bake! Perfect for gatherings or a fun night in, these treats are a hit with both kids and adults. With simple ingredients and easy steps, you’ll whip up a dessert masterpiece in no time. Let’s dive into how to create these irresistible cups that will leave everyone wanting more!
Ingredients
List of Required Ingredients
– Oreos
– Cream Cheese
– Powdered Sugar
– Vanilla Extract
– Whipped Cream
– Mini Chocolate Chips
– Additional Oreos (for topping)
Gathering these ingredients is the first step to making your Oreo dessert cups. Each item plays an important role in creating that perfect blend of flavors and textures.
– Oreos: The star of this dessert! Use them for both the base and the topping.
– Cream Cheese: This adds richness and creaminess. Make sure it’s at room temperature for easy mixing.
– Powdered Sugar: It sweetens the filling just right without adding graininess.
– Vanilla Extract: This enhances the overall flavor. A little goes a long way!
– Whipped Cream: Use it to lighten the dessert. You can use store-bought or make your own.
– Mini Chocolate Chips: These add a fun crunch and extra chocolate flavor.
– Additional Oreos: Crumble them for a visually appealing topping.
Suggested Tools
– Mixing Bowls
– Hand Mixer or Spatula
– Zip-Top Bags
– Food Processor (optional)
– Serving Cups
Having the right tools makes the process easier. A mixing bowl helps you combine ingredients. A hand mixer or spatula ensures a smooth mixture. Use a zip-top bag to crush the Oreos quickly. If you want, a food processor can save time. Finally, serving cups show off your beautiful dessert layers!
This recipe is quick and fun. It uses simple ingredients and tools. You can find the full recipe details, and it will guide you through each step to create these delicious treats.
Step-by-Step Instructions
Preparing the Oreo Base
– Crushing the Oreos: Start by placing 16 Oreos in a zip-top bag. Use a rolling pin to crush them. You can also use a food processor. Aim for fine crumbs. Save 2 tablespoons of crumbs for later.
– Mixing with Cream Cheese: In a large bowl, mix the crushed Oreos with 1 cup of room temperature cream cheese. Add 1/2 cup of powdered sugar and 1 teaspoon of pure vanilla extract. Blend until smooth.
Assembling the Dessert Cups
– Layering the Oreo Mixture: Take your serving cups and start with a layer of the Oreo mix. Fill each cup halfway with this mixture.
– Adding Whipped Cream Layers: Next, add a generous layer of whipped cream on top. Repeat the layering with more Oreo mix and whipped cream. Leave a little space at the top.
Final Touches
– Garnishing with Crumbled Oreos: Use the reserved Oreo crumbs to sprinkle on top of each cup. Add mini chocolate chips for a fun crunch.
– Chilling the Dessert Cups: Cover the cups with plastic wrap. Chill them in the fridge for at least 30 minutes. This helps the flavors mix and the dessert firm up.
Follow the Full Recipe to create these tasty treats!
Tips & Tricks
How to Make It Perfect
To get the best Oreo dessert cups, start with the cream cheese. Make sure it is softened. This helps it mix easily. If your cream cheese is cold, it can clump. To soften it, leave it out for about 30 minutes before use.
Next, fold in the whipped cream correctly. Use a gentle motion. This keeps the mixture light and fluffy. If you stir too hard, the whipped cream loses its air, and your cups won’t be as creamy. Take your time with this step for the best texture.
Serving Suggestions
When serving Oreo dessert cups, think about the presentation. Use clear cups to show off the layers. Add a dollop of whipped cream on top. Place half an Oreo on the cream for a nice touch. This makes the dessert look more inviting.
You can pair these cups with other desserts too. They go well with fruits like strawberries or raspberries. This adds a fresh taste to balance the rich flavors. You can also serve them alongside chocolate cake or brownies. This gives your guests a variety of sweet options during any celebration.
Variations
No-Bake Options
You can easily switch up the filling in your Oreo dessert cups. Try using peanut butter for a rich twist. It pairs great with Oreos. Another option is to mix in some cream cheese with melted chocolate. This gives a fun taste that kids will love. You can also swap out the whipped cream for yogurt, which adds a healthy spin.
Dietary Modifications
For a gluten-free version, use gluten-free Oreos. They taste just as good! You won’t miss the regular ones. If you want a vegan treat, try dairy-free cream cheese. Combine it with coconut whipped cream for a creamy texture. Both options keep your dessert delicious and friendly for all diets.
Seasonal Flavors
Adding fresh fruit can enhance your dessert cups. In summer, berries like strawberries or raspberries add a bright touch. In fall, consider using pumpkin puree or apple pie spice. These flavors change the whole vibe of the dessert. Top with seasonal fruits to keep it fresh and exciting.
Storage Info
How to Store Leftovers
To keep your Oreo dessert cups fresh, place them in an airtight container. This helps to lock in the flavors and keep them safe from fridge odors. It is best to store them in the fridge. The cold will help maintain their creamy texture. Aim to eat them within three days for the best taste.
Freezing Dessert Cups
You can freeze these dessert cups if you want to save some for later. First, wrap each cup tightly in plastic wrap. This prevents freezer burn and keeps them safe. Place the wrapped cups in a freezer-safe bag or container. When you’re ready to enjoy them, take them out of the freezer. Let them thaw in the fridge for about two hours before serving. This way, they will taste fresh and creamy again.
FAQs
How long can Oreo dessert cups be stored in the fridge?
Oreo dessert cups can last in the fridge for up to 3 days. Store them in an airtight container to keep them fresh. After that, the whipped cream may lose its texture, and the flavors may fade.
Can I use other cookies instead of Oreos?
Yes! You can use many other cookies. Try using chocolate sandwich cookies, vanilla wafers, or even graham crackers. Each cookie will change the flavor and texture slightly. Experiment to find your favorite!
Is this recipe suitable for kids?
Absolutely! This recipe is safe for kids to help with. However, you should supervise them while using kitchen tools. Mixing the ingredients is a great way for kids to learn cooking skills.
Where can I buy pre-made Oreo dessert cups?
You can find pre-made Oreo dessert cups in many grocery stores. Check the dessert aisle or the bakery section. They may also be available at specialty dessert shops or online. If you want a quick and easy treat, this is a great option!
For the full recipe, check out the details above.
Oreo dessert cups are simple and fun to make. You need just a few ingredients and tools. Start with crushing Oreos and mixing with cream cheese. Layer the base and whipped cream for tasty cups. You can experiment with variations and make it your own. Remember to store leftovers properly to keep them fresh. These dessert cups are sure to impress at any gathering. Enjoy making these delicious treats and share them with your friends and family!
Oreo Dessert Cups
Delicious layered dessert cups featuring crushed Oreos, cream cheese, and whipped cream.
Ingredients
Instructions
- 1
Begin by crushing the Oreos. Place them in a zip-top bag and use a rolling pin to crush them, or pulse them in a food processor until they achieve a fine crumb consistency. Reserve 2 tablespoons of these crumbs for later use as a topping.
- 2
In a large mixing bowl, combine the crushed Oreos (excluding the reserved crumbs) with the softened cream cheese, powdered sugar, and vanilla extract. Using a hand mixer or spatula, blend all the ingredients together until the mixture becomes smooth and fully incorporated.
- 3
Carefully fold in the whipped cream into the mixture. Use a gentle motion to ensure it stays light and fluffy, creating a creamy texture.
- 4
Prepare your serving cups by starting with a layer of the Oreo mixture at the bottom of each cup, filling them about halfway.
- 5
Next, add a generous layer of whipped cream on top of the Oreo mixture in each cup.
- 6
Continue layering by repeating the Oreo mixture and whipped cream until the cups are filled, ensuring there is a little space left at the top for garnish.
- 7
To finish, sprinkle the reserved Oreo crumbs and a generous amount of mini chocolate chips on top of each dessert cup for a delightful crunch and visual appeal.
- 8
Cover the cups with plastic wrap and chill in the refrigerator for at least 30 minutes, allowing the flavors to meld and the dessert to firm up.
Chef's Notes
Serve chilled with a dollop of whipped cream and half an Oreo on top.


Recipe Creator
Remy
I’m Chef Remy, your recipe companion, here to bring warmth, bold taste, and simplicity to your kitchen.
View My Recipes