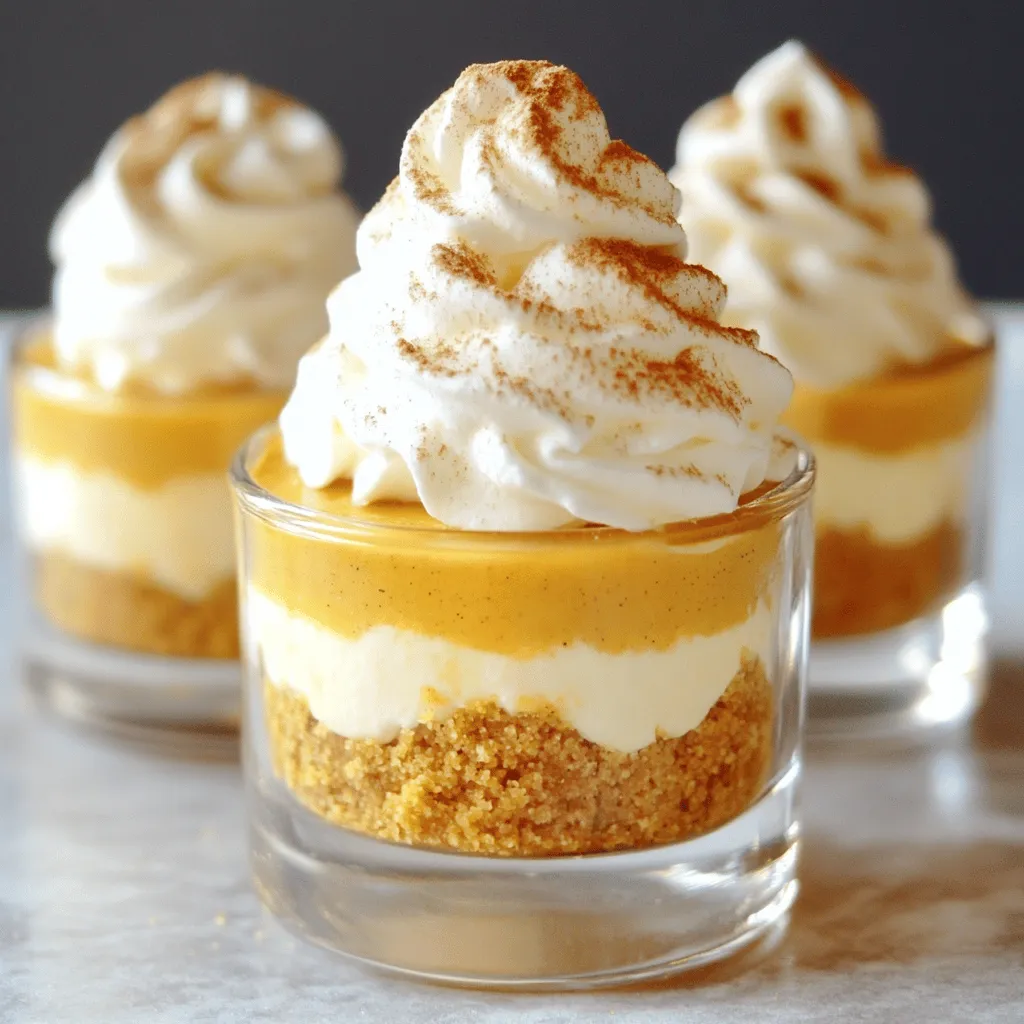
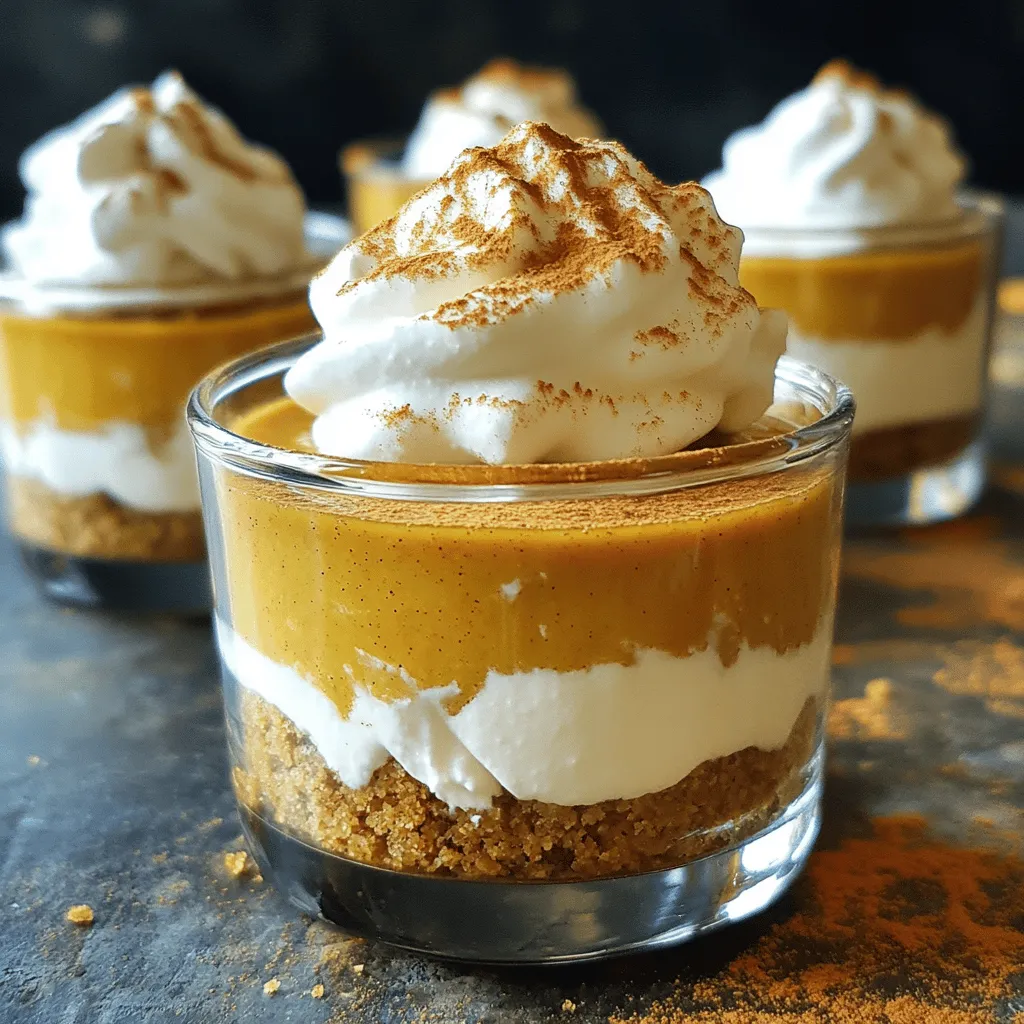
Craving a simple yet delicious dessert? You’ll love these No Bake Pumpkin Cheesecake Cups! They come together quickly and require no oven. With creamy pumpkin filling and a crunchy crust, they are perfect for any fall gathering. I’ll guide you through each step, from gathering the easy ingredients to serving them with great flair. Let’s make your next dessert the talk of the table!
Ingredients
– 1 cup graham cracker crumbs
– 1/4 cup unsalted butter, melted
– 3 tablespoons brown sugar
– 1 (8 oz) package cream cheese, softened
– 1 cup canned pumpkin puree
– 1/2 cup powdered sugar
– 1 teaspoon vanilla extract
– 1 teaspoon pumpkin pie spice
– 1 cup whipped topping (or heavy cream, whipped)
– Whipped cream and cinnamon for garnish
To make the no bake pumpkin cheesecake cups, gather these simple ingredients. The graham cracker crumbs form a tasty crust. Mix them with melted butter and brown sugar for a sweet touch. The cream cheese gives the cheesecake its smooth texture.
Canned pumpkin puree is key here. Make sure it’s not pumpkin pie filling. You need pure pumpkin for the best flavor. The powdered sugar sweetens the filling just right. Vanilla extract adds depth to the taste. Pumpkin pie spice brings warmth and aroma to the dessert.
Finally, the whipped topping makes the filling light and fluffy. For a finishing touch, top each cup with whipped cream and a sprinkle of cinnamon. This adds both beauty and flavor. These ingredients come together to create a dessert that is easy, quick, and absolutely delicious.
Step-by-Step Instructions
Preparing the Crust
– First, gather your ingredients: graham cracker crumbs, melted butter, and brown sugar.
– In a medium bowl, combine the graham cracker crumbs, melted butter, and brown sugar.
– Stir the mixture until the crumbs feel like wet sand.
– Next, take small serving cups and spoon the crumb mixture into each cup.
– Press down gently to form a solid layer for the crust.
Making the Pumpkin Filling
– In a large bowl, beat the softened cream cheese with an electric mixer.
– Mix until the cream cheese is smooth and free of lumps.
– Add the pumpkin puree, powdered sugar, vanilla extract, and pumpkin pie spice.
– Continue to beat the mixture until fluffy and well blended.
Assembling the Cups
– Carefully fold in the whipped topping into the pumpkin filling.
– Take your time to keep the mixture light and airy.
– Spoon the creamy pumpkin filling into each cup, filling them about three-quarters full.
– Place the cups in the refrigerator to chill for at least 2-3 hours.
– For best results, chill them overnight to let the flavors meld.
– Before serving, top each cup with whipped cream and a sprinkle of cinnamon.
Tips & Tricks
Ensuring a Smooth Cheesecake
To make a perfect cheesecake, you need soft cream cheese. Take the cream cheese out of the fridge. Let it sit at room temperature for about 30 minutes. This softens it and helps it mix better.
When you mix in the other ingredients, use a gentle folding technique. This keeps the filling light and fluffy. Overmixing can make it dense, so mix just until combined.
Serving Suggestions
Garnishing is key for a great look. Top each cup with whipped cream. A light dusting of cinnamon adds color and flavor. You can also use chocolate shavings or caramel drizzle for extra flair.
Pair these cups with coffee or hot cider. The warm drinks balance the cool cheesecake. They make a lovely combo for a cozy dessert.
Common Mistakes to Avoid
One big mistake is overmixing the filling. This can lead to a heavy texture. Mix just enough for a smooth blend.
Another common error is not chilling long enough. For the best taste and texture, let the cups chill for at least 2-3 hours. Overnight is even better, as it helps the flavors develop.
Variations
Flavor Variations
You can change up the flavor of your pumpkin cheesecake cups. Try adding spices like cinnamon or nutmeg. These spices can give your dessert a warm, cozy taste. You can also swirl in caramel or chocolate for a sweet twist. This simple addition makes each bite even more delightful.
Gluten-Free Options
If you need a gluten-free dessert, you can swap the graham cracker crust. Use gluten-free cookie crumbs or nuts for the base. Check other ingredients too, like the whipped topping. Make sure they are gluten-free to keep the treat safe for everyone to enjoy.
Dairy-Free Adaptations
For a dairy-free version, look for dairy-free cream cheese. Brands like Tofutti or Kite Hill work well. Instead of regular whipped topping, use coconut whipped cream. It adds a nice flavor and keeps it light. These swaps make the dessert suitable for those with dairy allergies.
Storage Info
Refrigeration Guidelines
You can store the no bake pumpkin cheesecake cups in the fridge for up to five days. Use an airtight container to keep them fresh. If you stack the cups, place a layer of plastic wrap between them to avoid sticking.
Freezing Options
If you want to freeze the cups, do it after they chill. Place the cups in a freezer-safe container, with space between them. To thaw, move the cups to the fridge for about 4 hours before serving. This keeps the texture smooth.
Shelf Life
The expected shelf life of these dessert cups is about one week when stored in the fridge. However, for best taste and texture, enjoy them within three days.
FAQs
Can I use homemade whipped cream instead of whipped topping?
Yes, you can use homemade whipped cream. Just whip heavy cream until it forms soft peaks. This adds a fresh taste to your cheesecake cups. The texture will be light and fluffy, just like with whipped topping.
How do I know when the cheesecake is set?
You can tell the cheesecake is set when it feels firm to the touch. Gently press the top with your finger. If it bounces back, it’s ready. Chilling for 2-3 hours helps the layers firm up. For best results, chill overnight.
Can I make these ahead of time for a party?
Absolutely! These cheesecake cups are perfect for making ahead. Prepare them a day in advance and store them in the fridge. This saves you time and lets the flavors blend nicely. Just add the whipped cream and cinnamon before serving for a fresh look.
This blog shows you how to make tasty pumpkin cheesecake cups. We covered the ingredients, step-by-step directions, and tips to avoid mistakes. You learned how to create different flavors and variations for special diets.
With these easy steps, you can impress friends and family. Try this dessert for your next gathering. Enjoy making and sharing these delicious treats!
No Bake Pumpkin Cheesecake Cups
Delicious and easy no-bake pumpkin cheesecake served in individual cups.
Ingredients
Instructions
- 1
In a medium mixing bowl, combine the graham cracker crumbs, melted butter, and brown sugar. Stir the mixture well until the crumbs are fully coated and have a texture similar to wet sand.
- 2
Take small serving cups or glasses and spoon an equal amount of the crumb mixture into the bottom of each cup, pressing down gently to form an even layer for the crust. Set aside to allow the crust to firm up slightly.
- 3
In a large mixing bowl, use an electric mixer to beat the softened cream cheese on medium speed until it becomes smooth and creamy, ensuring there are no lumps.
- 4
Add the pumpkin puree, powdered sugar, vanilla extract, and pumpkin pie spice to the cream cheese. Continue to beat the mixture on medium speed until all ingredients are well blended and the mixture is fluffy.
- 5
Using a spatula, gently fold the whipped topping into the pumpkin mixture. Be careful to maintain the light and airy texture by mixing until just combined.
- 6
Spoon the creamy pumpkin filling over the prepared graham cracker crust in each cup, filling them approximately three-quarters full for a generous serving.
- 7
Place the cups in the refrigerator to chill for at least 2-3 hours, or for best results, overnight, allowing the flavors to meld and the cheesecake to set properly.
- 8
When ready to serve, top each cup with a dollop of whipped cream and a light sprinkle of cinnamon for a festive finish.
Chef's Notes
For best results, chill overnight.


Recipe Creator
Remy
I’m Chef Remy, your recipe companion, here to bring warmth, bold taste, and simplicity to your kitchen.
View My Recipes