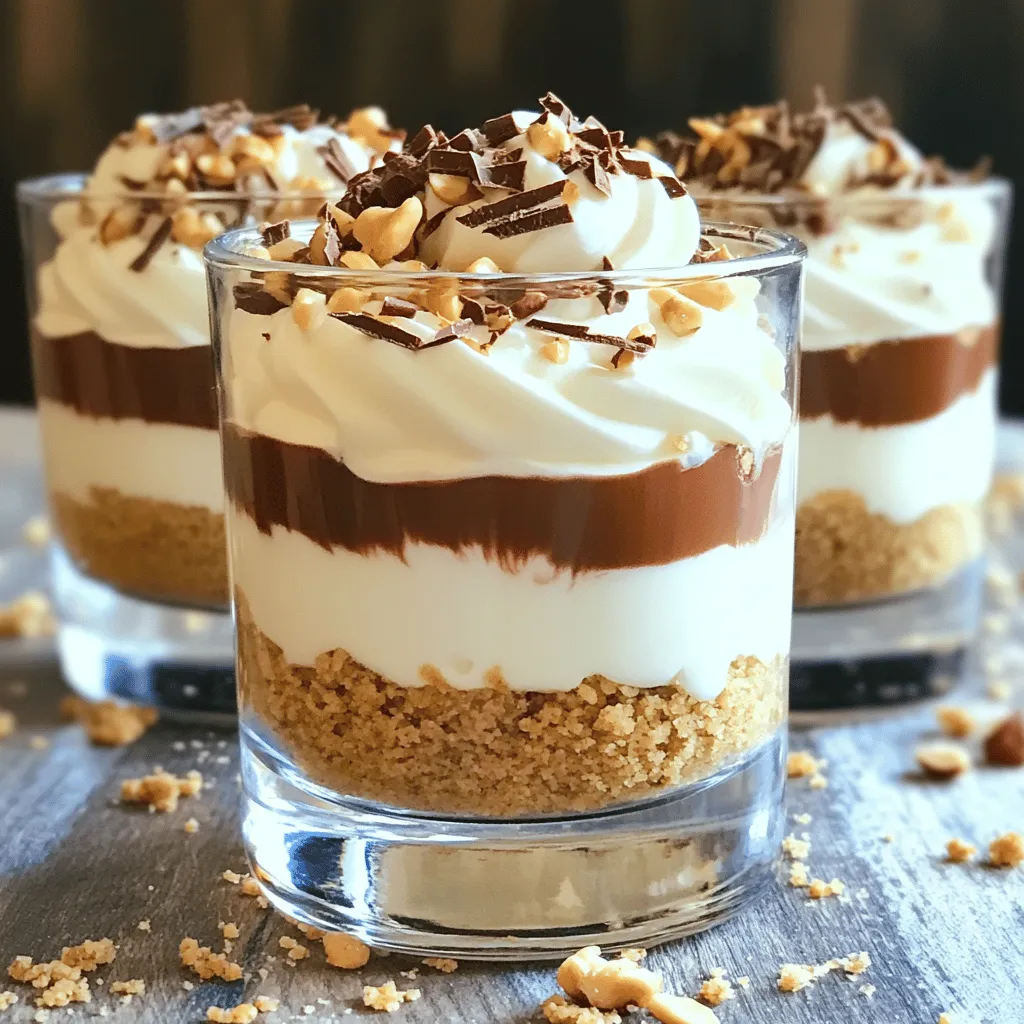
Are you ready for a treat that’s both easy and delicious? These No Bake Nutella Cheesecake Cups are perfect for chocolate lovers. With just a few simple ingredients, you can whip up a creamy dessert that everyone will love. I’ll guide you step-by-step, so you can impress your friends and family without any baking fuss. Let’s dive into this sweet adventure and get started on creating your delightful dessert!
Ingredients
Main Ingredients for the Cheesecake
– 1 cup cream cheese, softened to room temperature
– 1 cup Nutella
– 1/2 cup powdered sugar
– 1 teaspoon vanilla extract
The cream cheese brings a rich, tangy flavor to the dessert. Nutella adds that irresistible chocolate and hazelnut taste. Powdered sugar sweetens the mix without any graininess. Vanilla extract adds a warm, aromatic touch to the cheesecake.
Ingredients for the Crust
– 1 cup graham cracker crumbs
– 4 tablespoons unsalted butter, melted
– A pinch of salt
The graham cracker crumbs form the base of your cheesecake cups. They give a sweet and crunchy texture. The melted butter binds the crumbs together. Just a pinch of salt balances the sweetness for the perfect crust.
Optional Garnishes
– Crushed hazelnuts
– Chocolate shavings
Adding crushed hazelnuts gives a nice crunch and flavor. Chocolate shavings add a touch of elegance and extra chocolatey goodness. These garnishes make your cheesecake cups look and taste even better.
Step-by-Step Instructions
Preparing the Nutella Mixture
First, gather your ingredients. In a medium bowl, blend 1 cup of softened cream cheese and 1 cup of Nutella together. Use a hand mixer on medium speed. Add 1/2 cup of powdered sugar and 1 teaspoon of vanilla extract. Mix until your mixture is smooth and creamy. Ensure there are no lumps. This will be the rich base of your cheesecake.
Whipping the Cream
Next, take a separate bowl and pour in 1 1/2 cups of cold heavy cream. Use a hand mixer to whip the cream. Start at medium speed and increase it to high. Whip until you see soft peaks form. This will take about 3 to 4 minutes. Be careful not to overwhip the cream, or it will become grainy.
Combining Mixtures
Once your whipped cream is ready, it’s time to combine it with the Nutella mixture. Start by adding one-third of the whipped cream to the Nutella mix. Use a spatula to fold gently. This lightens the mixture without deflating the whipped cream. Repeat this until all the whipped cream is mixed in.
Making the Crust
Now, let’s make the crust. In another bowl, mix together 1 cup of graham cracker crumbs with 4 tablespoons of melted unsalted butter and a pinch of salt. Stir until the crumbs look like wet sand. This will form a tasty base for your cheesecake cups.
Assembling the Cheesecake Cups
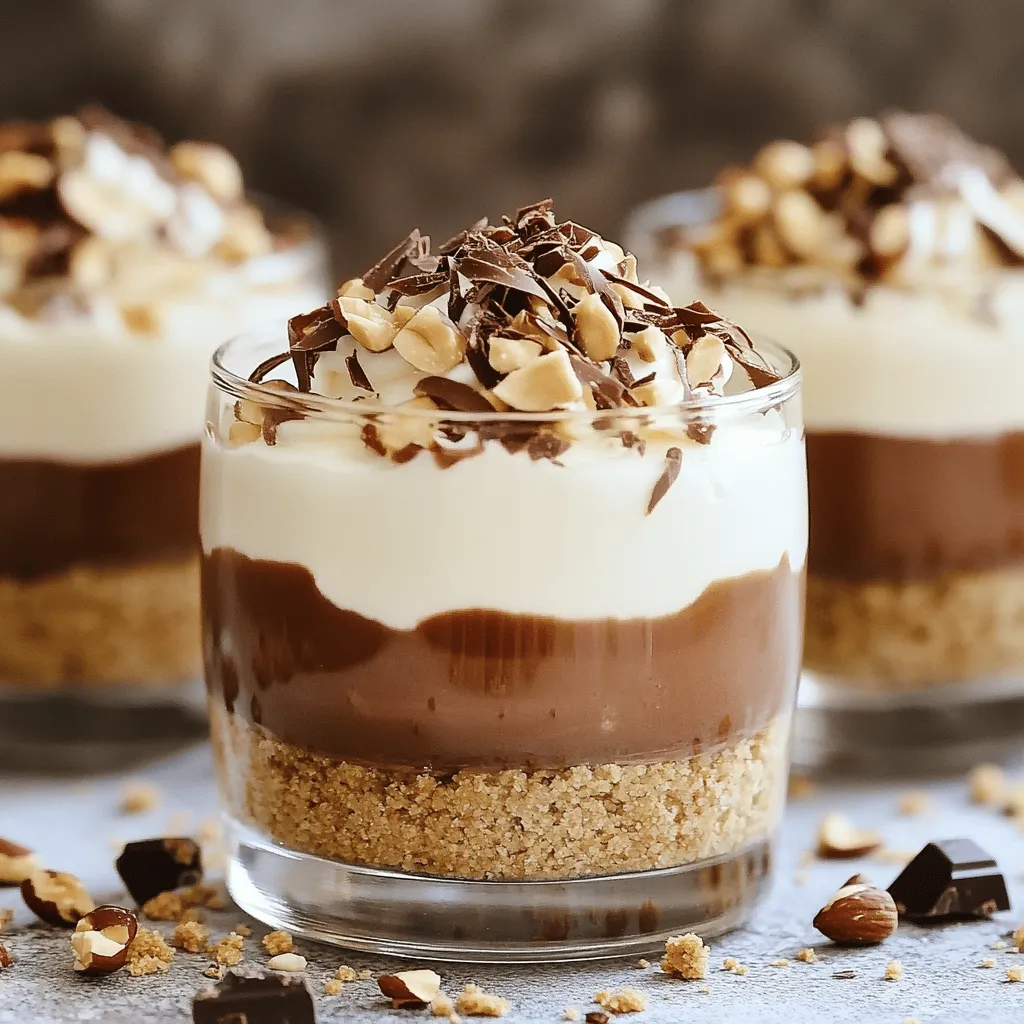
To assemble, take serving cups or glasses. Add about 2 tablespoons of the graham cracker mixture to the bottom. Press it down lightly to form a base. Next, layer about 3 tablespoons of the Nutella cheesecake filling on top. Keep repeating the layers until your cups are filled, finishing with a layer of the cheesecake filling on top.
Chilling the Cups
After assembling the cups, place them in the refrigerator. Let them chill for at least 2 to 3 hours. This helps the flavors mix and the texture to set. Chilling is key to a perfect cheesecake.
Garnishing and Serving
Just before serving, sprinkle the tops with crushed hazelnuts and chocolate shavings. This adds a nice crunch and extra flavor. For a fun twist, you might add a sprig of mint for color. Enjoy these delightful cheesecake cups!
Tips & Tricks
Ensuring the Best Texture
– Avoiding overwhipping cream: When you whip the cream, stop once soft peaks form. If you whip too long, the cream can become grainy.
– Mixing tips for lightness: Use a spatula to gently fold the whipped cream into the Nutella mixture. This keeps it airy and smooth.
Common Mistakes to Avoid
– Mixing techniques to prevent lumps: Always blend the cream cheese and Nutella until smooth before adding anything else. This helps prevent lumps in your cheesecake.
– Tips for crust consistency: Make sure the graham cracker crumbs are well-coated with melted butter. The texture should feel like wet sand, not dry.
Serving Suggestions
– Pairing with beverages or other desserts: These cheesecake cups go great with coffee or a sweet dessert wine. Try them with fresh fruit for a nice balance.
– Ideal occasions for serving: Serve these cups at parties, picnics, or family gatherings. They are easy to share and look lovely on any table.
Variations
Flavor Tweaks
You can easily change the flavor of your no-bake Nutella cheesecake cups. Here are a few ideas:
– Adding different flavor extracts: Try adding almond or hazelnut extract for a fun twist. Just one teaspoon can change the taste.
– Mixing in other chocolate types: Swap Nutella for dark or white chocolate spreads. Each option brings a unique flavor.
Dietary Alternatives
If you have dietary needs, don’t worry! You can still enjoy these cups:
– Gluten-free crust options: Use gluten-free graham cracker crumbs. Many brands offer great substitutes.
– Dairy-free substitutes for cream cheese: Look for dairy-free cream cheese. These are often made from nuts or soy.
Serving Styles
Presentation can make a big difference! Here are a few serving ideas:
– Alternative serving vessels: Use mason jars, shot glasses, or small bowls. These can add a cute touch.
– Miniature versions for events: Create bite-sized cups for parties. Just reduce the ingredients and layer them in small cups. They are perfect for sharing!
Storage Info
Best Storage Practices
To keep your No Bake Nutella Cheesecake Cups fresh, refrigeration is key. Always place them in the fridge right after making. This helps flavors meld and keeps the cups firm. Use airtight containers for the best results. This ensures no air gets in, which can spoil the dessert.
Shelf Life
In the fridge, your cheesecake cups can last up to five days. After that, they may start to lose their creamy texture. Always check for signs of spoilage. If you see any changes in color, or if they smell off, it’s best to toss them.
Freezing Instructions
Yes, you can freeze these cheesecake cups! They freeze well for up to three months. To thaw, just move them to the fridge overnight. This keeps their texture smooth and tasty. When ready to serve, add fresh toppings for a delightful finish.
FAQs
Can I make this recipe in advance?
Yes, you can make these cups ahead of time. Prepare the cheesecake mixture and crust. Layer them in cups and chill. They taste great after resting for a few hours or overnight. This also helps the flavors blend well.
What can I substitute for Nutella?
If you need a Nutella swap, try other chocolate spreads. Options include chocolate hazelnut spreads or even peanut butter. For a DIY option, mix cocoa powder with sweetened hazelnut spread. You can adjust the sweetness to your liking.
How can I make these gluten-free?
To make gluten-free cheesecake cups, use gluten-free graham crackers. You can also use crushed nuts or gluten-free cookies for the crust. Ensure all other ingredients are gluten-free to keep your dessert safe.
Can I use a different type of nut for the garnish?
Yes, you can use other nuts for garnish. Chopped almonds, pecans, or walnuts work well. They add extra crunch and flavor. Feel free to mix and match based on what you like.
Is there a vegan version of this recipe?
You can indeed make a vegan version. Use dairy-free cream cheese and coconut cream instead of heavy cream. For a sweetener, use maple syrup or agave nectar. This way, you can enjoy a plant-based treat without losing flavor.
In this blog post, I covered how to make Nutella cheesecake cups from scratch. We explored the key ingredients like cream cheese and graham cracker crumbs, and I shared step-by-step instructions to achieve that perfect texture. You learned tips to avoid common mistakes and how to customize your dessert to fit any occasion.
Making these cheesecake cups is simple and fun. Whether you enjoy them at a party or just for yourself, they will impress everyone.
No Bake Nutella Cheesecake Cups
Delicious and easy no-bake cheesecake cups made with Nutella and a graham cracker crust.
Ingredients
Instructions
- 1
In a medium mixing bowl, use a hand mixer to blend the softened cream cheese, Nutella, powdered sugar, and vanilla extract until smooth and creamy.
- 2
In a separate bowl, pour in the cold heavy cream and whip on medium-high speed until soft peaks form, about 3-4 minutes.
- 3
Carefully fold the whipped cream into the Nutella mixture in batches, starting with one-third to lighten the mixture, then repeat until fully incorporated.
- 4
In another bowl, mix together the graham cracker crumbs, melted butter, and a pinch of salt until the crumbs resemble wet sand.
- 5
To assemble, add about 2 tablespoons of the graham cracker mixture to the bottom of serving cups, pressing down lightly. Layer with about 3 tablespoons of the Nutella cheesecake filling and repeat until cups are filled, finishing with the cheesecake filling on top.
- 6
Chill the assembled cheesecake cups in the refrigerator for at least 2-3 hours until set.
- 7
Just before serving, sprinkle the tops with crushed hazelnuts and chocolate shavings.
Chef's Notes
For an elegant look, use clear glasses to showcase the beautiful layers. Consider adding a sprig of mint for a refreshing garnish alongside the hazelnuts and shavings.


Recipe Creator
Remy
I’m Chef Remy, your recipe companion, here to bring warmth, bold taste, and simplicity to your kitchen.
View My Recipes