
If you’re craving something sweet but want to keep it healthy, I’ve got the perfect treat for you: No-Bake Cookie Dough Protein Bites! These easy-to-make bites are quick, delicious, and packed with protein. You don’t need to bake, and you can customize them to fit your tastes. Let’s dive into the simple step-by-step guide to create your new favorite snack! Ready to get started?
Ingredients
Complete List of Ingredients
To make these tasty No-Bake Cookie Dough Protein Bites, gather these key ingredients:
– 1 cup rolled oats
– 1/2 cup natural peanut butter
– 1/4 cup honey or pure maple syrup
– 1/4 cup vanilla protein powder
– 1/2 cup mini dark chocolate chips
– 1/4 teaspoon salt
– 1 teaspoon pure vanilla extract
– Optional: 1/4 cup chopped nuts (like walnuts or almonds)
These simple ingredients come together quickly to create a yummy snack.
Ingredient Substitutions
You can easily swap some ingredients based on what you have. If you’re out of rolled oats, quick oats work well too. For nut butter, try almond butter if you need a change. If you prefer a vegan option, use maple syrup instead of honey. You can also switch the protein powder for any flavor you like, such as chocolate or even unflavored. If you want a nut-free version, skip the nuts and use seeds like sunflower seeds instead.
Nutritional Information
These protein bites not only taste great but also pack a nutritional punch. Each bite is a good source of protein, healthy fats, and fiber. Here’s a quick look at what one bite offers:
– Calories: About 100
– Protein: 4g
– Carbohydrates: 10g
– Fat: 5g
– Fiber: 2g
These numbers can vary based on your choices in ingredients, like the type of nut butter or protein powder. Enjoy these bites as a healthy snack or a pre-workout boost!
Step-by-Step Instructions
Mixing the Ingredients
Start by grabbing a large mixing bowl. In this bowl, add 1 cup of rolled oats. Next, scoop in 1/2 cup of natural peanut butter. You can choose creamy or crunchy based on what you like. Then, pour in 1/4 cup of honey or pure maple syrup for a vegan option. Add 1/4 cup of vanilla protein powder and 1/4 teaspoon of salt. Finally, include 1 teaspoon of pure vanilla extract.
Now, it’s time to mix! Use a spatula or your hands to blend the ingredients. Keep mixing until you form a dough that sticks together but is still easy to handle. This step is crucial as it makes sure every bite is tasty.
Forming the Bites
Once your mixture is ready, it’s time to shape the protein bites. Use a tablespoon to scoop out some dough. Roll this into a ball about 1 inch wide. You should be able to make about 12 bites from the mixture.
As you roll, place the balls on a parchment-lined baking sheet or plate. This step helps them not stick together. Make sure to leave some space between each bite so they don’t touch.
Chilling Instructions
After forming the bites, it’s time for them to chill. Place the baking sheet or plate in the refrigerator. Let the bites chill for at least 30 minutes. This helps them firm up and makes them more enjoyable to eat.
Once chilled, they are ready to enjoy! For best freshness, store them in an airtight container in the fridge. This recipe makes a great snack that’s both healthy and delicious!
Tips & Tricks
Best Practices for Mixing
Mixing correctly makes a big difference in your bites. Start with a large bowl. Add the rolled oats, peanut butter, honey, protein powder, salt, and vanilla extract. Use your hands or a spatula to mix. Keep mixing until it’s a sticky dough. If it feels too dry, add a bit more peanut butter or honey. If it’s too wet, add more oats.
Enhancing Texture and Flavor
Want more texture? Add chopped nuts like walnuts or almonds. These give a nice crunch. For extra flavor, try adding a pinch of cinnamon or a dash of sea salt on top. Mini dark chocolate chips are a must for sweetness. If you like, swap them for dried fruits like cranberries or raisins.
Serving Suggestions
These protein bites are great as snacks! Serve them after school or before a workout. You can also pack them in lunchboxes. For a fun twist, roll them in shredded coconut or crushed nuts. Friends will love these bites at parties too. Enjoy them fresh or chilled for a cool treat!
Variations
Vegan Option Adjustments
To make these protein bites vegan, simply swap honey for pure maple syrup. This sweetener keeps the bites sticky and sweet. You can also use plant-based protein powder instead of whey. Both changes keep the bites delicious and suitable for a vegan diet.
Flavor Additions
There are many ways to change the flavor of your protein bites. You can mix in spices like cinnamon or nutmeg for warmth. Adding a tablespoon of cocoa powder gives a rich chocolate flavor. For a fruity twist, try adding dried cranberries or raisins. These options add fun textures and tastes.
Alternative Sweeteners
If you want to lower sugar, consider using stevia or monk fruit. These are natural sweeteners that can keep the flavor sweet without adding calories. You can use them in place of honey or maple syrup. Just start with a small amount and taste as you mix. This way, you can find the perfect balance for your bites.
Storage Info
Storing the Protein Bites
You can store these protein bites in an airtight container. This helps keep them fresh and tasty. Place a layer of parchment paper between layers to avoid sticking. I like to use a glass container for easy viewing.
Shelf Life in the Refrigerator or Freezer
In the fridge, these protein bites last for about one week. If you freeze them, they can last for up to three months. Just make sure to wrap each bite well before freezing. Thaw them in the fridge for a few hours before enjoying.
Tips for Preventing Sticking
To prevent sticking, use parchment paper on your storage container. You can also lightly dust the bites with some extra protein powder. Another tip is to roll them in crushed nuts or oats to add a barrier. This keeps them from fusing together.
FAQs
Can I use different nut butters?
Yes, you can use different nut butters. Almond butter, cashew butter, or sunflower seed butter work great. Each nut butter adds its unique flavor and texture. If you choose a nut butter with added sugar, cut back on other sweeteners.
How long do these protein bites last?
These protein bites last about one week in the refrigerator. Store them in an airtight container to keep them fresh. You can also check for any signs of spoilage like an off smell or change in texture.
Can I freeze the no-bake cookie dough bites?
Yes, you can freeze these protein bites. Place them in a single layer on a baking sheet to freeze them first. Once they are firm, transfer them to an airtight container or freezer bag. They will last for about three months in the freezer. Just thaw them in the fridge before enjoying!
This blog post covered key points on making protein bites. You learned about ingredients, how to mix them, and tips for the best results. We explored tasty variations and storage options to keep them fresh.
These bites are easy, healthy, and fun to make. With these simple steps, you can enjoy a nutritious snack anytime. Try different flavors and share your creations with friends.
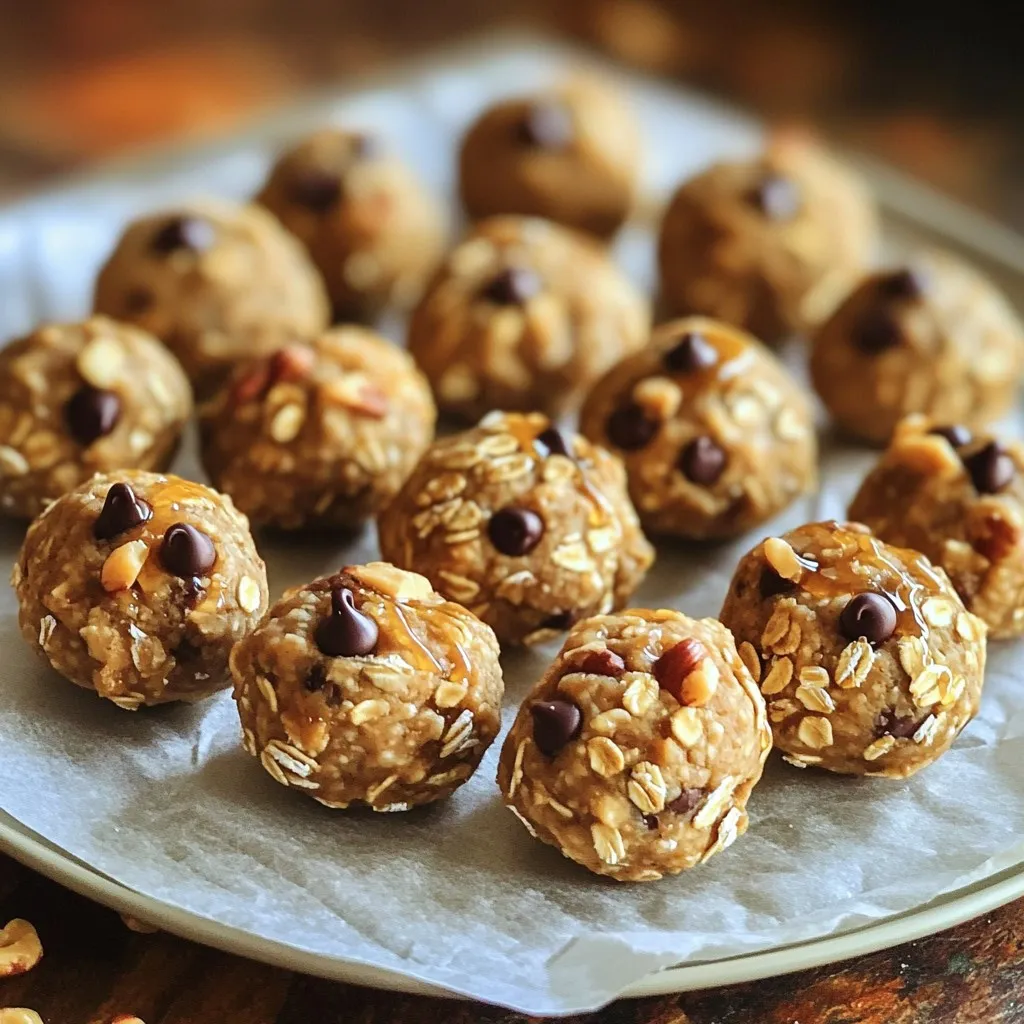
No-Bake Cookie Dough Protein Bites
Delicious and nutritious protein bites made without baking, perfect for a quick snack.
Ingredients
Instructions
- 1
In a large mixing bowl, combine the rolled oats, natural peanut butter, honey (or maple syrup), vanilla protein powder, salt, and pure vanilla extract.
- 2
Using a spatula or your hands, mix the ingredients thoroughly until a cohesive dough forms.
- 3
Gently fold in the mini dark chocolate chips and chopped nuts if desired.
- 4
Scoop out portions of the mixture and roll them into bite-sized balls, approximately 1 inch in diameter.
- 5
Arrange the rolled cookie dough bites on a parchment-lined baking sheet or plate.
- 6
Chill in the refrigerator for at least 30 minutes to firm up.
- 7
Enjoy your delightful protein bites!
Chef's Notes
Store in an airtight container in the refrigerator for freshness.


Recipe Creator
Remy
I’m Chef Remy, your recipe companion, here to bring warmth, bold taste, and simplicity to your kitchen.
View My Recipes