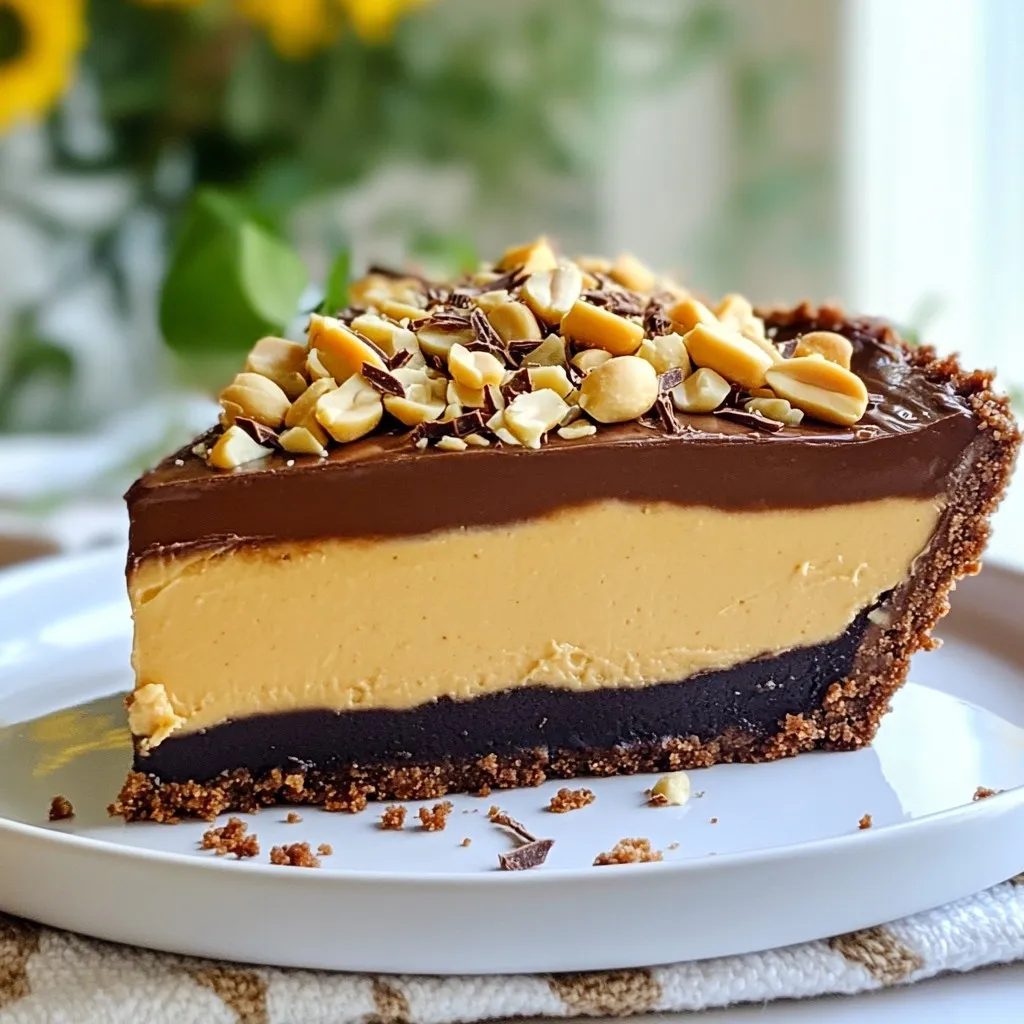
If you’re craving a sweet delight that doesn’t require baking, you’re in the right place! This No-Bake Chocolate Peanut Butter Pie is an easy treat you’ll love making and sharing. With layers of creamy peanut butter filling and rich chocolate ganache, it’s perfect for any occasion. Plus, you won’t need an oven. Get ready to impress your friends and family with this simple, delicious dessert they won’t forget!
Why I Love This Recipe
- Decadent Flavor Combination: This pie perfectly balances rich chocolate and creamy peanut butter, creating a dessert that is both indulgent and satisfying.
- No-Bake Convenience: With no baking required, this recipe is simple and quick, making it perfect for warm days or when you’re short on time.
- Easy to Customize: You can easily modify the toppings or even the filling to suit your preferences, making it a versatile dessert option.
- Impressive Presentation: The beautiful layers and garnishes make this pie a showstopper, perfect for any gathering or celebration.
Ingredients
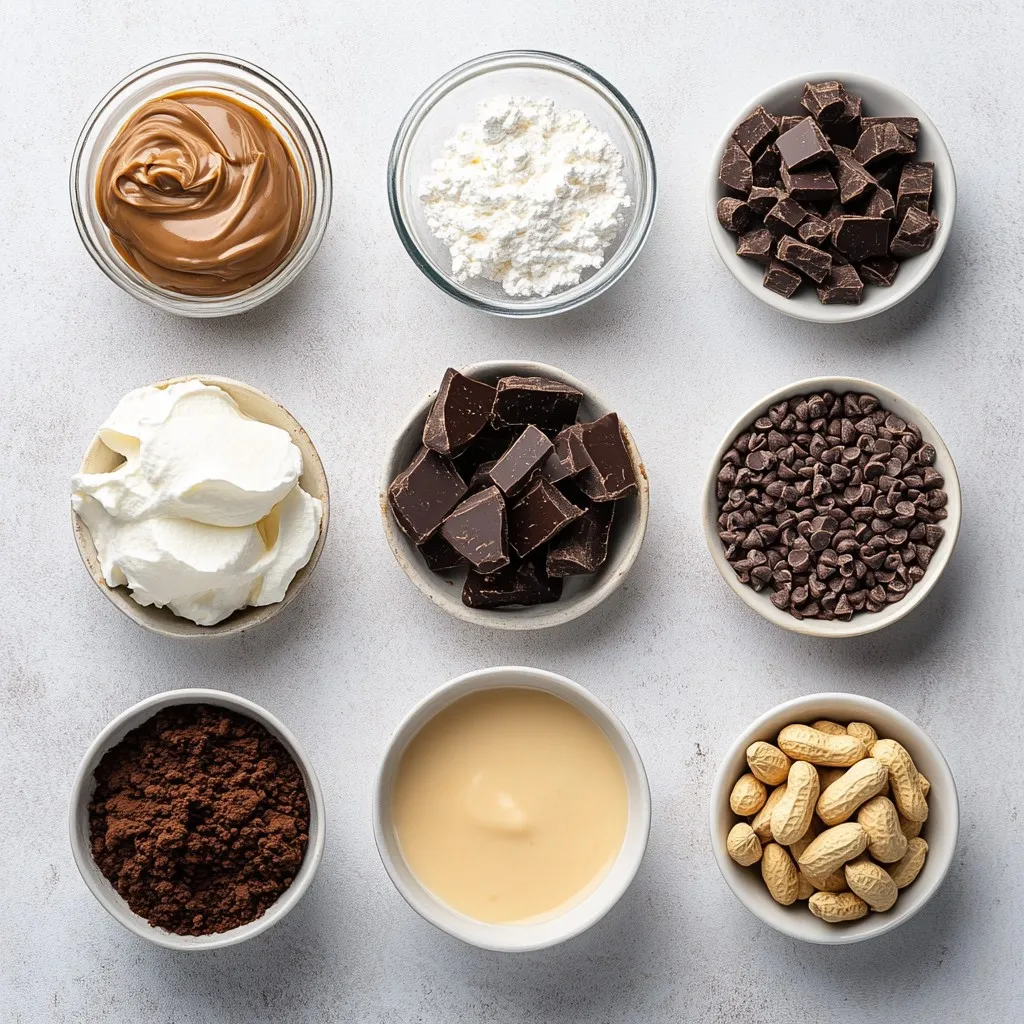
Here’s what you need for the No-Bake Chocolate Peanut Butter Pie. Each ingredient plays a key role in creating that perfect balance of flavor and texture.
– 1 ½ cups chocolate cookie crumbs (such as crushed Oreos)
– ½ cup unsalted butter, melted
– 1 cup creamy peanut butter
– 1 cup powdered sugar
– 8 oz cream cheese, softened to room temperature
– 1 cup whipped topping (store-bought or homemade)
– 1 cup semi-sweet chocolate chips
– ½ cup heavy cream
– Chopped peanuts and chocolate shavings for garnish
These ingredients come together to create a delightful treat. The chocolate cookie crumbs form the crust, giving a rich base. The creamy peanut butter and cream cheese mix create a smooth filling. Topping it all off, the chocolate ganache adds a shiny finish. Don’t forget the garnishes! Chopped peanuts and chocolate shavings make the pie look inviting. Each bite is a mix of flavors that everyone will love.
Step-by-Step Instructions
Preparing the Crust
In a medium bowl, combine 1 ½ cups of chocolate cookie crumbs with ½ cup of melted unsalted butter. Mix until every crumb is coated. Press this mixture firmly into a 9-inch pie pan. Make sure the crust is even on the bottom and sides. Refrigerate for about 15 minutes. This helps the crust firm up.
Making the Peanut Butter Filling
Take a large bowl and add 8 ounces of softened cream cheese and 1 cup of creamy peanut butter. Use an electric mixer to beat them together until smooth. Gradually add 1 cup of powdered sugar. Mix well until fully combined. The filling should be light and fluffy.
Folding in the Whipped Topping
Now, take 1 cup of whipped topping. Carefully fold it into the peanut butter mixture with a rubber spatula. This step is key. You want to keep the airiness to make the filling light and creamy.
Layering the Filling
Pour the peanut butter filling into the chilled crust. Use a spatula to spread it evenly. Smooth the top to make it nice and flat. Put the pie back in the fridge while you make the ganache.
Preparing the Chocolate Ganache
In a small saucepan, combine ½ cup of heavy cream and 1 cup of semi-sweet chocolate chips. Place it over low heat. Stir continuously until the chips melt and the ganache is smooth. Remove it from the heat and let it cool slightly. This allows it to thicken without hardening.
Assembling and Chilling the Pie
Carefully pour the warm ganache over the peanut butter filling. Use a spatula to spread it into an even layer. Return the pie to the refrigerator. Chill for at least 4 hours. This helps the ganache set and become firm.
Tips & Tricks
Ensuring a Perfect Crust
To make a great crust, use chocolate cookie crumbs. I love crushed Oreos for their flavor. Mix the crumbs with melted butter until it looks like wet sand. When you press the crumbs, use a flat bottom of a cup for even pressure. Make sure to press the mix into the bottom and up the sides of the pie pan. Refrigerate the crust for 15 minutes to help it set. If you want a change, try graham crackers or vanilla wafers instead.
Achieving the Creamiest Filling
For the filling, start with room temperature cream cheese. This helps it mix smooth with the peanut butter. Use an electric mixer on medium speed to blend. Add the powdered sugar slowly, mixing after each addition. This keeps the filling fluffy and light. When you fold in the whipped topping, be gentle. A rubber spatula works best here. This keeps air in the mix and makes it creamy.
Ganache Consistency
When making the ganache, melt the chocolate chips with the heavy cream over low heat. Stir continuously to prevent burning. Once melted, remove it from heat but let it cool slightly. This cooling helps it thicken without hardening. To check the thickness, dip a spoon in. If it coats the back, you’re ready to pour. For a smooth finish, pour slowly over the filling. Use a spatula to spread it evenly.
Pro Tips
- Chill Your Ingredients: Ensure that the cream cheese and whipped topping are at room temperature before mixing to achieve a smooth and creamy filling.
- Use Quality Chocolate: Opt for high-quality semi-sweet chocolate chips for the ganache to enhance the overall flavor of the pie.
- Let It Set: For the best texture, allow the pie to chill for a full 4 hours or overnight. This will ensure that the ganache is perfectly set and the layers meld beautifully.
- Garnish Generously: Don’t skimp on the chopped peanuts and chocolate shavings! They add a delightful crunch and visual appeal to your pie.
Variations
Gluten-Free Option
You can make this pie gluten-free easily. Just use gluten-free cookies for the crust. Brands like gluten-free Oreos work well. Crush them just like regular cookies. Mix with melted butter and press it into the pan. The result will be just as delicious!
Additional Flavor Enhancements
To make this pie extra special, add vanilla extract to the peanut butter mix. Just a teaspoon will do! You can also try using different types of chocolate. Dark chocolate can give a richer taste. White chocolate can add sweetness and creaminess. Experiment with what you like best!
Healthier Alternatives
If you want a healthier pie, consider using natural peanut butter. It has simple ingredients and less sugar. You can also reduce the sugar in the filling. Use less powdered sugar or swap some for honey. This way, you can enjoy your treat and feel good about it!
Storage Info
Best Practices for Storing Leftovers
To keep your No-Bake Chocolate Peanut Butter Pie fresh, store it in the fridge. Cover it tightly with plastic wrap or aluminum foil. This keeps the pie moist and prevents it from absorbing other flavors. You can enjoy the pie for several days this way.
If you want to save some for later, freezing is a great option. Slice the pie into individual pieces. Wrap each slice in plastic wrap, then place them in a freezer-safe bag or container. This way, you can grab a piece whenever you crave a sweet treat!
Shelf Life
In the fridge, your pie can last up to five days. After that, it may lose its taste and texture. If you see any signs of spoilage, like a sour smell or discoloration, it’s best to throw it away.
When frozen, the pie can last up to two months. To enjoy it, thaw it in the fridge overnight. This keeps the texture nice and creamy. Always check for any off smells or changes in appearance before serving.
FAQs
Can I make this pie in advance?
Yes, you can make this pie a day ahead. Store it in the fridge. Cover it tightly with plastic wrap. This way, it stays fresh and tasty. It will taste even better the next day.
What can I substitute for heavy cream?
If you need a substitute for heavy cream, try using half-and-half. You can also use coconut cream for a dairy-free option. Both alternatives work well in the ganache.
Is this pie suitable for freezing?
Yes, you can freeze this pie! Wrap it tightly in plastic wrap and foil. It can last up to three months in the freezer. To thaw, move it to the fridge overnight.
How to serve the No-Bake Chocolate Peanut Butter Pie?
To serve, slice the pie into pieces. Use a sharp knife for clean cuts. Add a dollop of whipped topping on each slice. Finish with chopped peanuts and chocolate shavings for a nice touch. Enjoy each creamy bite!
In this blog post, we explored how to make a delicious no-bake chocolate peanut butter pie. We covered the ingredients, from chocolate cookie crumbs to whipped topping. Step-by-step, I shared how to prepare the crust and make the creamy filling. We discussed tips for a perfect pie and even variations for different diets. Finally, we looked at storage methods to keep your pie fresh. Enjoy making this treat, and feel free to get creative with your flavors! Your no-bake pie will surely impres
Decadent No-Bake Chocolate Peanut Butter Pie
A rich and creamy no-bake pie made with chocolate cookie crust, peanut butter filling, and topped with chocolate ganache.
Ingredients
Instructions
- 1
Prepare the Crust: In a medium mixing bowl, combine the chocolate cookie crumbs with the melted butter. Mix thoroughly until the crumbs are evenly coated. Firmly press this mixture into the bottom and up the sides of a 9-inch pie pan to create a uniform crust. Refrigerate the crust for about 15 minutes to allow it to firm up while you prepare the filling.
- 2
Make the Peanut Butter Filling: In a large mixing bowl, use an electric mixer to beat the softened cream cheese and creamy peanut butter together until the mixture is smooth and free of lumps. Gradually add the powdered sugar, mixing well after each addition until it is fully incorporated and the filling is light and fluffy.
- 3
Fold in Whipped Topping: Carefully fold the whipped topping into the peanut butter mixture using a rubber spatula. Mix gently, ensuring that the whipped topping retains its airiness, which will keep the filling light and creamy.
- 4
Layer the Filling: Pour the peanut butter filling into the chilled chocolate cookie crust. Use a spatula to spread it evenly across the crust, smoothing the top. Return the pie to the refrigerator while you prepare the chocolate ganache to keep the filling set.
- 5
Prepare the Chocolate Ganache: In a small saucepan over low heat, combine the heavy cream and semi-sweet chocolate chips. Stir continuously until the chocolate chips are completely melted and the ganache is smooth and shiny. Remove from heat and allow it to cool slightly so it thickens just a bit without hardening.
- 6
Assemble the Pie: Pour the warm chocolate ganache over the peanut butter filling, using a spatula to gently spread it into an even layer. Return the pie to the refrigerator and chill for at least 4 hours, or until the ganache is set and firm.
- 7
Serve: Once the pie has set, carefully remove it from the refrigerator. Garnish generously with chopped peanuts and chocolate shavings on top for a delightful finish. Slice into individual pieces and serve chilled, enjoying every decadent bite of your No-Bake Chocolate Peanut Butter Pie!
Chef's Notes
Chill the pie for at least 4 hours for best results.


Recipe Creator
Remy
I’m Chef Remy, your recipe companion, here to bring warmth, bold taste, and simplicity to your kitchen.
View My Recipes