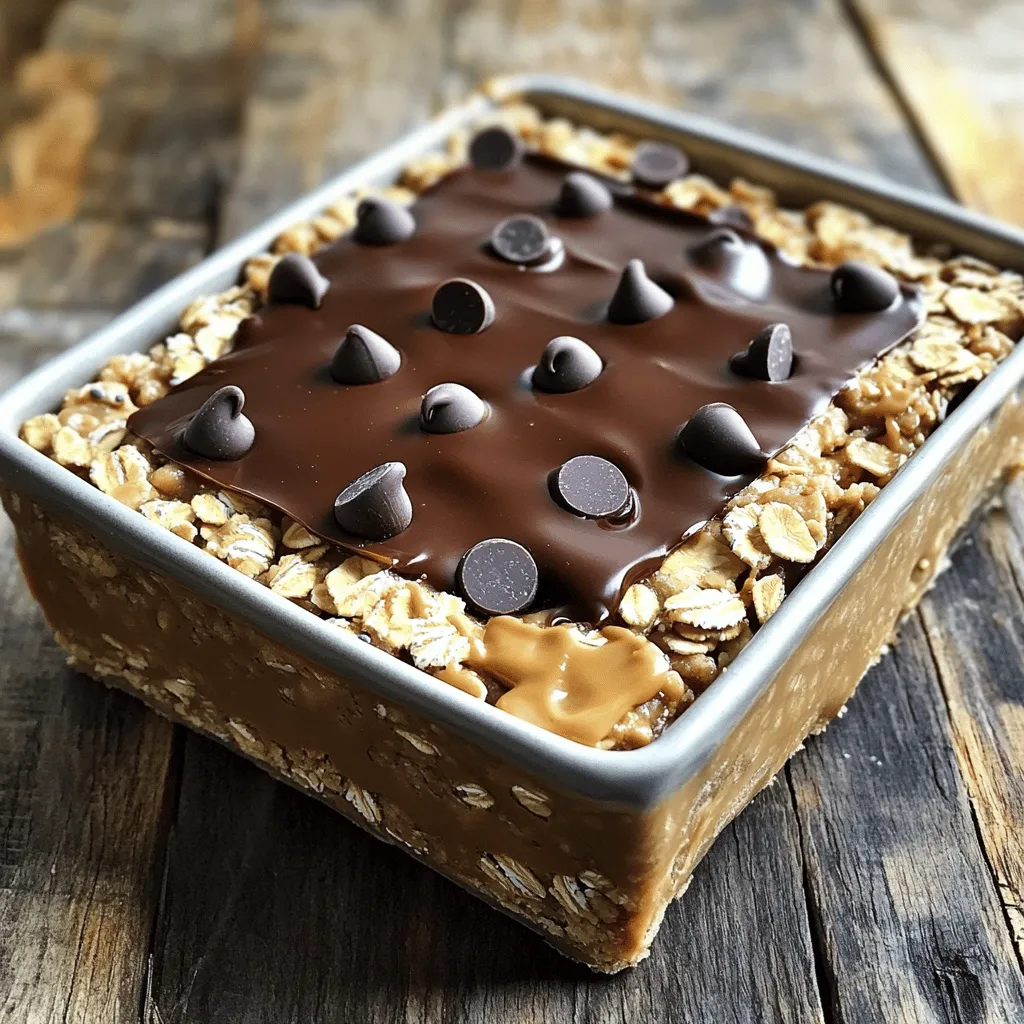
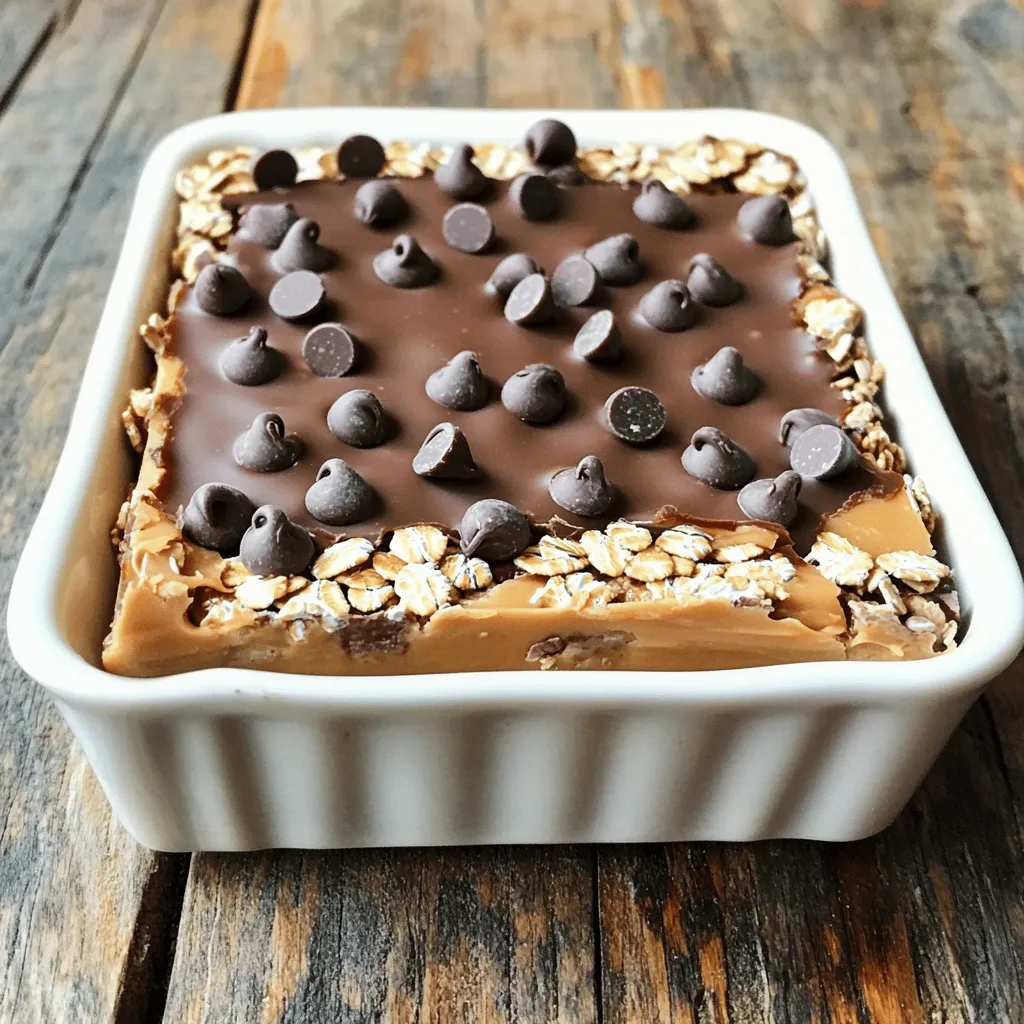
If you crave a sweet treat without the oven, you’re in the right place! My no-bake chocolate peanut butter oat bars are easy to make and incredibly delicious. With just a few simple ingredients, you can whip up a tasty snack or dessert in no time. Ready to learn how to create these delightful bars? Let’s dive into the simple steps and tips that will make your kitchen experience fun and satisfying!
Ingredients
Main Ingredients for No-Bake Bars
To make these tasty bars, you need:
– 2 cups rolled oats
– 1 cup creamy peanut butter
– 1/2 cup honey or maple syrup
– 1/2 cup dark chocolate chips
– 1/2 teaspoon vanilla extract
– A pinch of salt
These ingredients create a smooth, chewy, and rich bar. The oats provide a good base, while the peanut butter adds creaminess. Honey or maple syrup brings sweetness and binds everything. Dark chocolate chips give a nice touch of flavor.
Optional Ingredients for Added Nutrition
You can boost your bars with:
– 1/4 cup chia seeds
Chia seeds are optional, but they add fiber and healthy fats. They help keep you full and add a bit of crunch. You can also try adding nuts or seeds for extra texture.
Substitutions for Special Diets
If you have dietary needs, here are some swaps:
– Use almond butter or sunflower seed butter instead of peanut butter for nut-free options.
– Replace honey with agave syrup to make it vegan.
– Use gluten-free oats if you need a gluten-free recipe.
These substitutions keep the bars delicious while fitting your diet. You can enjoy these bars no matter your needs!
Step-by-Step Instructions
Preparation of the Baking Pan
Start by lining an 8×8 inch square baking pan with parchment paper. Make sure to leave some paper hanging over the edges. This helps to lift the bars out later. It is a simple step, but it makes a big difference.
Mixing Dry Ingredients
In a large mixing bowl, add 2 cups of rolled oats. If you want, you can include 1/4 cup of chia seeds for extra nutrition. Add a pinch of salt to enhance the flavor. Stir everything together until it is evenly mixed.
Melting and Combining Wet Ingredients
In a small saucepan, add 1 cup of creamy peanut butter and 1/2 cup of honey. You can also use maple syrup if you prefer. Heat this mixture over low heat. Stir it often until it melts and becomes smooth. Once it’s ready, take it off the heat and add 1/2 teaspoon of vanilla extract. Mix it well.
Combining All Ingredients
Pour the warm peanut butter mixture over the dry oat mixture. Now, add in 1/2 cup of dark chocolate chips. Mix everything together until the oats are fully coated. Make sure all ingredients blend well.
Pressing and Topping the Mixture
Transfer the mixture into the baking pan. Use a spatula or your hands to press it down firmly into an even layer. This helps the bars hold their shape. While the mixture is still warm, sprinkle more chocolate chips on top. Gently press them down so they stick.
Chilling and Serving the Bars
Place the pan in the fridge. Let it chill for at least 2 hours. This helps the bars firm up. Once they are set, use the parchment paper to lift the bars out of the pan. Cut them into squares or rectangles. Enjoy your tasty no-bake bars!
Tips & Tricks
Ensuring Perfect Texture
To get the best texture, mix the oats, peanut butter, and honey carefully. Use creamy peanut butter for a smooth mix. If you want a chewy bite, add chia seeds. Let the mixture cool a little before pressing it into the pan. This helps keep it from being too sticky.
How to Cut Bars Neatly
For neat cuts, chill the bars well. After two hours, lift the bars out with the parchment paper. Use a sharp knife to cut them. Wipe the knife with a damp cloth after each cut. This keeps the edges clean and pretty.
Best Storage Practices
Store the bars in an airtight container in the fridge. They stay fresh for about a week. For longer storage, wrap them in plastic, then foil, and freeze. To enjoy later, just thaw them in the fridge overnight.
Variations
Add-In Ideas for Flavor Enhancement
You can boost the flavor of these bars with fun add-ins. Consider adding:
– 1/2 cup of dried fruit like cranberries or raisins.
– 1/2 cup of chopped nuts, such as almonds or walnuts.
– 1/4 cup of shredded coconut for extra texture.
These add-ins can make your bars even more exciting. Mix and match to find your favorite combo!
Healthier Alternatives for Sweeteners
If you want a healthier sweetener, try these options:
– Use agave syrup instead of honey.
– Choose date syrup for a low-glycemic choice.
– Replace sweeteners with mashed bananas for natural sweetness.
These alternatives can change the flavor and health profile of your bars.
Chocolate and Nut Substitutions
Swapping ingredients can create new flavors. Here are some ideas:
– Use almond butter instead of peanut butter for a nutty twist.
– Try milk chocolate chips if you prefer a sweeter taste.
– Dark chocolate can be replaced with white chocolate for a creamy version.
Experiment with these substitutions to find what you love best!
Storage Info
How to Store Leftover Bars
To store your leftover No-Bake Chocolate Peanut Butter Oat Bars, place them in an airtight container. Make sure the bars are completely cool before you cover them. This helps keep them fresh longer. You can also layer parchment paper between the bars. This prevents them from sticking together.
Freezing Instructions
If you want to save some for later, freezing is a great option! Wrap each bar tightly in plastic wrap. Then, place them in a freezer-safe bag or container. They will keep well for up to three months. When you’re ready to eat, just thaw them in the fridge overnight.
Shelf Life and Signs of Spoilage
These bars can last about a week in the fridge. Keep an eye out for any changes. If you see mold or an off smell, it’s time to toss them. You may also notice the chocolate may bloom, which looks like a white coating. It’s safe to eat but not as pretty.
FAQs
Can I use different nut butters?
Yes, you can use other nut butters! Almond butter or cashew butter work great. Each nut butter adds its unique flavor. Just make sure it’s creamy for the right texture.
How do I know when the bars are set?
The bars are set when they feel firm to the touch. After chilling for at least two hours, they should hold their shape. If they still feel soft, give them more time in the fridge.
Are these bars gluten-free?
Yes, these bars are gluten-free if you use certified gluten-free oats. Check the label to ensure no gluten cross-contamination. This makes them safe for those with gluten sensitivities.
Can I make these vegan?
Absolutely! To make the bars vegan, use maple syrup instead of honey. Both peanut butter and chocolate chips can be vegan, so read labels for dairy-free options.
What can I use instead of honey?
You can use maple syrup or agave nectar as a substitute for honey. Both options add sweetness while keeping the bars sticky. Choose what fits your taste and needs best.
No-bake bars are easy to make and fun to customize. You can use various ingredients to fit your diet or tastes. I shared steps for preparation, mixing, and storage. With tips on texture and cutting, your bars will impress. Feel free to try different flavors and sweeteners to find what you love. These bars are great for snacks, meals, or treats. Experiment, enjoy, and make your own delicious versions!
No-Bake Chocolate Peanut Butter Oat Bars
Delicious and easy-to-make no-bake bars packed with oats, peanut butter, and chocolate.
Ingredients
Instructions
- 1
Prepare the Pan: Begin by lining an 8x8 inch square baking pan with parchment paper, making sure to leave some excess paper hanging over the edges.
- 2
Mix Dry Ingredients: In a large mixing bowl, combine the rolled oats, optional chia seeds, and a pinch of salt. Stir them together until evenly mixed.
- 3
Combine Wet Ingredients: In a small saucepan, over low heat, gently melt the peanut butter and honey (or maple syrup) together, stirring frequently until the mixture is smooth and well combined. Once melted, remove the saucepan from the heat and immediately stir in the vanilla extract.
- 4
Combine Mixtures: Pour the warm peanut butter mixture over the dry oat mixture. Add in the dark chocolate chips and mix well until all the oats are evenly coated and all ingredients are fully combined.
- 5
Press into Pan: Transfer the mixture into the prepared baking pan, using a spatula or your hands to firmly press it down into an even layer, ensuring it’s compacted well.
- 6
Top with Chocolate: While the mixture is still warm, sprinkle the additional chocolate chips evenly over the top. Gently press them down into the surface with your hands or a spatula so they stick.
- 7
Chill: Place the baking pan in the refrigerator and allow it to chill for at least 2 hours, or until the bars are firm to the touch.
- 8
Cut and Serve: Once set, use the overhanging parchment paper to lift the bars out of the pan. Cut into squares or rectangles, depending on your preference.
Chef's Notes
Consider drizzling with additional melted chocolate or sprinkling with extra chia seeds for presentation.


Recipe Creator
Remy
I’m Chef Remy, your recipe companion, here to bring warmth, bold taste, and simplicity to your kitchen.
View My Recipes