Ready for a fun treat that’s both tasty and easy? Banana sushi is a tasty twist on a classic favorite! You can make this sweet snack with just a few simple ingredients and it’s perfect for kids and adults alike. In this guide, I’ll walk you through how to make banana sushi step by step, so you can create a delightful snack that’s sure to impress. Let’s get rolling!
Ingredients
To make banana sushi, you’ll need a few simple ingredients. Here’s the list:
– Ripe bananas
– Sushi rice (cooked and cooled)
– Nut butter of choice
– Sweetener (honey or maple syrup)
– Shredded coconut
– Granola or crushed nuts
– Dark chocolate or chocolate drizzle
– Sliced fruits for garnish
These ingredients come together to create a fun and tasty treat. Each part adds flavor and texture. The ripe bananas provide a sweet base. The sushi rice adds a unique twist. Nut butter gives a creamy layer, while sweeteners boost the taste. Shredded coconut and granola add crunch. Finally, dark chocolate brings a rich finish.
Feel free to mix and match with different ingredients. This way, you can customize your banana sushi to your liking. If you have a favorite nut butter or fruit, use it! Don’t forget to check the Full Recipe for detailed instructions.
Step-by-Step Instructions
Cooking the Sushi Rice
First, cook the sushi rice. Follow the package instructions for the best results. Once the rice is ready, place it in a bowl. It needs to cool to room temperature. This step is key for the right texture. If it is too warm, it will not stick well.
Preparing the Bananas
Next, take your ripe bananas. Gently peel each one. Cut each banana in half to create two equal pieces. This gives you four banana halves in total. Make sure to handle them carefully so they don’t break.
Assembling the Banana Sushi
Now, it’s time to assemble your banana sushi. Start by spreading almond butter on the flat side of each banana half. If you want extra sweetness, drizzle honey or maple syrup first. Then, take some cooled sushi rice and press it onto the nut butter. Make sure the rice sticks well. This will help keep everything together as you roll.
Chilling and Slicing the Rolls
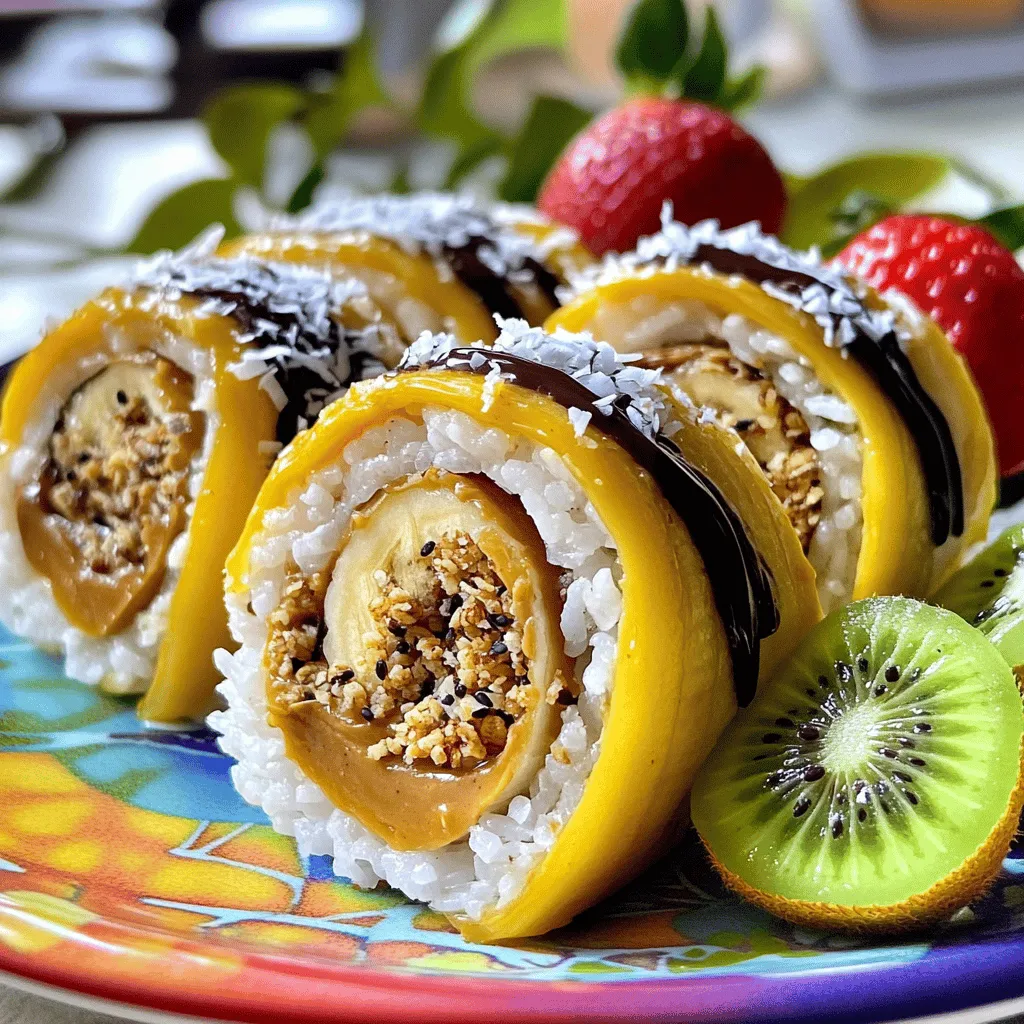
Lay each banana half, rice side down, on a piece of plastic wrap. Roll it up tightly to form a sushi shape. Squeeze gently to secure the roll. Place it in the fridge for about 20 minutes to chill. This helps the sushi hold its shape. After chilling, unwrap the rolls and slice them into bite-sized pieces. Aim for about one inch thick. For a fun touch, sprinkle shredded coconut and granola on top. You can also drizzle dark chocolate for an extra treat. Enjoy your banana sushi! For a detailed list of ingredients, check the Full Recipe.
Tips & Tricks
Perfecting the Sushi Rice Texture
To make banana sushi, the rice matters. Cook sushi rice until it’s soft but not mushy. Rinse it well before cooking to remove excess starch. This step helps keep the rice grains separate. Once cooked, let the rice cool to room temperature. This cooling gives the rice a nice, sticky texture, perfect for your banana sushi. If the rice feels too dry, mist it with a little water. This simple trick helps keep it moist.
Nut Butter Alternatives
While almond butter works great, you can use other nut butters too. Peanut butter adds a rich taste that many love. Sunflower seed butter is perfect for nut-free diets. You can also try cashew or hazelnut butter. Want a fun twist? Use cookie butter for a sweet surprise! These alternatives let you mix flavors and make your banana sushi unique.
Serving Suggestions for Presentation
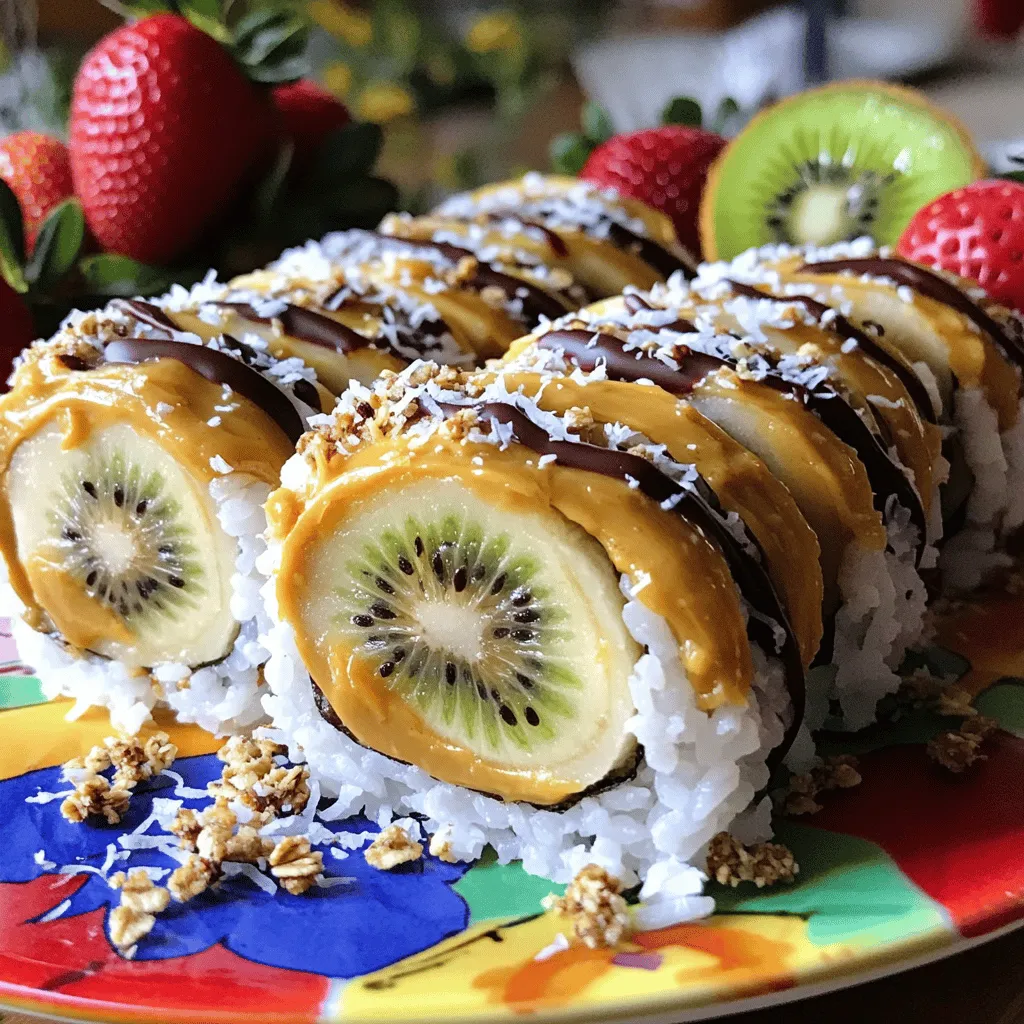
Presentation makes food more exciting. Choose a colorful plate for your banana sushi. Add sliced fruits like kiwi and strawberries around the sushi for a lively look. A drizzle of chocolate sauce on top adds flair and sweetness. You can even sprinkle some extra coconut or nuts over the sushi for more crunch. Fun plates and bright colors make your dish pop, making it a hit at any gathering. For the full recipe, check out the details above!
Variations
Adding Different Fruits
You can make banana sushi even more fun by adding other fruits. Try using apples, pears, or mangoes. Slice these fruits thinly and add them to your sushi roll. You can also mix berries like blueberries or raspberries for a burst of flavor. These fruits add freshness and color to your banana sushi. Be creative and use what you love!
Vegan Options
Making banana sushi vegan is easy! Just swap out the nut butter for a plant-based spread. You can use sunflower seed butter or tahini. Sweeteners like maple syrup are already vegan, so feel free to add them. You can also skip the chocolate drizzle if you want a simpler treat. These options still taste amazing and keep the dish light.
Flavor Combinations with Spices
Spices can make your banana sushi pop with flavor! Try adding a dash of cinnamon or nutmeg to the nut butter. This adds warmth and a cozy feel. You can also sprinkle some chia seeds or flaxseeds for added nutrition. Experiment with flavors like cardamom or even a pinch of cayenne for a little kick. These small touches can make your banana sushi unique and exciting!
For the full recipe, check out the Banana Sushi Delight section.
Storage Info
Best Ways to Store Leftover Banana Sushi
To keep your banana sushi fresh, wrap each roll in plastic wrap. This helps prevent drying out. You can also place them in an airtight container for better storage. Make sure to lay them flat. This keeps them from losing shape.
How Long Can You Keep It?
You can keep banana sushi in the fridge for up to two days. After that, it may lose its texture and flavor. Always check for any signs of spoilage before eating.
Reheating Tips
Banana sushi is best enjoyed cold. If you want to warm it up, use a microwave. Heat for just a few seconds, so it doesn’t get too soft. However, I recommend enjoying it fresh for the best taste.
FAQs
What is banana sushi?
Banana sushi is a fun treat made with bananas and sushi rice. You spread nut butter on banana halves and add sushi rice on top. Then, you roll it up and slice it into pieces. It looks like sushi but tastes sweet and fruity. Kids love it!
Can I use other types of bananas?
Yes, you can use different types of bananas. While ripe bananas work best for sweetness and texture, plantains are a good option too. Just remember to cook them to make them soft. This will help you roll them easily.
Is this recipe suitable for kids?
Absolutely! This recipe is perfect for kids. They can help with spreading nut butter and rolling the sushi. It’s a fun way to get them involved in the kitchen. Plus, it’s a healthy snack that they will enjoy.
Can I make banana sushi ahead of time?
Yes, you can make banana sushi ahead of time. After you slice it, store it in an airtight container. Keep it in the fridge. It tastes best when eaten within a day. This way, you can have a quick snack ready to go!
What are the best dipping sauces for banana sushi?
Some great dipping sauces for banana sushi include honey or chocolate sauce. You can even try peanut butter or yogurt. These sauces add extra flavor and fun. Experiment to find your favorite! For the full recipe, check out the previous sections.
Banana sushi is a fun and tasty treat you can make at home. We covered ingredients like ripe bananas, sushi rice, and nut butter. Then, I showed you how to cook, assemble, and chill your sushi rolls. You learned helpful tips for getting the texture just right and discovered fun variations with fruits and flavors. Lastly, we talked about how to store leftovers safely. Enjoy making this easy recipe anytime, and feel free to be creative with your fillings and toppings. Your new kitchen adventure awaits!
Banana Sushi
A fun and unique snack or dessert featuring bananas, sushi rice, and nut butter, garnished with coconut and fruits.
Ingredients
Instructions
- 1
Cook the sushi rice according to the package instructions and allow it to cool to room temperature.
- 2
Gently peel the bananas and cut each one in half, resulting in four pieces total.
- 3
Spread a thin layer of almond butter on the flat side of each banana half. Optionally drizzle honey or maple syrup over the nut butter before spreading.
- 4
Take a small portion of the cooled sushi rice and press it onto the almond butter layer on each banana half.
- 5
Lay each banana half rice side down onto a piece of plastic wrap and roll it up tightly to form a sushi roll shape. Refrigerate for about 20 minutes to set.
- 6
Once chilled, unwrap the sushi rolls and slice them into bite-sized pieces, approximately 1-inch thick.
- 7
Sprinkle shredded coconut and granola or crushed nuts over the rolls. Optionally drizzle melted chocolate or sprinkle chopped dark chocolate on top.
- 8
Plate the banana sushi and garnish with slices of fresh fruits like kiwi and strawberries.
Chef's Notes
Feel free to customize with your favorite nut butter and toppings.


Recipe Creator
Remy
I’m Chef Remy, your recipe companion, here to bring warmth, bold taste, and simplicity to your kitchen.
View My Recipes