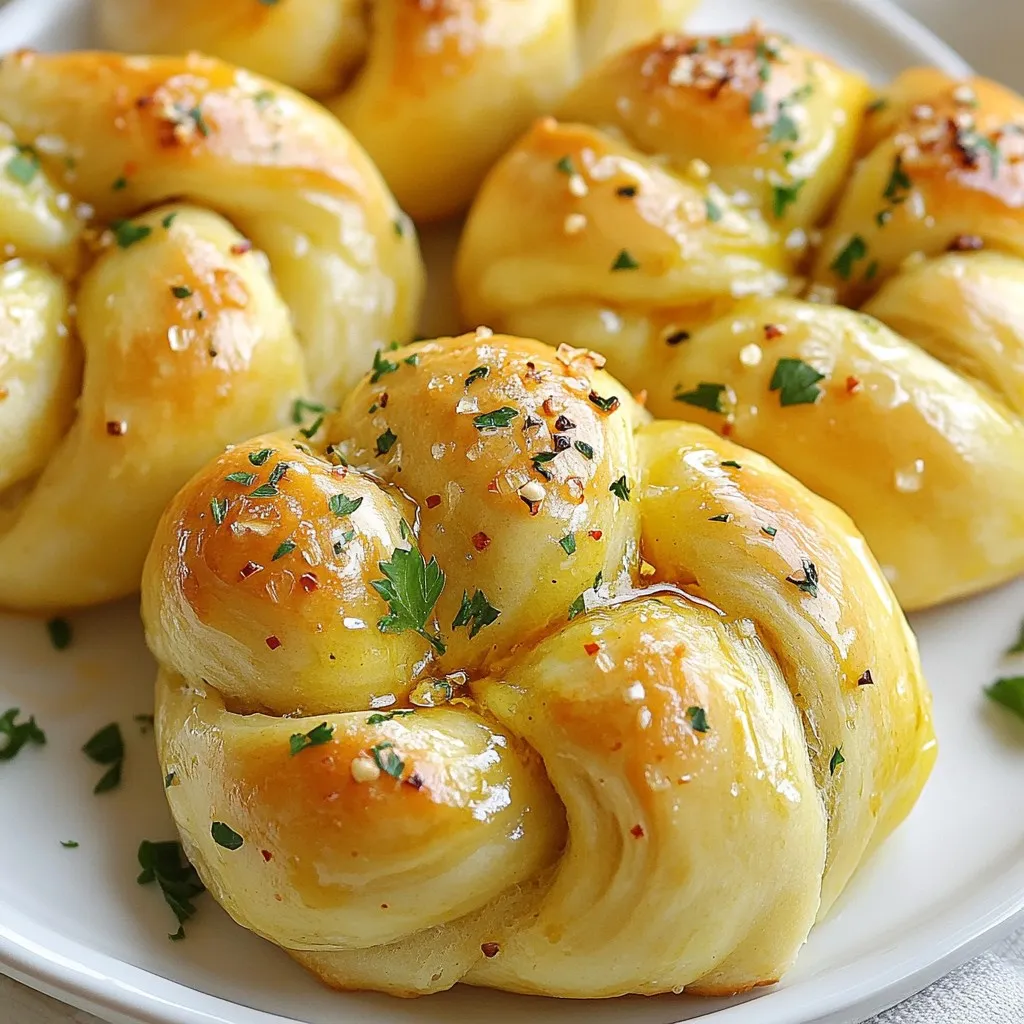
Are you ready to elevate your snack game? Homemade garlic knots are fluffy, flavorful, and simpler to make than you think! With just a few basic ingredients and some easy steps, you’ll have a mouthwatering treat perfect for any occasion. Join me as I guide you through this delicious recipe, packed with aroma and taste that will make your kitchen feel like a pizzeria. Let’s dive in and get those garlic knots rolling!
Why I Love This Recipe
- Easy to Make: This recipe requires simple ingredients and straightforward steps, making it perfect for both novice and experienced bakers.
- Flavor Packed: The combination of garlic, olive oil, and parsley creates a delightful aroma and rich flavor that will impress everyone.
- Customizable: You can easily adjust the recipe by adding your favorite herbs, spices, or cheeses to suit your taste preferences.
- Perfect for Sharing: These bliss knots are great for gatherings, making them an excellent appetizer or side dish for any meal.
Ingredients
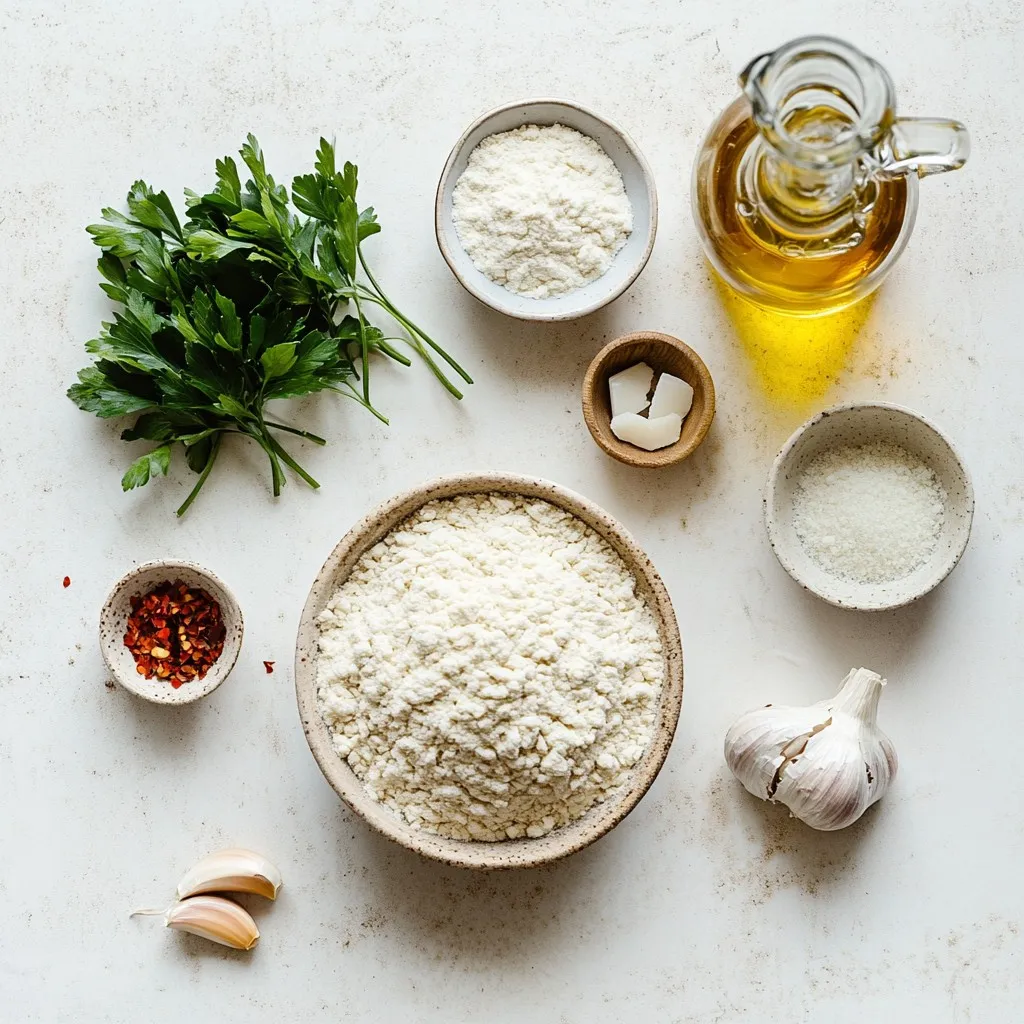
To make homemade garlic knots, gather the following ingredients:
– 2 cups all-purpose flour
– 1 teaspoon instant yeast
– 3/4 teaspoon salt
– 1 teaspoon sugar
– 3/4 cup warm water (approximately 110°F)
– 3 tablespoons olive oil, divided
– 4 cloves garlic, minced
– 1 tablespoon fresh parsley, finely chopped
– 1/4 teaspoon red pepper flakes (optional)
– 1 tablespoon grated Parmesan cheese (optional)
– Extra flour for dusting
These ingredients are simple but come together to create a fluffy and flavorful delight. I love using fresh garlic and parsley for that vibrant taste. The olive oil adds richness, while the optional red pepper flakes give a nice kick. If you enjoy cheese, sprinkle some Parmesan on top for added flavor. The warm water helps activate the yeast, making the knots rise and become soft. Each ingredient plays a role in creating the perfect garlic knot.
Step-by-Step Instructions
Preparing the Yeast
First, gather your ingredients. You need instant yeast, sugar, and warm water. In a medium bowl, mix the yeast and sugar with warm water. Let it sit for about 5 minutes. The mixture will foam if the yeast is active. This step is key for fluffy knots.
Making the Dough
In a large bowl, whisk together all-purpose flour and salt. Once your yeast mixture is foamy, pour it into the flour mix. Add 1 tablespoon of olive oil. Stir with a wooden spoon until you have a dough. If the dough is sticky, sprinkle in some extra flour as you mix.
Kneading and Rising
Transfer the dough to a floured surface. Knead it for about 5-7 minutes. You want it smooth and elastic. When ready, shape the dough into a ball. Place it in a greased bowl and turn it to coat. Cover the bowl with a damp cloth. Let it rise in a warm spot for about 1 hour. It should double in size. This is how you get soft, airy knots.
Baking the Garlic Knots
Prepping the Oven and Baking Sheet
First, preheat your oven to 400°F (200°C). This temperature works great for baking garlic knots. While the oven heats, grab a baking sheet. Line it with parchment paper. This step keeps the knots from sticking and makes cleanup easy.
Shaping the Knots
Once the dough has risen, it’s time to shape it. Start by gently punching down the dough to remove air. Next, divide it into 8 equal pieces. Roll each piece into a rope that is about 6 inches long. Take each rope and tie it into a knot. Tuck the ends under the knot. This helps the shape hold during baking. Place the knots on the lined baking sheet, giving each knot some space.
Applying the Garlic Mixture
Now, let’s add that garlic goodness! In a small bowl, mix the minced garlic with the remaining 2 tablespoons of olive oil. If you like a kick, add red pepper flakes. Stir in the chopped parsley for color and flavor. Brush this mixture over each knot. Make sure to coat them well. If you want, sprinkle grated Parmesan cheese on top. This adds richness and a nice finish. Your knots are now ready to bake!
Pro Tips
- Perfectly Warm Water: Ensure your water is around 110°F for optimal yeast activation. Too hot can kill the yeast, and too cold may not activate it properly.
- Knead with Care: Knead the dough until it is smooth and elastic to develop gluten, which gives the knots their chewy texture. Avoid adding too much flour during kneading.
- Flavor Infusion: Allow the garlic and olive oil mixture to sit for a few minutes before brushing it on the knots. This enhances the flavor as the garlic infuses into the oil.
- Storage Tips: Store any leftover garlic bliss knots in an airtight container at room temperature for up to 2 days. Reheat in the oven for a few minutes to regain their softness.
Tips & Tricks
Ensuring Perfect Knot Texture
To make great garlic knots, focus on the dough. Use all-purpose flour for the best texture. Knead the dough until it’s smooth and elastic. This usually takes about 5-7 minutes. If the dough sticks, add a little more flour. Let it rise until it doubles in size. This step gives your knots a fluffy feel. When shaping, make sure not to roll the ropes too thick. Thin ropes create lighter knots.
Best Practices for Garlic Infusion
For a strong garlic flavor, use fresh garlic. Mince it finely to release more oils. Mix the garlic with olive oil and herbs. Brush this mixture over the knots before baking. This adds flavor throughout. You can also add red pepper flakes for some heat. If you want richness, sprinkle Parmesan cheese on top before baking. This step enhances the overall taste.
Common Mistakes to Avoid
One common mistake is not letting the dough rise. If you skip this, your knots will be dense. Also, avoid overcrowding the baking sheet. Give each knot enough space to expand while baking. Another mistake is adding too much garlic. While flavor is key, too much can overpower. Lastly, don’t skip cooling time. Let the knots sit for a few minutes to avoid burns.
Variations
Adding Cheese and Different Herbs
You can easily add cheese to the knots. Try using mozzarella or cheddar. Just sprinkle the cheese on top before baking. You can also mix in herbs. Basil, oregano, or thyme add nice flavors. Experiment with what you like best. This makes your garlic knots even more tasty and special.
Spicy Garlic Knots
For a spicy kick, add red pepper flakes. Mix them into the garlic oil. You can adjust the amount based on your taste. If you love heat, go for it! You can also add jalapeños for extra spice. This variation is perfect for those who enjoy bold flavors.
Gluten-Free Option
If you need a gluten-free option, swap the flour. Use a 1:1 gluten-free flour blend. Make sure the blend contains xanthan gum or add it separately. Follow the same recipe steps for mixing and baking. Your garlic knots can still be fluffy and delicious!
Storage Info
How to Store Leftover Garlic Knots
To keep your garlic knots fresh, let them cool completely. Place them in an airtight container or a zip-top bag. Store at room temperature for up to two days. If you want to keep them longer, refrigeration is an option, but they may dry out. I recommend wrapping them in foil before refrigerating.
Reheating Instructions
Reheating is simple and quick. Preheat your oven to 350°F (175°C). Place the garlic knots on a baking sheet. Bake for about 5-10 minutes until warm. If you want extra flavor, brush them with a little olive oil or garlic oil before reheating. You can also use a microwave, but they may lose some texture. Heat in short bursts of 15-20 seconds.
Freezing Garlic Knots for Later Use
Freezing garlic knots is a great way to enjoy them later. After baking, let them cool completely. Arrange them in a single layer on a baking sheet. Freeze until solid, then transfer to a zip-top bag. They can last up to three months in the freezer. To reheat, bake from frozen at 350°F for about 10-15 minutes. Enjoy fresh garlic knots anytime!
FAQs
Can I use active dry yeast instead of instant yeast?
Yes, you can use active dry yeast. Just remember to activate it first. Mix it with warm water and sugar. Let it sit for about 5-10 minutes until it foams. Then, add this mix to your flour, just like with instant yeast. The flavor stays the same, and you still get those fluffy knots.
How can I make these garlic knots ahead of time?
You can prepare the dough and shape the knots ahead of time. After shaping, place them on a baking sheet. Cover them well and store in the fridge for up to 24 hours. When you are ready to bake, let them sit at room temperature for about 30 minutes. Then bake as usual. This way, you enjoy fresh knots with less work.
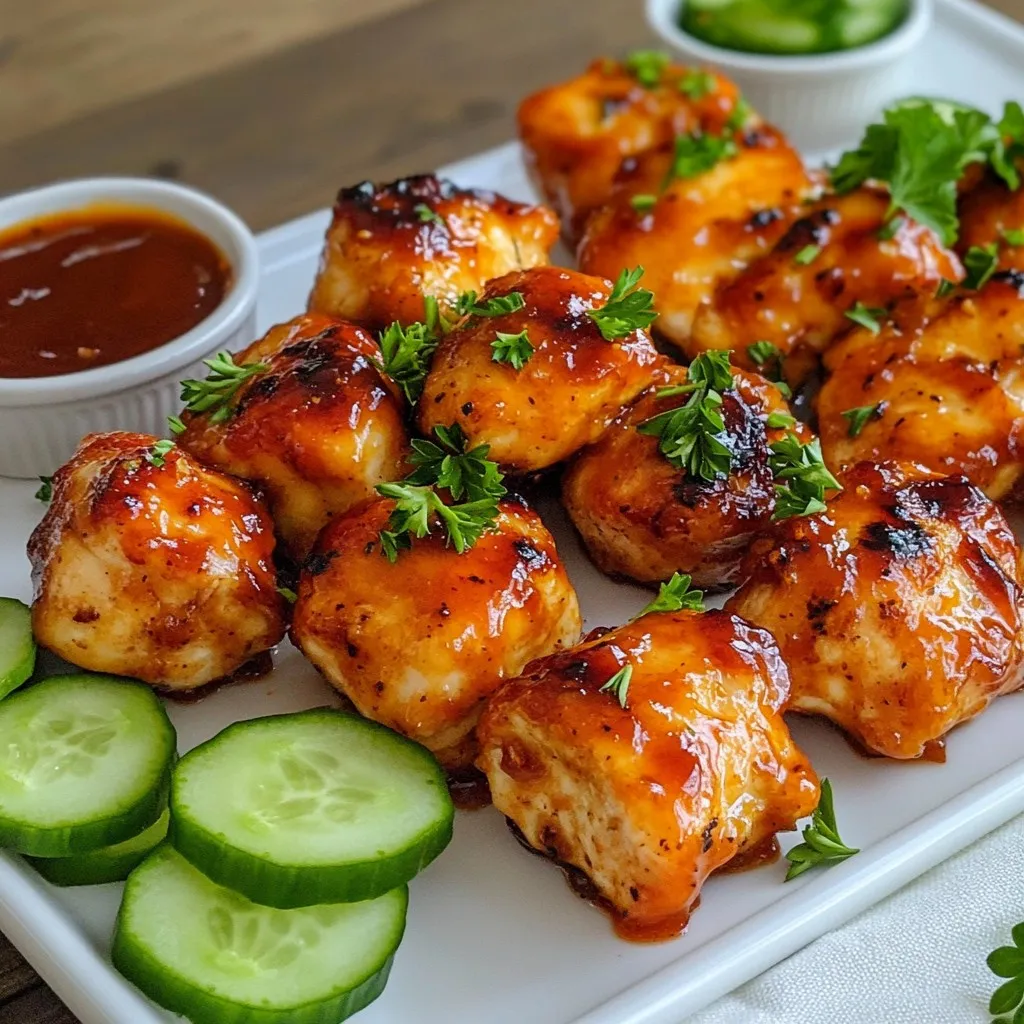
What can I serve with garlic knots?
Garlic knots pair well with many foods. Here are some ideas:
– Marinara sauce for dipping
– A fresh green salad
– Pasta dishes, like spaghetti or fettuccine
– Soups, especially tomato or minestrone
These options enhance your meal and make it even more enjoyable.
You now know how to make delicious garlic knots from scratch. We’ve covered ingredients, step-by-step instructions, and helpful tips. You can spice them up or even try gluten-free versions. Remember, practice makes perfect for the best texture. Store any leftovers correctly, and they will last longer. Enjoy your garlic knots with family or friends. Simple steps lead to great taste. So, gather your ingredients and get bakin
Garlic Bliss Knots
Delicious knots of dough infused with garlic and herbs, perfect as an appetizer or side dish.
Ingredients
Instructions
- 1
In a medium bowl, combine the instant yeast, sugar, and warm water. Allow this mixture to sit undisturbed for about 5 minutes, or until it becomes foamy.
- 2
In a large mixing bowl, whisk together the all-purpose flour and salt until well combined. Once the yeast mixture is foamy, pour it into the flour mixture along with 1 tablespoon of olive oil.
- 3
Using a wooden spoon, stir until a cohesive dough forms. Transfer the dough to a floured surface and knead it for 5-7 minutes until it is smooth and elastic.
- 4
Shape the kneaded dough into a ball and place it in a lightly greased bowl, turning it to coat the surface. Cover the bowl with a damp cloth and set it in a warm area to rise for approximately 1 hour.
- 5
Preheat your oven to 400°F (200°C) and prepare a baking sheet by lining it with parchment paper.
- 6
Once the dough has finished rising, gently punch it down to release the air. Divide the dough into 8 equal pieces. Roll each piece into a rope about 6 inches long and tie each rope into a knot.
- 7
In a small bowl, combine the minced garlic, the remaining 2 tablespoons of olive oil, red pepper flakes, and chopped parsley. Brush this mixture generously over each knot.
- 8
If desired, sprinkle grated Parmesan cheese over the knots.
- 9
Bake the knots in the preheated oven for 12-15 minutes, or until they are golden brown.
- 10
Once baked, let the garlic bliss knots cool for a few minutes on the baking sheet before serving.
Chef's Notes
Serve warm for the best flavor.


Recipe Creator
Remy
I’m Chef Remy, your recipe companion, here to bring warmth, bold taste, and simplicity to your kitchen.
View My Recipes