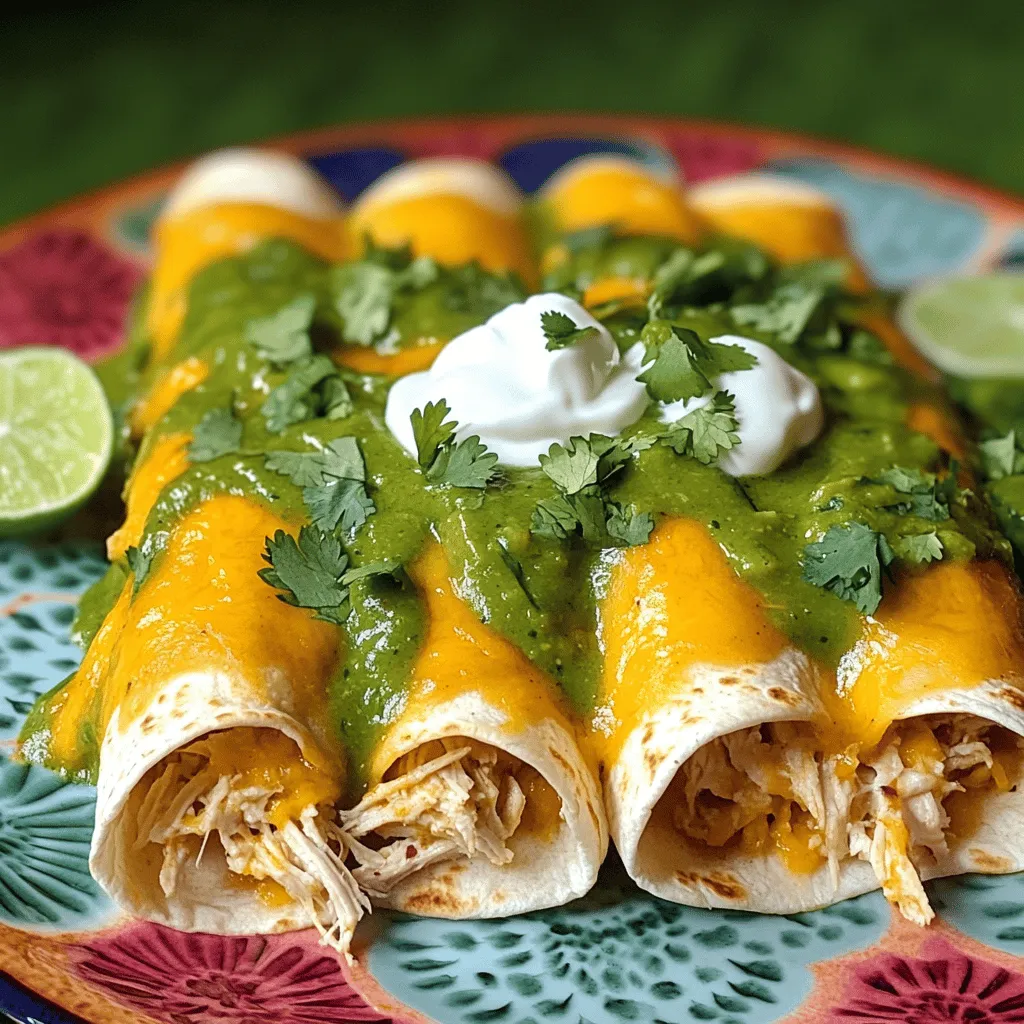
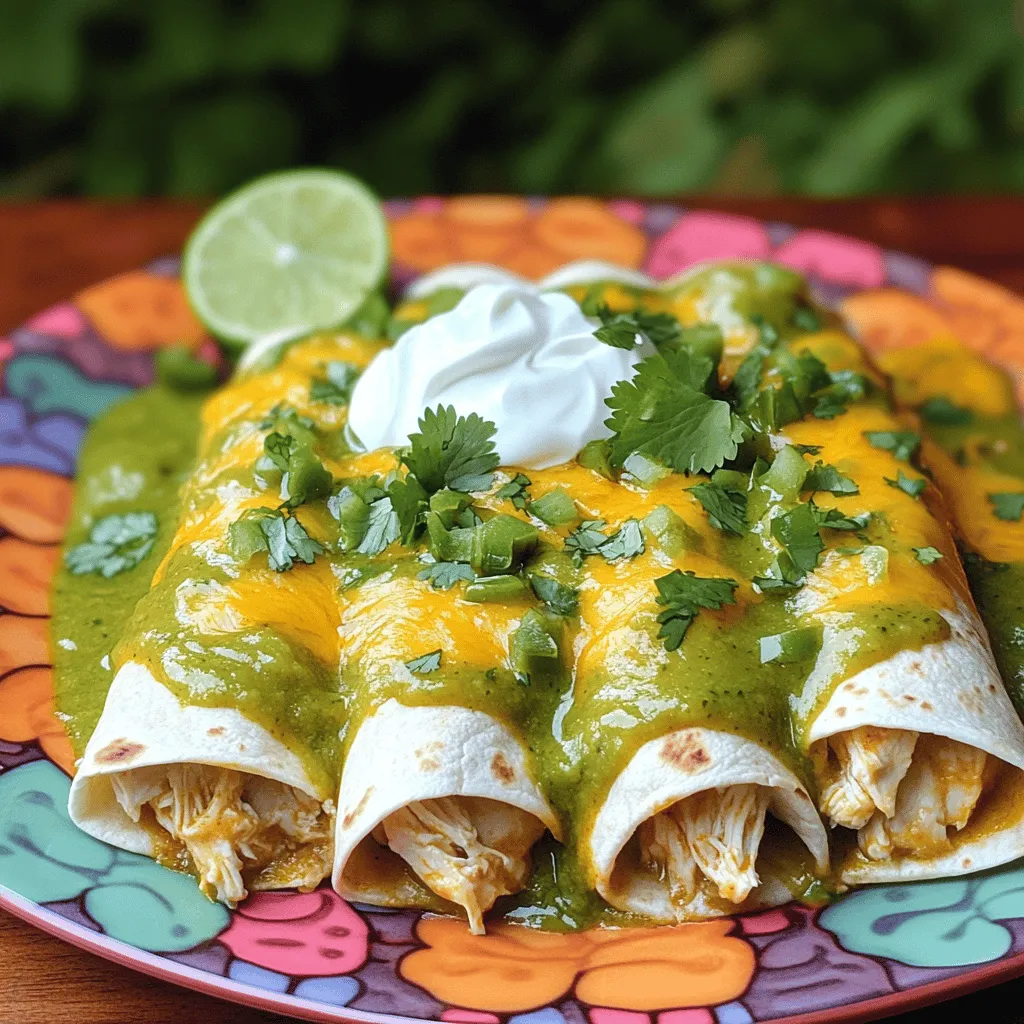
Looking for a tasty meal that’s both easy to make and packed with flavor? Let me introduce you to Hatch Green Chile Enchiladas! These enchiladas bring a kick of heat and a burst of taste to your dinner table. In this recipe, I’ll guide you through simple steps, ingredient tips, and ways to customize your dish. Get ready to impress with this scrumptious, crowd-pleasing meal!
Ingredients
Key Ingredients for Hatch Green Chile Enchiladas
To make tasty Hatch green chile enchiladas, gather these key ingredients:
– 12 corn tortillas
– 2 cups shredded cooked chicken (or black beans for a vegetarian option)
– 1 cup Hatch green chiles, roasted, peeled, and finely chopped
– 1 cup sharp cheddar cheese, shredded
– 1 cup Monterey Jack cheese, shredded
– 2 cups green enchilada sauce (store-bought or homemade)
– 1/2 cup sour cream
– 1/4 cup fresh cilantro, chopped (plus extra for garnish)
– 1 tablespoon olive oil
– 1 teaspoon garlic powder
– Salt and pepper to taste
These ingredients create a rich flavor and creamy texture in your enchiladas.
Optional Ingredients for a Personalized Twist
You might want to add some fun extras to your enchiladas. Here are a few ideas:
– Diced onions for crunch
– Sliced olives for a briny kick
– Corn for sweetness
– Avocado slices for creaminess
– Jalapeños for extra heat
Mix and match these optional ingredients to suit your taste.
Substitutions and Alternatives for Dietary Restrictions
If you have special dietary needs, don’t worry! You can make these enchiladas work for you. Here are some great substitutions:
– Use gluten-free tortillas if you need a gluten-free option.
– Swap chicken for shredded beef or pork for a different protein.
– Replace sour cream with a dairy-free yogurt for lactose intolerance.
– Use nutritional yeast instead of cheese for a vegan version.
These substitutions keep the dish delicious while accommodating different diets. For the full recipe, check the details above and get ready to cook!
Step-by-Step Instructions
Prepping Your Ingredients
Start by gathering all the ingredients. You need corn tortillas, cooked chicken, Hatch green chiles, and cheeses. Measure everything so you have it ready. Preheat your oven to 375°F (190°C). This helps the enchiladas cook evenly. Heat olive oil in a skillet on medium heat. Add the chopped Hatch green chiles and sauté for 2-3 minutes. They should smell great and soften up.
Assembling the Enchiladas
Now, it’s time to fill the tortillas. Warm up each tortilla in a skillet or microwave for about 30 seconds. This makes them soft and easy to roll. In a bowl, combine shredded chicken, half of the sharp cheddar, half of the Monterey Jack, sautéed chiles, garlic powder, and season with salt and pepper. Mix well. Spoon 2-3 tablespoons of this mixture into each tortilla. Roll them tightly and place seam-side down in a greased baking dish. Repeat until all tortillas are filled.
Baking and Serving Tips
Pour green enchilada sauce over the rolled enchiladas, covering them fully. Sprinkle the remaining cheeses on top for a cheesy finish. Cover the dish with aluminum foil and bake for 20 minutes. After that, remove the foil and bake for another 10 minutes. This step makes the cheese bubbly and golden. Let the dish cool for about 5 minutes after baking. Drizzle sour cream on top and add fresh cilantro for garnish. Serve hot and enjoy your delicious Hatch Green Chile Enchiladas! For the full recipe, check the [Full Recipe].
Tips & Tricks
Perfecting the Flavor of Your Enchiladas
To make your enchiladas truly shine, focus on the Hatch green chiles. These chiles have a unique flavor that adds depth. Roast them until charred, then peel and chop them finely. This brings out the best in their taste. Use fresh ingredients whenever possible. Fresh cilantro and lime will elevate your dish.
When mixing your filling, be sure to season well. A pinch of salt and pepper can make a big difference. Don’t forget to taste the mixture before rolling. Adjust the seasoning to your liking for a perfectly balanced flavor.
Common Mistakes to Avoid
One common mistake is skipping the tortilla warming step. Cold tortillas can tear easily. Warm them first to make rolling easier. Another mistake is overfilling your tortillas. This can lead to messy enchiladas. Stick to 2-3 tablespoons per tortilla.
Also, avoid using too much sauce. While sauce is important, too much can make your dish soggy. Spread just enough to coat the enchiladas, but not drown them.
Enhancing the Dish with Toppings and Sides
Toppings can transform your enchiladas. Try adding crumbled queso fresco or diced avocado on top. A sprinkle of fresh cilantro adds color and flavor. You can also serve with a side of Mexican rice or refried beans for a complete meal.
For a refreshing contrast, offer a simple salad with lime dressing. This balances the richness of the enchiladas.
For more details, check the Full Recipe for complete instructions and tips.
Variations
Vegetarian Hatch Green Chile Enchiladas
You can easily make Hatch green chile enchiladas vegetarian. Simply swap the shredded chicken for black beans. The black beans add protein and flavor, making the dish hearty and satisfying. You can also mix in some sautéed vegetables, like bell peppers or zucchini, for extra nutrition. These enchiladas remain rich and tasty, thanks to the creamy cheese and green chiles.
Different Proteins to Use (Chicken, Pork, Beef)
Hatch green chile enchiladas are great with various proteins. Chicken is a classic choice, but you can use pork or beef for a different twist. Cooked ground beef gives a robust flavor, while shredded pork adds a juicy texture. Use your favorite protein to personalize the dish. Each option brings its unique taste, making each batch of enchiladas special.
Spicy and Mild Variations with Different Chiles
You can adjust the heat level of your enchiladas by using different chiles. For a mild flavor, use sweet green peppers or Anaheim chiles. If you love heat, add jalapeños or serrano chiles. Hatch green chiles can vary in spice, so taste them before using. Mix and match to find your perfect balance of flavor and spice.
Storage Info
How to Store Leftover Enchiladas
To store leftover enchiladas, first, let them cool completely. Then, place them in an airtight container. This will keep them fresh. You can store them in the fridge for up to three days. If you want to eat them later, freezing is a great option.
Freezing Tips for Meal Prep
For meal prep, freezing enchiladas is easy. Wrap them tightly in plastic wrap. Then, place them in a freezer-safe bag or container. Be sure to remove as much air as possible. This helps prevent freezer burn. When stored this way, they can last for up to three months. When you’re ready to cook, just thaw them overnight in the fridge.
Reheating Instructions to Maintain Flavor
To reheat enchiladas, preheat your oven to 350°F (175°C). Place the enchiladas in a baking dish. Cover them with foil to keep them moist. Heat for about 20 minutes. If you want the cheese to get bubbly, remove the foil for the last five minutes. You can also reheat them in the microwave. Just place a damp paper towel over them to keep them from drying out. Enjoy your delicious enchiladas again! For the full recipe, check out the section above.
FAQs
What are Hatch green chiles and where can I find them?
Hatch green chiles come from the Hatch Valley in New Mexico. They are known for their unique flavor and heat. You can find them fresh, canned, or frozen at many grocery stores, especially during the harvest season. Look for them in the produce section or the international aisle. If you can’t find fresh ones, canned green chiles work well in this recipe.
Can I make Hatch Green Chile Enchiladas gluten-free?
Yes, you can make these enchiladas gluten-free. Simply choose corn tortillas that are labeled gluten-free. Most corn tortillas are naturally gluten-free, but always check the label to be sure. Additionally, ensure your enchilada sauce does not contain gluten. Many brands offer gluten-free options, or you can make your own sauce at home.
How do I know when the enchiladas are fully cooked?
You can tell enchiladas are fully cooked when the cheese is bubbly and golden brown. The edges of the tortillas should look slightly crispy, and the filling should be hot throughout. If you have a food thermometer, the center should reach at least 165°F (74°C). Let them cool for a few minutes before serving to ensure they hold their shape. For the full recipe, check the detailed instructions above.
Hatch green chile enchiladas are tasty and fun to make. We explored key and optional ingredients to customize your dish. You learned how to prep, assemble, and bake your enchiladas for the best taste. Remember to check for common mistakes and add your favorite toppings. Don’t forget about variations for different diets, proteins, and spice levels. Lastly, I shared storage tips to keep leftovers fresh. Enjoy your cooking and get creative with flavors!
Hatch Green Chile Enchiladas
Delicious enchiladas filled with shredded chicken and roasted Hatch green chiles, topped with cheese and green enchilada sauce.
Ingredients
Instructions
- 1
Begin by preheating your oven to 375°F (190°C).
- 2
In a large skillet, heat the olive oil over medium heat. Add the chopped Hatch green chiles and sauté for about 2-3 minutes until fragrant.
- 3
In a mixing bowl, combine the shredded chicken (or black beans), half of the sharp cheddar cheese, half of the Monterey Jack cheese, sautéed chiles, garlic powder, and a pinch of salt and pepper. Mix thoroughly.
- 4
Warm the corn tortillas in a dry skillet or microwave for about 30 seconds each until soft and pliable.
- 5
Spoon 2-3 tablespoons of the chicken mixture into the center of each tortilla. Roll tightly and place seam-side down in a greased 9x13 inch baking dish.
- 6
Repeat the rolling process with the remaining tortillas and filling until the dish is filled.
- 7
Pour the green enchilada sauce evenly over the enchiladas, ensuring all edges are covered.
- 8
Sprinkle the remaining sharp cheddar and Monterey Jack cheeses over the top.
- 9
Cover the baking dish with aluminum foil and bake for 20 minutes. Remove the foil and bake for an additional 10 minutes until cheese is bubbly and golden brown.
- 10
Remove from the oven and let cool for 5 minutes. Drizzle sour cream on top and garnish with chopped fresh cilantro.
Chef's Notes
Serve hot with extra cilantro and lime for garnish.


Recipe Creator
Remy
I’m Chef Remy, your recipe companion, here to bring warmth, bold taste, and simplicity to your kitchen.
View My Recipes