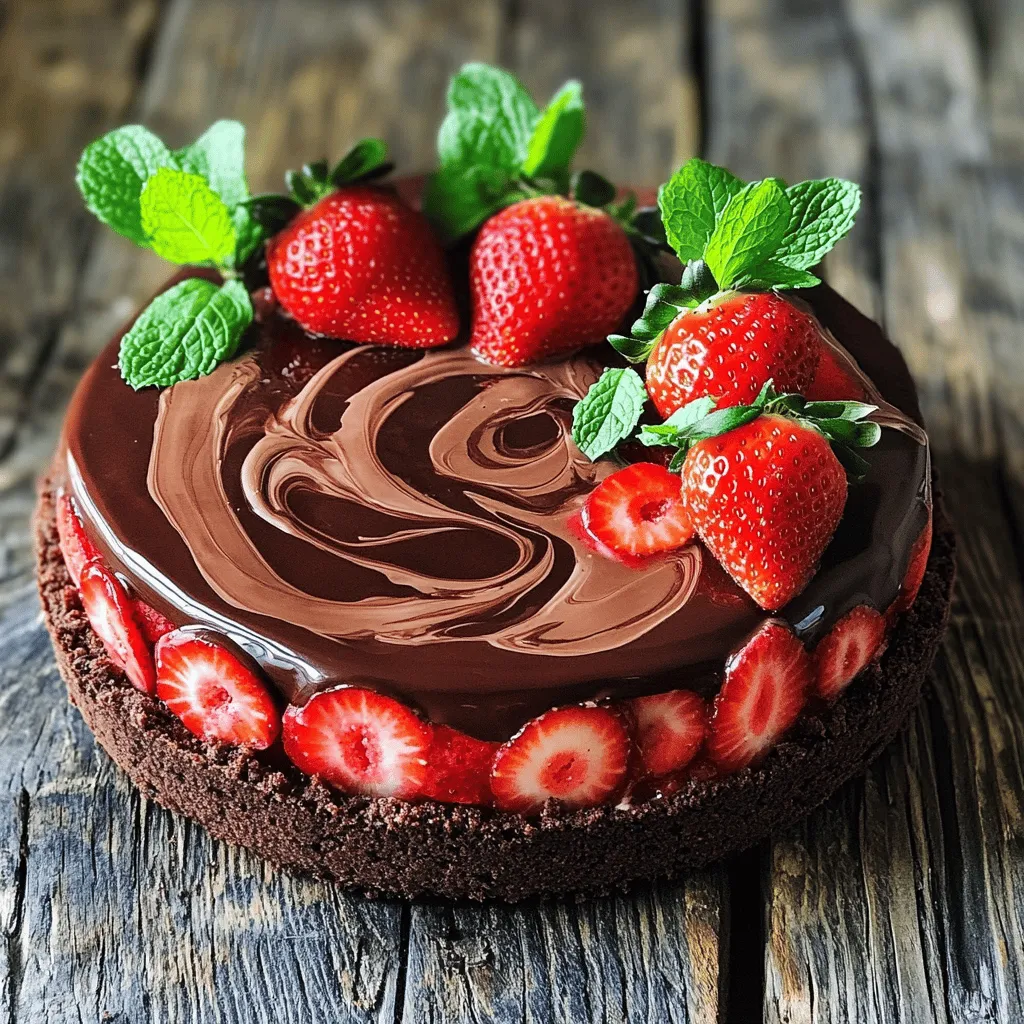
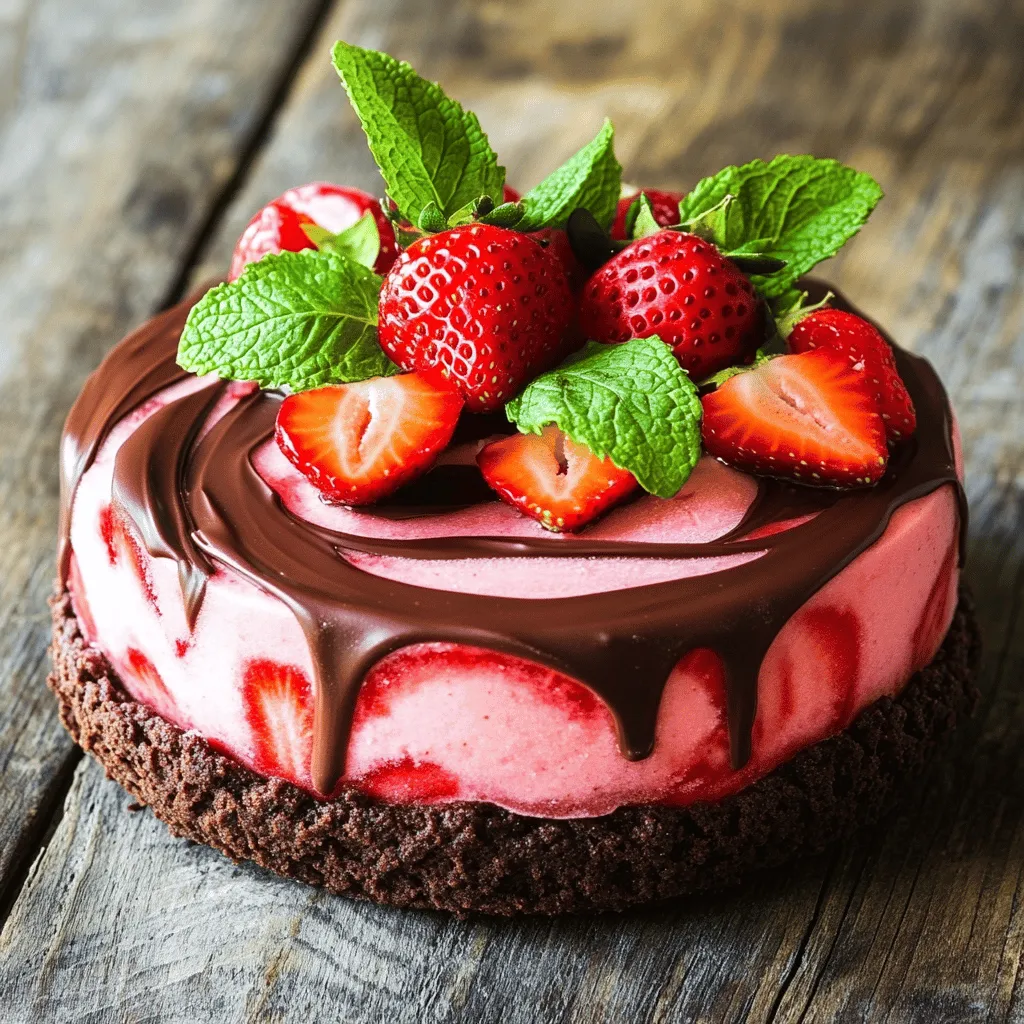
Are you ready to impress with a delicious dessert that requires no baking? This Frozen Chocolate Strawberry Cake is your perfect go-to treat. With layers of chocolate wafer cookies, fresh strawberries, and whipped cream, every bite bursts with flavor. Easy to make and perfect for any occasion, I’ll guide you through the steps to create this delightful no-bake cake. Let’s dive in and whip up something special!
Ingredients
Full Recipe
To make this Frozen Chocolate Strawberry Cake, you will need the following ingredients.
List of Ingredients
– 1 cup chocolate wafer cookies, finely crushed
– 4 tablespoons unsalted butter, melted
– 2 cups fresh strawberries, hulled and halved
– 2 cups heavy cream
– 1 cup powdered sugar
– 1 teaspoon vanilla extract
– 1/2 cup chocolate ganache (store-bought or homemade)
– Optional: Fresh mint leaves for garnish
The chocolate wafer cookies form a rich base. The butter helps bind the cookies together. Fresh strawberries add flavor and bright color. Heavy cream provides a fluffy texture. Powdered sugar sweetens the cream. Vanilla adds a warm aroma. Chocolate ganache gives a rich finish. Mint leaves can dress up the cake.
Each ingredient plays a key role in making this cake a delight. I love how simple it is, yet it tastes fancy! This cake is perfect for parties or just a sweet treat at home.
Step-by-Step Instructions
Preparing the Crust
To start, we need to make the crust. In a medium bowl, mix 1 cup of finely crushed chocolate wafer cookies with 4 tablespoons of melted unsalted butter. Stir until the crumbs soak up all the butter. Next, transfer this mixture into a 9-inch springform pan. Press it firmly using a flat-bottomed glass to make a smooth base. Once done, place the pan in the freezer for 15 minutes to set the crust.
Making the Strawberry Filling
Now, let’s prepare the filling. In a blender, puree half of the 2 cups of hulled strawberries until smooth. For the other half, chop them into small pieces and set aside. This gives our filling a nice texture.
Whipping the Cream
Next, we will whip the cream. In a large bowl, use a hand mixer to whip 2 cups of heavy cream on medium speed. When it starts to thicken, gradually add 1 cup of powdered sugar and 1 teaspoon of vanilla extract. Keep whipping until soft peaks form. This step is key for sweet, flavored cream.
Layering the Cake
With the crust ready and the filling made, it’s time to layer the cake. Take the crust from the freezer. Pour the strawberry filling over it and smooth the top with a spatula.
Freezing Tips
To finish, drizzle 1/2 cup of chocolate ganache over the filling. Use a knife to swirl the ganache into the filling for a marble effect. Cover the cake tightly with plastic wrap and freeze for at least 4 hours, or overnight if you can wait. Before serving, let it sit at room temperature for 10 minutes to make slicing easier.
Don’t forget to check out the Full Recipe for all details!
Tips & Tricks
Achieving the Perfect Crust
To make a great crust, use finely crushed chocolate wafer cookies. Mix them well with melted butter to coat every crumb. Press the mixture firmly into the bottom of your springform pan. This helps the crust hold its shape. Don’t skip the freezing step! It helps the crust set and makes it easier to slice later.
Ideal Texture for Whipped Cream
Whipping the cream is key to a light texture. Start at medium speed until it thickens. Add in the powdered sugar and vanilla gradually. Keep whipping until you see soft peaks. This means the cream is airy and sweet, perfect for blending with strawberries. Avoid over-mixing, as it can turn your cream grainy.
Serving Suggestions
When it’s time to serve, let the cake sit for about 10 minutes outside the freezer. This makes slicing easier. For a beautiful presentation, garnish with fresh mint leaves and extra strawberries. For clean cuts, dip your knife in hot water first. This will help you get perfect slices every time!
Variations
Chocolate Strawberry Cake with Nuts
You can add nuts to your cake for a tasty crunch. I love using chopped walnuts or almonds. Just mix in about half a cup of nuts into your strawberry filling. This will give the cake a nice texture and a fun twist. You can also sprinkle some nuts on top for extra flair.
Dairy-Free Options
If you want a dairy-free cake, you can switch some ingredients. Use coconut cream instead of heavy cream. It gives a nice flavor and texture. For the ganache, choose dairy-free chocolate. This way, everyone can enjoy this delightful treat without dairy.
Incorporating Other Fruits
Feel free to play with different fruits! Blueberries, raspberries, or even bananas can work great. Just chop them up and fold them into the filling like you do with strawberries. Each fruit brings its own flavor and makes the cake unique. Try mixing and matching to find your favorite.
For a full recipe and detailed steps, check out the [Full Recipe].
Storage Info
Storing Leftovers
After you make the Frozen Chocolate Strawberry Cake, you might have some leftovers. Store any leftover cake in the freezer. Use plastic wrap to cover it tightly. This helps keep it fresh and prevents freezer burn. If you want to keep it longer, put it in an airtight container. It can last up to three months in the freezer. Don’t forget to label it with the date so you know when you made it!
Freezing the Cake
If you want to freeze the whole cake, you can do that too! After you finish making it, wrap it in plastic wrap. Then, place it in a freezer-safe container. This keeps the cake safe from frost. When you’re ready to enjoy it later, just follow the thawing tips below. Freezing keeps the flavors fresh and delicious.
Best Practices for Thawing
Thawing is easy! Take the cake out of the freezer and remove the wrap. Let it sit at room temperature for about 10 minutes. This makes it easier to slice. For best taste, don’t rush the thawing. You can also put it in the fridge overnight if you plan to eat it the next day. This helps keep the cake nice and cool without melting it too fast. Enjoy your treat!
FAQs
Can I make this cake a day in advance?
Yes, you can make this cake a day ahead. It actually tastes better when chilled overnight. This allows the flavors to blend well. Just cover it tightly with plastic wrap and store it in the freezer.
What can I substitute for chocolate wafer cookies?
If you don’t have chocolate wafer cookies, try using graham crackers or Oreos. Both options work well as a crust. Just crush them finely and mix with melted butter.
How do I know when the cake is ready to serve?
The cake is ready when it is firm and holds its shape. You can check by gently pressing the top. If it feels solid, it’s good to go. Let it sit at room temperature for about 10 minutes before slicing.
Can I use frozen strawberries?
Yes, you can use frozen strawberries, but thaw them first. Drain any excess liquid to keep the filling from getting too watery. This helps maintain the cake’s texture and flavor.
How long can the cake be stored in the freezer?
You can store the cake in the freezer for up to three months. Just make sure it’s well-wrapped to prevent freezer burn. When ready to enjoy, let it thaw in the fridge overnight before serving.
You now have all the steps to create a delicious Chocolate Strawberry Cake. We explored ingredients, including chocolate wafer cookies and fresh strawberries. You learned how to prepare, whip, and layer the cake for the best results. I shared tips for the perfect crust and cream texture, plus fun variations.
Feel free to store leftovers and know how to freeze or thaw your cake. Enjoy making this treat for any occasion!
Frozen Chocolate Strawberry Cake
A delightful frozen dessert featuring a chocolate wafer crust, creamy strawberry filling, and a rich chocolate ganache.
Ingredients
Instructions
- 1
In a medium bowl, combine the finely crushed chocolate wafer cookies with the melted butter. Stir well until all the crumbs are evenly coated with butter.
- 2
Transfer the cookie mixture into a 9-inch springform pan. Press it firmly into the bottom to create an even and compact crust. A flat-bottomed glass works well for this. Once pressed, place the pan in the freezer for about 15 minutes to allow the crust to set.
- 3
In a blender, puree half of the hulled strawberries until smooth. For the other half, chop them into small pieces and set aside.
- 4
In a large mixing bowl, use a hand mixer to whip the heavy cream on medium speed until it starts to thicken. Gradually sprinkle in the powdered sugar and add the vanilla extract while continuing to whip until soft peaks form.
- 5
Gently fold the strawberry puree and the chopped strawberries into the whipped cream. Use a spatula to mix until just combined.
- 6
Retrieve the crust from the freezer and pour the strawberry filling over it. Use a spatula to smooth the top.
- 7
Drizzle the chocolate ganache over the strawberry filling. Using a knife or skewer, gently swirl the ganache into the filling.
- 8
Cover the cake tightly with plastic wrap and place it in the freezer for at least 4 hours, or overnight if possible.
- 9
Before serving, remove the cake from the freezer and let it sit at room temperature for about 10 minutes for easier slicing. Carefully unlock and remove the sides of the springform pan to present your cake.
- 10
Enhance the visual appeal by garnishing the top with fresh mint leaves and additional halved strawberries.
Chef's Notes
For best results, allow the cake to freeze overnight. Garnish with fresh mint leaves for added flavor.


Recipe Creator
Remy
I’m Chef Remy, your recipe companion, here to bring warmth, bold taste, and simplicity to your kitchen.
View My Recipes