Are you ready to make lunch fun and tasty? DIY Pizza Lunchables are simple to put together and perfect for kids and adults. With just a few ingredients, you can create a meal that’s both healthy and delicious. In this guide, I’ll show you how to mix, match, and enjoy your own pizza creations. Let’s dive into this fun cooking adventure together!
Ingredients
List of Ingredients
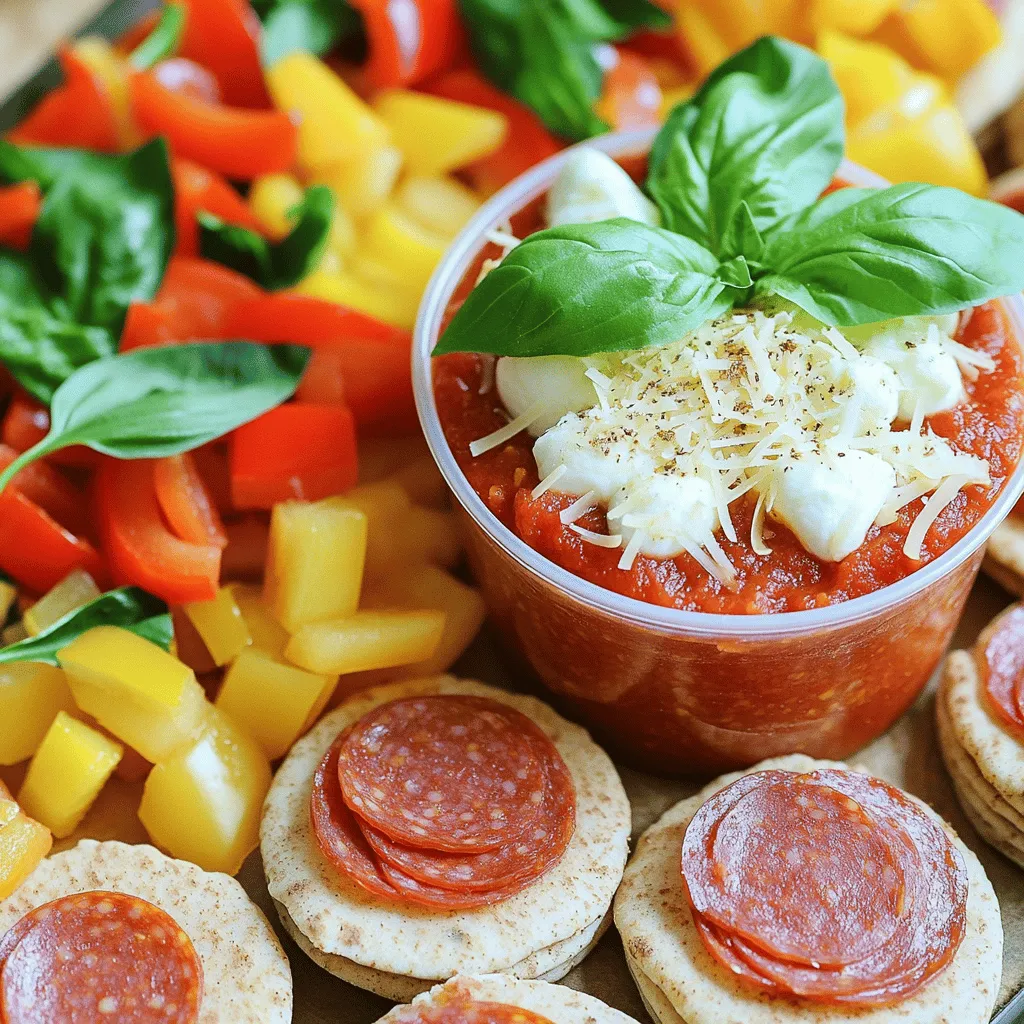
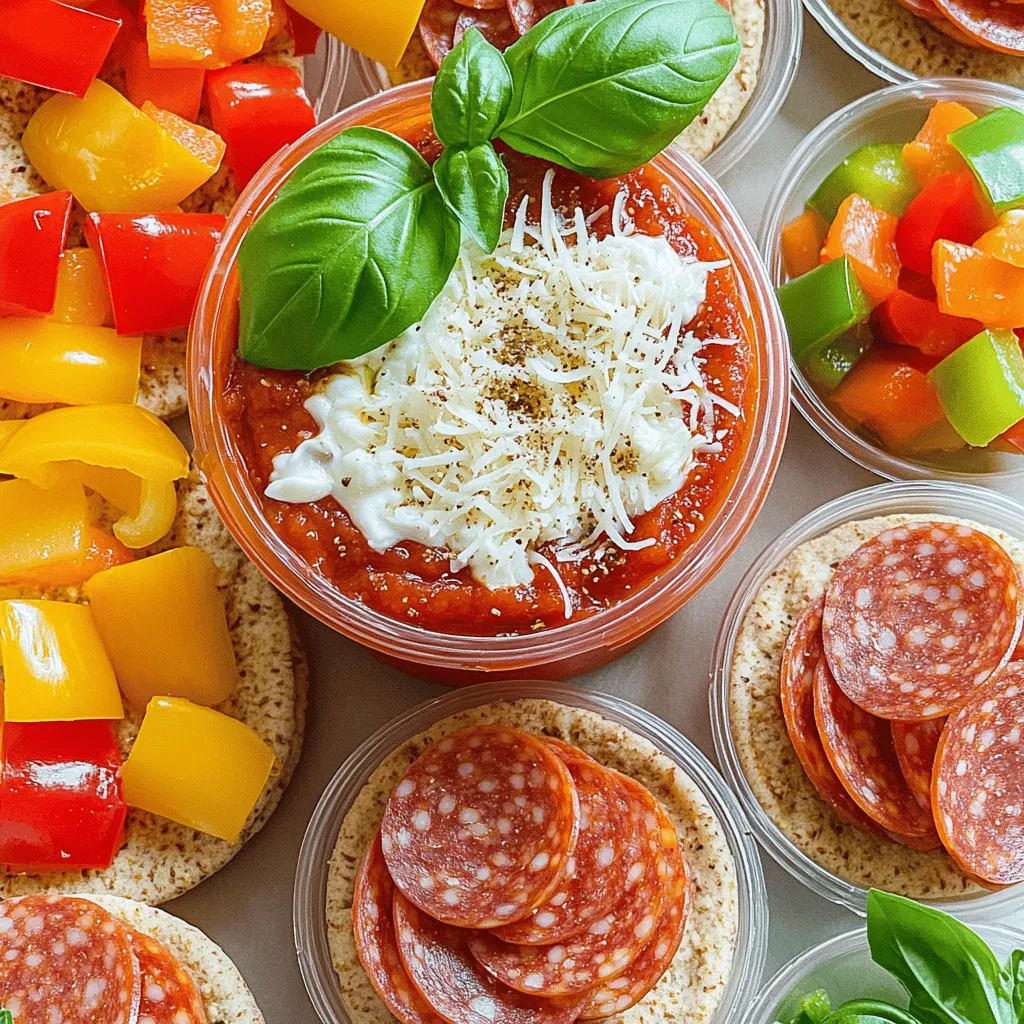
– Whole grain mini pita bread
– Marinara sauce
– Shredded mozzarella cheese
– Pepperoni slices or alternative toppings
– Grated Parmesan cheese
– Italian seasoning
– Optional: Fresh basil leaves
To make DIY Pizza Lunchables, start with whole grain mini pita bread. This bread is healthy and fun! Next, use marinara sauce as the base. It adds great flavor.
For the cheese, shredded mozzarella works best. It melts nicely and tastes amazing. You can add pepperoni slices for a classic touch. If you prefer, try other toppings like diced bell peppers or olives.
Grated Parmesan cheese gives an extra cheesy flavor. Italian seasoning adds a nice herbal note. If you want, fresh basil leaves can brighten your lunchables.
Gather all these ingredients, and you’re ready to create a fun and tasty meal. For the full recipe, check the details above!
Step-by-Step Instructions
Preparing the Pizza Base
Cut the whole grain mini pita bread into small rounds or squares. Use a round cookie cutter for perfect shapes or a knife for easy slices. This will be your pizza base.
Assembling the Components
Spoon some marinara sauce into a container. This sauce adds amazing flavor to your pizzas. Next, combine shredded mozzarella cheese and grated Parmesan cheese in another container. Mixing these cheeses gives your pizzas a tasty topping.
Organizing Toppings
Arrange pepperoni slices and any other toppings in separate compartments. You can use diced bell peppers or black olives, too. Keep everything neat and organized for easy assembly later.
Flavor Development
Fill a small container with Italian seasoning. This will boost the flavor of your pizzas. Just a sprinkle will make a big difference!
Putting It All Together
When you’re ready to eat, take a pita round and spread marinara sauce on top. Then, add the cheese mixture, followed by your chosen toppings. Finish with a dash of Italian seasoning. Enjoy them cold or heat for 15-20 seconds in the microwave to melt the cheese slightly. Optionally, add a fresh basil leaf for extra flavor and color.
Tips & Tricks
Customizing Your Pizza Lunchables
You can make your Pizza Lunchables unique and tasty! Here are some ideas:
– Different Toppings: Use diced bell peppers, black olives, or cooked sausage. You can also try pineapple or mushrooms for a fun twist.
– Different Cheeses: Mix mozzarella with cheddar for a sharper taste. Try feta for a salty kick or gouda for a smoky flavor.
Best Practices for Storage
Keeping your ingredients fresh is key. Here are some tips:
– Freshness: Store toppings in airtight containers. This keeps them crisp and tasty.
– Packing Tips: Use separate compartments in lunchboxes. This helps avoid soggy bread and keeps everything neat.
Making It Fun
Involve the kids in making their lunch! Here’s how:
– Engaging Kids: Let them choose their toppings. This makes it exciting and personal.
– Creative Serving Ideas: Lay out a “pizza bar” at home. Let everyone build their own mini pizzas. You can even have a family taste test for fun flavor combos.
Variations
Vegetarian Options
For a fun twist, try using plant-based toppings. You can add:
– Diced bell peppers
– Sliced mushrooms
– Spinach leaves
– Black olives
– Artichoke hearts
These toppings add great taste and color to your pizzas. You can mix and match to find your favorite combo!
Gluten-Free Considerations
If you want to make this gluten-free, swap out the pita bread. Try these options:
– Gluten-free mini tortillas
– Cauliflower crusts
– Zucchini slices
These alternatives work well and still taste great! Always check labels to ensure they fit your diet.
International Flavors
Want to spice things up? Use world-inspired toppings! Here are some tasty ideas:
– BBQ sauce instead of marinara for a smoky flavor
– Feta cheese and olives for a Greek twist
– Fresh cilantro and salsa for a Mexican flair
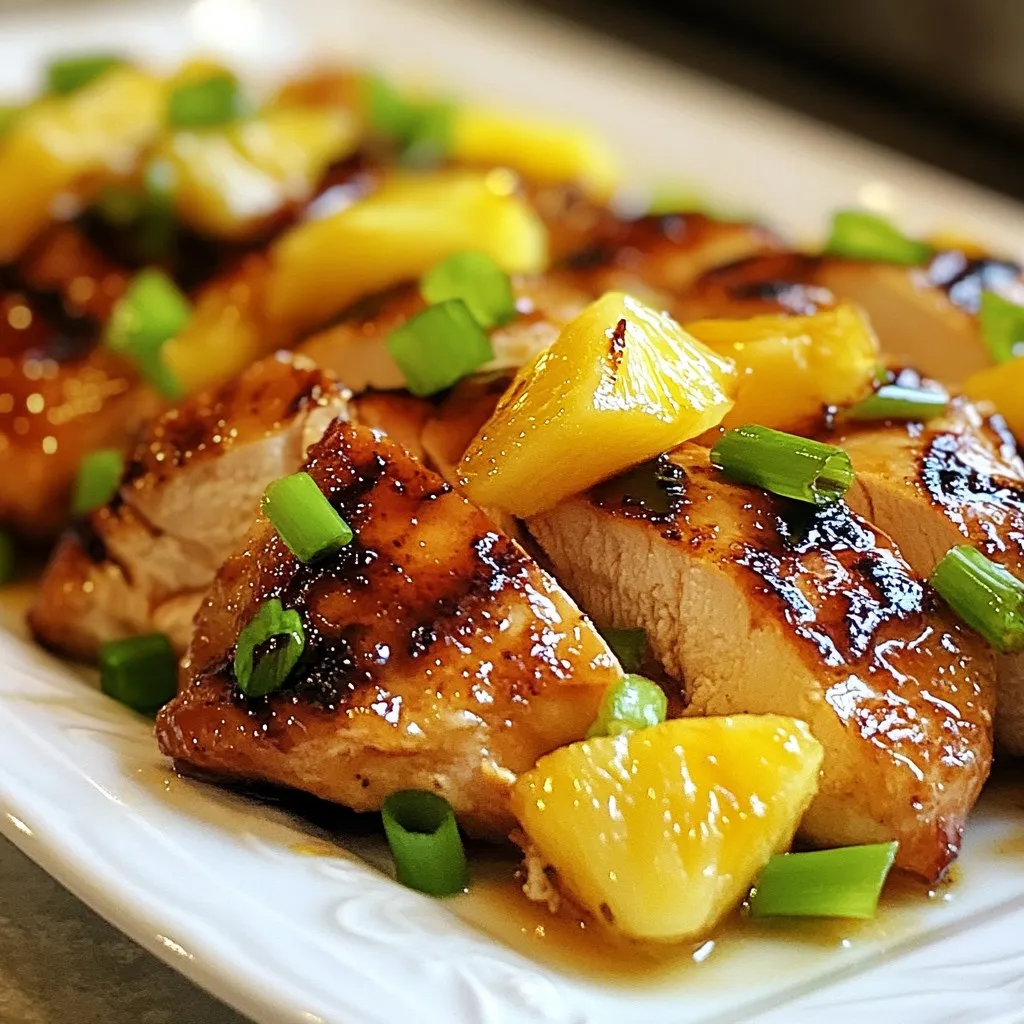
– Teriyaki sauce with pineapple for a Hawaiian vibe
These toppings can take your DIY Pizza Lunchables on a global journey!
Storage Info
Proper Storage Techniques
To keep your DIY Pizza Lunchables fresh, separate the components. Use small containers for each part. This method keeps the pita bread soft and the toppings crisp. Storing them in a cool place, like the fridge, helps preserve their flavor and texture.
Expiration Guidelines
Check the dates on your ingredients. Use the marinara sauce within a week of opening. Pita bread lasts about a week as well. Cheese can usually stay fresh for two weeks. Always check for any off smells or changes in color before using.
Reheating Instructions
If you want your pizzas warm, reheating is simple. Place your assembled pizza on a microwave-safe plate. Heat it for 15 to 20 seconds. This will melt the cheese without making the pita soggy. Enjoy your tasty creation hot or cold!
FAQs
How can I make DIY Pizza Lunchables healthier?
You can make DIY Pizza Lunchables healthier by choosing better ingredients. Here are some tips:
– Use whole grain mini pita bread for more fiber.
– Opt for low-fat cheese to cut calories.
– Add fresh veggies like bell peppers and spinach as toppings.
– Swap pepperoni for turkey or veggie options.
– Choose homemade marinara sauce without added sugars.
These choices boost nutrition without losing flavor.
Can I freeze components of my DIY Pizza Lunchables?
Yes, you can freeze parts of your DIY Pizza Lunchables! Here’s how:
– Freeze the mini pita breads in a sealed bag. They stay fresh for up to three months.
– You can also freeze cheese and toppings in separate containers. Thaw them in the fridge overnight before use.
– Marinara sauce can be frozen in ice cube trays. Just pop out a cube when you’re ready to use it!
This helps you save time on busy days.
What’s the best way to pack them for school?
Packing your DIY Pizza Lunchables for school is easy! Follow these tips:
– Use a sturdy lunchbox with compartments. This keeps everything separate.
– Pack the sauce in a small container to avoid spills.
– Keep cheese and toppings in separate compartments to stay fresh.
– Add an ice pack to keep everything cool until lunch.
These steps make lunchtime fun and easy!
Making DIY Pizza Lunchables is simple and fun. We covered the key ingredients, like whole grain mini pita and marinara sauce. Then, I shared step-by-step tips for preparing, assembling, and storing your mini pizzas. You can customize your creations with toppings, making them unique. Don’t forget the vegetarian and gluten-free options! These pizzas can delight kids and adults alike. Enjoy engaging in the cooking process together, and remember, fresh ingredients lead to the best taste. With these ideas, you’ll create tasty and healthy lunches everyone will love.
DIY Pizza Lunchables
A fun and customizable pizza lunch option using mini pita bread.
Ingredients
Instructions
- 1
Prepare the Base: Begin by cutting the whole grain pita bread into mini rounds or squares to create your pizza bases.
- 2
Add the Sauce: In a small container or a lunchbox compartment, spoon in a few tablespoons of marinara sauce.
- 3
Layer the Cheeses: In a separate small container, combine the shredded mozzarella cheese with the grated Parmesan cheese.
- 4
Select Toppings: Arrange your pepperoni slices or a variety of other toppings into distinct compartments within your lunchbox.
- 5
Italian Seasoning: Fill a small container with Italian seasoning.
- 6
Assembly Time: When you're ready to enjoy your lunchables, take a pita round and spread a generous layer of marinara sauce on top, sprinkle on the cheese mixture, followed by your chosen toppings, and finish with a dash of Italian seasoning.
- 7
Garnish & Serve: Enhance your mini pizzas with a fresh basil leaf on top.
Chef's Notes
These can be enjoyed cold or warmed up in the microwave.

Recipe Creator
Remy
I’m Chef Remy, your recipe companion, here to bring warmth, bold taste, and simplicity to your kitchen.
View My Recipes