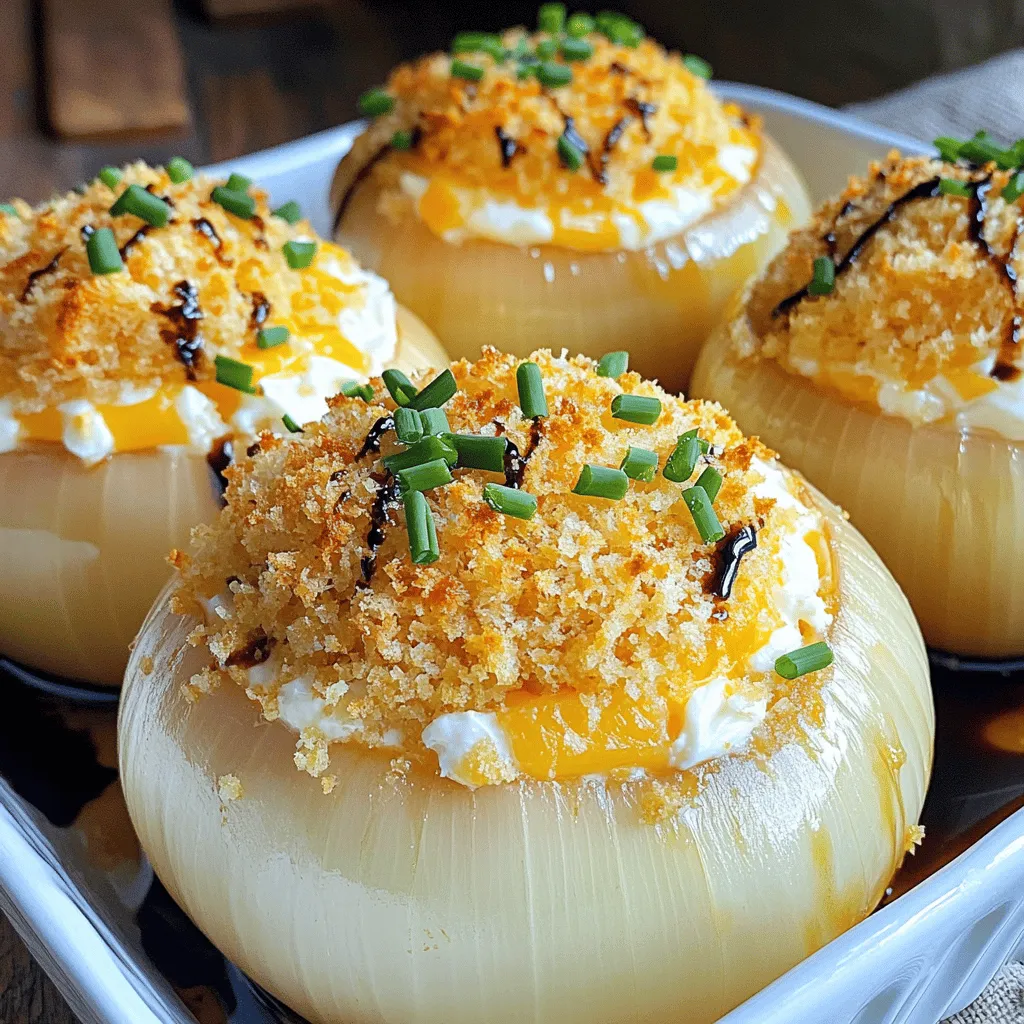
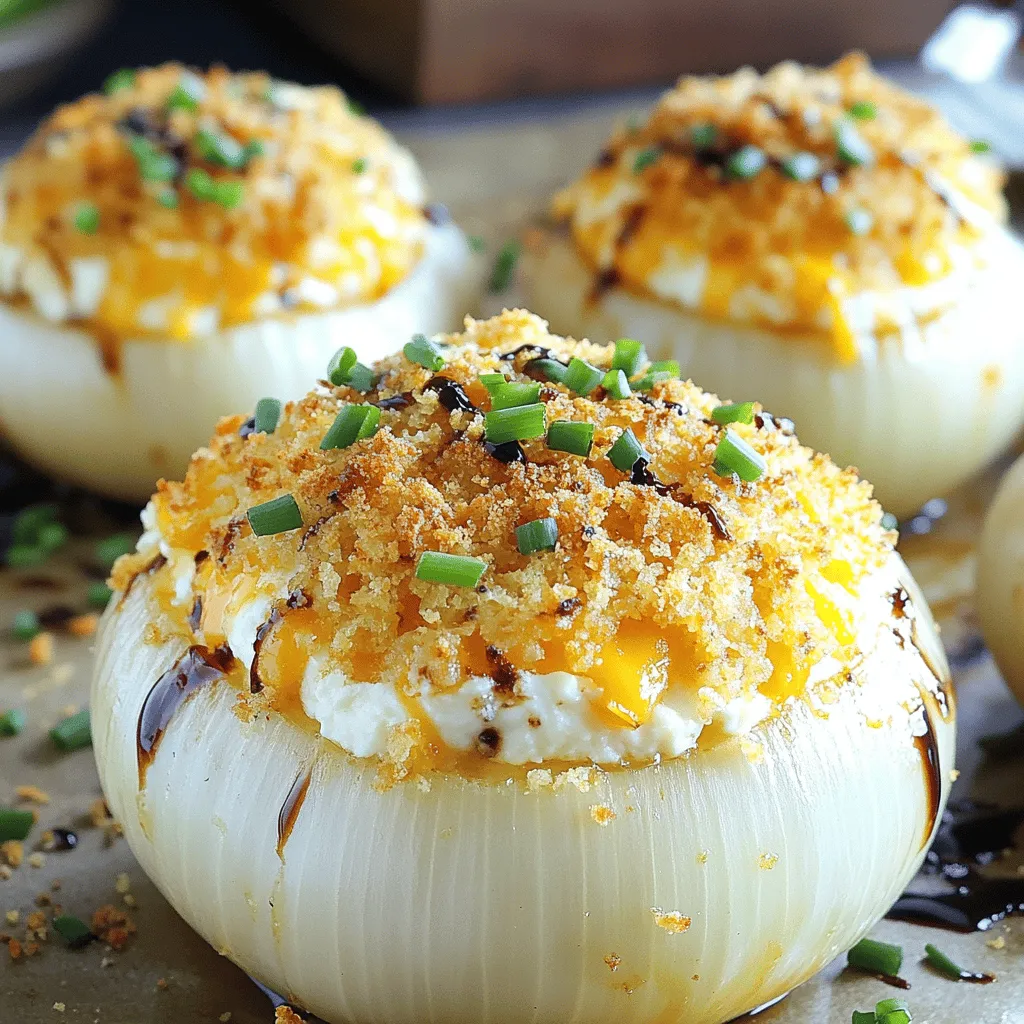
If you’re looking for a simple and tasty dish, Cheesy Baked Vidalia Onions should be on your menu. These sweet, tender onions are easy to make and packed with flavor. In this article, I’ll guide you through everything—ingredients, steps, and fun variations. You’ll impress your family and friends with this savory treat that pairs perfectly with any meal. Ready to get started? Let’s dive in!
Ingredients
List of ingredients required
To make Cheesy Baked Vidalia Onions, gather these ingredients:
– 4 large Vidalia onions
– 1 cup shredded sharp cheddar cheese
– 1/2 cup cream cheese, softened
– 1/4 cup grated Parmesan cheese
– 1/4 cup plain breadcrumbs
– 2 tablespoons fresh chives, chopped
– 1 tablespoon olive oil (plus extra for greasing)
– 1 teaspoon garlic powder
– Salt and pepper to taste
– 1/4 teaspoon paprika (for garnish)
Substitutions for ingredients
If you need substitutions, here are smart swaps:
– Use yellow onions if Vidalia onions are not available.
– Swap cheddar cheese with mozzarella or gouda for a different flavor.
– Cream cheese can be replaced with ricotta for a lighter option.
– For breadcrumbs, try crushed crackers or panko.
– Fresh herbs like parsley can stand in for chives.
Suggested tools for preparation
To prepare this dish, you will need:
– A sharp knife for cutting onions
– A melon baller or teaspoon for scooping
– A mixing bowl for combining the filling
– A baking dish to hold the onions
– Aluminum foil to cover the dish while baking
– A fork to check the doneness of onions
These tools make the process easier and more enjoyable. Happy cooking!
Step-by-Step Instructions
Preparation steps overview
First, preheat your oven to 375°F (190°C). Grab a baking dish and lightly grease it with olive oil. Next, take your large Vidalia onions. Cut off the tops and scoop out the insides. Leave about 1/2 inch of onion to form a sturdy shell. Set the scooped-out onion apart for later use.
Detailed filling and stuffing instructions
In a mixing bowl, add the shredded sharp cheddar cheese, softened cream cheese, and grated Parmesan cheese. Then, mix in the reserved onion flesh, finely chopped chives, and garlic powder. Add salt and pepper to taste. Stir the mix until it is smooth and well combined. Now, take each hollowed onion and fill it with the cheese mixture. Press down lightly to pack the filling firmly inside.
Baking instructions with temperature and time
Place the stuffed onions upright in the greased baking dish. Cover the dish with aluminum foil. This keeps the onions moist. Bake them in the oven for 25 minutes. After that, remove the foil and bake for another 10 to 15 minutes. The tops should turn golden brown and the onions should be soft when pierced with a fork. Enjoy the delicious aroma as they bake!
Tips & Tricks
How to choose the best Vidalia onions
When you pick Vidalia onions, look for large, firm ones. They should feel heavy for their size. Check for smooth skin without any blemishes. A sweet smell is a good sign too. Always choose onions that have a little green stem on top. This shows they are fresh.
Tips for achieving a creamy filling
To make your filling creamy, use softened cream cheese. This helps it mix smoothly with the other cheeses. Shredded cheddar adds flavor and richness. You can also add a splash of milk if it seems too thick. Mix everything well to avoid lumps.
Serving suggestions and presentation ideas
Serve each stuffed onion on a small plate for a nice look. Sprinkle fresh chives on top for color. A drizzle of balsamic reduction adds a touch of elegance. For a fun twist, pair them with a green salad or crusty bread. This makes a great side for grilled meats too.

Variations
Adding different cheeses
You can switch up the cheese in this dish. Try using mozzarella for a gooey texture. Gouda adds a smoky flavor that blends well with Vidalia onions. You can use feta for a salty kick. Mixing different types of cheese gives you unique tastes every time. Just keep the total amount of cheese about the same.
Vegetarian and vegan adaptations
If you want a vegetarian version, skip the cream cheese, and use ricotta instead. For a vegan option, swap the cream cheese for cashew cream or tofu. Nutritional yeast can give that cheesy flavor without dairy. Use plant-based cheese shreds for a cheesy finish. Just make sure they melt well!
Flavor enhancements (herbs, spices, etc.)
Herbs and spices can boost the taste of your onions. Fresh thyme or rosemary adds a lovely aroma. A pinch of cayenne pepper gives a nice kick. For a sweet touch, try adding a bit of brown sugar to the filling. You can also mix in some sautéed mushrooms for extra depth. These tweaks will make your dish even more special!
Storage Info
Refrigeration guidelines
After you bake your cheesy Vidalia onions, let them cool completely. Place them in an airtight container. Store in the fridge for up to 3 days. Make sure to keep them covered to avoid drying out.
Freezing instructions for leftovers
If you have leftovers, you can freeze the stuffed onions. Wrap each onion tightly in plastic wrap. Place them in a freezer bag or airtight container. They can last up to 2 months in the freezer. Just remember to label them with the date!
Reheating suggestions
To reheat, first thaw the onions in the fridge overnight. Preheat your oven to 350°F (175°C). Place the onions in a baking dish and cover with foil. Bake for about 20 minutes, or until heated through. If you want a crispy topping, remove the foil for the last 5 minutes of baking. Enjoy your cheesy goodness!
FAQs
Can I use regular onions instead of Vidalia?
Yes, you can use regular onions. However, Vidalia onions are sweet and mild. They add a unique flavor that regular onions may lack. If you use regular onions, choose sweet ones for the best taste.
How do I know when the onions are done?
The onions are done when they are tender. You can check by piercing them with a fork. If it goes in easily, they are ready. Also, the top should be golden brown. This shows that the cheese mixture is baked perfectly.
Can I prepare these ahead of time?
Yes, you can prepare these onions ahead of time. You can hollow them out and make the filling. Just store them separately in the fridge. When you are ready, stuff the onions and bake. This makes meal prep easy and saves time on busy days.
This blog post covered all you need to know about making stuffed Vidalia onions. We listed the main ingredients and useful substitutes, plus the tools you’ll need. The steps for preparation, filling, and baking were detailed for easy following. You learned tips for choosing onions and ways to make a creamy filling. Variations let you explore different flavors or diets. Finally, we shared storage and reheating methods to keep your dish fresh.
Try these ideas, and enjoy tasty stuffed Vidalia onions that you can share with friends!

