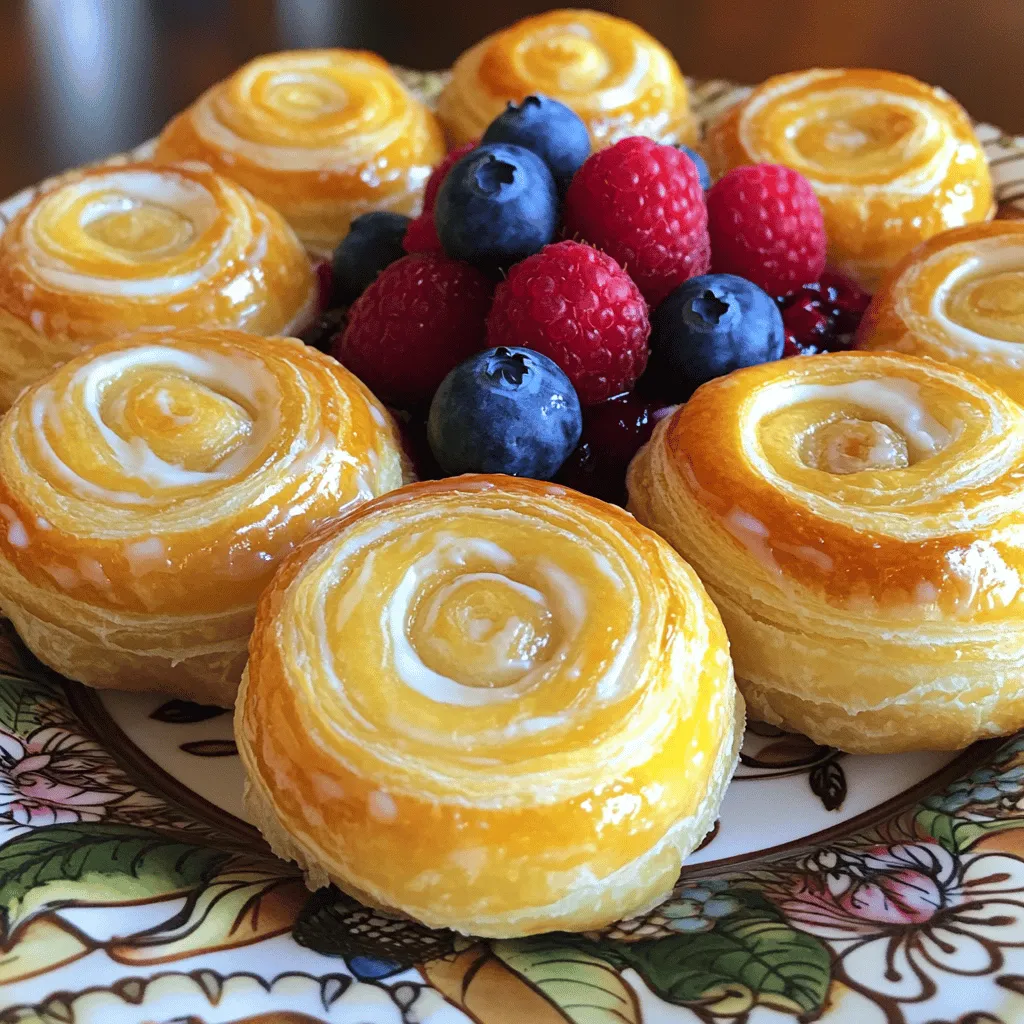
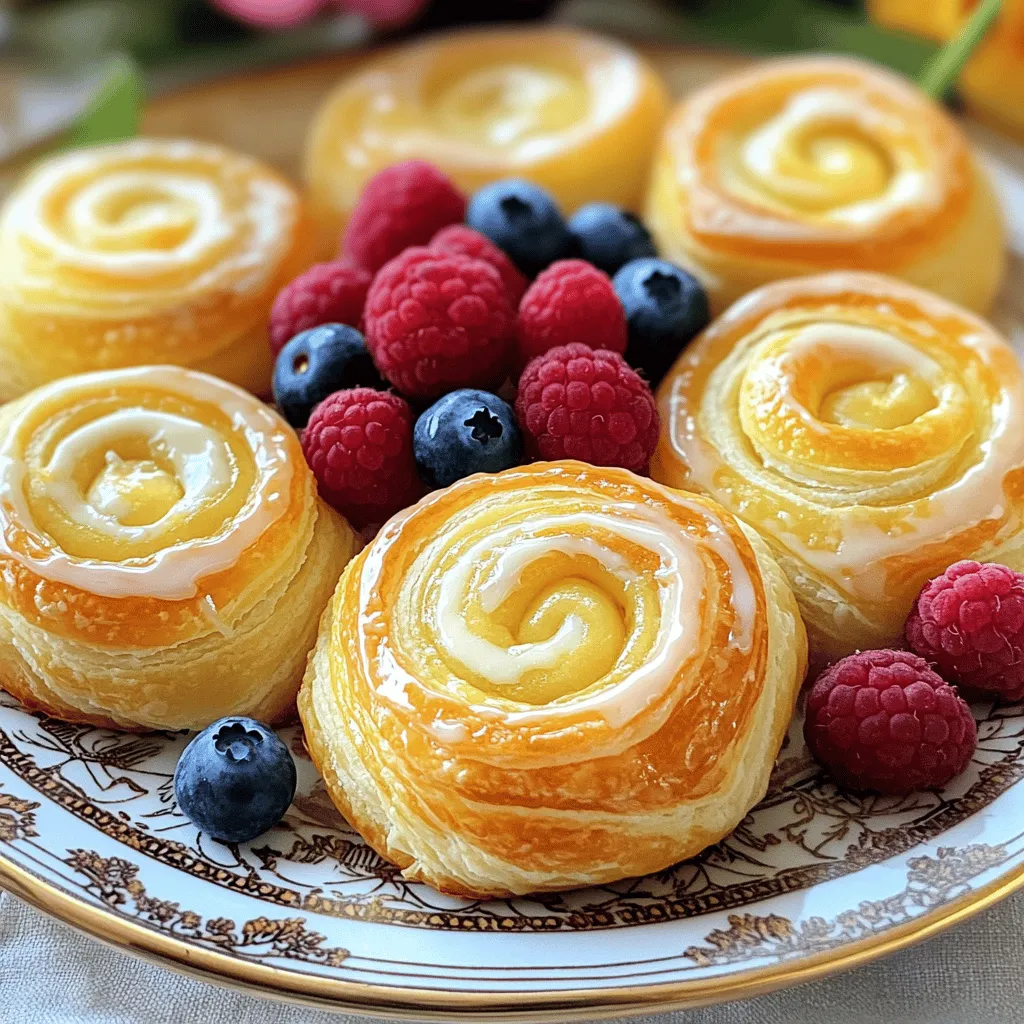
If you love pastries, Cheese Danishes are a must-try! They are delightful and easy to make at home. With just a few simple ingredients and a little know-how, you can create a sweet treat that impresses everyone. I will guide you through every step, from gathering your supplies to the perfect bake. Let’s dive into the world of Cheese Danishes and whip up some delicious fun together!
Ingredients
Main Ingredients for Cheese Danishes
To make delicious Cheese Danishes, you will need a few key items. Here’s what you need:
– 1 package (8 oz) cream cheese, softened
– 1/3 cup granulated sugar, adjust for taste
– 1 teaspoon pure vanilla extract
– 1 package (2 sheets) puff pastry, thawed
– 1 egg, beaten (for egg wash)
– 1/4 cup powdered sugar (for glaze)
– 1 tablespoon milk (for glaze consistency)
– Fresh blueberries or raspberries (optional)
These ingredients come together to create a sweet and creamy filling wrapped in flaky pastry.
Necessary Equipment
You will need some simple tools to make these pastries.
– Mixing bowl for your filling
– Hand mixer or whisk for blending
– Rolling pin to flatten the pastry
– Sharp knife or pizza cutter for cutting
– Baking sheet lined with parchment paper
– Pastry brush for the egg wash
Having the right tools will make your cooking smoother and more enjoyable.
Optional Toppings and Add-ins
Feel free to add your own twist to these Cheese Danishes. Here are some fun ideas:
– A sprinkle of cinnamon for warmth
– Chopped nuts for crunch
– A dash of lemon zest for brightness
– More fruits like strawberries or blackberries
These options can boost flavor and make your danishes even more delightful. For the full recipe, check out the Decadent Sweet Cream Cheese Danishes section.
Step-by-Step Instructions
Preparation of the Filling
To start, gather your ingredients. In a bowl, mix together:
– 1 package (8 oz) cream cheese, softened
– 1/3 cup granulated sugar
– 1 teaspoon pure vanilla extract
Beat these until smooth. A hand mixer works well, but a whisk is fine too. This filling is rich and creamy. Set it aside while you prepare the pastry.
Assembling the Pastry
Next, you will work with puff pastry. Roll out one sheet on a floured surface. Cut it into 4 equal squares. Repeat this with the second sheet, making 8 squares in total.
Now, make small cuts in each corner of the squares. These cuts should form a square shape, stopping about an inch from the center. This will help you fold the corners later.
In the center of each square, place a tablespoon of your cream cheese mixture. Be careful not to overfill; this keeps the filling inside.
Fold the corners over the filling, pinching them together in the center. This creates a beautiful pinwheel shape. Make sure they are sealed tight to prevent leaks.
Baking Process
Preheat your oven to 375°F (190°C). Line a baking sheet with parchment paper so nothing sticks.
Brush the tops of each pastry with a beaten egg. This gives them a lovely golden color while baking.
Place the danishes on the baking sheet and bake for 20-25 minutes. Look for a puffy, golden brown finish.
While they bake, prepare a glaze. Mix 1/4 cup powdered sugar with 1 tablespoon of milk until smooth. Adjust the mix for your desired glaze thickness.
Once the danishes are done, let them cool a bit. Drizzle the glaze over each one. Enjoy your delightful Cheese Danishes! For more details, check the Full Recipe.
Tips & Tricks
How to Achieve Perfect Puff Pastry
To make great puff pastry, keep it cold. Cold fat creates layers. When you roll out the dough, don’t overwork it. This helps the pastry puff up nicely. Aim for even thickness; about a quarter inch is best. If you see any cracks, just patch them up gently. This will keep the filling inside when baking.
Ensuring a Golden Finish
For a golden shine, use an egg wash. Beat one egg and brush it over the tops of the danishes before baking. This gives them that lovely color we all love. If you want an extra touch, sprinkle a little sugar on top. This will add shine and a nice crunch. Keep an eye on them while baking, so they don’t burn.
Flavor Variations to Try
Get creative with flavors! You can mix in lemon zest for a fresh twist. Try adding a bit of almond extract for a nutty taste. Want something fruity? Toss in some fresh berries into the cream cheese mix. You could even use chocolate chips for a fun dessert. The options are endless! For the full recipe, check out the Decadent Sweet Cream Cheese Danishes.
Variations
Different Cheese Fillings
You can switch up the cheese filling for your danishes. Cream cheese is popular, but there are many other options. Try ricotta for a creamy texture. Mascarpone gives a rich, sweet flavor. For a tangy twist, use goat cheese. Each cheese brings its own taste to the table. Feel free to mix cheeses for a unique blend.
Fruit Toppings and Combinations
Adding fruit is a fun way to enhance your danishes. Fresh fruits like blueberries, strawberries, or peaches work well. You can also mix fruit with the cheese filling. For example, add mashed raspberries to cream cheese for a fruity kick. Using fruit preserves or jams is another great option. They add sweetness and a pop of color.
Savory Cheese Danish Options
If you love savory flavors, try making a savory cheese danish. Use cheese like feta or cheddar mixed with herbs. Spinach or roasted peppers can add color and flavor. You can even add cooked bacon or ham for a hearty option. These savory treats make great snacks or appetizers. They are perfect for brunch or parties.
By exploring different fillings and toppings, you can customize your cheese danishes. This creativity keeps every batch exciting! For the full recipe, check out the Decadent Sweet Cream Cheese Danishes.
Storage Info
Best Practices for Storing Leftovers
After you enjoy your cheese danishes, store any leftovers in a safe way. First, let them cool completely. Then, place them in an airtight container. This keeps them fresh and tasty. It’s best to eat them within two to three days. If you leave them out, they may get dry or hard. You can also use parchment paper between layers to avoid sticking.
Freezing Cheese Danishes
Freezing is a great option if you want to save your danishes for later. Wrap each danish in plastic wrap. Then, place them in a freezer bag or container. Make sure to squeeze out the air to prevent freezer burn. You can freeze them for up to three months. When you want to eat one, just thaw it in the fridge overnight.
Reheating Tips for Freshness
To enjoy your cheese danishes fresh again, reheating is key. Preheat your oven to 350°F (175°C). Place the danishes on a baking sheet. Heat them for about 10-15 minutes. This keeps them crispy. You can also use a microwave, but be careful. It may make the pastry soft. If using the microwave, heat for 15-20 seconds.
For more details, check out the Full Recipe.
FAQs
What is the best type of cheese for cheese danishes?
The best cheese for cheese danishes is cream cheese. It has a rich, smooth texture that blends well with sugar and vanilla. You can also try ricotta or mascarpone for a lighter taste. Each cheese brings its own flavor, so experiment to find what you like best.
Can I make cheese danishes ahead of time?
Yes, you can make cheese danishes ahead of time. You can prepare the filling and store it in the fridge for up to two days. You can also assemble the danishes and freeze them before baking. Just remember to bake them straight from the freezer, adding a few extra minutes to the baking time.
How do I avoid soggy pastry when baking?
To avoid soggy pastry, ensure your puff pastry is fully thawed before using it. Avoid overfilling the danishes, as excess filling can seep out and make the pastry wet. Also, bake them on a preheated baking sheet lined with parchment paper. This helps achieve a crisp bottom. For a delicious twist, try the Full Recipe to create these delightful treats.
You learned about the key ingredients and the right equipment for making cheese danishes. I shared steps to prepare the filling, assemble the pastry, and bake it to perfection. You also discovered tips for golden finishes and flavor variations. Remember, storing leftovers and reheating properly keeps your danishes fresh. Enjoy experimenting with different fillings and toppings! With these insights, you can create delicious cheese danishes that impress everyone. Happy baking!
Cheese Danishes
Delicious puff pastry filled with a creamy cheese mixture, topped with a sweet glaze.
Ingredients
Instructions
- 1
Preheat your oven to 375°F (190°C) and line a baking sheet with parchment paper to prevent sticking.
- 2
In a medium mixing bowl, thoroughly combine the softened cream cheese, granulated sugar, and vanilla extract. Use a hand mixer or a whisk to beat the mixture until it is smooth and creamy. Set this filling aside.
- 3
On a lightly floured surface, roll out one sheet of the thawed puff pastry. Using a sharp knife or pizza cutter, cut the sheet into 4 equal squares. Repeat this process with the second sheet of puff pastry, resulting in 8 squares total.
- 4
For each pastry square, make a small cut in a square shape at each corner, stopping about an inch from the center. This will allow you to create flaps that will be folded over the filling later.
- 5
In the center of each square, place a generous tablespoon of the cream cheese mixture, ensuring not to overfill to prevent any spillage.
- 6
Carefully fold the corners of each pastry square over the filling, pinching them together in the center to form an appealing pinwheel shape. Ensure they are well sealed so the filling doesn’t leak during baking.
- 7
Using a pastry brush, gently apply the beaten egg on top of the danishes for a beautiful golden finish while baking.
- 8
Place the danishes in the preheated oven and bake for 20-25 minutes, or until they are puffy and turn a lovely golden brown color on top.
- 9
While the pastries are baking, prepare the glaze by whisking together powdered sugar and milk in a small bowl until the mixture is smooth and free of lumps. Adjust with more milk or sugar for desired consistency if needed.
- 10
When the danishes are finished baking, remove them from the oven and let them cool slightly on the baking sheet. Once cooled, drizzle the glaze generously over each pastry.
Chef's Notes
Arrange the danishes artfully on a decorative plate. Top with fresh blueberries or raspberries for added flavor.


Recipe Creator
Remy
I’m Chef Remy, your recipe companion, here to bring warmth, bold taste, and simplicity to your kitchen.
View My Recipes