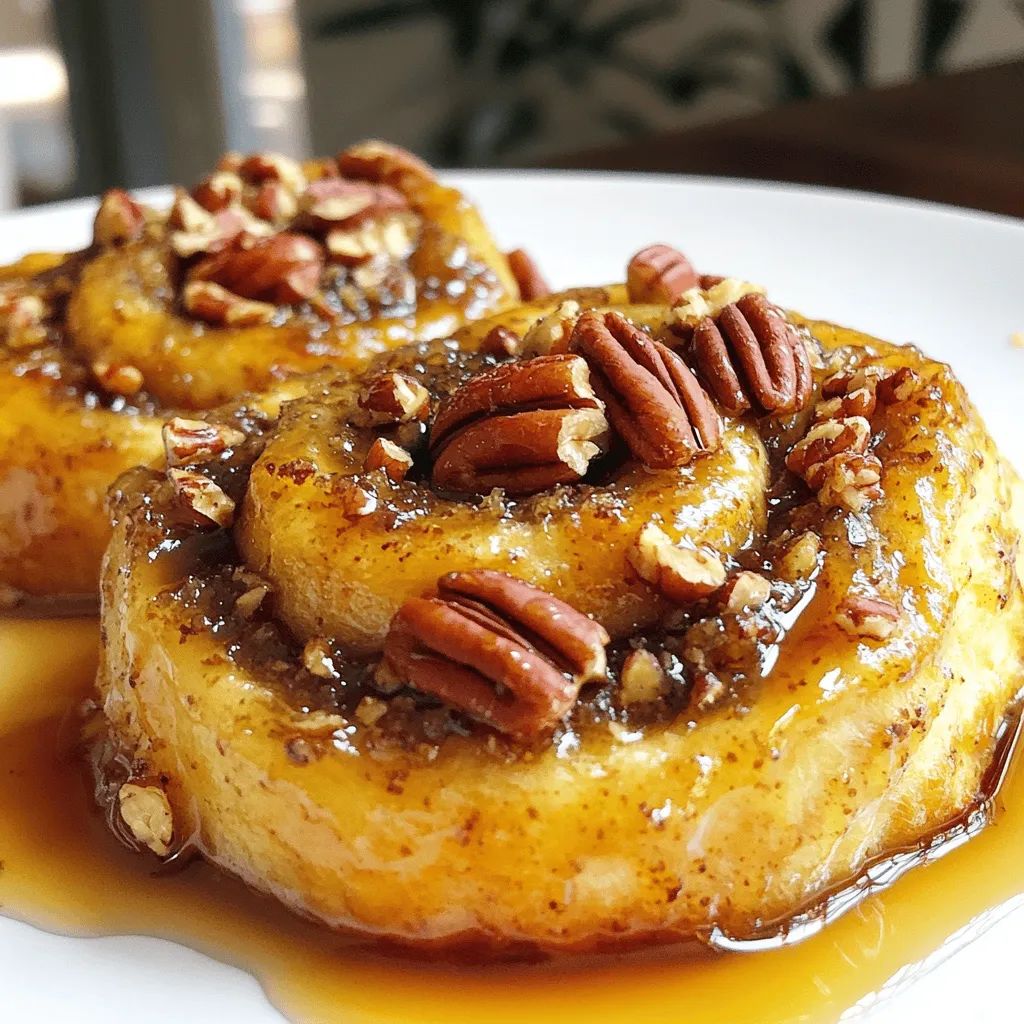
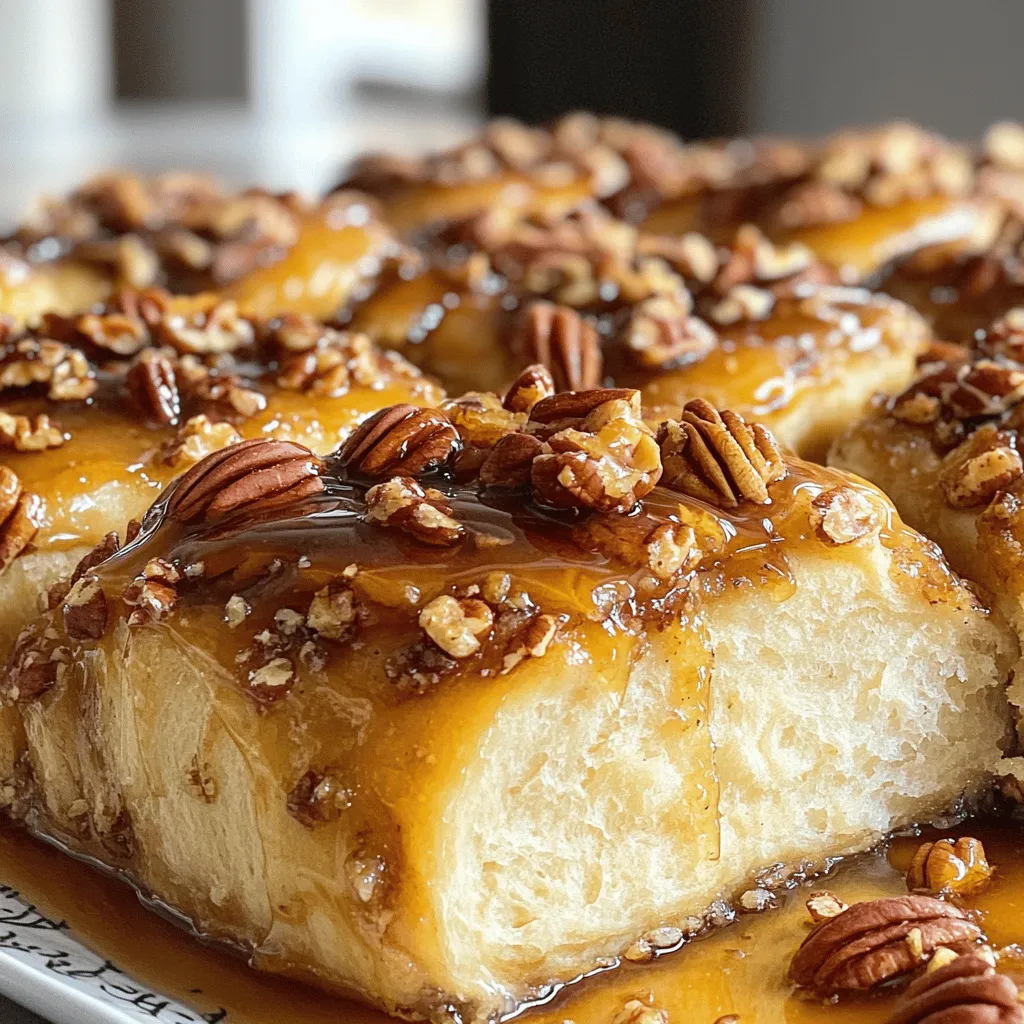
If you’ve never tasted Big Fat Pecan Sticky Buns, get ready for a treat! These sweet gems are the perfect blend of gooey and crunchy. I’ll guide you step-by-step to whip up this delightful recipe that will impress anyone. With easy-to-find ingredients and helpful tips, you’ll enjoy every bite. Let’s dive into making these irresistible sticky buns that will have everyone coming back for more!
Ingredients
Essential Ingredients for Big Fat Pecan Sticky Buns
To make these sweet buns, gather these key ingredients:
– 4 cups all-purpose flour
– 1 packet (2 1/4 teaspoons) instant yeast
– 1/2 cup granulated sugar
– 1 teaspoon salt
– 1 cup whole milk, warmed to 110°F (43°C)
– 1/2 cup unsalted butter, melted and slightly cooled
– 2 large eggs
– 1 teaspoon pure vanilla extract
– 1 cup packed light brown sugar
– 1 tablespoon ground cinnamon
– 1/2 cup finely chopped pecans
– 1/4 cup pure maple syrup
These ingredients create a soft dough and a rich, sweet filling. The pecans add a nice crunch.
Optional Ingredients for Added Flavor
You can enhance the flavor of your sticky buns with these extras:
– 1/4 cup raisins
– A pinch of nutmeg
– A splash of bourbon
Adding raisins gives a chewy texture. Nutmeg and bourbon add depth to the taste.
Substitutes for Common Ingredients
If you don’t have something on hand, try these substitutes:
– Use almond milk instead of whole milk.
– Swap granulated sugar with brown sugar for a deeper flavor.
– Replace pecans with walnuts or almonds.
These substitutes will still give you delicious sticky buns. Don’t worry about sticking to the exact recipe!
Step-by-Step Instructions
Preparing the Dough
To start, gather your ingredients. In a large bowl, mix 2 cups of all-purpose flour, instant yeast, granulated sugar, and salt. Stir it well to combine. In another bowl, whisk together the warmed milk, melted butter, eggs, and vanilla extract until smooth. Slowly pour this wet mixture into the dry mix. Next, add the remaining flour, 1/2 cup at a time. Mix until the dough is soft and smooth. Knead the dough on a floured surface for about 5 to 7 minutes. You want it to feel elastic and not sticky.
Filling and Shaping the Buns
After the dough rises for 1 hour, it should double in size. Punch it down gently to release air. Roll the dough into a rectangle about 1/4 inch thick on a floured surface. Spread the filling mixture of brown sugar, cinnamon, chopped pecans, and raisins evenly over the dough. Starting from one long edge, roll the dough tightly into a log. Slice the log into 12 equal pieces. Place them cut side up in a greased baking dish.
Baking and Cooling Instructions
For the sticky topping, heat maple syrup and the remaining chopped pecans in a small pan for 2-3 minutes until it bubbles. Pour this over the sliced buns in the dish. Cover the dish and let the buns rise again for 30 minutes. Preheat your oven to 350°F (175°C). Bake the buns for 25-30 minutes until they are golden brown. Let them cool for 5 minutes in the dish before flipping them onto a serving platter. Enjoy these warm and sticky buns fresh out of the oven! For the full recipe, check out the additional details.
Tips & Tricks
Best Practices for Dough Rising
To get the best rise for your dough, warmth is key. Use a warm room, but not too hot. An ideal spot is near a sunny window or on top of your stove. Cover the dough with a clean towel. This keeps it cozy and helps it rise. If your kitchen is cool, you can also preheat your oven to the lowest setting for a few minutes. Then, turn it off and place the dough inside. This gentle heat works wonders.
How to Achieve Perfectly Sticky Buns
To make your sticky buns truly irresistible, be generous with the filling. Spread it evenly from edge to edge. Don’t skimp on the maple syrup topping! This adds that gooey sweetness we all love. When slicing the dough, use a sharp knife. A clean cut helps maintain the bun’s shape. After baking, let them cool for a few minutes before flipping. This allows the sticky topping to set nicely.
Common Mistakes to Avoid
One common mistake is not letting the dough rise long enough. If it’s not doubled in size, your buns may be dense. Another pitfall is using cold ingredients. Make sure your milk is warm and butter is slightly cooled. This helps activate the yeast. Lastly, don’t rush the baking time. Each oven is different. Check for a golden brown color to know they are done. For more details, check the Full Recipe.
Variations
Gluten-Free Big Fat Pecan Sticky Buns
You can easily make gluten-free sticky buns. Use gluten-free flour blends for the dough. Make sure to check for a blend that has xanthan gum. This helps mimic the elasticity of wheat flour. Follow the same steps as the original recipe. The taste remains rich and sweet. Your guests won’t even notice the difference!
Vegan Version of the Recipe
To create a vegan version, swap out eggs and dairy. Use flaxseed meal mixed with water as an egg substitute. For the milk, choose almond, soy, or oat milk. Replace butter with coconut oil or vegan butter. The sticky buns will still turn out fluffy and delicious. You will love how easy it is to make these vegan treats!
Flavor Variations: Adding Chocolate or Fruit
You can switch up flavors with chocolate or fruit. Add mini chocolate chips into the filling for a sweet twist. Dried fruits like cherries or cranberries work well too. Just mix these into the filling along with the pecans. This makes each bite a delightful surprise. These variations keep your sticky buns fresh and exciting!
For the full recipe, you can refer back to the main article.
Storage Info
How to Store Leftover Sticky Buns
To keep your sticky buns fresh, let them cool down first. Then, place them in an airtight container. This will keep them soft and moist. You can store them at room temperature for up to three days. If you want to keep them longer, refrigeration is an option, but this may dry them out a bit.
Reheating Instructions for Maximum Freshness
When you’re ready to enjoy your leftover sticky buns, you can easily reheat them. Preheat your oven to 350°F (175°C). Wrap the buns in foil to keep them from drying out. Heat them for about 10 to 15 minutes until warm. This method brings back their lovely softness and gooeyness. You can also use a microwave, but only for about 15-20 seconds. Be careful not to overheat, or they may become tough.
Freezing Big Fat Pecan Sticky Buns
If you want to save some sticky buns for later, freezing is a great choice. Allow the buns to cool completely. Then, wrap each bun tightly in plastic wrap, followed by aluminum foil. This keeps them fresh for up to three months. To enjoy them later, thaw them in the fridge overnight. Reheat them as mentioned above to restore their gooey goodness.
For the full recipe, check out the detailed steps and enjoy making these decadent treats!
FAQs
Can I make Big Fat Pecan Sticky Buns in advance?
Yes, you can make these buns ahead of time. Prepare the dough and shape the buns. Place them in the pan but do not bake them yet. Cover the pan with plastic wrap and store it in the fridge overnight. In the morning, let them rise for about 30 minutes at room temperature before baking. This saves time and gives you fresh, warm buns to enjoy.
What can I use instead of pecans?
If you don’t have pecans, try walnuts or almonds. Both add a nice crunch and flavor. You can also use seeds like sunflower or pumpkin seeds for a nut-free option. These swaps keep the recipe tasty and fun. Just chop the nuts or seeds finely before adding them to the filling.
How do I know when the buns are done baking?
To check if the buns are done, look for a golden brown color on top. You can also insert a toothpick in the center. If it comes out clean, they are ready. The buns should feel soft and spring back when touched. Enjoy the sweet smell that fills your kitchen as a sign they are close to being done.
Big Fat Pecan Sticky Buns need tasty ingredients and clear steps. We covered essential items like dough and filling. Optional ingredients can boost flavor. I shared tips for perfect outcomes. Remember common mistakes to avoid. You can even try gluten-free or vegan variations. Store and reheat your buns to keep them fresh. Enjoy these delicious treats for any occasion. Happy baking!
Big Fat Pecan Sticky Buns
Deliciously soft and sticky pecan buns topped with a sweet maple syrup glaze.
Ingredients
Instructions
- 1
Prepare the Dough: In a large mixing bowl, combine 2 cups of all-purpose flour, instant yeast, granulated sugar, and salt. Mix these dry ingredients thoroughly until well combined.
- 2
Combine Wet Ingredients: In a separate bowl, whisk together the warmed milk, melted butter (make sure it's not too hot), eggs, and vanilla extract until smooth. Gradually pour the wet mixture into the dry ingredients.
- 3
Form the Dough: Slowly add the remaining flour, 1/2 cup at a time, mixing until a soft, cohesive dough forms. Once combined, knead the dough on a floured surface for about 5-7 minutes, until it becomes smooth and elastic.
- 4
First Rise: Place the kneaded dough in a greased bowl, cover it with a clean kitchen towel, and allow it to rise in a warm environment for 1 hour, or until it has doubled in size.
- 5
Preheat Oven: Set your oven to preheat at 350°F (175°C).
- 6
Prepare the Filling: While the dough is rising, in a small mixing bowl, stir together the brown sugar, ground cinnamon, chopped pecans, and raisins (if using). Set this filling mixture aside.
- 7
Roll Out the Dough: After the dough has risen, punch it down gently to remove excess air. Roll it out on a floured surface into a rectangle about 1/4 inch thick. Evenly spread the filling mixture over the dough, ensuring coverage from edge to edge.
- 8
Shape the Buns: Starting from one long edge of the rectangle, tightly roll the dough into a log. Slice the log into 12 equal pieces and arrange them in a greased baking dish, cut side up.
- 9
Make the Sticky Topping: In a small saucepan over medium heat, combine the maple syrup and the remaining chopped pecans. Stir gently for about 2-3 minutes until the mixture begins to bubble. Once ready, pour the sticky topping evenly over the sliced buns in the baking dish.
- 10
Second Rise: Cover the baking dish with a towel and allow the buns to rise for another 30 minutes in a warm space.
- 11
Bake the Buns: Once risen, place the baking dish in the preheated oven and bake for 25-30 minutes, or until the buns are golden brown and puffed.
- 12
Cool and Serve: Let the buns cool in the dish for 5 minutes before carefully flipping them out onto a serving platter, allowing the sticky topping to drizzle over them.
Chef's Notes
For an indulgent touch, drizzle additional maple syrup over the warm buns before serving. Garnish with whole pecans for a beautiful presentation. Enjoy them while they're warm for the best experience!


Recipe Creator
Remy
I’m Chef Remy, your recipe companion, here to bring warmth, bold taste, and simplicity to your kitchen.
View My Recipes