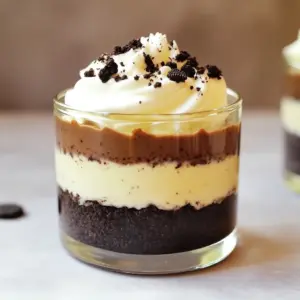
No Bake Oreo Cheesecake Cups
Indulge in a deliciously creamy treat with these Decadent No Bake Oreo Cheesecake Cups! Perfect for any occasion, this easy recipe combines crushed Oreos, cream cheese, and whipped cream to create a delightful dessert that everyone will love. Ready in just 20 minutes with chilling time included, these cups are a fantastic way to impress your guests. Click through to explore this simple recipe and bring a little sweetness to your day!