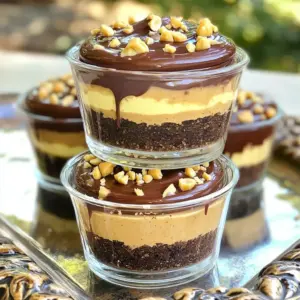
No-Bake Chocolate Peanut Butter Cheesecake Cups
Indulge in the deliciously creamy No-Bake Chocolate Peanut Butter Cheesecake Cups that are sure to impress! With a crunchy chocolate cookie base and a rich peanut butter filling, these easy-to-make treats are perfect for any occasion. Ready in just 20 minutes and set in the fridge, they are a delightful blend of flavors topped with chocolate drizzle and crushed peanuts. Click through to explore the full recipe and bring this sweet sensation to your table!