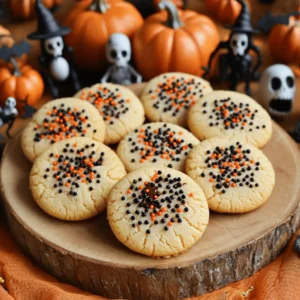
Halloween Chocolate Chip Sugar Cookies
Get ready to celebrate Halloween with these delightful Halloween Chocolate Chip Sugar Cookies! This easy recipe blends buttery sweetness with chocolatey goodness and a fun sprinkle of spooky themes. Perfect for gatherings or a festive treat at home, these cookies are sure to impress. Click through to discover the full recipe and tips to make your Halloween extra delicious and fun!