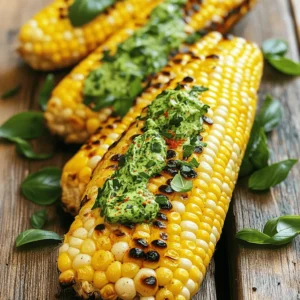
Grilled Corn-On-The-Cob
Elevate your summer BBQ with this delicious Grilled Corn-On-The-Cob with Herb Butter recipe! Fresh corn is grilled to perfection and slathered in a mouthwatering blend of herbs and garlic butter, making it a must-try side dish. Perfect for family gatherings or weekend cookouts, this easy recipe will delight your taste buds. Click to explore how to make this flavorful treat that everyone will love!