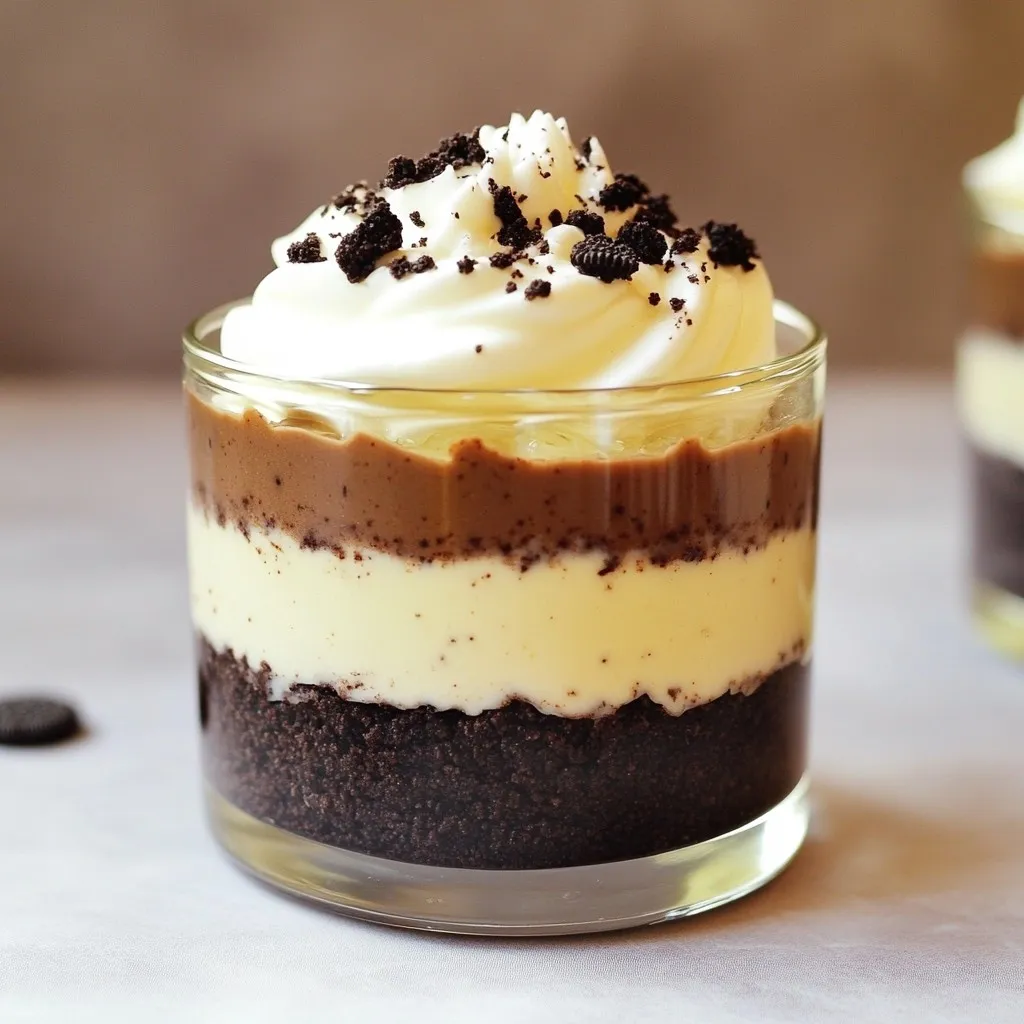
Craving a simple yet delicious dessert? You’ll love these No Bake Oreo Cheesecake Cups! They combine rich cream cheese with crunchy Oreo cookie crust for the ultimate treat. Plus, they come together quickly and easily—perfect for any occasion. Join me as I walk you through the tasty recipe, show you how to customize your cups, and share tips on how to make them shine at your next gathering!
Ingredients
Essential Ingredients for No Bake Oreo Cheesecake Cups
You need a few key items to make these tasty treats. Here’s what to gather:
– 20 Oreo cookies, finely crushed (plus extra for garnish)
– 4 tablespoons unsalted butter, melted
– 8 oz cream cheese, at room temperature
– 1/2 cup granulated sugar
– 1 teaspoon pure vanilla extract
– 1 1/2 cups heavy whipping cream
– 1/2 cup sour cream
– 1 tablespoon powdered sugar (for the whipped cream)
These ingredients create a rich and creamy flavor that everyone will love.
Quality of Ingredients: Tips for Choosing
When picking your ingredients, freshness matters. Choose the best quality cream cheese for a smooth texture. Make sure it’s at room temperature to mix easily. Use fresh heavy cream for that perfect fluffiness in your cheesecake.
For the Oreos, feel free to pick your favorite flavor. The classic ones work great, but mint or peanut butter Oreos add fun twists. Always check the expiration dates on all items for the best taste.
Optional Garnishes and Toppings
Get creative with toppings! Here are some fun ideas to try:
– Extra crushed Oreos for a crunchy finish
– Chocolate syrup for sweetness
– A sprig of mint for a pop of color
– Whipped cream to make it look fancy
These options can make your cheesecake cups even more appealing. Enjoy mixing and matching to find your favorite combination!
Step-by-Step Instructions
Preparation of the Oreo Crust
To start, grab a medium bowl. Add 20 finely crushed Oreo cookies and 4 tablespoons of melted butter. Mix them well until all the cookie crumbs are coated. This step makes a tasty and crunchy base. Next, take about 2 tablespoons of this mixture and place it in each serving cup. Use the back of a spoon to press it down firmly. This will form a stable crust for your cheesecake cups.
Making the Cream Filling
Now for the creamy part! In a larger bowl, beat 8 oz of softened cream cheese with 1/2 cup of granulated sugar. Use an electric mixer for about 2-3 minutes until it’s smooth and creamy. Then, add 1 teaspoon of pure vanilla extract and 1/2 cup of sour cream. Mix until everything is well combined. In another bowl, whip 1 1/2 cups of heavy cream at high speed until stiff peaks form, which takes around 3-5 minutes. Gradually sprinkle 1 tablespoon of powdered sugar into the whipped cream while mixing. Finally, gently fold this whipped cream into the cream cheese mixture until it’s light and fluffy.
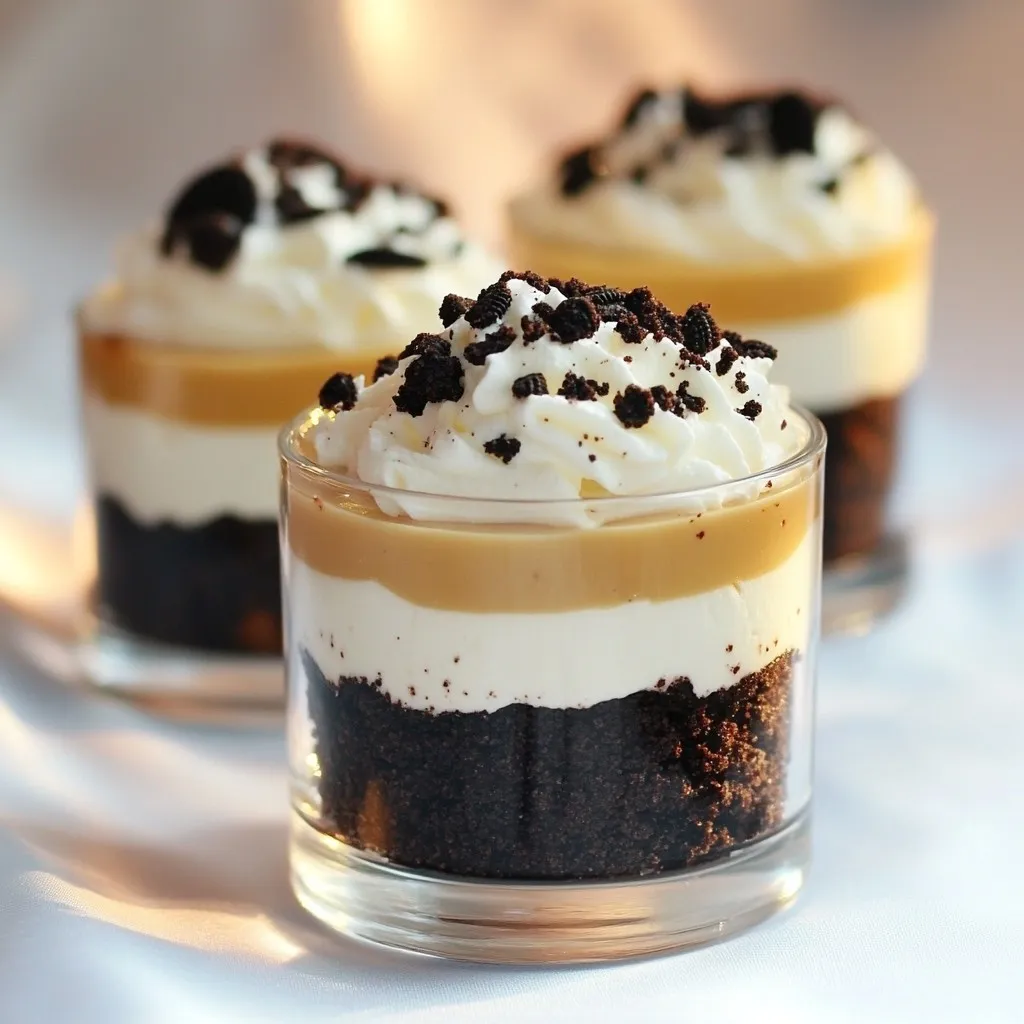
Assembling the Cheesecake Cups
It’s time to put it all together! Spoon or use a piping bag to fill each cup with the cream filling. Make sure to fill them about three-quarters of the way full. To add a nice touch, sprinkle some crushed Oreo cookie pieces on top of each cup. This not only looks great but adds extra flavor. Place the cups in the fridge to chill for at least 4 hours, or overnight for the best texture. Enjoy your delicious no bake Oreo cheesecake cups!
Tips & Tricks
How to Achieve the Perfect Texture
To get a smooth texture, mix the cream cheese well. Beat it with sugar until creamy. The heavy cream should be whipped to stiff peaks. This helps the filling stay light and fluffy. When you fold in the whipped cream, be gentle. This keeps the air in and helps the cheesecake cups stay airy.
Common Mistakes to Avoid
Avoid using cold cream cheese. It must be at room temperature for the best mix. Don’t overbeat the whipped cream. If you do, it may become grainy. Also, don’t skip the chilling time. Letting the cups chill for at least four hours helps them set properly. This is key for a great texture.
Serving Suggestions for Best Presentation
For a nice look, serve the cups on a colorful platter. Garnish with extra crushed Oreo cookies on top. You can also add a sprig of mint for color. A drizzle of chocolate syrup adds extra charm and flavor. This makes your dessert not just tasty, but beautiful too!
Variations
Flavor Variations: Adding Other Ingredients
You can easily change the flavor of your cheesecake cups. Try mixing in different cookies. For example, use peanut butter cookies for a nutty twist. Swap Oreos with chocolate wafers for a rich taste. You can even add fruit flavors! Mix in fresh berries or a swirl of fruit puree. This adds a nice touch of color and taste. Think about adding a layer of chocolate ganache on top for extra richness. The options are endless!
Dietary Modifications: Gluten-Free or Vegan Options
Making these cheesecake cups gluten-free is simple! Use gluten-free Oreo cookies instead of regular ones. For a vegan version, swap the dairy items for plant-based options. Use vegan cream cheese and coconut cream for the filling. You can also use maple syrup instead of sugar for a natural sweetener. These changes keep the dessert tasty and fun for everyone!
Serving Size Adjustments: Scaling the Recipe
Need to serve more guests? You can easily double or triple the recipe. Just adjust the ingredients in the same ratio. If you want fewer cups, halve the ingredients. This dessert is great because it keeps well in the fridge. You can make a big batch and serve it over a few days. If you need smaller portions, use mini cups instead of regular ones. It’s a fun way to enjoy the treat!
Storage Info
How to Properly Store No Bake Oreo Cheesecake Cups
I recommend storing your No Bake Oreo Cheesecake Cups in the fridge. Use an airtight container to keep them fresh. You can also cover each cup with plastic wrap. This helps prevent them from drying out. If you plan to serve them later, keep them in the fridge until it’s time to enjoy.
Shelf Life and Freezing Options
These cheesecake cups last up to 5 days in the fridge. Just make sure to keep them sealed well. If you want to freeze them, they can last for up to 2 months. To freeze, place them in a safe container. Make sure to leave some space for expansion. Thaw them in the fridge overnight before serving.
Reheating Tips for Leftovers
There’s no need to reheat these cheesecake cups. They are best served cold. If you have leftovers, just pop them back in the fridge. Enjoy them straight from the fridge for a cool treat. If you like, you can add more crushed Oreo cookies on top before eating.
FAQs
Can I make these ahead of time?
Yes, you can make No Bake Oreo Cheesecake Cups ahead of time. They taste better when they chill. I recommend making them the night before. This gives them time to set well in the fridge. You can store them in the refrigerator for up to three days. Just cover them with plastic wrap.
What is the best way to serve No Bake Oreo Cheesecake Cups?
The best way to serve these cups is chilled. Place them on a pretty platter for a nice look. You can add extra crushed Oreos on top for a fun touch. A sprinkle of cocoa powder or a drizzle of chocolate syrup also works great. For an extra pop of color, add a mint leaf as a garnish.
Can I substitute cream cheese with something else?
Yes, you can substitute cream cheese. A good option is Greek yogurt. It gives a nice tangy taste. Softened mascarpone cheese also works well. If you want a dairy-free option, try a cashew cream. Just soak cashews in water overnight, then blend until smooth. This keeps the creamy texture while being dairy-free.
No Bake Oreo Cheesecake Cups are easy and fun to make. We covered essential ingredients, tips for quality, and tasty toppings. You learned how to prepare the crust, make the creamy filling, and assemble the cups. I shared common mistakes and serving ideas for better results.
Remember, you can make variations for taste and dietary needs. Store them properly for later enjoyment. Now, get creative and enjoy these treats with friends and family!
