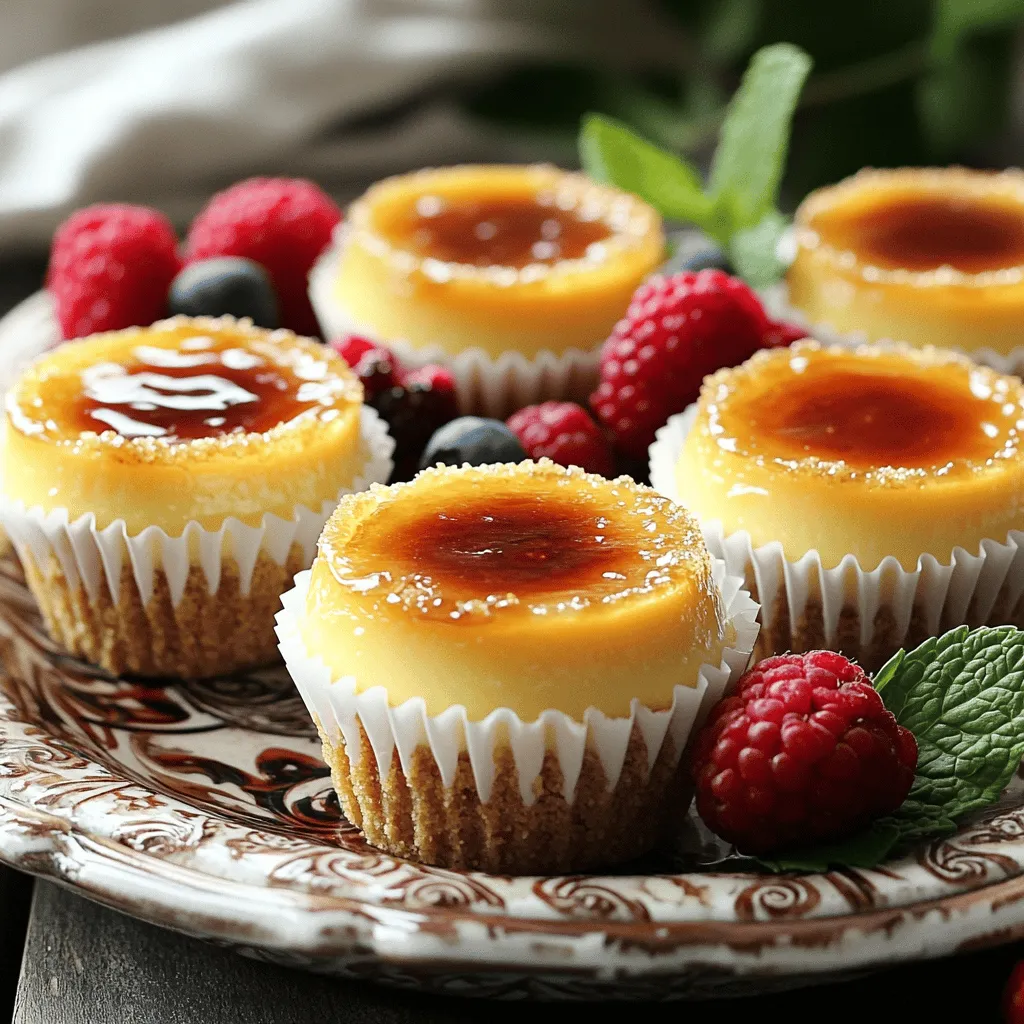
Craving a creamy dessert that wows your taste buds? Try these Mini Crème Brûlée Cheesecakes! They combine the rich flavor of cheesecake with a crunchy caramel topping. Perfect for parties or a cozy night in, they’re simple to make. In this post, I’ll guide you through a quick recipe that anyone can master. Get ready to impress your friends and family with these delightful treats!
Ingredients
Creating Mini Crème Brûlée Cheesecakes is simple with the right ingredients. Here’s what you need:
– 1 cup graham cracker crumbs
– 2 tablespoons granulated sugar (for crust)
– 4 tablespoons unsalted butter, melted
– 16 oz cream cheese, softened to room temperature
– 1 cup granulated sugar (for filling)
– 1 teaspoon pure vanilla extract
– 2 large eggs, at room temperature
– 1 cup heavy cream
– Extra granulated sugar for caramelizing on top
These ingredients blend to create a creamy, delightful treat. The graham cracker crumbs make a crunchy base. The cream cheese adds richness, while the heavy cream gives it a smooth texture. Each element plays a key role in achieving that classic crème brûlée taste. I find that using fresh, high-quality ingredients makes a big difference in flavor.
For the full recipe, check out the detailed instructions.
Step-by-Step Instructions
Preparing the Crust
1. Preheat the oven: Set your oven to 325°F (160°C). This is the perfect temperature for baking the crust.
2. Mixing the crust ingredients: In a bowl, combine 1 cup of graham cracker crumbs, 2 tablespoons of granulated sugar, and 4 tablespoons of melted unsalted butter. Stir until all crumbs are moist.
3. Baking the crusts: Line a muffin tin with cupcake liners. Press about 1 tablespoon of the mixture into the bottom of each liner. Bake for 5-7 minutes until they are firm. Let them cool.
Making the Cheesecake Filling
1. Beating the cream cheese: In a clean bowl, beat 16 oz of softened cream cheese with an electric mixer. Mix until smooth and creamy.
2. Incorporating sugar and eggs: Gradually add 1 cup of granulated sugar. Mix until light and fluffy. Then, add 2 large eggs, one at a time, mixing well after each.
3. Adding heavy cream and mixing: Pour in 1 cup of heavy cream. Stir gently until the batter is smooth and fully mixed.
Baking and Cooling
1. Distributing the batter: Pour the cheesecake batter over the cooled crusts. Fill each liner about three-quarters full.
2. Baking time and checking consistency: Bake for 20-25 minutes. The edges should be firm, but the centers can still jiggle slightly.
3. Cooling methods: Turn off the oven. Leave the cheesecakes inside for 1 hour. Then, move them to a wire rack until they reach room temperature. Chill them in the fridge for at least 4 hours. For the best texture, refrigerate overnight.
For the full recipe, check the details above.
Tips & Tricks
Achieving the Perfect Texture
Using room temperature ingredients makes a big difference. When cream cheese is soft, it blends smoothly. Eggs should be at room temperature too. This helps them mix well, creating a creamy cheesecake.
Bake your mini cheesecakes for 20-25 minutes. The edges should be firm, but the centers still jiggle slightly. If they look too set, they can become dry. After baking, turn off the oven and let them cool inside for one hour. This gentle cooling helps prevent cracks. Refrigerate them for at least four hours. Overnight chilling is even better for texture.
Caramelizing the Sugar Topping
Using a kitchen torch is the best way to caramelize the sugar. To use it safely, hold the torch about six inches away. Move it in circles over the sugar until it melts and turns golden. Let it cool for a minute to harden.
If you don’t have a torch, you can use the broiler. Place the cheesecakes under the broiler for about 2-3 minutes. Watch closely, as sugar can burn quickly.
Presentation Tips
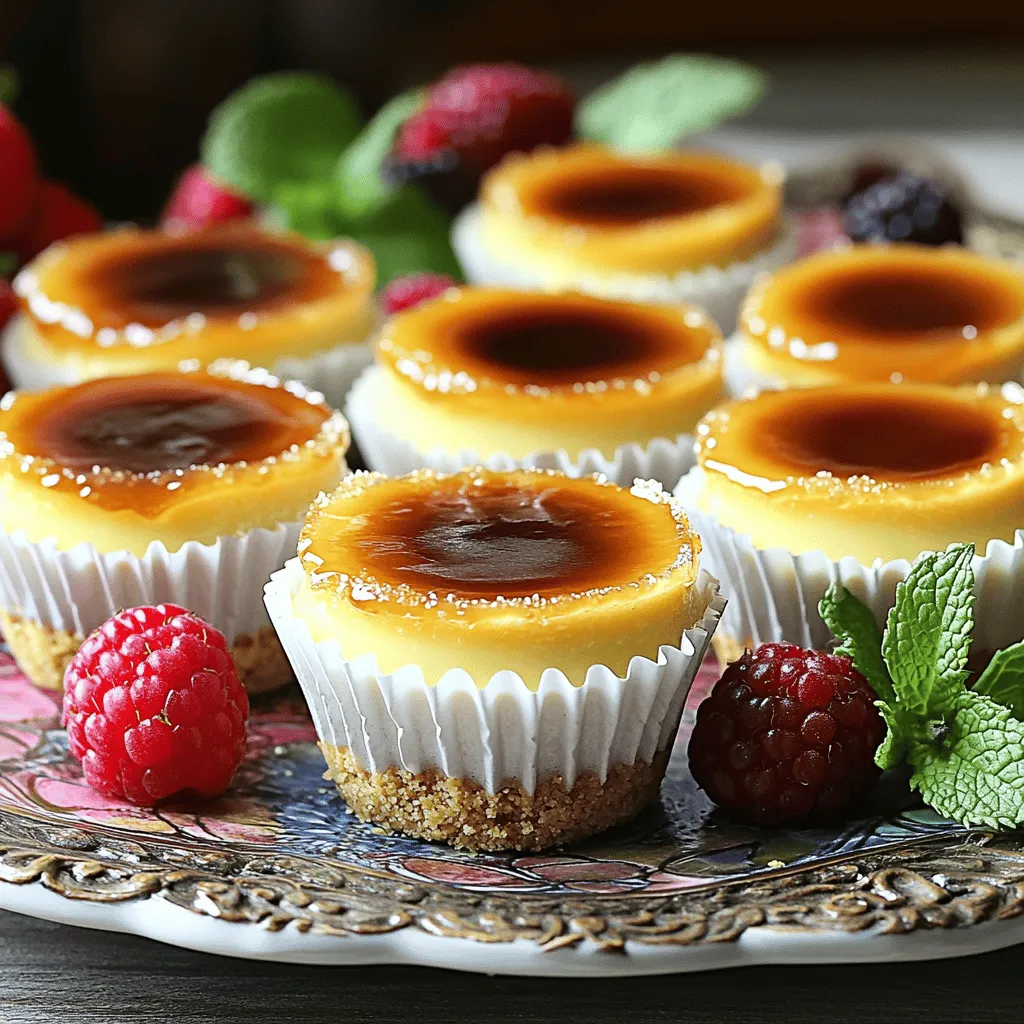
Serve your mini cheesecakes on a decorative platter. Arrange them neatly for a beautiful display. Garnish with fresh berries or mint leaves. You can also drizzle caramel or chocolate sauce on top. This adds color and flavor, making your treat even more appealing.
For the full recipe, check out the steps above!
Variations
Flavor Variations
You can add fun twists to your mini crème brûlée cheesecakes. Try mixing in chocolate or fruit flavors. For chocolate, use cocoa powder or melted chocolate in the filling. Fruit can bring a fresh taste. Consider pureeing strawberries or raspberries and folding them into the batter.
You can also incorporate liqueurs for a grown-up treat. A splash of coffee liqueur or orange liqueur can enhance the flavor. Just a tablespoon is enough to make a difference.
Dietary Alternatives
If you need gluten-free options, use gluten-free graham cracker crumbs for the crust. You can find these at most grocery stores. They work just as well and taste great.
For dairy-free substitutes, use vegan cream cheese and coconut cream. These ingredients will keep the creamy texture while meeting your dietary needs.
Seasonal Twists
Seasonal flavors can make these cheesecakes even more special. For fall, try a pumpkin spice version. Add pumpkin puree and spices like cinnamon and nutmeg to the filling.
In summer, berry versions shine. You can use fresh blueberries, strawberries, or blackberries mixed into the batter. These flavors are bright and refreshing, perfect for warm weather.
Explore these variations to make the mini crème brûlée cheesecakes your own. Check the Full Recipe for more ideas and inspiration!
Storage Info
Refrigeration Guidelines
To keep your mini cheesecakes fresh, store them in the fridge. Place them in an airtight container. This step prevents them from absorbing any odd flavors. You can keep them in the fridge for up to five days. If you want the best taste, eat them within three days.
Freezing Instructions
Want to make them last longer? Freeze the mini cheesecakes. First, let them cool completely. Wrap each cheesecake tightly in plastic wrap. Then, put them in a freezer-safe bag. They can stay frozen for up to three months. When you’re ready to enjoy them, take them out of the freezer. Place them in the fridge overnight to thaw.
Reheating Suggestions
To refresh the texture after freezing, avoid the microwave. Instead, place them in the oven at 350°F (175°C) for about 10 minutes. This method helps keep the crust crispy. Serve them chilled right after thawing. Just add the caramelized sugar topping before serving. For extra flair, garnish with berries or mint. Enjoy your delightful treat!
FAQs
What is the best way to caramelize the sugar topping?
To caramelize the sugar topping, use a kitchen torch. This gives a nice, even burn. Keep the torch moving to avoid burning one spot. If you don’t have a torch, you can use your oven broiler. Place the mini cheesecakes under the broiler for about 1-2 minutes. Watch closely to prevent burning.
Tools needed for caramelizing:
– Kitchen torch
– Baking sheet (for broiler method)
– Heat-resistant gloves
Can I make these Mini Crème Brûlée Cheesecakes ahead of time?
Yes, you can make these cheesecakes a day in advance. They store well in the fridge. Just keep them in an airtight container. The flavors will deepen as they sit.
Suggested storage times:
– Refrigerate for up to 3 days.
– Freeze for longer storage, up to 2 months.
Tips for preparing in advance:
– Bake and cool the cheesecakes.
– Do not add the sugar topping until you are ready to serve.
How do I know when the cheesecakes are done baking?
You’ll know the cheesecakes are done when the edges are firm. The center should still have a slight jiggle. This means they will set perfectly as they cool.
Signs of perfect doneness:
– Firm edges
– Slight jiggle in the center
Checking for texture and jiggle:
– Gently shake the muffin tin.
– Look for a wobbly center but firm edges.
In this post, we explored the delightful process of making Mini Crème Brûlée Cheesecakes. We covered ingredients and step-by-step instructions, plus tips on texture, caramelization, and presentation. I also shared variations, storage tips, and answers to common questions.
These treats are perfect for any occasion. You can experiment with flavors and dietary needs to make them your own. Enjoy creating and sharing this delicious dessert!
Mini Crème Brûlée Cheesecakes
Delicious mini cheesecakes with a creamy filling and a caramelized sugar topping.
Ingredients
Instructions
- 1
Preheat your oven to 325°F (160°C).
- 2
In a mixing bowl, combine the graham cracker crumbs, 2 tablespoons of sugar for the crust, and melted butter. Mix well until all the crumbs are coated.
- 3
Line a muffin tin with cupcake liners. Using about 1 tablespoon of the graham cracker mixture, press it firmly into the bottom of each liner to create an even crust. Bake in the preheated oven for 5-7 minutes until the crusts are set. Remove from the oven and let them cool.
- 4
In a large mixing bowl, using an electric mixer, beat the softened cream cheese until smooth and creamy. Gradually add in the 1 cup of granulated sugar for the filling, continuing to beat until the mixture is light and fluffy.
- 5
Blend in the vanilla extract, then add the eggs one by one, mixing well after each addition until fully incorporated.
- 6
Pour in the heavy cream and stir gently until the batter is uniform and smooth.
- 7
Evenly distribute the cheesecake batter over the cooled crusts in the muffin tin, filling each liner about three-quarters full.
- 8
Bake the cheesecakes for 20-25 minutes, or until the edges are firm while the centers still have a slight jiggle.
- 9
Turn off the oven and allow the cheesecakes to cool inside for approximately 1 hour. Once cooled, transfer them to a wire rack to reach room temperature.
- 10
Place the cheesecakes in the refrigerator for at least 4 hours, but overnight is best for achieving the perfect texture.
- 11
Just before serving, evenly sprinkle a thin layer of granulated sugar over the tops of each chilled cheesecake.
- 12
Using a kitchen torch, carefully caramelize the sugar until it becomes golden and bubbly. Allow it to cool for about a minute until the caramelized sugar hardens to a crisp finish.
Chef's Notes
Serve on a decorative platter and garnish with fresh berries or mint.


Recipe Creator
Remy
I’m Chef Remy, your recipe companion, here to bring warmth, bold taste, and simplicity to your kitchen.
View My Recipes