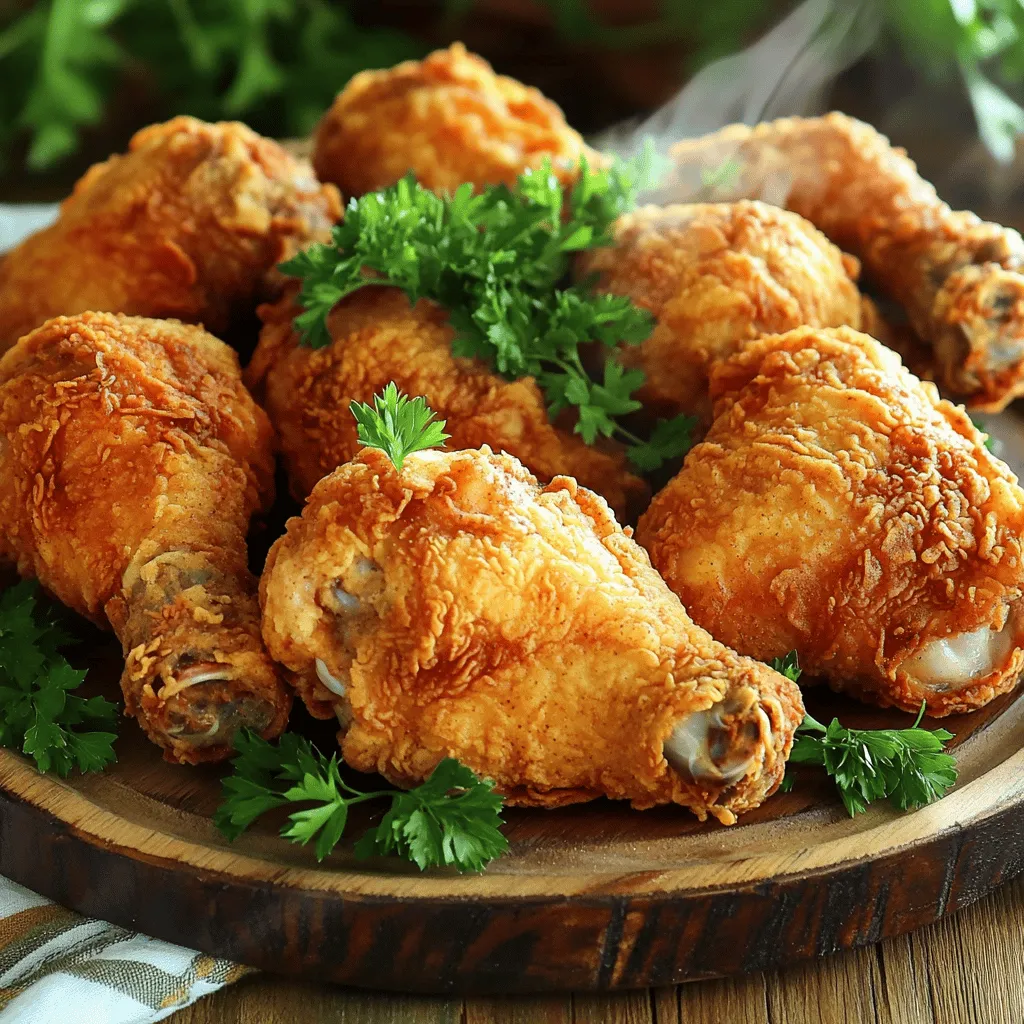
Craving crispy, flavorful fried chicken but don’t have buttermilk? No worries! I’ll show you how to make delicious fried chicken using easy substitutes. You’ll learn the best ingredients, the perfect frying method, and key tips for that crunchy coat. Let’s flip the script on traditional recipes and create mouthwatering fried chicken that will impress everyone at your table. Ready to dive in?
Ingredients
Main Ingredients for Fried Chicken
To make fried chicken without buttermilk, you need some key ingredients. Here’s what you’ll need:
– 4 chicken thighs (bone-in, skin-on)
– 4 chicken drumsticks (skin-on)
– 1 cup all-purpose flour
– 1 teaspoon paprika
– 1 teaspoon garlic powder
– 1 teaspoon onion powder
– 1 teaspoon dried thyme
– 1 teaspoon cayenne pepper (adjust to your spice preference)
– 1 teaspoon salt
– 1 teaspoon black pepper
– 1 cup milk (or dairy-free alternative)
– 1 tablespoon lemon juice (to create a buttermilk substitute)
– Oil for frying (choose vegetable or peanut oil for the best results)
These ingredients come together to create a crispy, flavorful fried chicken.
Buttermilk Substitute Alternatives
If you don’t have buttermilk, don’t worry! You can make a great substitute with just milk and lemon juice. Combine 1 cup of milk with 1 tablespoon of lemon juice. Let it sit for 5-10 minutes. This mixture will mimic the tanginess of buttermilk and help tenderize the chicken.
You can also use other options. Try plain yogurt mixed with a bit of water. Or, use a dairy-free milk with lemon juice. Each option works well and gives you that nice, juicy chicken.
Essential Seasoning Blends
Seasoning is key to great fried chicken. Here’s a blend that will elevate your dish:
– Paprika adds a sweet, smoky flavor.
– Garlic powder brings depth and warmth.
– Onion powder adds a subtle sweetness.
– Dried thyme gives an earthy touch.
– Cayenne pepper adds a kick (adjust based on your spice level).
– Salt enhances all the flavors.
– Black pepper adds a nice bite.
Mix these together in a large bowl with the flour. The blend creates a crispy coating that packs a punch. This way, you’ll have a fried chicken that tastes amazing and looks beautiful. For the full recipe, follow the steps outlined. Enjoy your cooking adventure!
Step-by-Step Instructions
Preparing the Buttermilk Substitute
To make a buttermilk substitute, start by mixing milk and lemon juice. Use one cup of milk and add one tablespoon of lemon juice. Stir the mixture and let it sit for about 5-10 minutes. This lets the milk thicken, giving it the tangy taste of buttermilk. This step is key because it helps tenderize the chicken.
Mixing and Coating the Chicken
Next, gather your dry ingredients for the coating. In a large bowl, mix together flour, paprika, garlic powder, onion powder, dried thyme, cayenne pepper, salt, and black pepper. Use a whisk to blend these ingredients evenly. This seasoned flour will give your chicken a great flavor.
Now, take each chicken piece and dip it into the milk mixture. Make sure every part is coated well. Allow any extra liquid to drip back into the bowl. After this, roll the chicken in the seasoned flour. Press down gently to help the flour stick. Place the coated chicken on a plate or tray and get ready to fry.
Frying the Chicken to Perfection
In a deep skillet, pour enough oil to cover the bottom by about 1-2 inches. Heat the oil over medium-high heat until it reaches around 350°F (175°C). You can check the temperature by dropping a bit of flour into the oil. If it sizzles right away, it’s ready.
Carefully add the chicken pieces to the hot oil. Fry them in batches to avoid crowding the pan. This helps cook them evenly. Cook for about 10-12 minutes on each side. The chicken should turn golden brown, and the inside should reach 165°F (75°C).
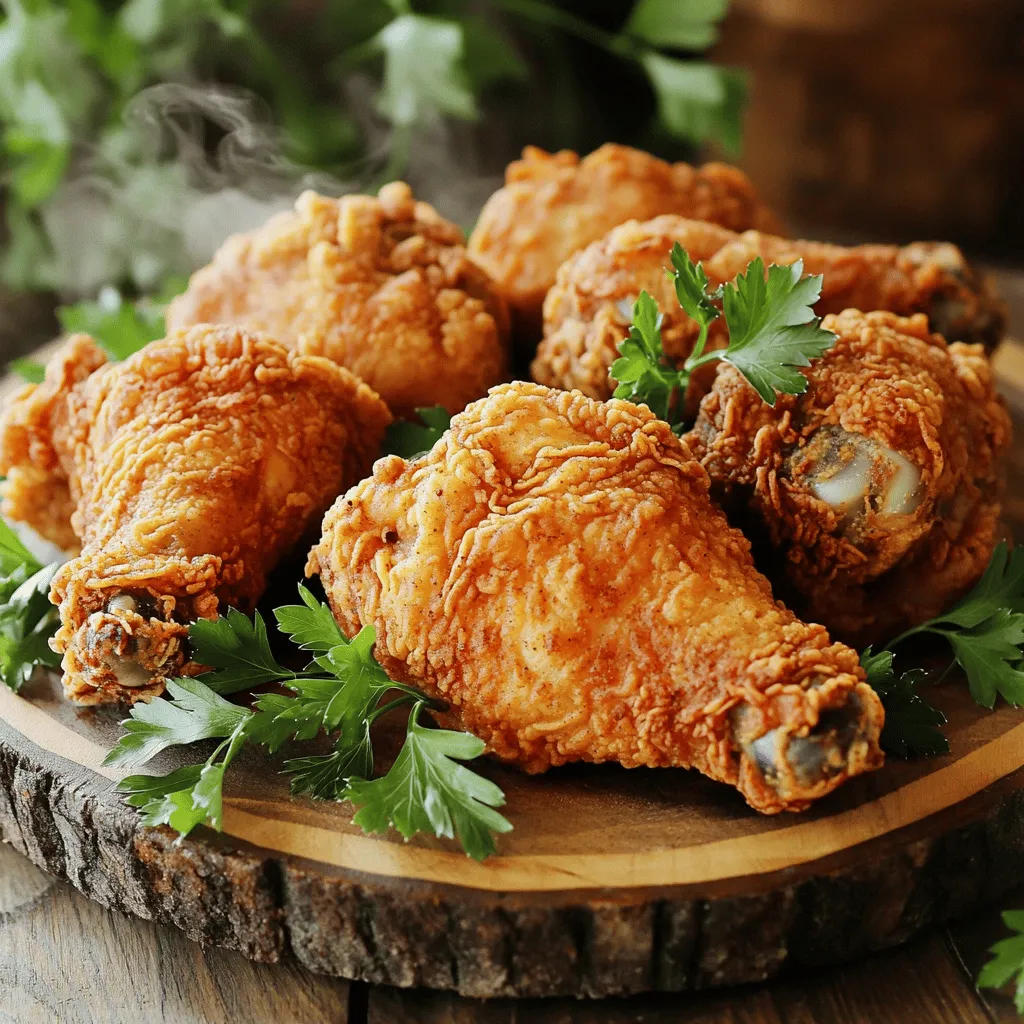
Once done, use tongs to remove the chicken and place it on a paper towel-lined plate. This helps soak up any extra oil. Let the chicken cool slightly before serving. Now, you’re ready to enjoy your crispy and flavorful fried chicken! For the complete recipe, check out the Full Recipe above.
Tips & Tricks
Ensuring the Crispiest Coating
To get that perfect crispy coating, you need to follow a few steps. First, make sure to coat the chicken well in the milk mixture. This helps the flour stick. Next, press the chicken into the flour mix. This extra pressure helps create a thick crust. Let the coated chicken rest for a few minutes before frying. This allows the coating to set.
Safe Oil Temperatures for Frying
Getting the oil temperature right is key. Heat your oil to about 350°F (175°C). If the oil is too cold, the chicken will soak up too much oil. If it’s too hot, the outside will burn before the inside cooks. A good way to test the oil is by dropping in a bit of flour. If it sizzles, you’re ready to fry.
Common Mistakes to Avoid
Avoid overcrowding the pan. When you add too many pieces, the temperature drops. This leads to soggy chicken. Fry in batches so each piece gets enough space. Also, do not skip the resting time after frying. Letting the chicken sit on paper towels helps remove excess oil. This makes your fried chicken even crispier.
Variations
Spicy Fried Chicken Adjustments
To add heat to your fried chicken, use more cayenne pepper. Start with 1.5 teaspoons instead of 1. You can also add chili powder or hot sauce to your buttermilk substitute. This will give your chicken a spicy kick. If you like it even hotter, add some crushed red pepper flakes to the flour mix. This way, every bite packs a punch.
Gluten-Free Options
If you need a gluten-free option, swap the all-purpose flour for gluten-free flour. Brands like almond or coconut flour work well. Just ensure your chicken is free from cross-contamination. The same spices can be used to keep the flavor strong. This way, you can enjoy crispy fried chicken without worry.
Different Flavor Profiles with Herbs and Spices
You can change the taste of your fried chicken by using different herbs and spices. For a fresh twist, try adding rosemary or oregano to the flour mix. If you prefer a more savory flavor, use sage or dill. You can even add a hint of lemon zest to the flour for brightness. This makes the chicken taste unique and exciting.
For the full recipe, check out the detailed steps provided above!
Storage Info
How to Store Leftover Fried Chicken
To keep your fried chicken fresh, place it in an airtight container. Make sure it cools down to room temperature before sealing. This keeps moisture in while avoiding sogginess. If you have extra chicken, you can also wrap it tightly in foil or plastic wrap. Store it in the fridge if you plan to eat it within a few days.
Best Practices for Reheating
When you’re ready to enjoy your leftover fried chicken, the best way to reheat it is in the oven. Preheat your oven to 375°F (190°C). Place the chicken on a baking sheet lined with parchment paper. Heat for about 15-20 minutes, or until it reaches a crispy texture again. You can also reheat it in an air fryer for 10 minutes at 350°F (175°C) for extra crispiness.
Shelf Life and Freezing Tips
Leftover fried chicken can last in the fridge for about 3-4 days. If you want to store it longer, consider freezing it. Wrap the chicken pieces tightly in plastic wrap and then in foil to prevent freezer burn. It can last up to 3 months in the freezer. To thaw, move it to the fridge overnight before reheating. For the best flavor and texture, consume it sooner rather than later.
FAQs
Can I use other dairy substitutes instead of milk?
Yes, you can use other dairy substitutes. Almond milk, soy milk, or oat milk work well. These options give the chicken a nice flavor. They also help keep the meat moist. Just remember to add lemon juice to these substitutes too. This creates a tangy taste similar to buttermilk.
How do I know when the chicken is fully cooked?
To check if your chicken is fully cooked, use a meat thermometer. Insert it into the thickest part of the chicken. The internal temperature should reach 165°F (75°C). If you don’t have a thermometer, look for a golden-brown color. The juices should run clear, not pink. Cutting the chicken open will also help you see if it’s done.
What can I serve with fried chicken?
Fried chicken pairs well with many sides. Here are some of my favorites:
– Creamy coleslaw
– Mashed potatoes with gravy
– Buttered corn
– Baked beans
– Macaroni and cheese
These sides add flavor and texture to your meal. You can mix and match depending on your mood. Enjoy your crispy fried chicken with these tasty options!
Fried chicken is a delight that you can make at home. Using the right ingredients and techniques brings out great flavor. The tips and tricks shared help ensure a perfect crispy coating. You can also try variations to suit your taste, from spicy to gluten-free. With proper storage and reheating methods, your leftovers will stay tasty. Now you have the knowledge to fry delicious chicken confidently. Enjoy your cooking adventure!
Fried Chicken Without Buttermilk
A delicious and crispy fried chicken recipe that doesn't require buttermilk.
Ingredients
Instructions
- 1
Prepare the Buttermilk Substitute: In a small bowl, combine the milk and lemon juice. Let this mixture sit for about 5-10 minutes until it thickens slightly.
- 2
Mix Dry Ingredients: In a large bowl, whisk together the all-purpose flour, paprika, garlic powder, onion powder, dried thyme, cayenne pepper, salt, and black pepper until evenly blended.
- 3
Coat the Chicken: Take each piece of chicken and dip it into the milk mixture, ensuring every part is well-coated. Allow any excess liquid to drip off back into the bowl.
- 4
Dredging Process: Place the coated chicken into the seasoned flour mixture. Make sure to cover each piece thoroughly, pressing gently to help the flour adhere.
- 5
Heat the Oil: In a deep skillet or frying pan, pour in enough oil to cover the bottom (about 1-2 inches deep) and heat it over medium-high heat until it reaches around 350°F (175°C).
- 6
Fry the Chicken: Carefully add the chicken pieces into the hot oil, frying for approximately 10-12 minutes on each side, or until golden brown and the internal temperature reaches 165°F (75°C).
- 7
Drain and Cool: Once cooked, remove the chicken from the oil and transfer it to a paper towel-lined plate to absorb excess oil. Allow the chicken to cool slightly before serving.
Chef's Notes
Serve with fresh herbs and a side of coleslaw for a complete meal.

Recipe Creator
Remy
I’m Chef Remy, your recipe companion, here to bring warmth, bold taste, and simplicity to your kitchen.
View My Recipes