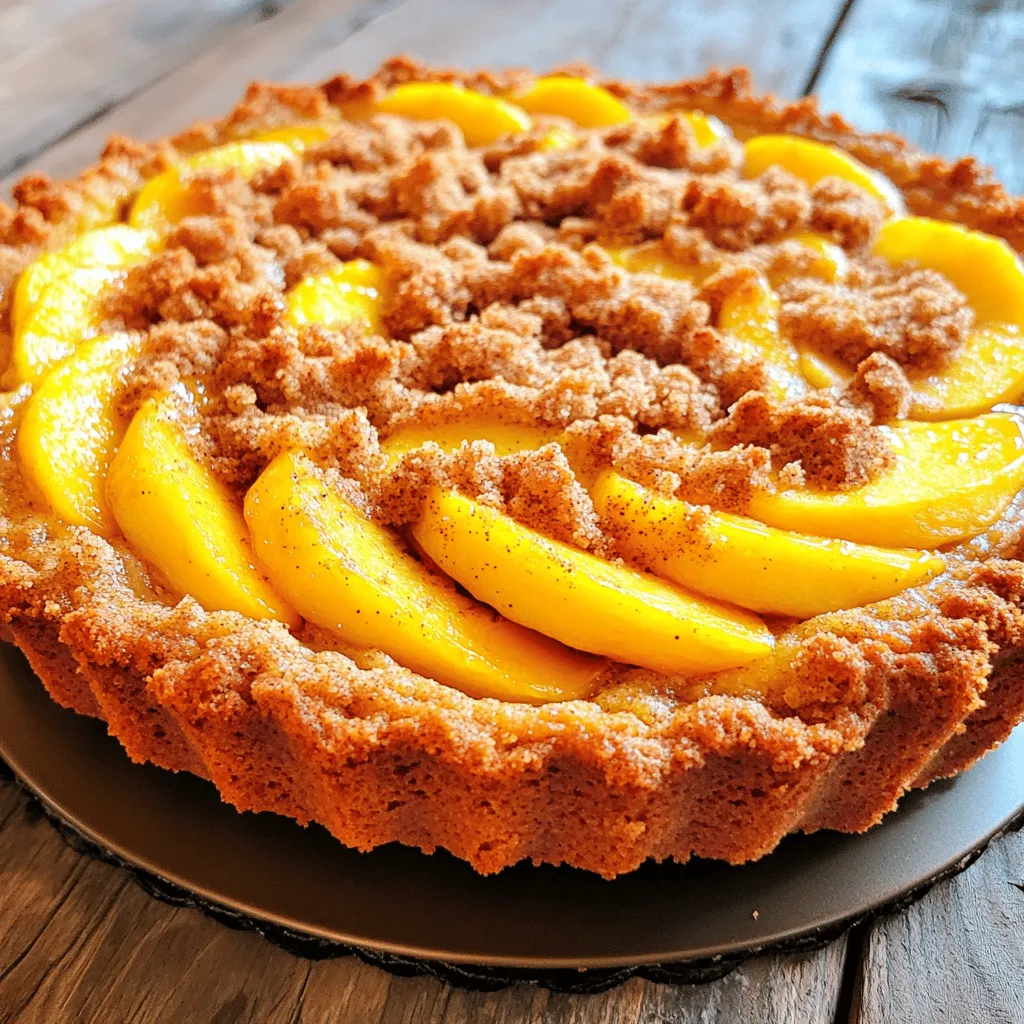
Are you ready to bake a treat that will impress everyone? Look no further than this Easy Italian Peach Crumb Cake. You’ll love how simple it is to make. With fresh peaches and a crumbly topping, it’s perfect for any occasion. Whether you’re a baking pro or just starting out, this recipe will brighten your kitchen. Let’s dive into the sweet world of peach cake and create something delightful together!
Ingredients
Key Ingredients for the Cake
– 3 ripe peaches, pitted and sliced
– 1 ½ cups all-purpose flour
– ¾ cup granulated sugar (for the cake)
– ½ cup unsalted butter, softened
– 2 large eggs
– 1 teaspoon vanilla extract
– 1 teaspoon baking powder
– ½ teaspoon baking soda
– ¼ teaspoon salt
– 1 teaspoon ground cinnamon
I love using ripe peaches in this cake. They add sweetness and flavor. For the base, I mix all-purpose flour, sugar, and butter. The sugar makes the cake sweet. Butter adds richness and helps create a soft texture. Eggs bind everything together, giving the cake its structure. Vanilla extract adds a lovely aroma. Baking powder and baking soda help the cake rise, while salt brings out all the flavors. Ground cinnamon adds a warm touch, making it even better.
Topping Ingredients
– ½ cup packed brown sugar
– ½ cup rolled oats
– 1 teaspoon ground cinnamon (for topping)
– 2 tablespoons additional butter
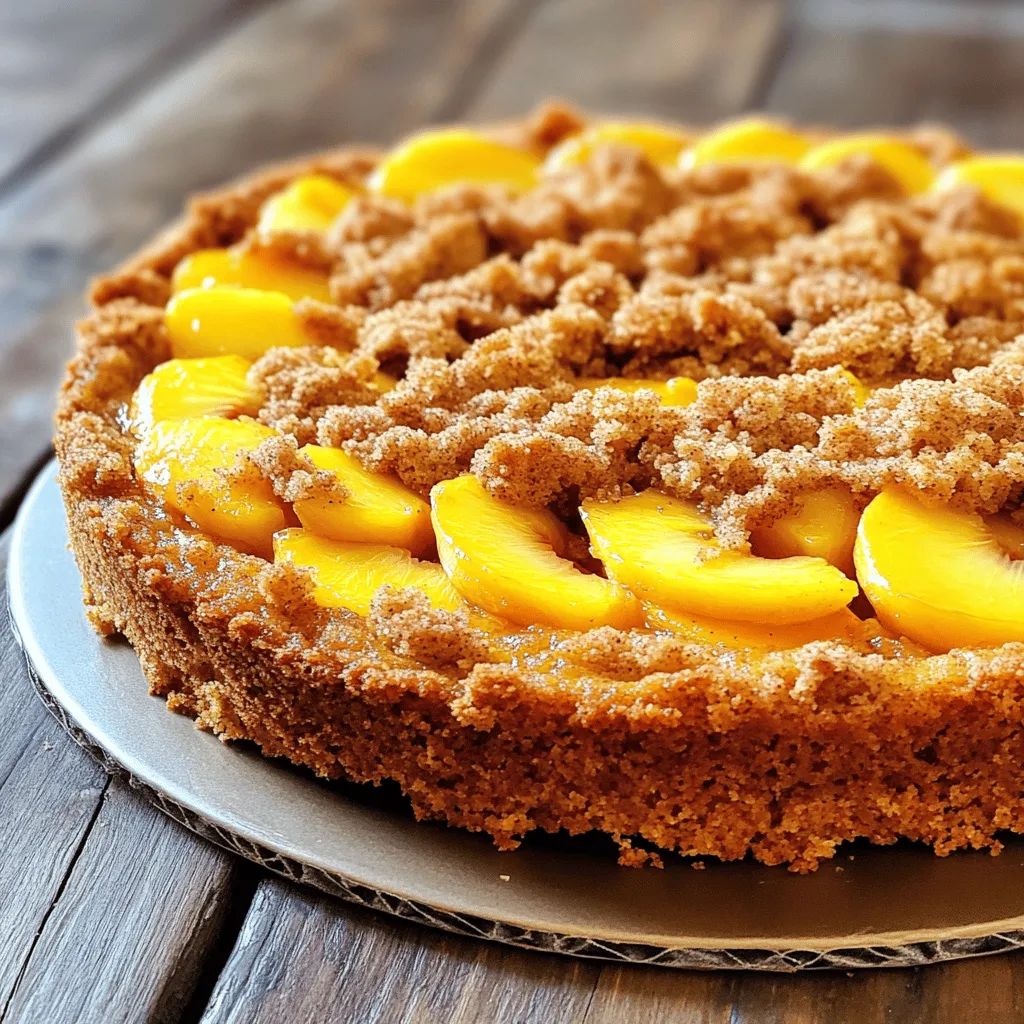
The crumb topping is the star of this cake. Brown sugar gives it a caramel flavor. Rolled oats add texture and crunch. I use ground cinnamon here to enhance the flavor. This topping is easy to make. You simply mix everything together and sprinkle it on top of the cake batter before baking. The extra butter helps create those delicious crumbs.
Optional Ingredients
– Additional fruit varieties (like blueberries or cherries)
– Chopped nuts (such as walnuts or almonds)
– Chocolate chips
You can get creative with this cake. Try adding other fruits if you want. Blueberries or cherries can be great choices. Chopped nuts add a nice crunch, while chocolate chips bring a sweet surprise. Mixing in these optional ingredients can make the cake even more special. Check out the Full Recipe for all the details!
Step-by-Step Instructions
Preparation Steps
1. Preheat the oven and prepare the cake pan. Start by setting your oven to 350°F (175°C). While it heats, grab a 9-inch round cake pan. Grease it with butter or use parchment paper. This will help the cake come out easily later.
2. Mix butter and sugar for the base. In a large bowl, take ½ cup of softened unsalted butter. Add ¾ cup of granulated sugar. Use an electric mixer to beat them together. Mix until the mixture is fluffy and light. This should take about 3-4 minutes.
Combining Ingredients
1. Incorporating eggs and vanilla. Crack two large eggs into the bowl. Mix well after adding each egg. This ensures they are blended evenly. Then, add 1 teaspoon of vanilla extract. Stir until it is well mixed.
2. Mixing dry ingredients. In a separate bowl, combine 1 ½ cups of all-purpose flour, 1 teaspoon of baking powder, ½ teaspoon of baking soda, ¼ teaspoon of salt, and 1 teaspoon of ground cinnamon. Whisk these dry ingredients together until they are fully mixed.
Assembling the Cake
1. Folding in peaches and pouring batter. Gently fold in 3 sliced peaches into the batter using a spatula. Be careful not to break the peach slices. Once mixed, pour the batter into your prepared cake pan. Use a spatula to spread it evenly.
2. Preparing crumb topping. In another bowl, mix ½ cup of packed brown sugar, ½ cup of rolled oats, and 1 teaspoon of ground cinnamon. Cut in the remaining softened butter until the mixture looks like coarse crumbs. This will give the cake a nice crunch.
Baking Instructions
1. Baking time and checking for doneness. Place the cake in your preheated oven. Bake for 35-40 minutes. To check if it’s done, insert a toothpick into the center. If it comes out clean, your cake is ready.
Enjoy making this Easy Italian Peach Crumb Cake from the full recipe!
Tips & Tricks
Baking Tips
– Proper Mixing Techniques: Start by beating softened butter with sugar until fluffy. Mix eggs in one at a time. This helps keep your cake light.
– Avoiding Common Mistakes: Skip overmixing the batter. Mix just until combined. This keeps the cake soft and tender.
Serving Suggestions
– Garnishing Options: Serve slices on dessert plates. Add a dollop of whipped cream and fresh peach slices. A sprinkle of powdered sugar looks lovely too.
– Pairing with Beverages: Pair this cake with sweet tea or coffee. Both drinks enhance the peach flavors.
Common Mistakes to Avoid
– Overmixing the Batter: Overmixing makes the cake dense. Stop mixing as soon as the flour disappears.
– Not Greasing the Pan Properly: Always grease your pan well. Use butter or non-stick spray to prevent sticking. This ensures easy cake removal.
Following these tips helps you create a perfect Easy Italian Peach Crumb Cake. For the full recipe, check the provided link.
Variations
Flavor Variations
You can change the fruit in this cake. Try using ripe plums or cherries. For a tropical twist, use mango or pineapple. Each fruit brings its unique taste to the cake. You can also add spices. A dash of nutmeg or ginger can enhance the flavor. Adding almond or coconut extract gives a nice twist too.
Dietary Adjustments
If you need a gluten-free cake, use almond or coconut flour. You can also find gluten-free all-purpose flour blends at the store. For a vegan version, replace eggs with flaxseed meal. Mix one tablespoon of flaxseed with three tablespoons of water. Let it sit until it thickens. You can use plant-based butter instead of regular butter.
Seasonal Adaptations
Using seasonal fruits makes this cake even better. In summer, fresh peaches shine. In fall, try apples or pears for a cozy flavor. For winter, citrus fruits like oranges or lemons can brighten your day. You can also adjust the cake for holidays. Add pumpkin spice for Thanksgiving or peppermint for Christmas. This makes your cake fun and festive!
For the full recipe, check out the Italian Peach Crumb Cake Delight.
Storage Info
How to Store
To keep your Italian peach crumb cake fresh, store it at room temperature. Use a cake dome or cover it with plastic wrap. This helps to keep the cake moist. If you have leftover slices, place them in an airtight container. Make sure to keep it away from direct sunlight or heat.
Freezing Guidelines
You can freeze the cake for longer shelf life. First, let it cool completely. Then, wrap it tightly in plastic wrap. After that, place the wrapped cake in a freezer bag. This will protect it from freezer burn. When you’re ready to enjoy it, thaw the cake overnight in the refrigerator. For the best taste, serve it at room temperature.
Shelf Life
At room temperature, the cake lasts for about two days. If you store it in the fridge, the shelf life extends to about one week. Just remember to cover it well. Keeping it airtight helps maintain its flavor and texture. Enjoy your cake fresh and delicious! For the full recipe, refer to the section above.
FAQs
What type of peaches are best for this recipe?
I recommend using freestone peaches. They are easy to slice and pit. Clingstone peaches have a harder pit that sticks to the flesh. Both types taste great, but freestone makes this recipe easier.
Can I make this recipe ahead of time?
Yes, you can prepare this cake a day in advance. Bake it, then let it cool. Store it in an airtight container. When you’re ready to serve, just reheat in the oven at 350°F for about 10 minutes.
Is it possible to substitute the fruit?
Absolutely! You can use other fruits like nectarines, plums, or berries. These fruits will add a lovely twist to the cake. Just ensure they are ripe for the best flavor.
How do I know when the cake is done?
To test for doneness, insert a toothpick in the center. If it comes out clean, the cake is done. You can also gently press the top; it should bounce back.
In this post, we covered the key ingredients for a delicious cake, including ripe peaches, flour, and butter. I shared step-by-step instructions on preparing, mixing, and baking. You learned tips for serving and avoiding common mistakes.
As you create your cake, remember to get creative with ingredients and flavors. Enjoy the process, and share your tasty results with friends and family. Happy baking!
Easy Italian Peach Crumb Cake
A delightful crumb cake featuring ripe peaches with a crunchy topping, perfect for dessert.
Ingredients
Instructions
- 1
Begin by preheating your oven to 350°F (175°C). Prepare a 9-inch round cake pan by greasing it with butter or lining it with parchment paper to ensure ease of removal once baked.
- 2
In a large mixing bowl, use an electric mixer to beat the softened butter together with ¾ cup of the granulated sugar. Continue mixing until the mixture is fluffy and light in color, which should take about 3-4 minutes.
- 3
Crack the eggs into the bowl one by one, mixing well after each addition to ensure they are fully incorporated. Then, stir in the vanilla extract until evenly distributed.
- 4
In a separate bowl, combine the all-purpose flour, baking powder, baking soda, salt, and ground cinnamon. Whisk these dry ingredients together until fully mixed. Gradually incorporate the dry mixture into the wet mixture, alternating with the additional ¼ cup of granulated sugar. Mix until just combined; be careful not to overmix to keep the cake tender.
- 5
Gently fold the sliced peaches into the batter using a spatula, taking care to avoid breaking the delicate slices.
- 6
Pour the batter into your prepared cake pan, using a spatula to spread it evenly across the bottom.
- 7
In another mixing bowl, combine the brown sugar, rolled oats, and an extra teaspoon of ground cinnamon. Cut in the remaining softened butter using a pastry cutter or your fingers until the mixture resembles coarse crumbs.
- 8
Evenly sprinkle the crumb topping over the peach batter in the pan, ensuring it covers all areas for a delightful crunch.
- 9
Place the cake in the preheated oven and bake for 35-40 minutes, or until a toothpick inserted into the center comes out clean, indicating it’s fully baked.
- 10
Once baked, allow the cake to cool in the pan for about 10 minutes. Then gently transfer it to a wire rack to cool completely before slicing.
Chef's Notes
For a stunning finish, serve slices of the cake on individual dessert plates and garnish with a dollop of whipped cream and a few fresh peach slices. A light dusting of powdered sugar can add an elegant touch!


Recipe Creator
Remy
I’m Chef Remy, your recipe companion, here to bring warmth, bold taste, and simplicity to your kitchen.
View My Recipes