Craving a crunchy, golden bite? Look no further! My crispy fried chicken tenders recipe is simple and so tasty, you’ll want to make it again and again. In this post, I’ll share easy steps, key ingredients, and expert tips to help you nail that perfect crunch. Whether it’s game day or a family dinner, these chicken tenders are a hit. Let’s get started on making your new favorite dish!
Ingredients
Main Ingredients for Crispy Fried Chicken Tenders
To make crispy fried chicken tenders, you need the following main ingredients:
– 1 pound chicken breast, sliced into thin strips
– 1 cup buttermilk
– 1 tablespoon hot sauce (optional, for a spicy kick)
– 1 cup all-purpose flour
– 1 cup panko breadcrumbs (for an extra crispy texture)
Optional Ingredients for Added Flavor
You can add more flavor to your chicken tenders with these optional ingredients:
– 1 teaspoon garlic powder
– 1 teaspoon onion powder
– 1 teaspoon paprika
– ½ teaspoon cayenne pepper (optional, adjust according to heat preference)
– Salt and pepper to taste
Recommended Seasonings and Dipping Sauces
Seasonings make a big difference in taste. Use these to enhance your dish:
– Garlic powder and onion powder add depth.
– Paprika gives a beautiful color and mild flavor.
– Cayenne pepper adds heat, but use it wisely!
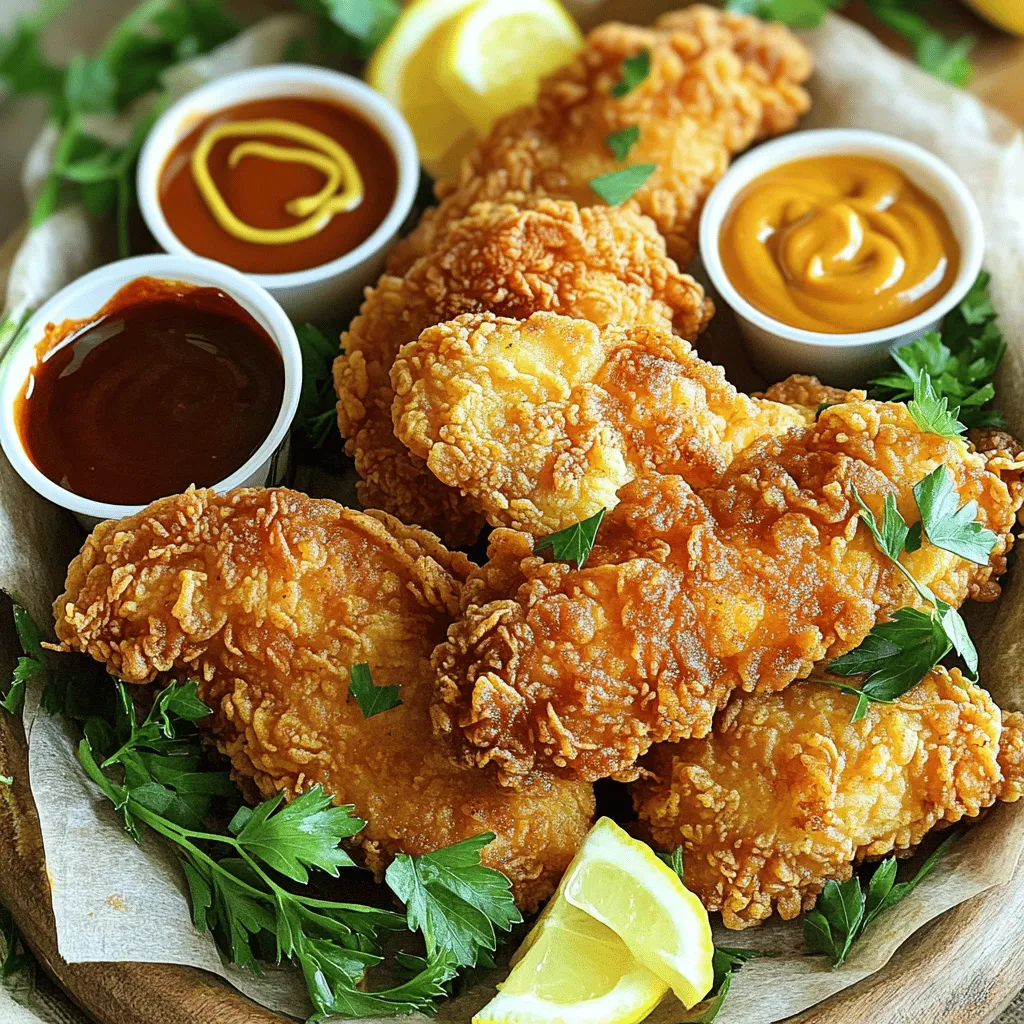
For dipping, I recommend:
– Honey mustard for sweetness.
– Barbecue sauce for a smoky taste.
– Ranch dressing for a creamy finish.
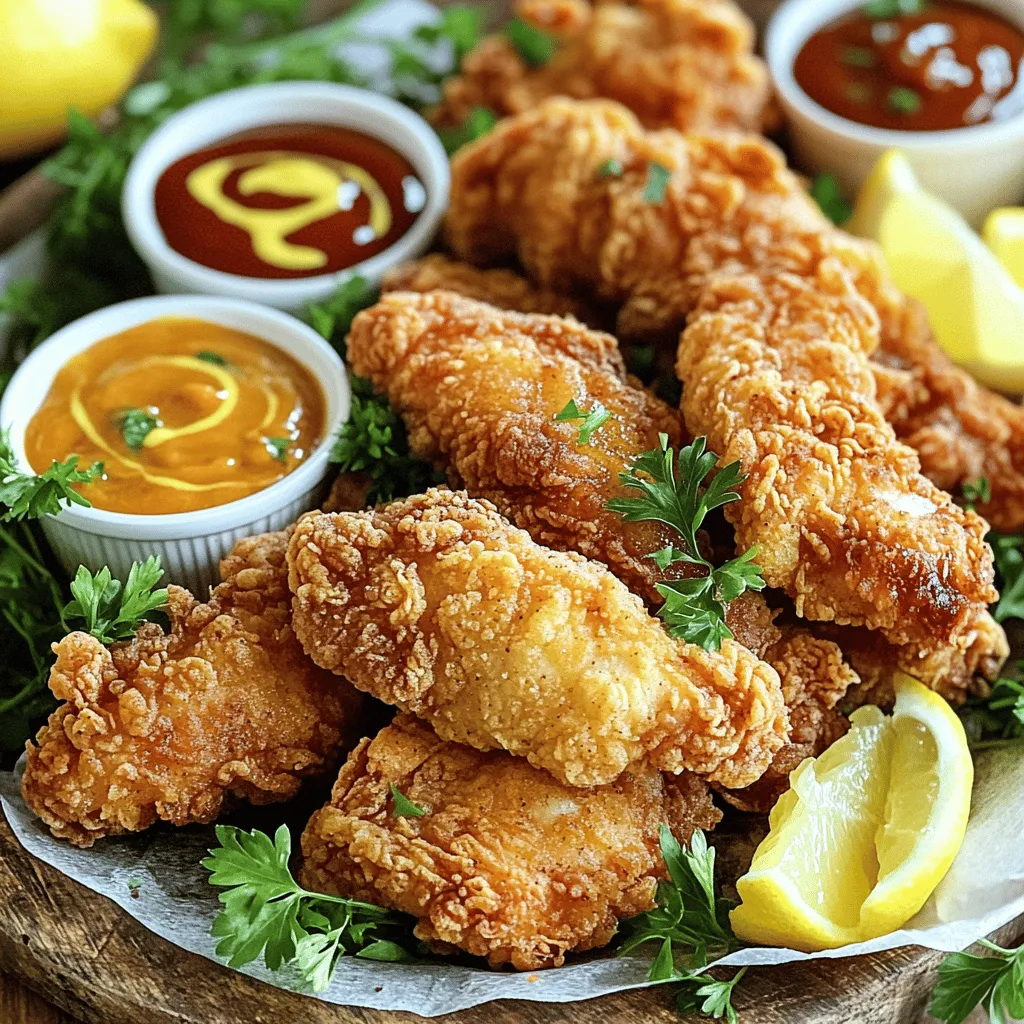
You can find the full recipe for crispy fried chicken tenders to explore each step and detail.
Step-by-Step Instructions
Preparing the Chicken Marinade
Start by mixing the buttermilk and hot sauce in a medium bowl. This mixture adds flavor and moisture to the chicken. If you want a spicy touch, include the hot sauce. Next, slice the chicken breast into thin strips. Once you have your chicken, soak the strips in the buttermilk mixture. Make sure all the pieces are coated well. Cover the bowl with plastic wrap and put it in the fridge. Let the chicken marinate for at least one hour. For the best taste, let it sit overnight.
Making the Breading Mixture
Now, let’s prepare the breading. In a shallow dish, combine the all-purpose flour and panko breadcrumbs. Add garlic powder, onion powder, paprika, and cayenne pepper. Season with salt and pepper to taste. Mix everything well. This blend gives the tenders their crispy crust.
Frying the Chicken Tenders
Heat vegetable oil in a deep frying pan or pot over medium heat. Aim for a temperature of 350°F (175°C). To check if the oil is ready, drop a pinch of the breadcrumb mixture into the oil. If it sizzles, you’re good to go! Take the marinated chicken strips out of the buttermilk. Let the excess liquid drip off. Dredge each strip in the flour mixture, then dip it back into the buttermilk. Finally, press it into the breadcrumb mixture. Make sure the crumbs stick well.
Carefully lower a few chicken strips into the hot oil. Don’t overcrowd the pan; it can lower the oil temperature. Fry the tenders for about 5 to 7 minutes. Turn them halfway through to ensure even cooking. You want them golden brown and fully cooked. When they’re done, use a slotted spoon to lift them out. Place the tenders on a plate lined with paper towels. This absorbs any extra oil. Let them rest for a few moments before serving. This step makes them crispy and delicious.
Check out the Full Recipe for more details!
Tips & Tricks
Perfecting Crispiness: Oil Temperature and Cooking Methods
To get crispy chicken tenders, oil temperature is key. Heat your vegetable oil to 350°F (175°C). If the oil is too cool, your chicken will absorb more oil and become soggy. If it’s too hot, the outside will burn before the inside cooks. Always test the oil with a small breadcrumb. It should sizzle right away. Fry in small batches to keep the temperature steady.
Marinating Time: How Long for Best Flavor
Marinating adds flavor and moisture to chicken. I recommend marinating for at least 1 hour. For the best results, try to marinate overnight. The longer the chicken sits in the buttermilk, the more tender and flavorful it becomes. If you add hot sauce, it will give a nice kick.
Avoiding Common Mistakes in Frying
Avoid overcrowding the pan. If you add too many tenders at once, the temperature drops. This makes the chicken greasy and less crispy. Always let excess liquid drip off before breading. This helps the coating stick better. Finally, let the chicken rest on paper towels after frying. This absorbs excess oil and keeps them crispy.
For a complete guide, check out the Full Recipe.
Variations
Spicy Version: Added Heat with Hot Sauce
You can add a spicy kick to your chicken tenders. Simply mix hot sauce into the buttermilk. I love using a tablespoon or more, depending on how hot you want it. The sauce not only adds heat but also gives flavor. You can serve these spicy tenders with cool ranch dressing to balance the heat.
Gluten-Free Options: Using Alternative Breading
If you want a gluten-free option, swap regular flour with almond flour or gluten-free flour. For the breadcrumbs, use crushed gluten-free cereal or cornmeal. These alternatives still give you that crispy texture you crave. Just make sure to check labels for hidden gluten in other ingredients.
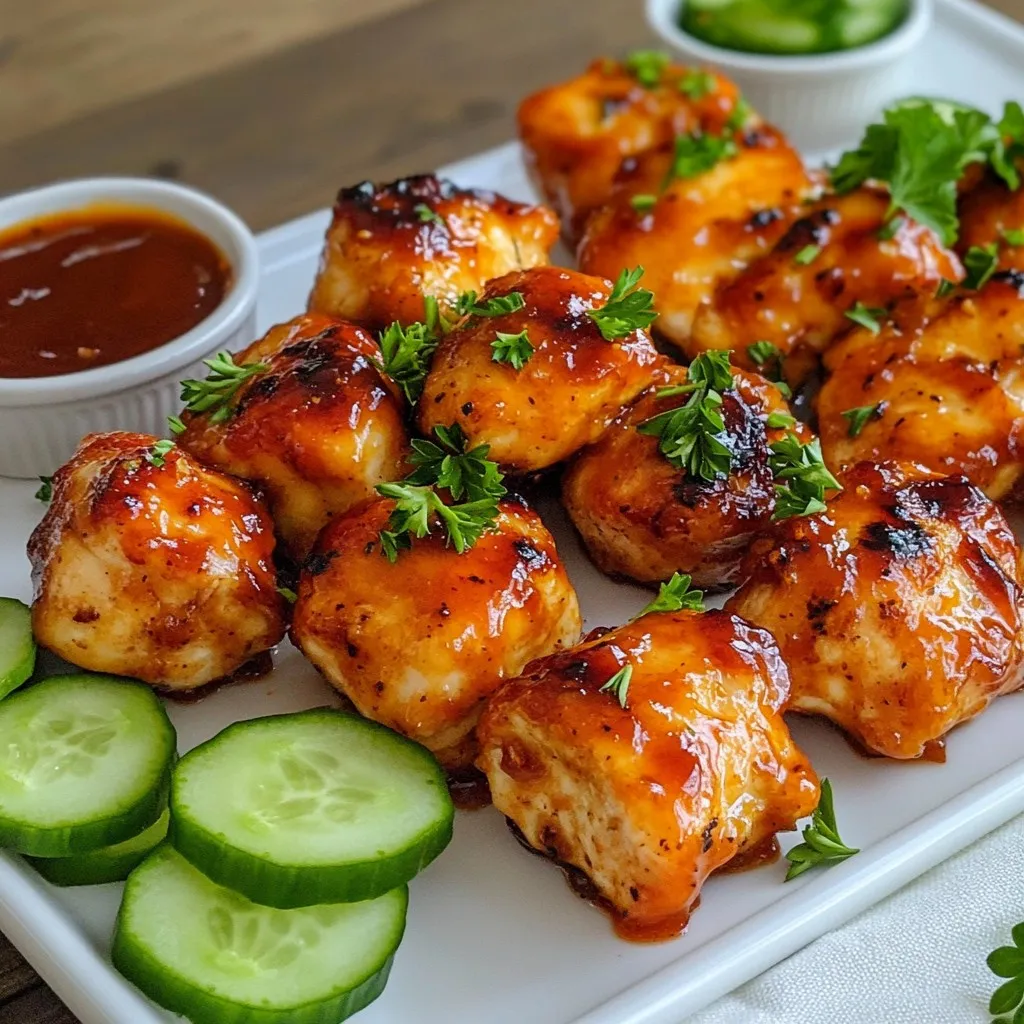
Baked vs. Fried: Healthier Cooking Method
You can choose to bake your chicken tenders for a healthier option. Preheat your oven to 425°F (220°C). Place the breaded chicken on a baking sheet lined with parchment paper. Bake for about 15-20 minutes, flipping halfway. This method cuts down on oil but still gives great flavor. You can get crispy chicken without frying, but note the texture will be different.
For more details on making these variations, check out the Full Recipe.
Storage Info
How to Properly Store Leftover Chicken Tenders
To keep your chicken tenders fresh, store them in an airtight container. Place parchment paper between layers to prevent sticking. This method helps maintain their crunch. Store them in the fridge for up to three days. If you want them to last longer, consider freezing them.
Reheating Tips for Maintaining Crunchiness
Reheating chicken tenders can be tricky. The best way to keep them crispy is to use an oven. Preheat your oven to 375°F (190°C). Lay the tenders on a baking sheet lined with foil. Heat for about 10-15 minutes, or until they reach your desired crispiness. Avoid using a microwave, as it can make them soggy.
Freezing Chicken Tenders for Later Use
Freezing chicken tenders is a great option. Once they are completely cool, place them in a single layer on a baking sheet. Freeze them for about an hour. After that, transfer them to a freezer bag or container. This prevents them from sticking together. You can store them in the freezer for up to three months. When ready to eat, you can bake or fry them straight from the freezer.
FAQs
How do I make chicken tenders crispy?
To make chicken tenders crispy, use panko breadcrumbs. They provide a light, crunchy texture. Coat the chicken well in flour and breadcrumbs. Make sure the oil is hot enough before frying. This helps create that golden crust.
What is the best oil for frying chicken tenders?
The best oils for frying chicken tenders are vegetable oil or canola oil. These oils have high smoke points. This means they can handle high heat without burning. They also have a neutral flavor that won’t overpower the chicken.
Can I make chicken tenders ahead of time?
Yes, you can make chicken tenders ahead of time. Prepare the chicken and bread it. Then, store it in the fridge for a few hours or overnight. When ready, just fry them fresh for a crispy finish.
What pairs well with crispy fried chicken tenders?
Crispy fried chicken tenders pair well with many sides. Think coleslaw, fries, or a fresh salad. Dipping sauces like honey mustard, ranch, or barbecue sauce also enhance the meal. These combinations make for a delicious and fun dining experience.
How long should I fry chicken tenders?
Fry chicken tenders for about 5 to 7 minutes. They should turn golden brown and be fully cooked. To check, cut into one tender. The inside should be white and juices should run clear.
In this blog post, we explored how to make crispy fried chicken tenders. We covered key ingredients, including seasonings, and shared step-by-step instructions for frying. I highlighted tips for perfecting crispiness and avoiding common mistakes. You can even try variations like spicy or gluten-free options. Proper storage and reheating methods ensure your leftovers taste great. Remember, the right oil and cooking time make all the difference. Enjoy your tasty chicken tenders with your favorite dipping sauce!
Crispy Fried Chicken Tenders
Deliciously crispy chicken tenders marinated in buttermilk and coated with a flavorful breadcrumb mixture.
Ingredients
Instructions
- 1
In a medium mixing bowl, whisk together the buttermilk and hot sauce (if using). Submerge the chicken strips in the mixture, ensuring all pieces are well coated. Cover the bowl with plastic wrap and refrigerate for at least 1 hour (marinating overnight enhances the flavor).
- 2
In a shallow dish, combine the all-purpose flour, panko breadcrumbs, garlic powder, onion powder, paprika, cayenne pepper, and a pinch of salt and pepper. Mix thoroughly to ensure even distribution of seasonings.
- 3
Heat vegetable oil in a deep frying pan or heavy-bottomed pot over medium heat until it reaches 350°F (175°C). To test readiness, drop a small pinch of the breadcrumb mixture into the oil; if it sizzles and bubbles, the oil is hot enough.
- 4
Take the marinated chicken strips from the buttermilk and let excess liquid drip off. Dredge each strip in the flour mixture, ensuring a thorough coat. Dip it back into the buttermilk, then press it into the breadcrumb mixture, making sure the crumbs adhere firmly.
- 5
Gently lower the breaded chicken tenders into the hot oil in small batches to avoid overcrowding. Fry for 5-7 minutes, turning halfway through, until the tenders are golden brown and the chicken is cooked through.
- 6
Use a slotted spoon to remove the fried tenders from the oil and transfer them to a plate lined with paper towels to absorb excess oil.
- 7
Allow the chicken tenders to rest for a few moments before serving to become perfectly crispy.
Chef's Notes
Marinating overnight enhances the flavor. Serve with a variety of dipping sauces.


Recipe Creator
Remy
I’m Chef Remy, your recipe companion, here to bring warmth, bold taste, and simplicity to your kitchen.
View My Recipes