Salads

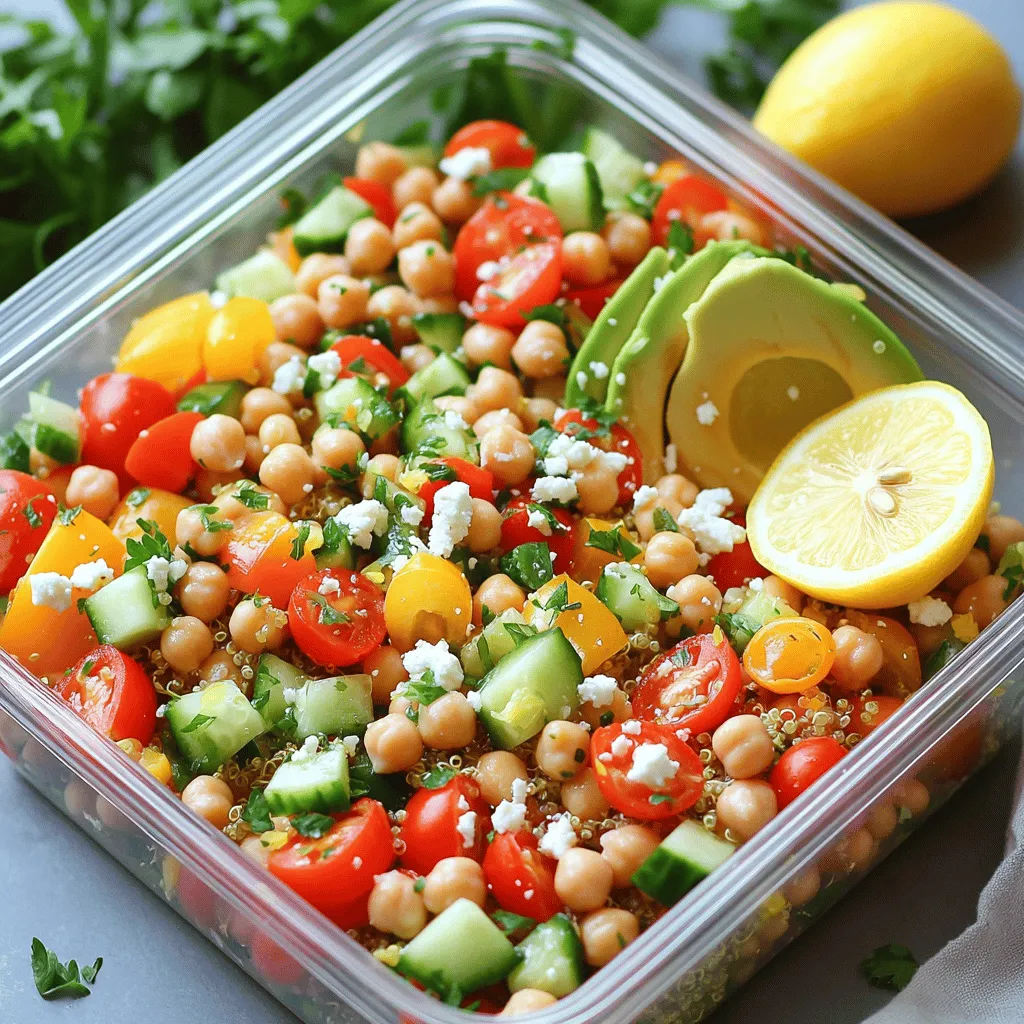
Feta & Cranberry Chickpeas with Zesty Lemon Boost
Are you ready to spice up your meals with a burst of flavor? Today, I’ll show you how to make Feta & Cranberry Chickpeas with
High Protein Salad Recipes for Meal Prep Success
Looking to boost your meal prep game with tasty and healthy options? High protein salads are the perfect solution. Packed with nutrients and flavor, these
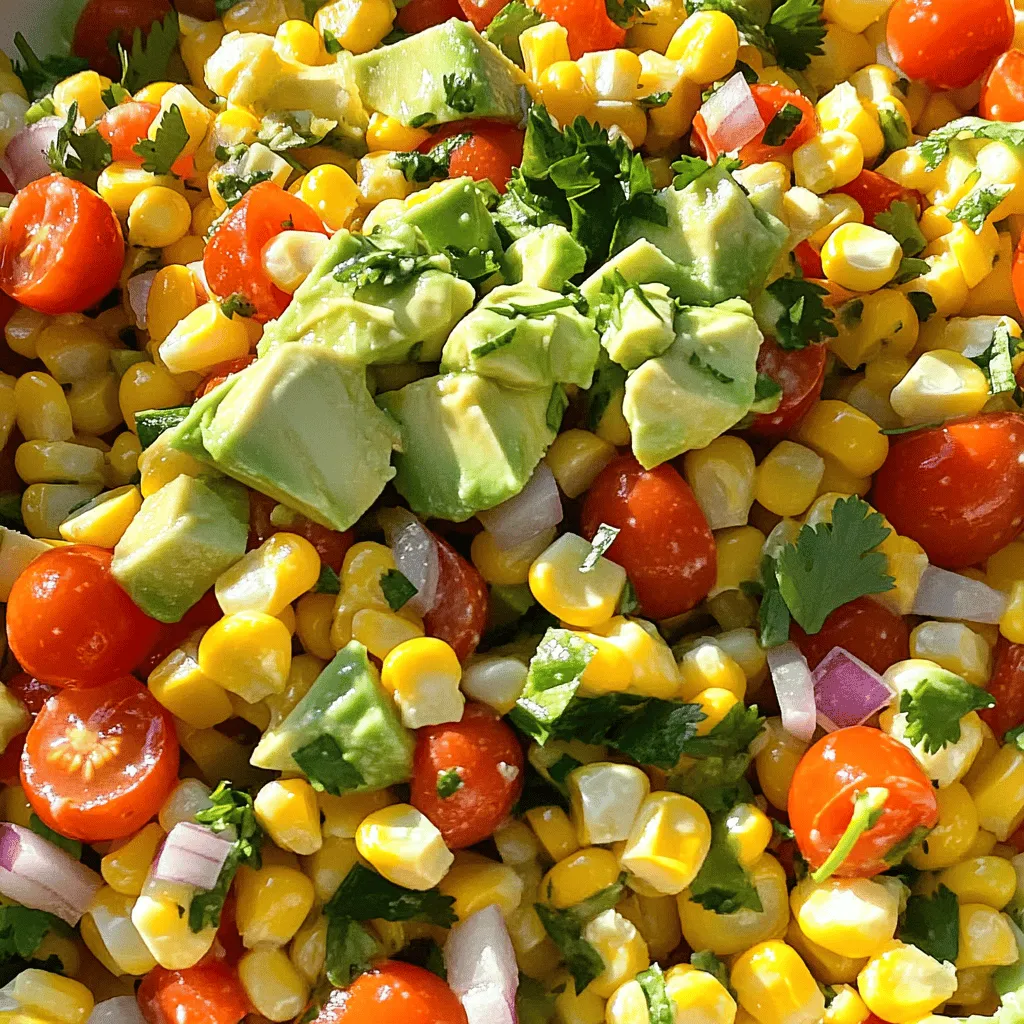
Corn Salad Delight Fresh and Flavorful Recipe
Are you ready to enjoy a bright and tasty Corn Salad? This fresh Corn Salad Delight combines sweet corn with crisp veggies and zesty dressing.
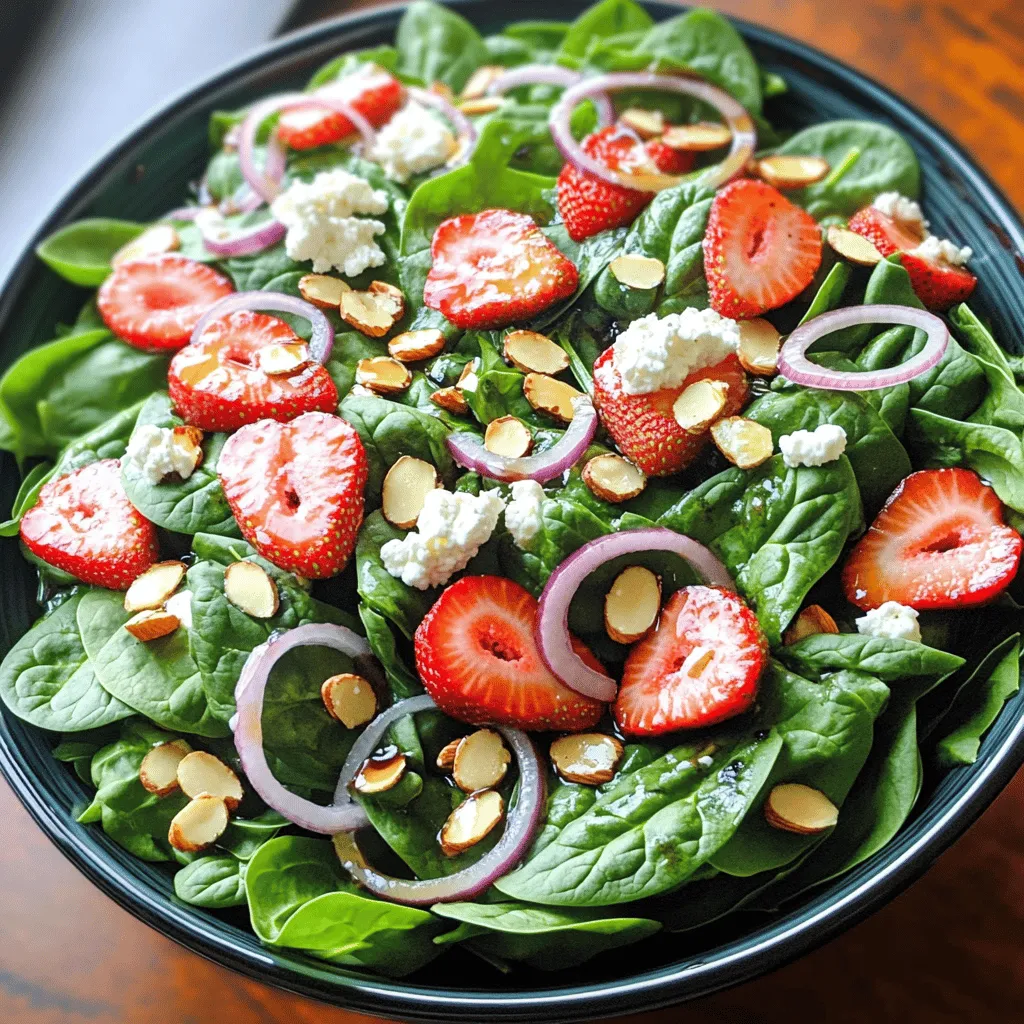
Spinach Strawberry Salad Fresh and Flavorful Recipe
Are you ready to elevate your salad game? This Spinach Strawberry Salad is fresh and full of flavor. It’s perfect for warm days and easy
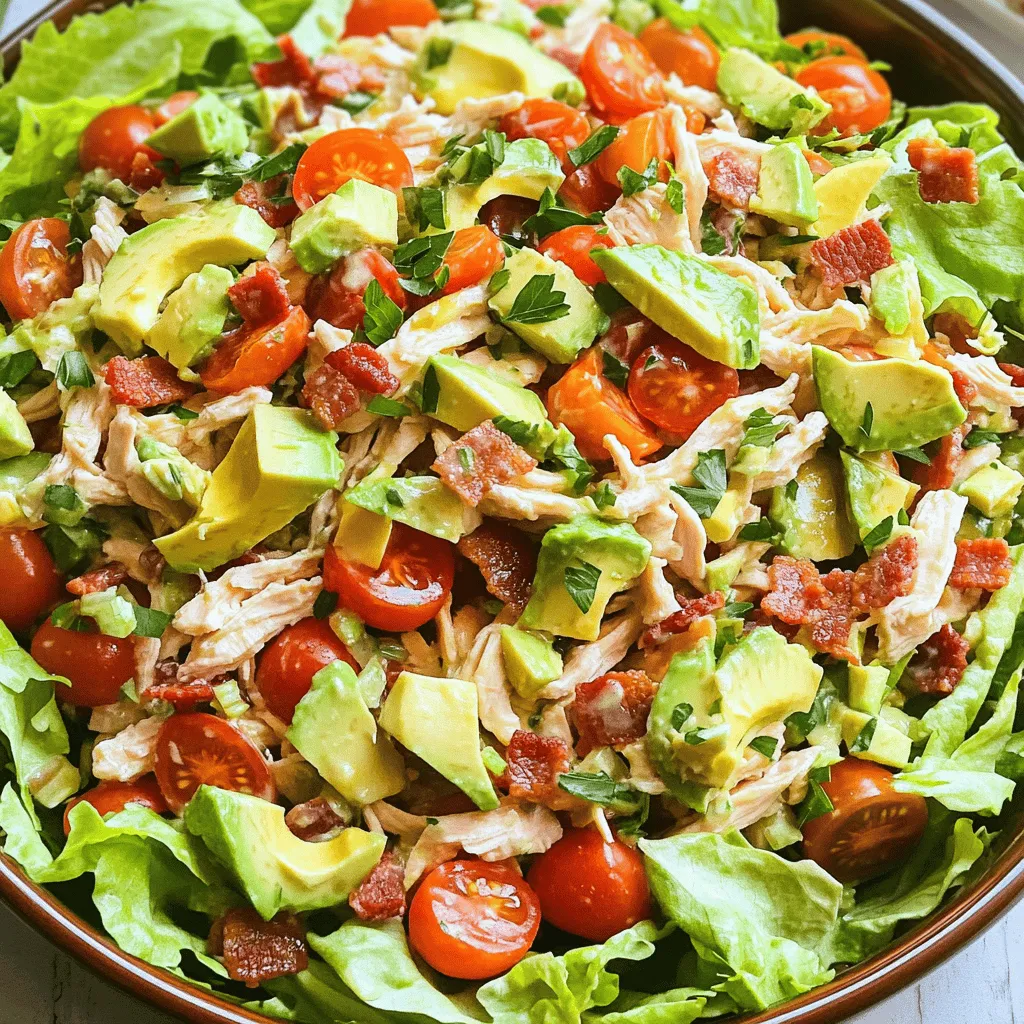
BLT Chicken Salad Fresh and Flavorful Meal Option
Looking for a fresh and flavorful meal option? Try this BLT Chicken Salad! It combines juicy chicken, crispy turkey bacon, and ripe tomatoes for a
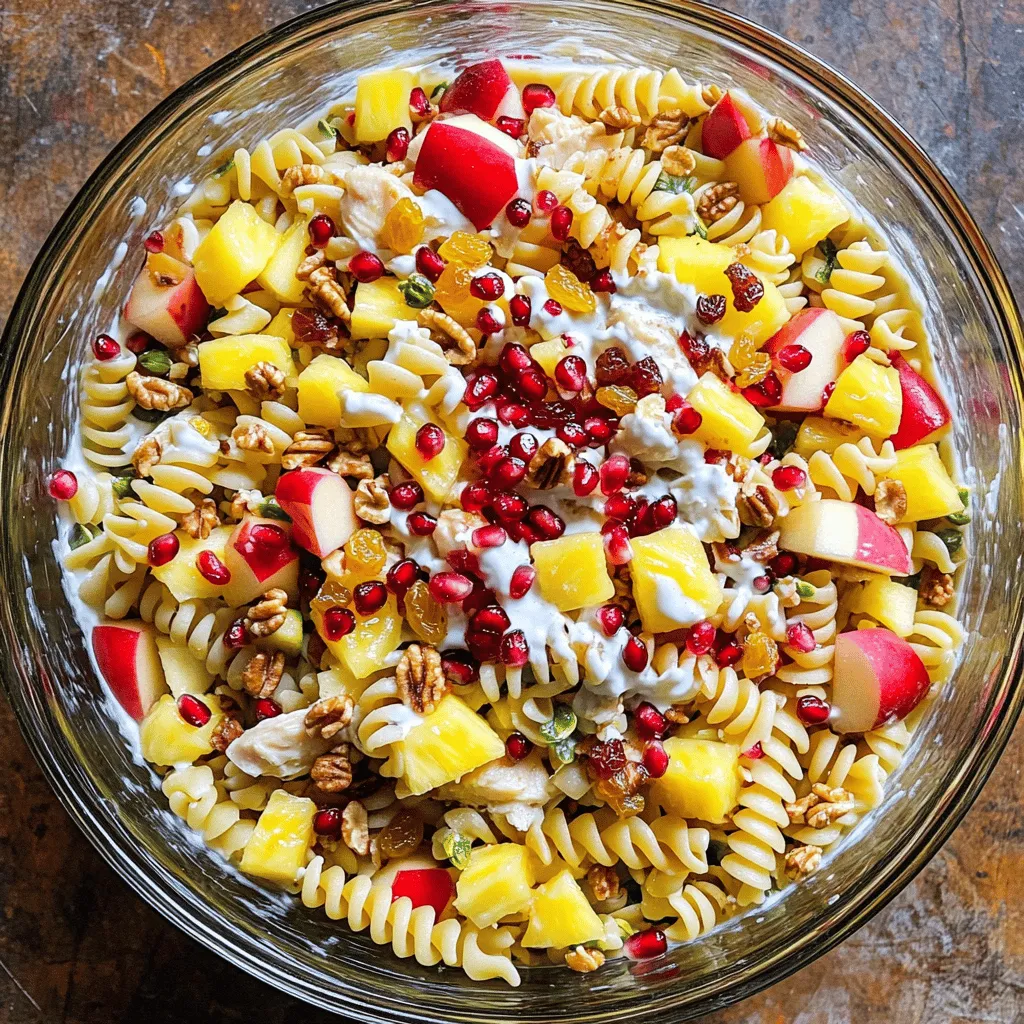
Ensalada Navideña Festive and Flavorful Recipe
Get ready for a vibrant twist on your holiday table! Ensalada Navideña is a colorful, festive salad that bursts with flavor and freshness. Perfect for
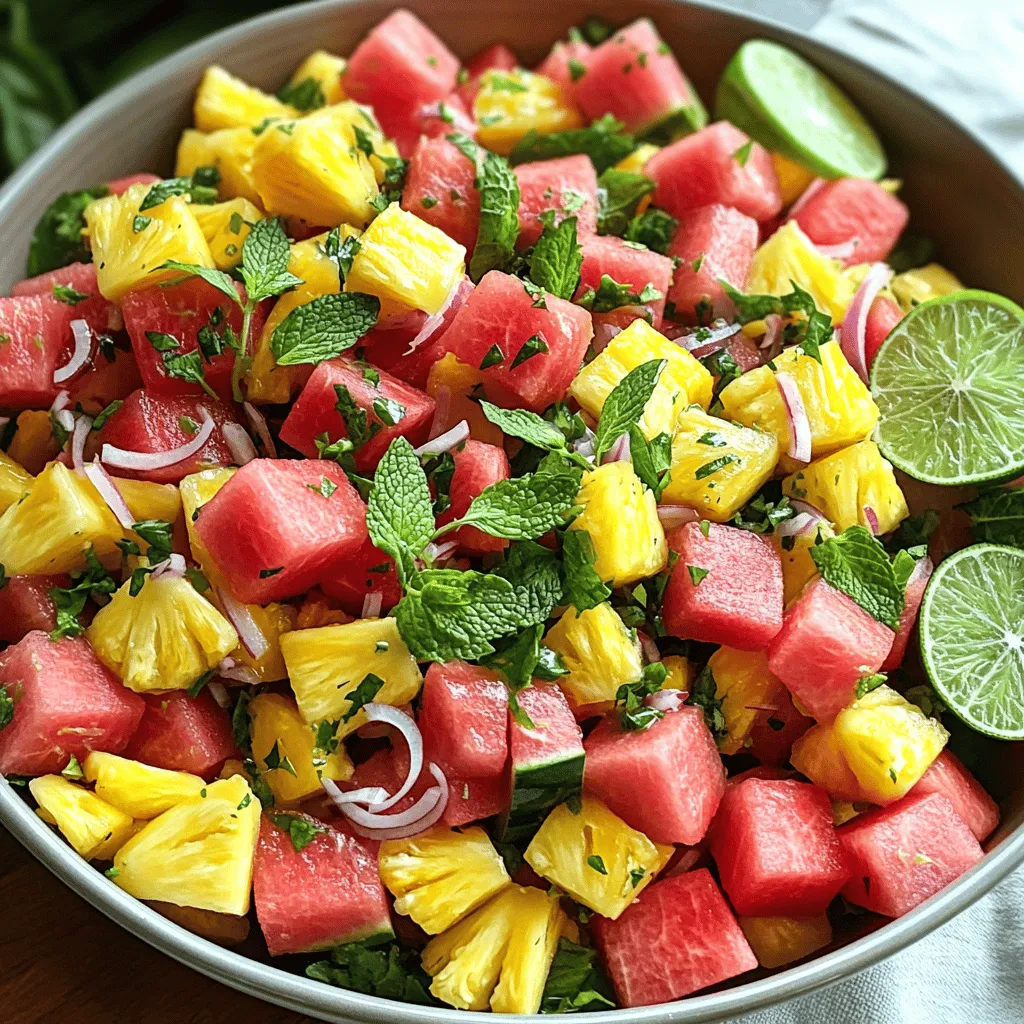
Watermelon Pineapple Salad Fresh and Fruity Delight
Looking for a quick, tasty treat? This Watermelon Pineapple Salad offers a fresh burst of flavor that’s perfect for any occasion. With juicy watermelon, sweet
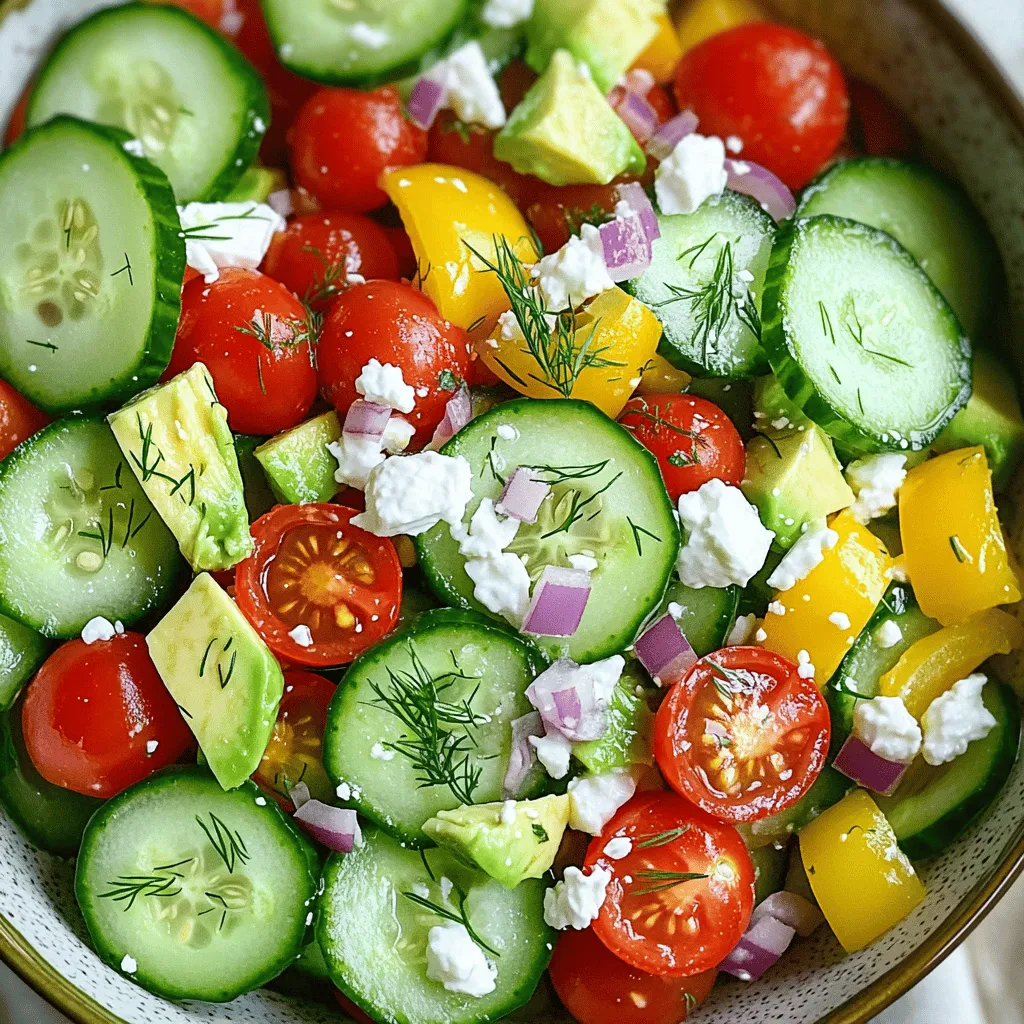
Cucumber Snack Bowl Crunchy and Fresh Delight
Dive into the crisp and vibrant world of the Cucumber Snack Bowl! This refreshing dish combines crunchy cucumbers, colorful veggies, and a creamy dressing to
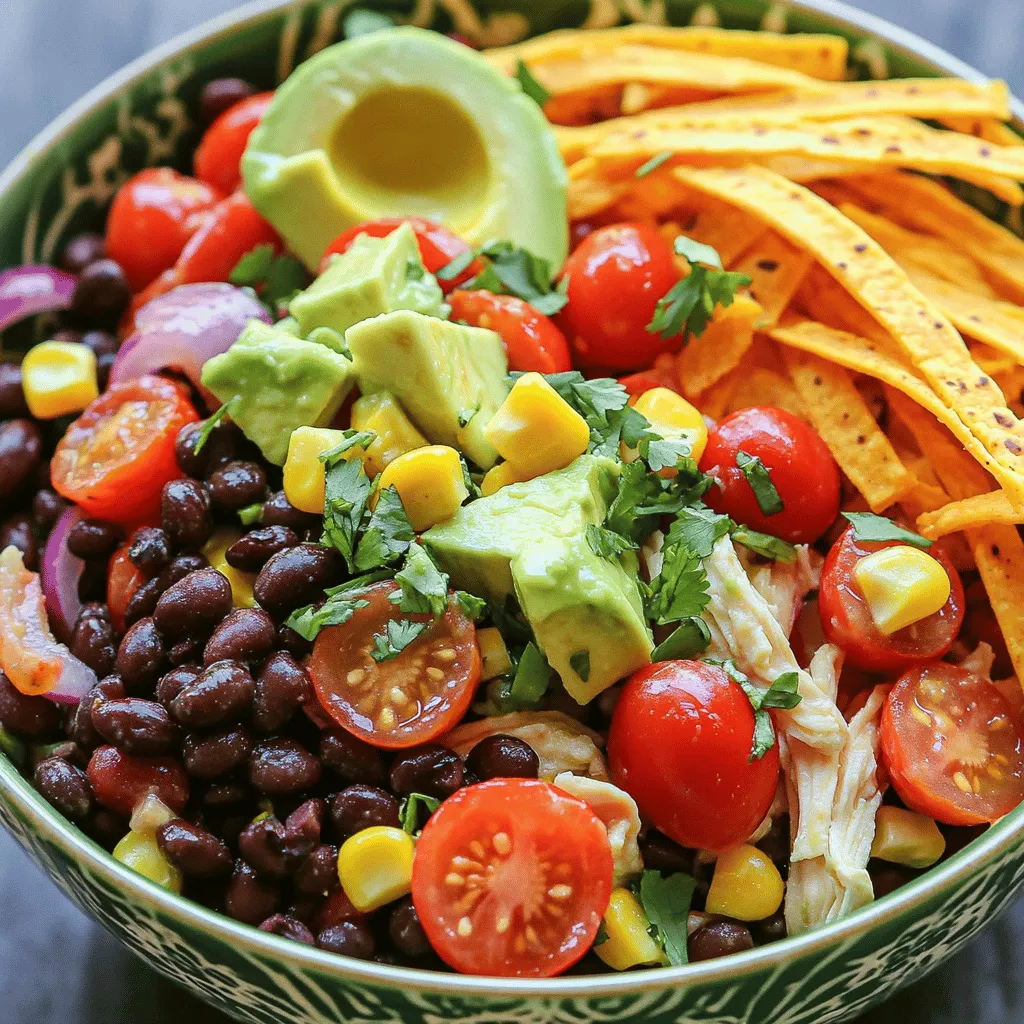
Zesty Southwest Chicken Salad Flavorful and Fresh
Are you ready to jazz up your lunch routine? This Zesty Southwest Chicken Salad is packed with fresh flavors and vibrant ingredients that make every
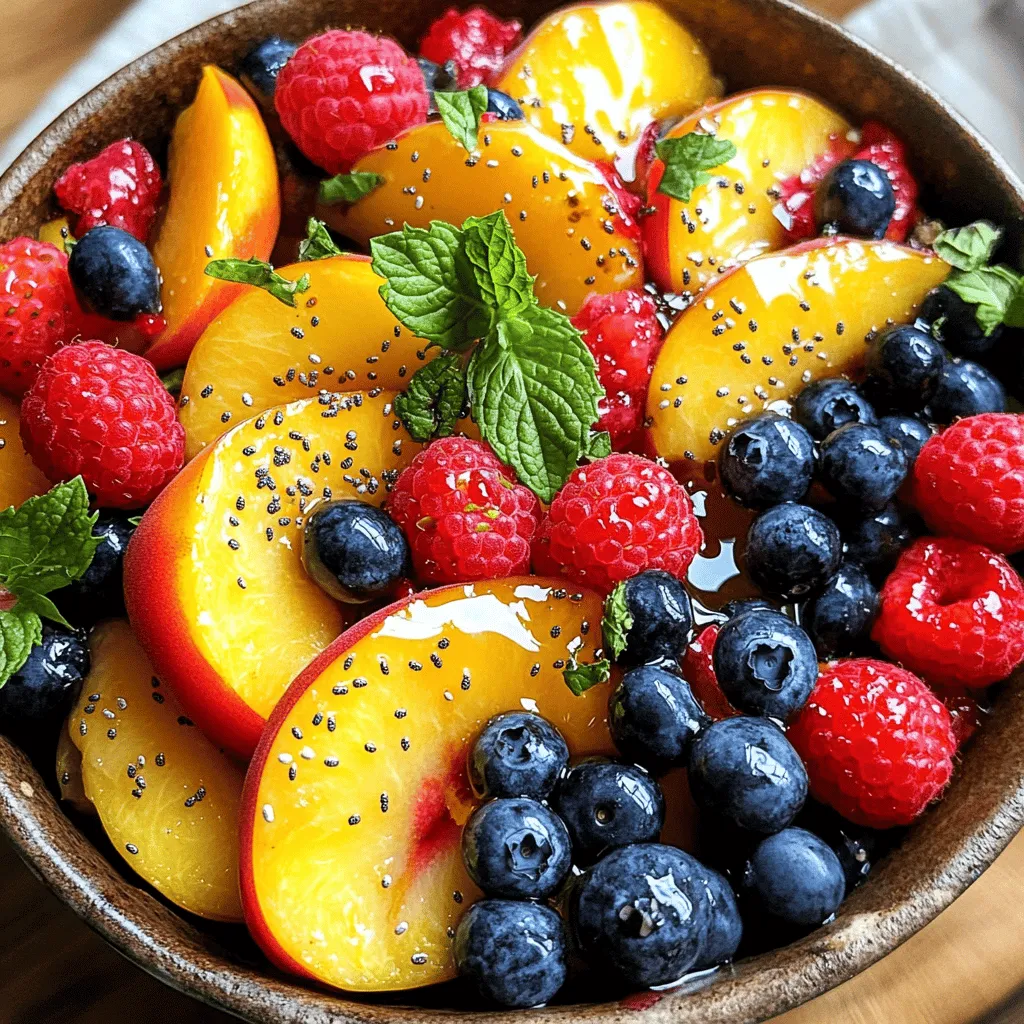
Peach Berry Fruit Salad Refreshing Summer Delight
Beat the summer heat with a refreshing Peach Berry Fruit Salad! This vibrant dish features ripe peaches, juicy strawberries, and tangy blueberries that burst with