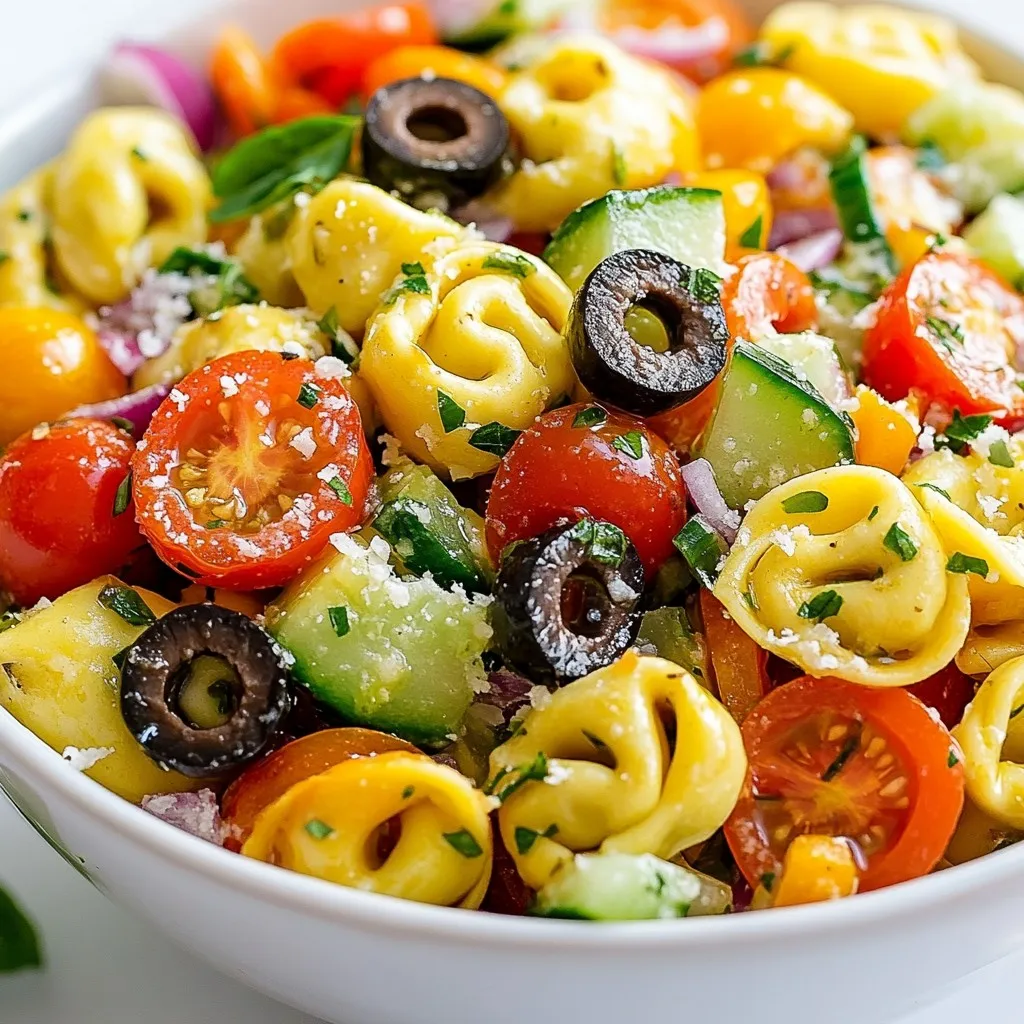
Italian Tortellini Pasta Salad Fresh and Flavorful Dish
A refreshing and colorful pasta salad featuring cheese tortellini and a variety of fresh vegetables,...
45 min
6
Fresh and healthy salads
A refreshing and colorful pasta salad featuring cheese tortellini and a variety of fresh vegetables,...

Crispy Brussels sprouts tossed in a sweet and tangy maple Dijon sauce, perfect as a side dish.
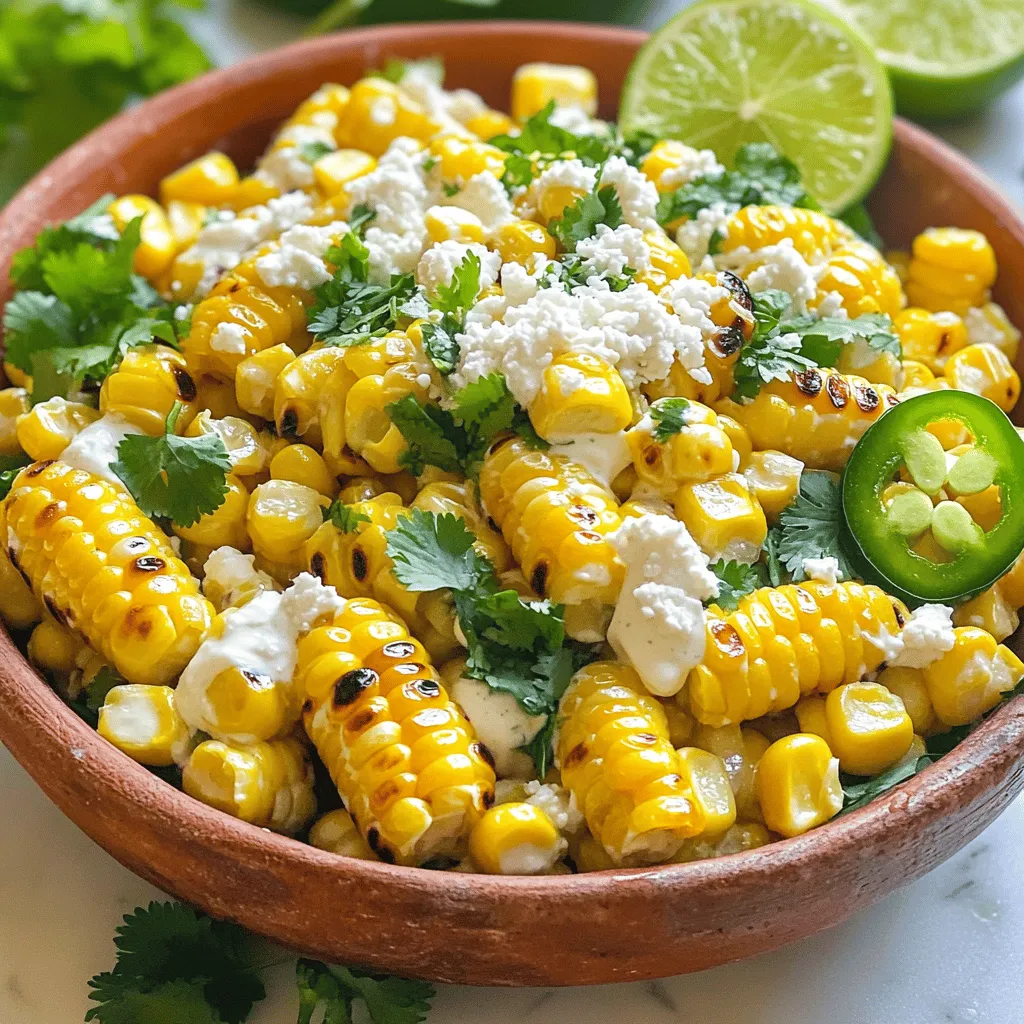
A delicious and creamy salad featuring grilled corn, Cotija cheese, and a zesty dressing.
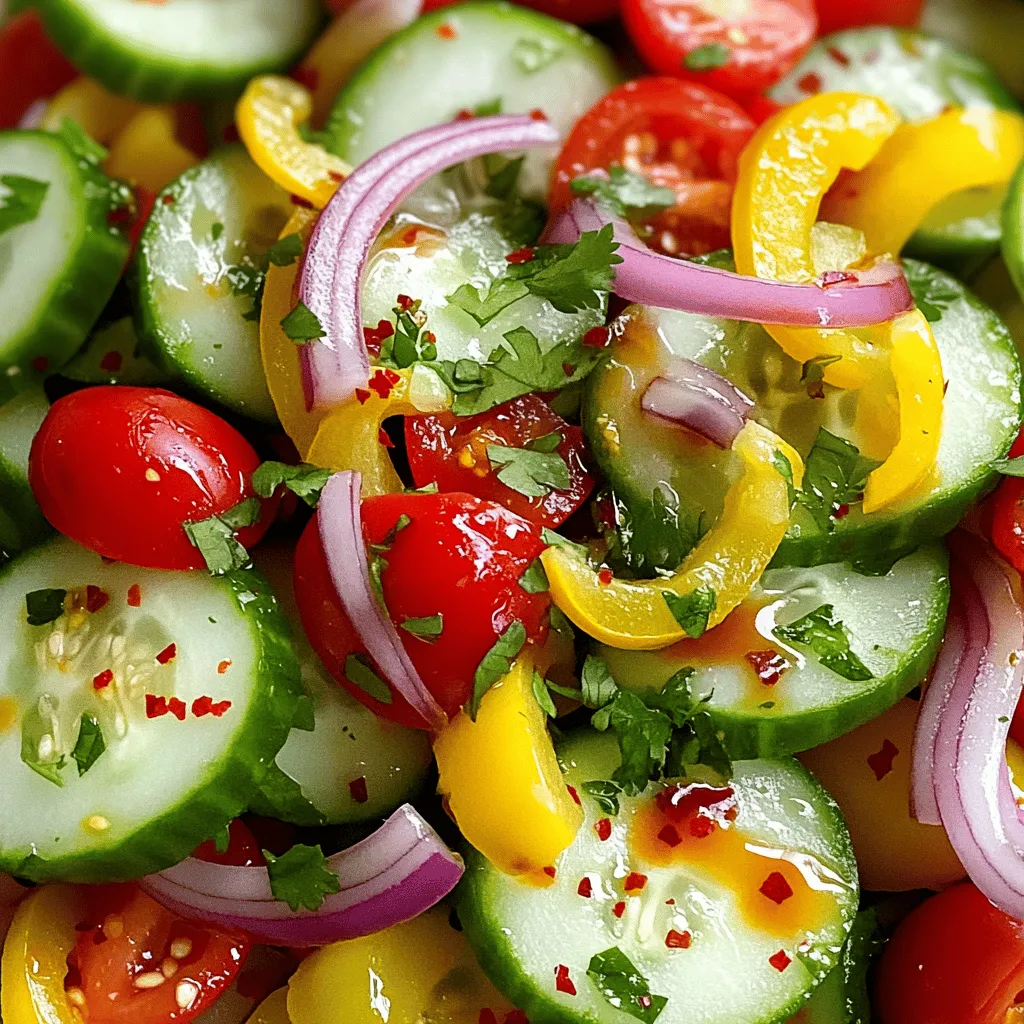
A refreshing and vibrant salad featuring cucumbers, bell peppers, and a zesty lime dressing.
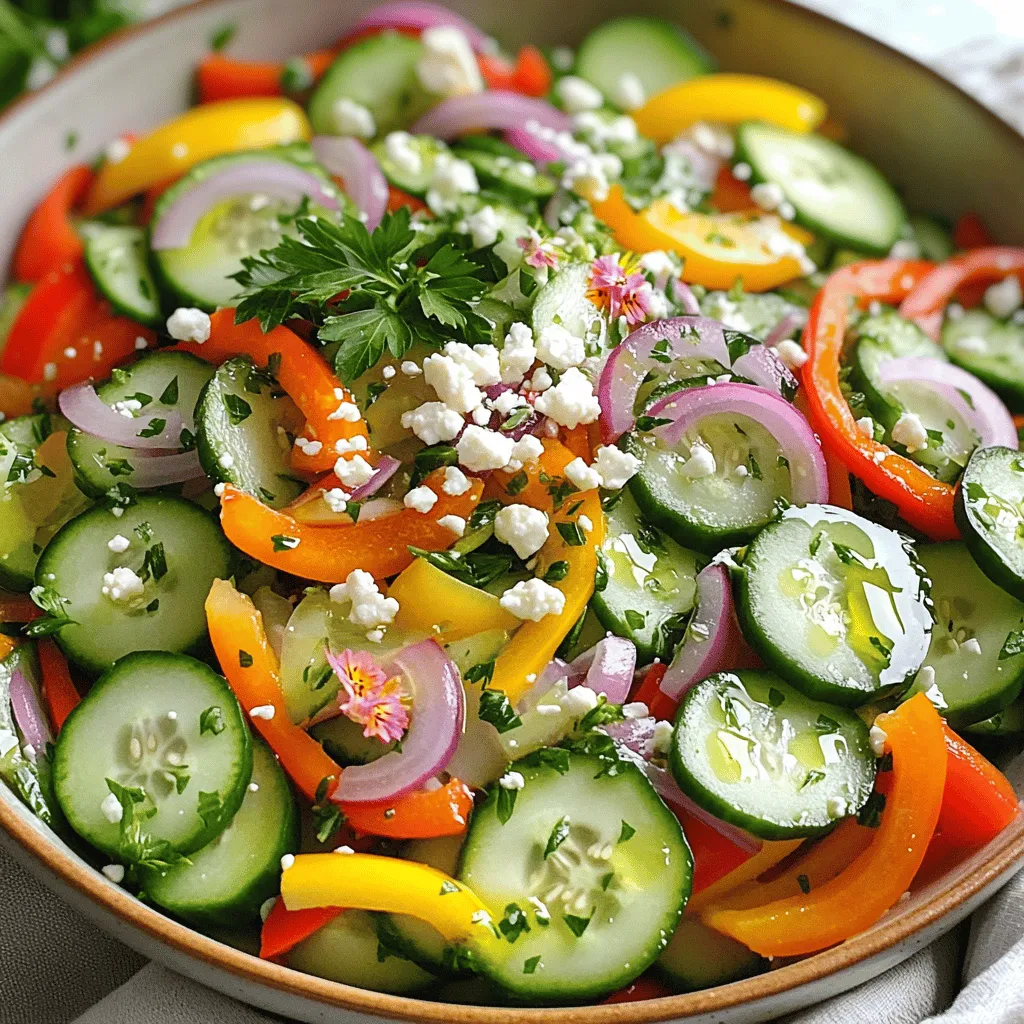
A refreshing salad featuring crisp cucumbers and vibrant sweet peppers, dressed in a light vinaigret...
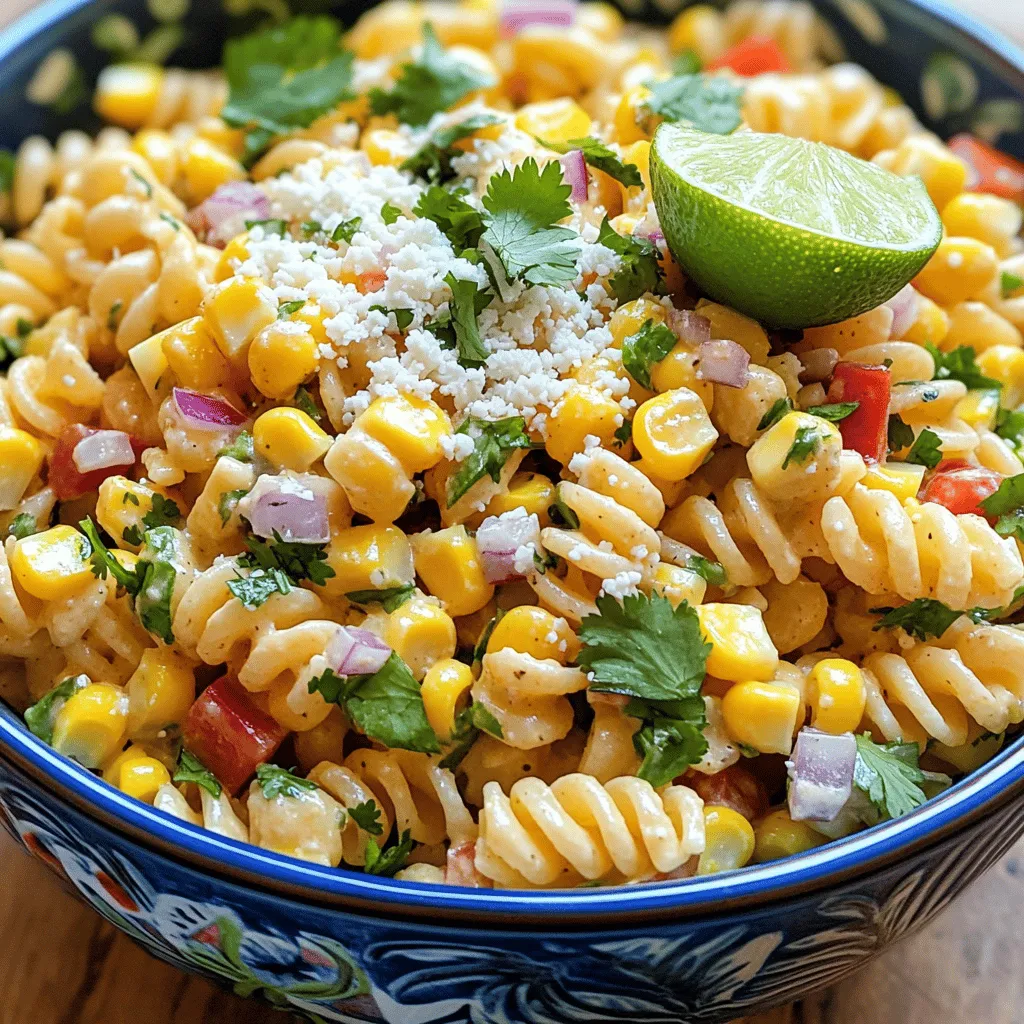
A vibrant and flavorful pasta salad inspired by Mexican street corn, featuring fresh ingredients and...
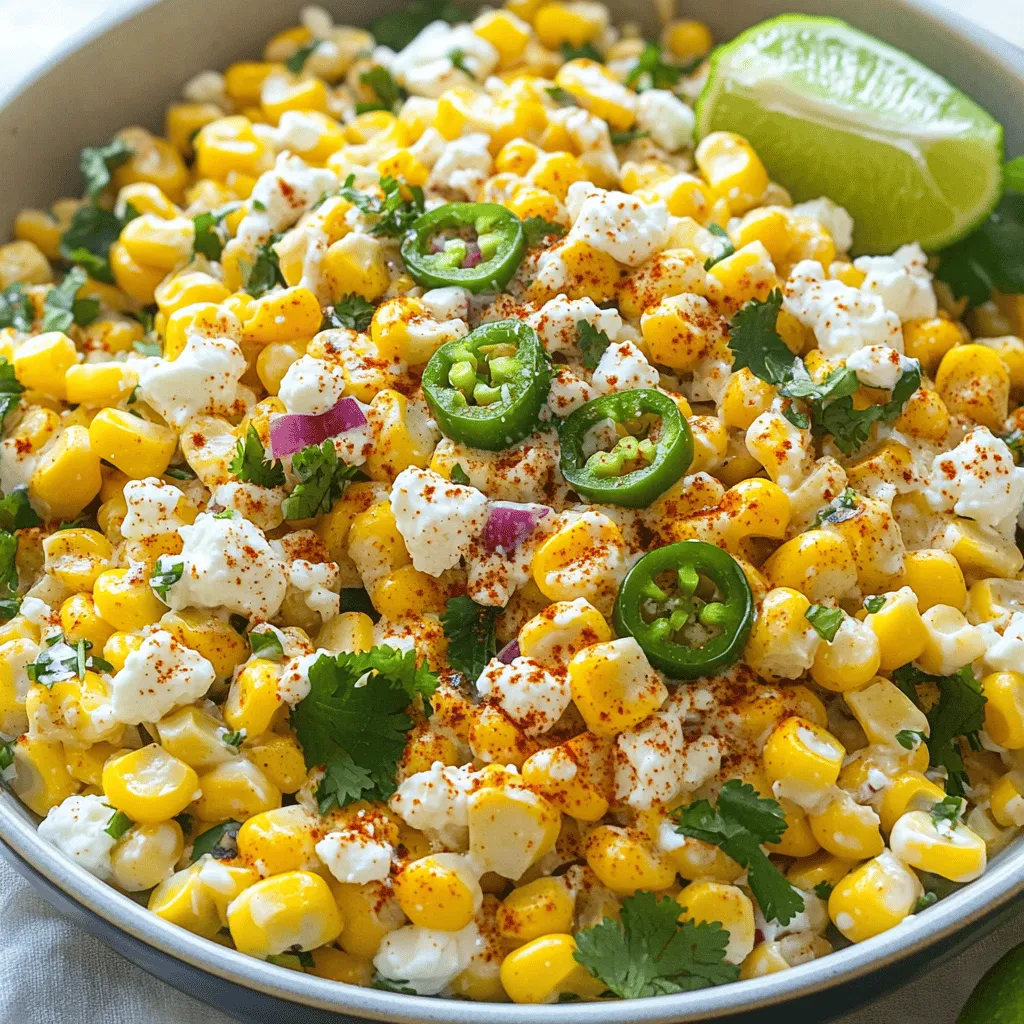
A refreshing and flavorful salad featuring grilled corn, creamy dressing, and fresh herbs.
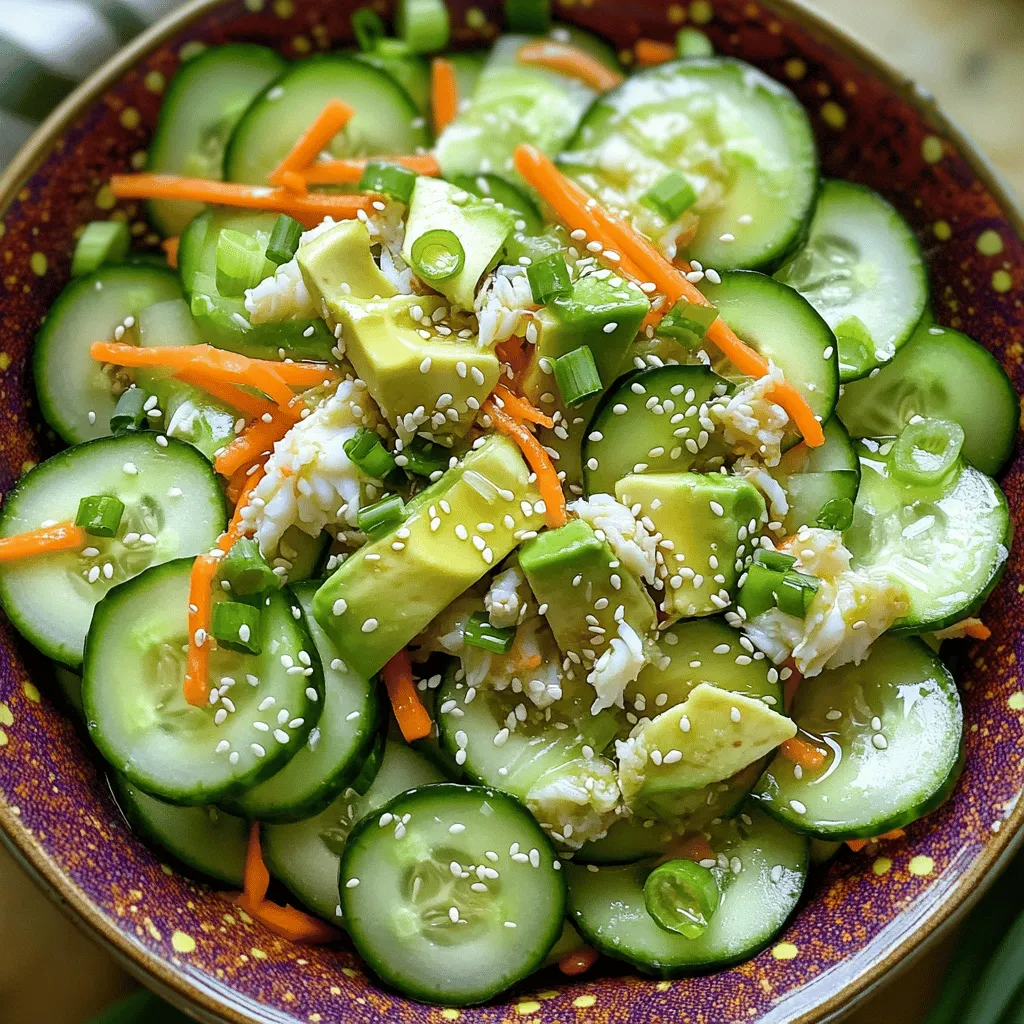
A refreshing salad inspired by California rolls, featuring cucumbers, imitation crab, avocado, and a...
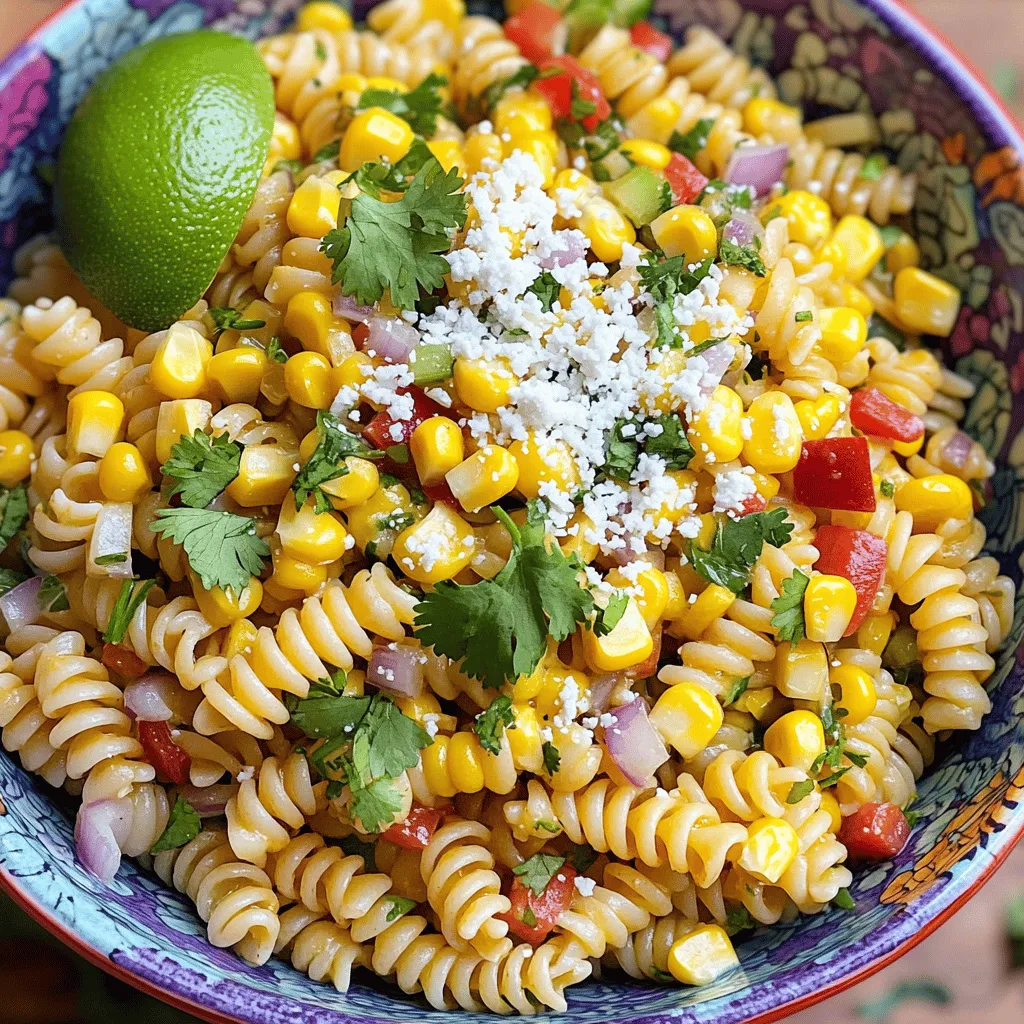
A vibrant and flavorful pasta salad featuring corn, peppers, and a creamy dressing, perfect for summ...
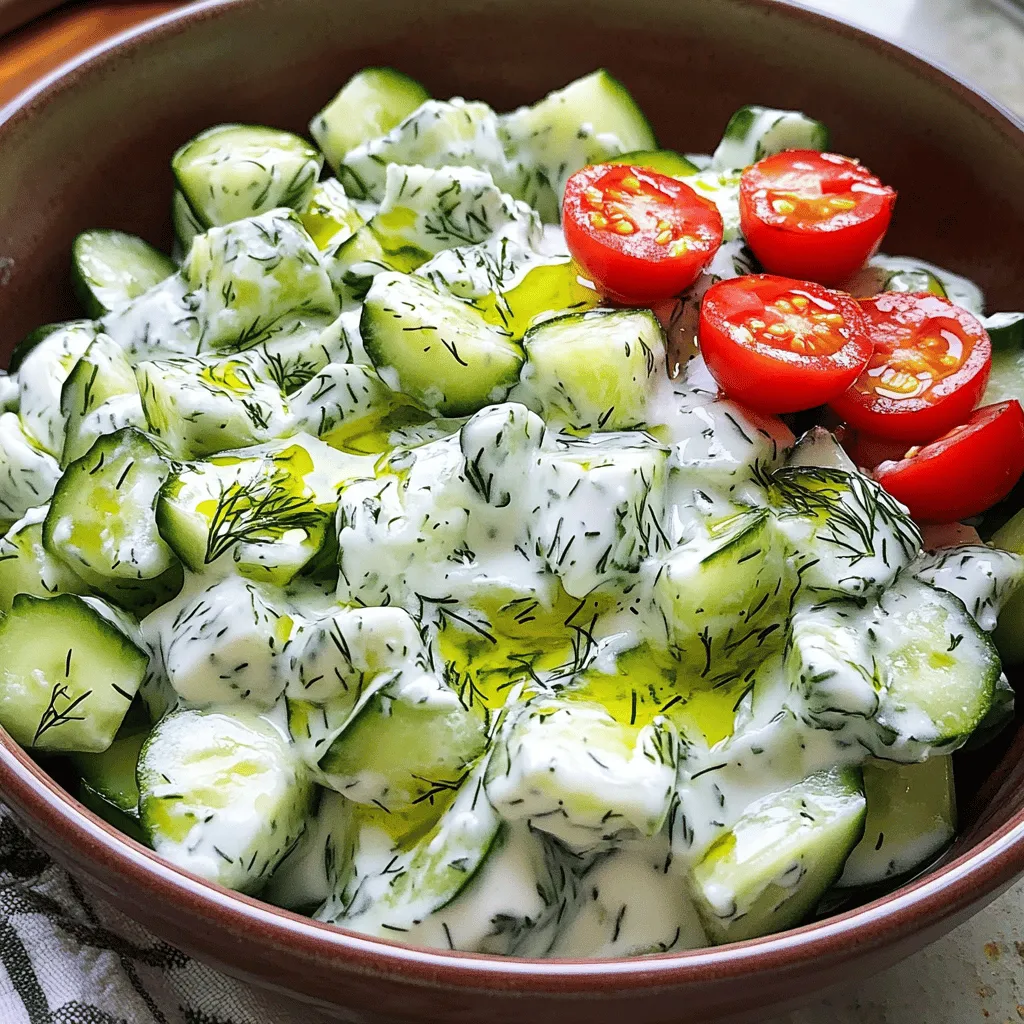
A refreshing cucumber salad with a creamy yogurt dressing, perfect as a side dish or appetizer.
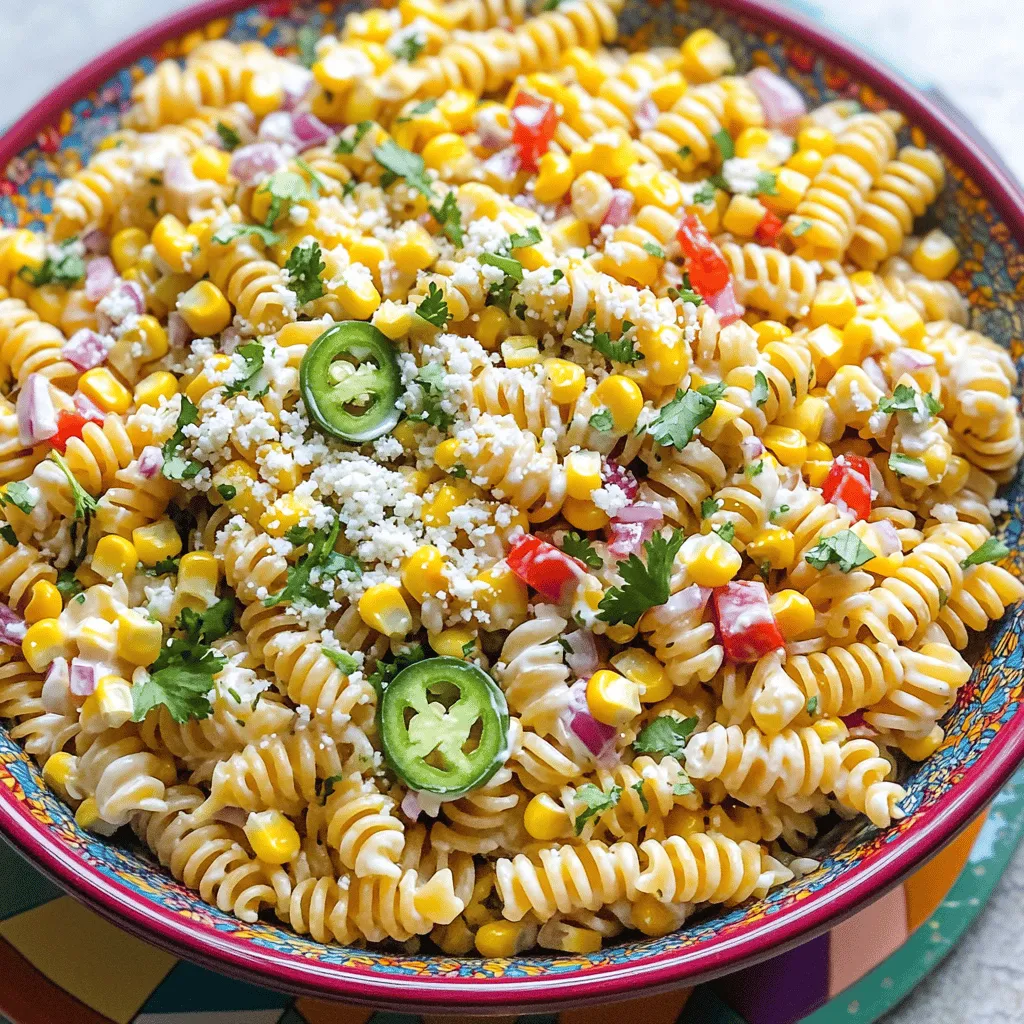
A refreshing pasta salad with the flavors of Mexican street corn, featuring rotini pasta, fresh corn...
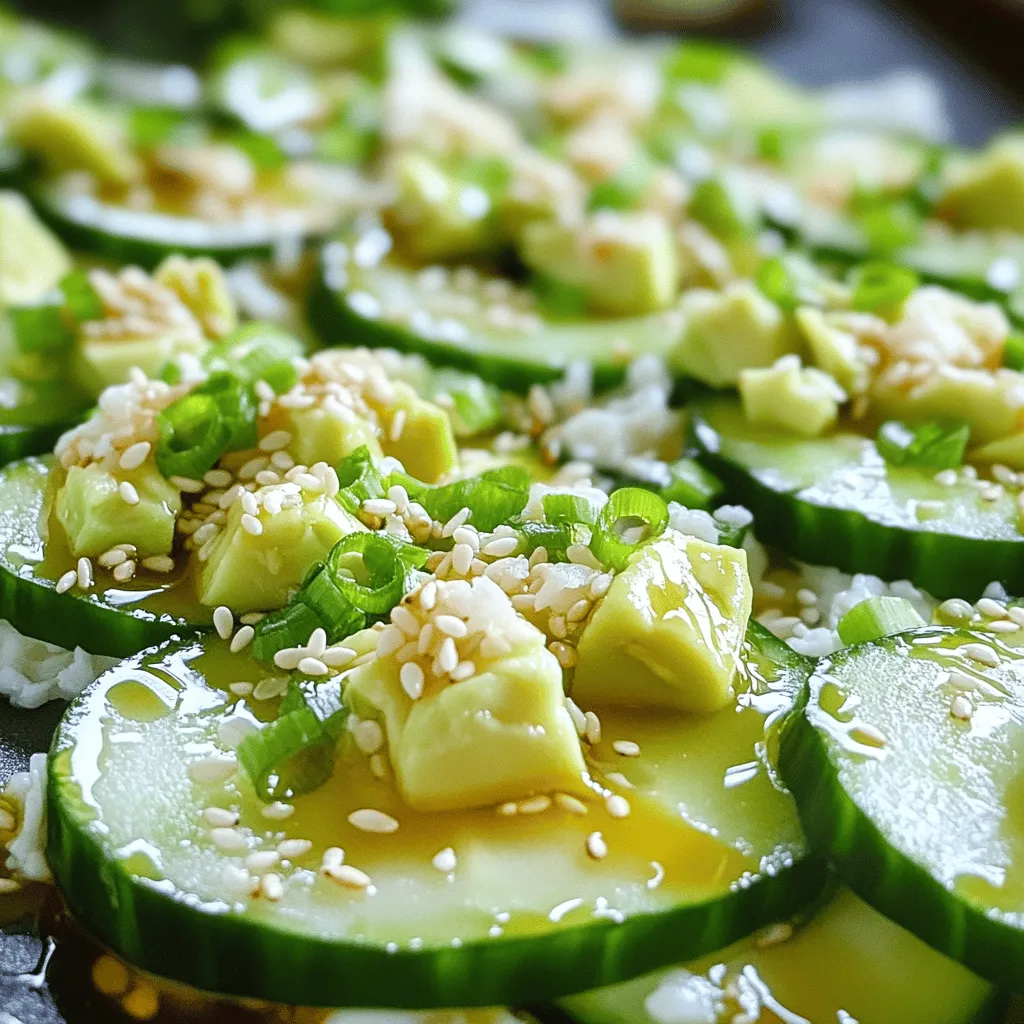
A refreshing salad inspired by California rolls, featuring cucumbers, avocado, and imitation crab me...