Dinner
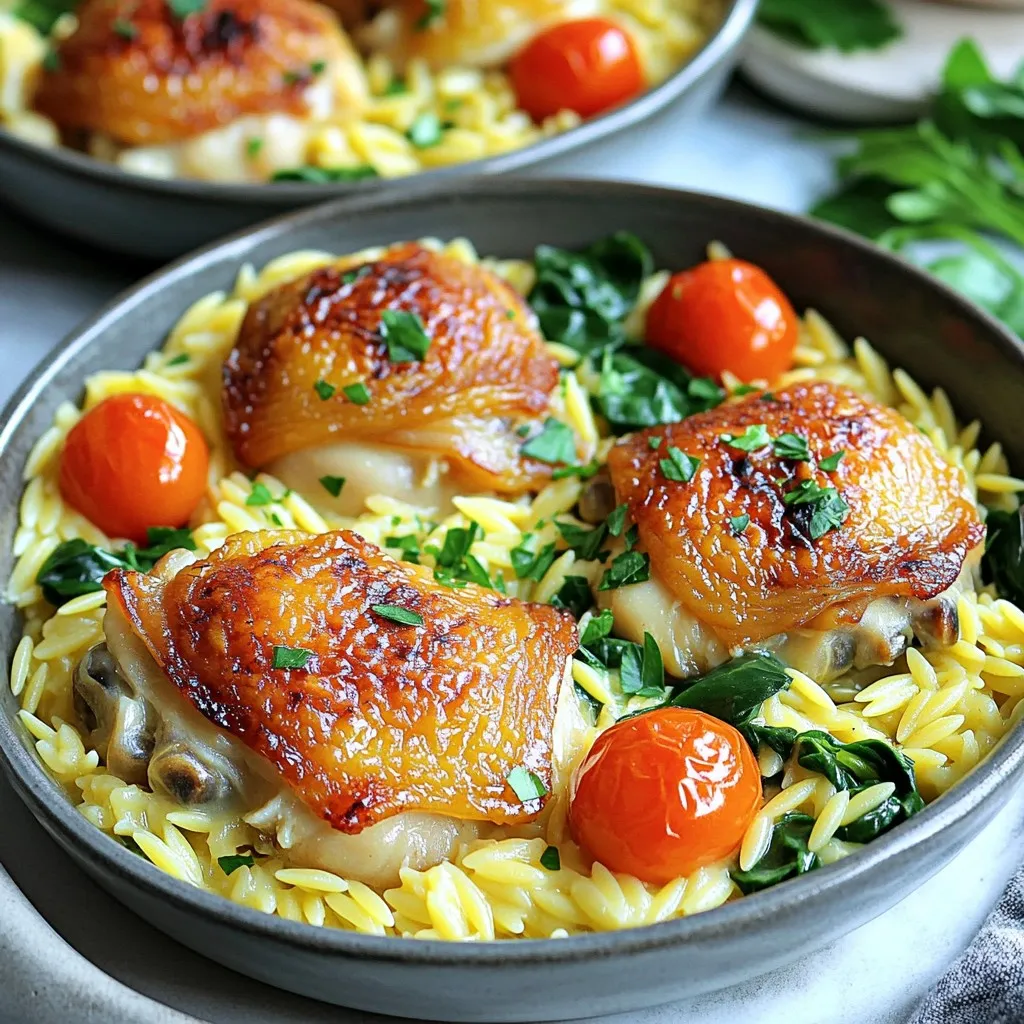
Garlic Butter Chicken Orzo Skillet Flavorful Delight
Get ready for a tasty meal that’s easy to make! This Garlic Butter Chicken Orzo Skillet is full of flavor and simple to prepare. You’ll
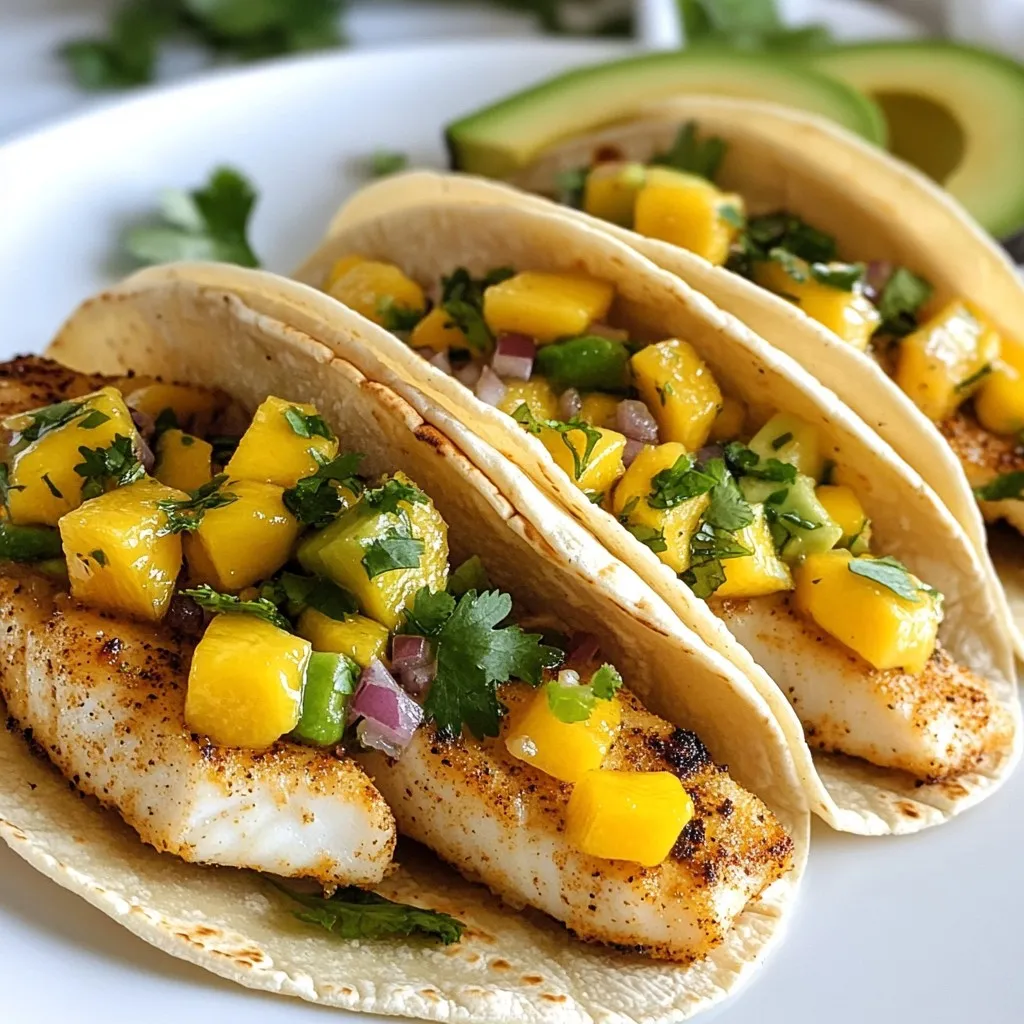
Mango Salsa Fish Tacos Flavorful and Fresh Delight
Dive into the vibrant world of Mango Salsa Fish Tacos, where fresh flavors burst with every bite! You’ll learn to create a flavorful and fresh
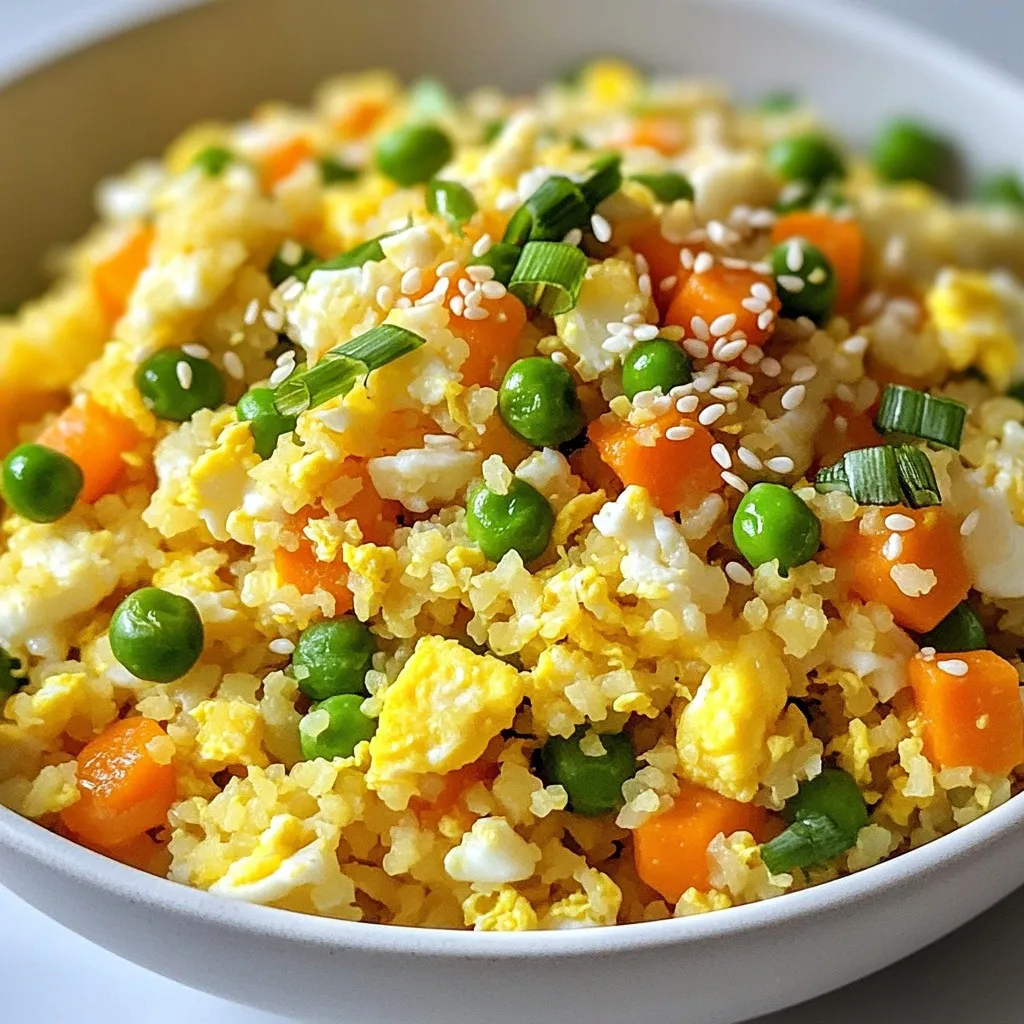
Cauliflower Fried Rice Healthy and Flavorful Recipe
Looking for a healthy twist on a classic dish? My Cauliflower Fried Rice recipe is packed with flavor and nutrition. You’ll enjoy fresh veggies and
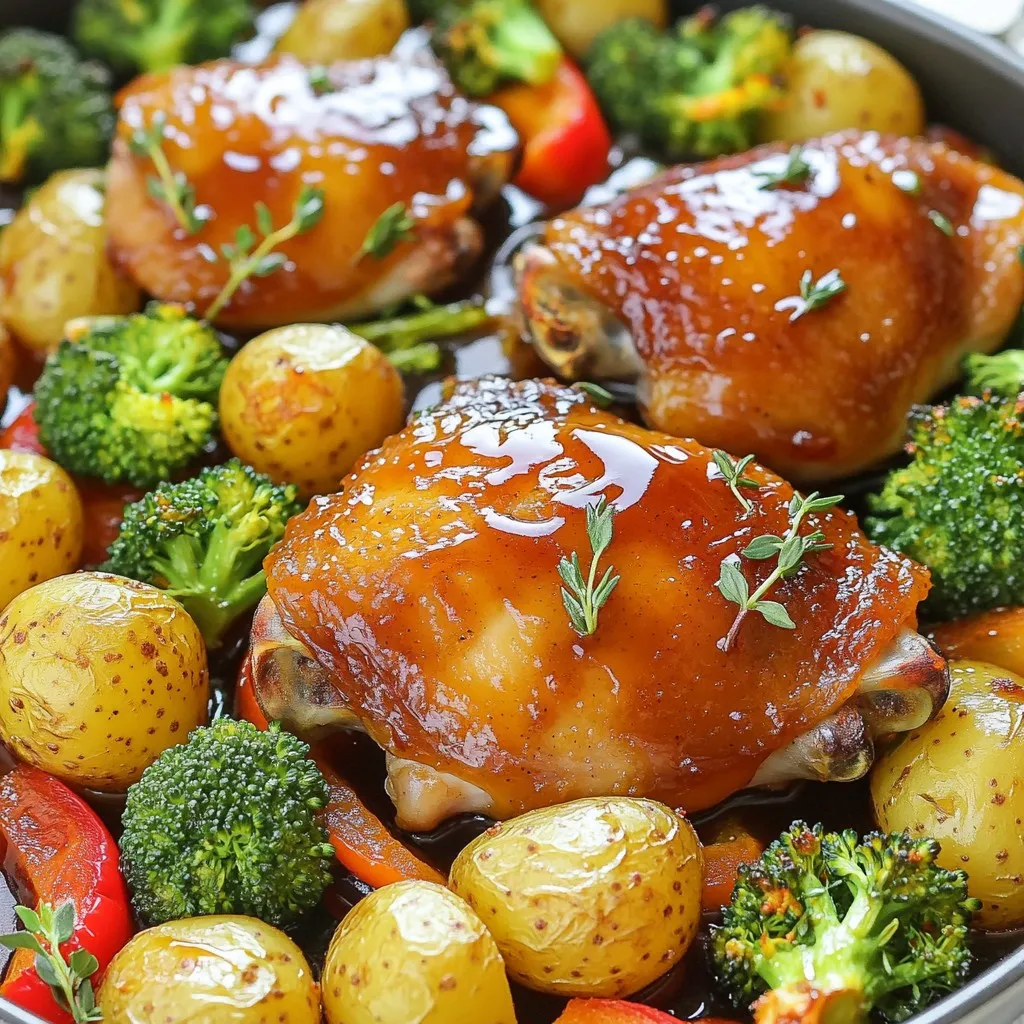
Sheet Pan Maple Dijon Chicken and Veggies Delight
Welcome to the delicious world of sheet pan meals! Today, I’m excited to share my favorite recipe: Sheet Pan Maple Dijon Chicken and Veggies Delight.
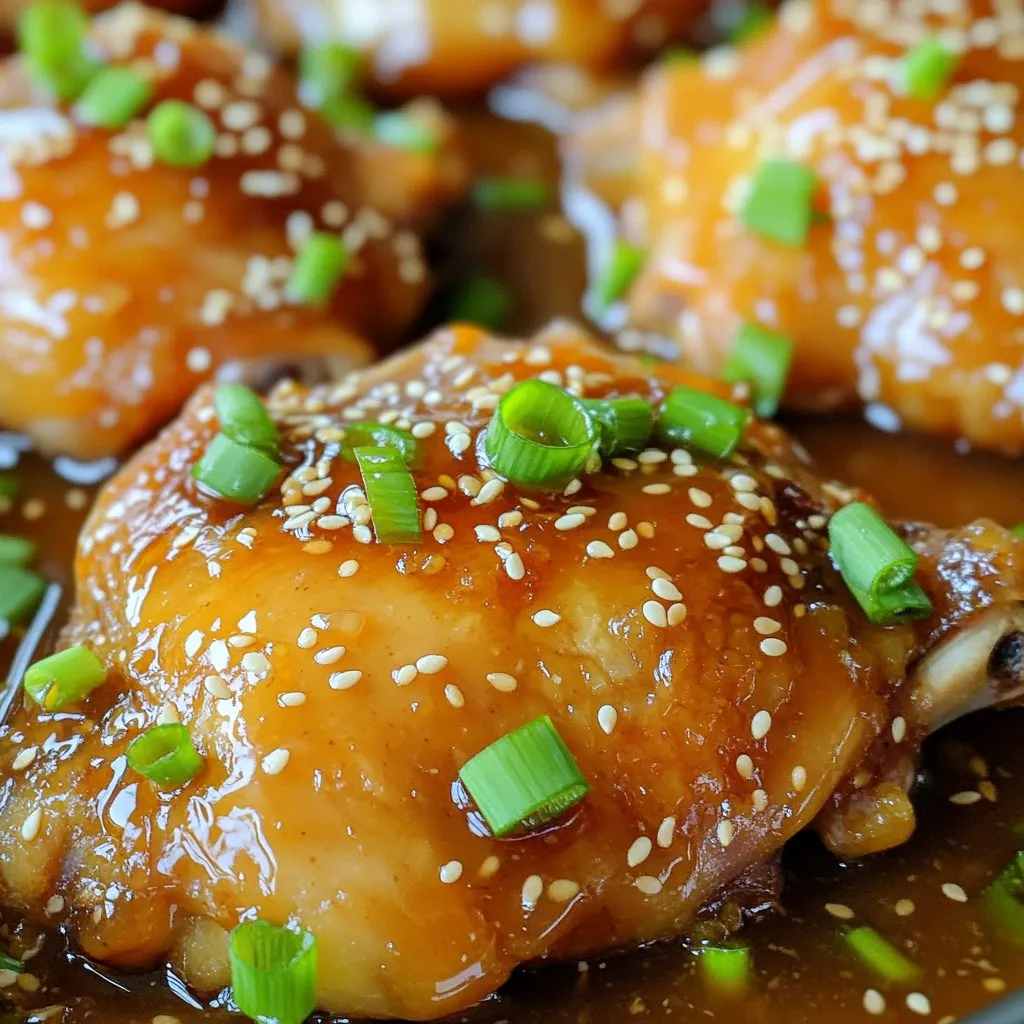
Slow Cooker Honey Garlic Chicken Thighs Tasty Dish
Are you ready to elevate your dinner game? In this post, I’ll show you how to make Slow Cooker Honey Garlic Chicken Thighs, a sweet

One Pot Creamy Garlic Butter Salmon and Spinach Dish
Looking for a simple yet delicious dinner? This one-pot creamy garlic butter salmon and spinach dish is your answer! With fresh salmon fillets nestled in
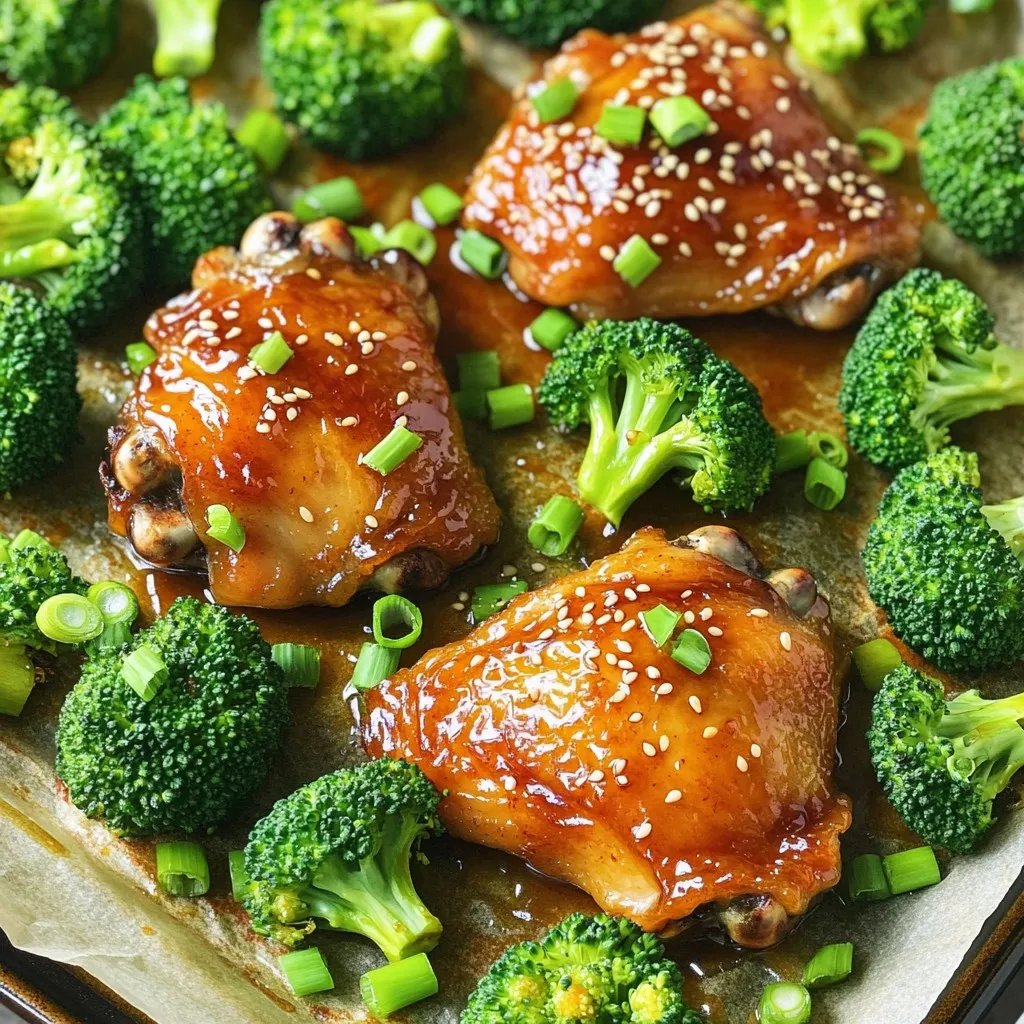
Sheet Pan Honey Garlic Chicken & Broccoli Delight
Are you ready for a one-pan meal that bursts with flavor? My Sheet Pan Honey Garlic Chicken & Broccoli Delight packs sweet and savory goodness
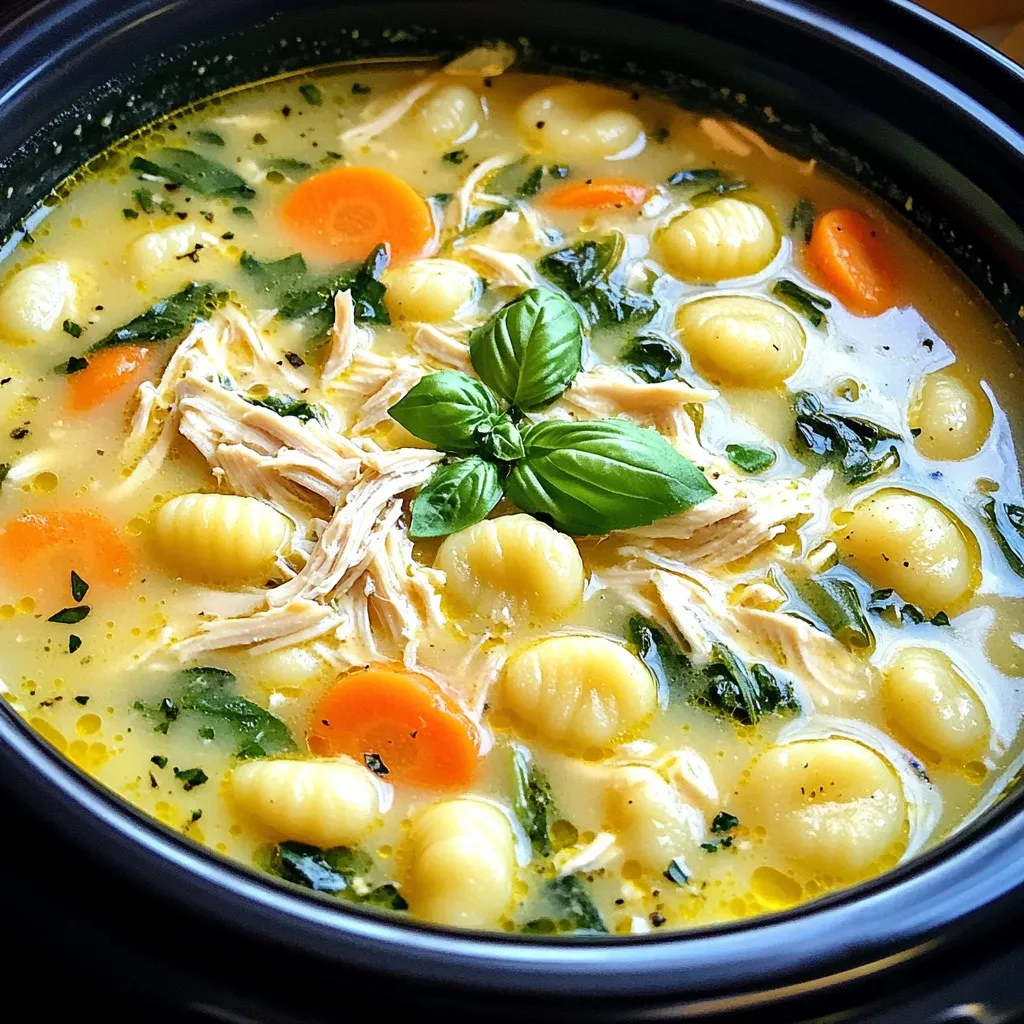
Slow Cooker Chicken & Gnocchi Soup Hearty and Easy Dish
Looking for a warm, comforting dish that fits perfectly into your busy life? My Slow Cooker Chicken & Gnocchi Soup delivers heartiness with ease. This
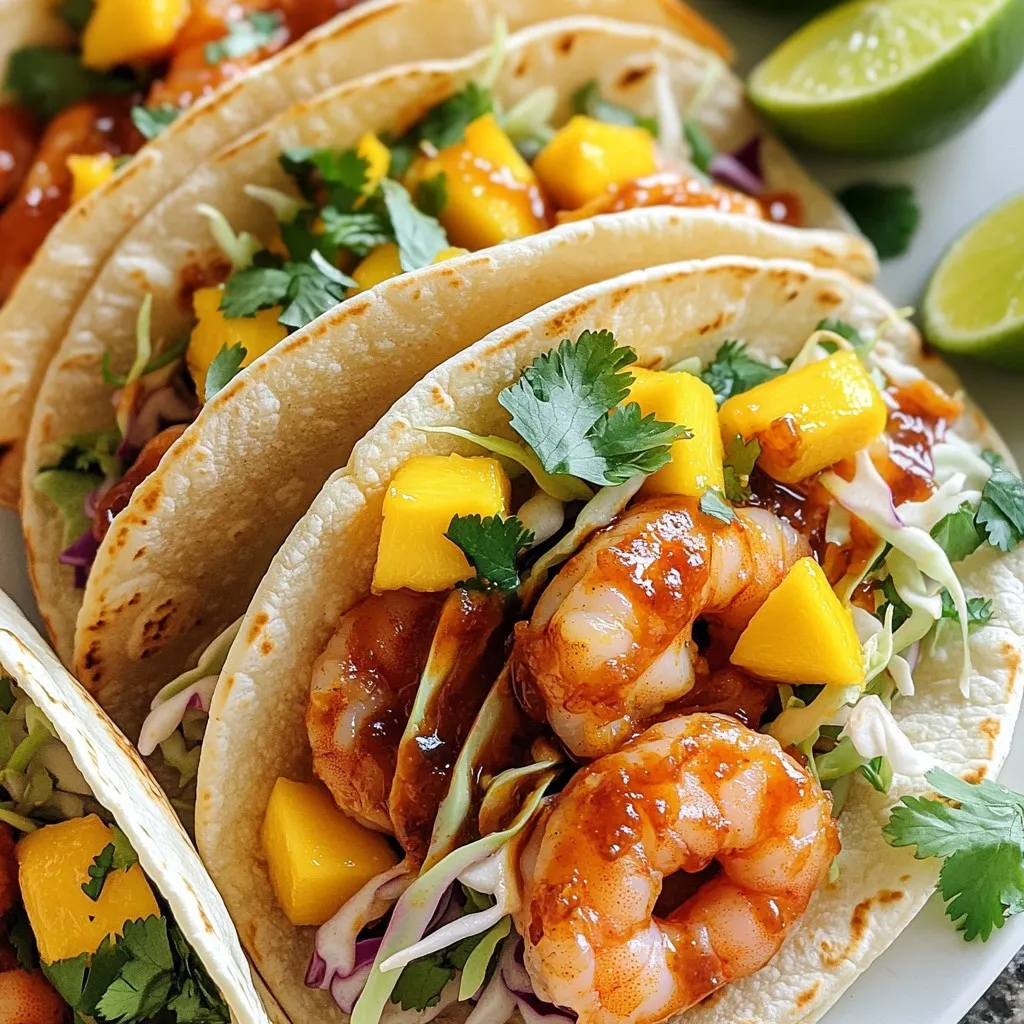
Air Fryer Sweet Chili Shrimp Tacos Flavorful Meal
Get ready to spice up your dinner with my Air Fryer Sweet Chili Shrimp Tacos! These tacos are simple, packed with flavor, and a guaranteed
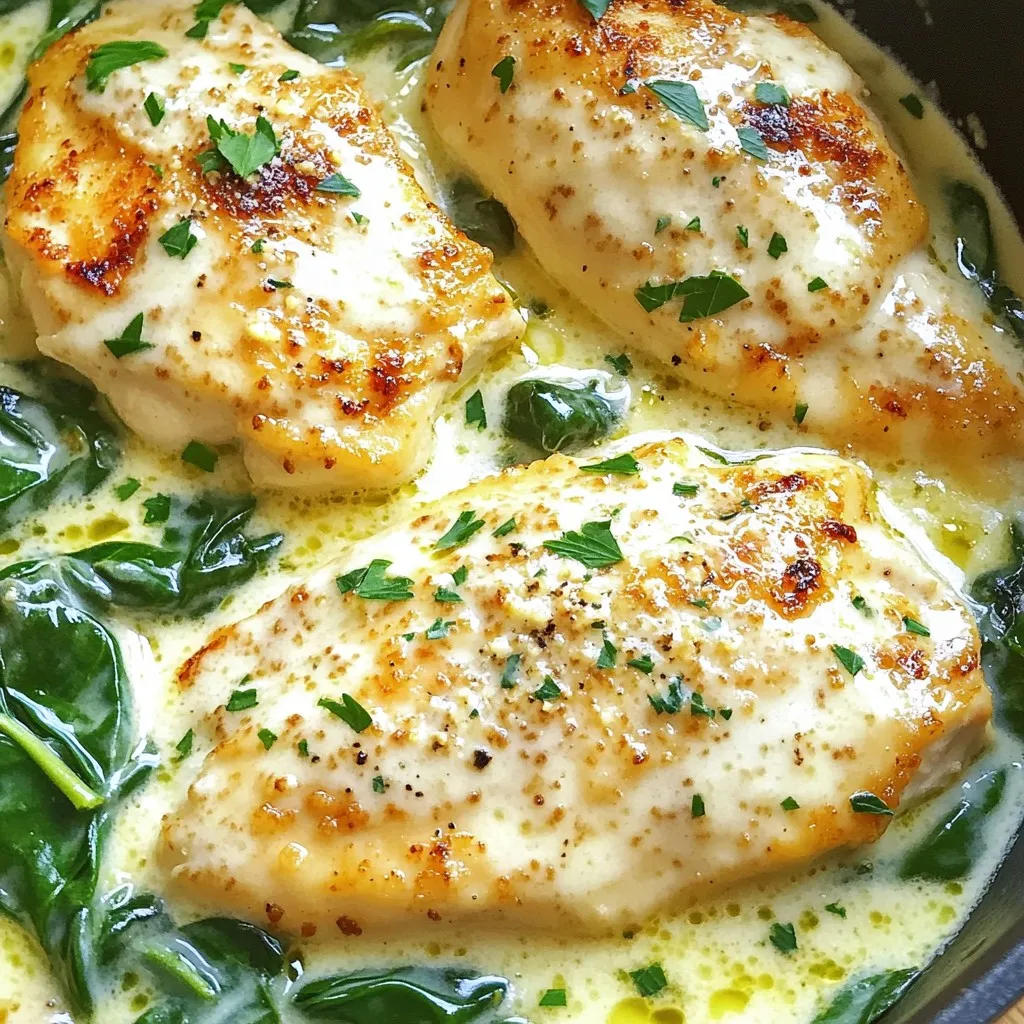
One-Pot Creamy Garlic Parmesan Chicken & Spinach Delight
Looking for a quick and tasty dinner? This One-Pot Creamy Garlic Parmesan Chicken & Spinach Delight is your answer! With simple ingredients and easy steps,