Dinner
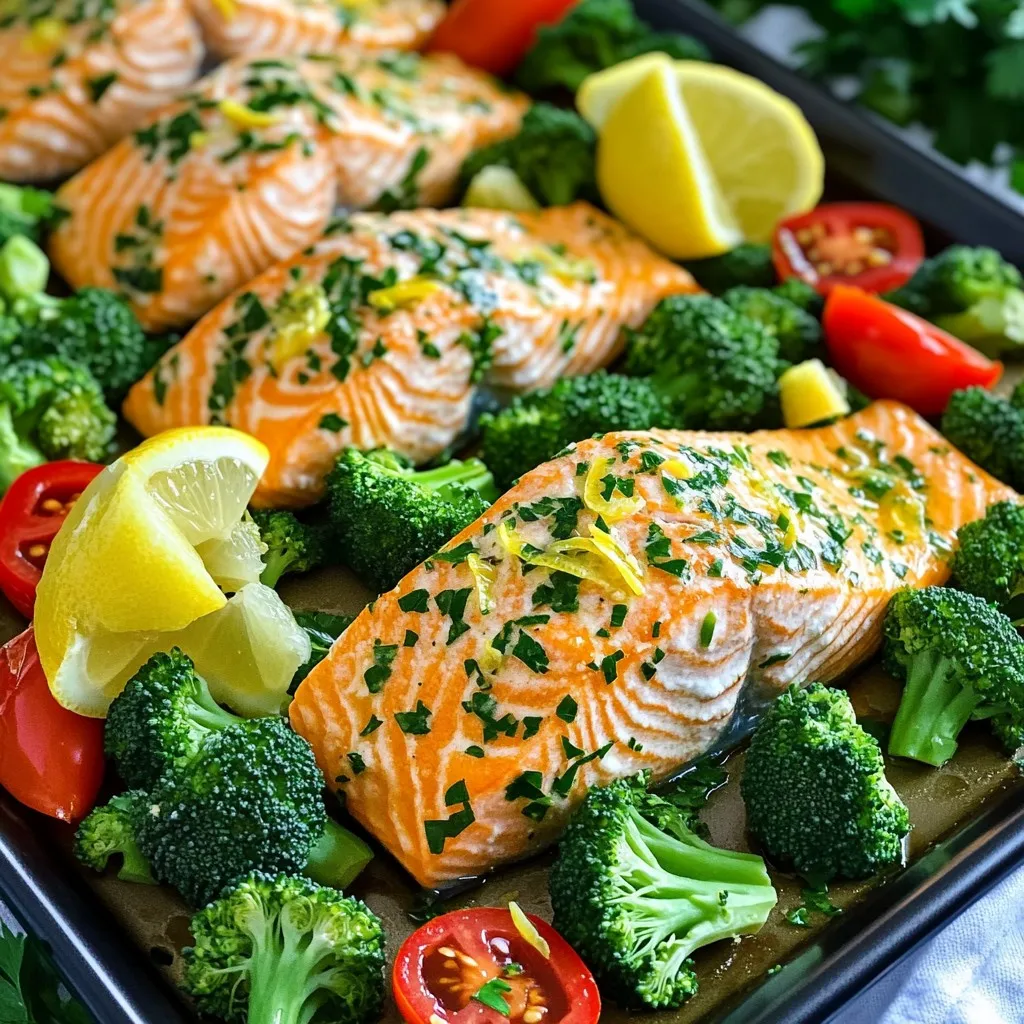
Sheet-Pan Lemon Herb Salmon & Veggies Delight
Craving a healthy, quick meal? Try my Sheet-Pan Lemon Herb Salmon & Veggies Delight! This simple dish combines savory salmon with fresh veggies, all roasted

Slow Cooker Sweet Chili Pulled Chicken Delight
Are you ready to make a dish that will impress your family and friends? In this blog post, I’ll share my recipe for Slow Cooker

One-Pot Creamy Tuscan Chicken Orzo Flavor Boost
If you’re craving a meal that’s creamy, savory, and easy to make, look no further! My One-Pot Creamy Tuscan Chicken Orzo delivers rich flavors without
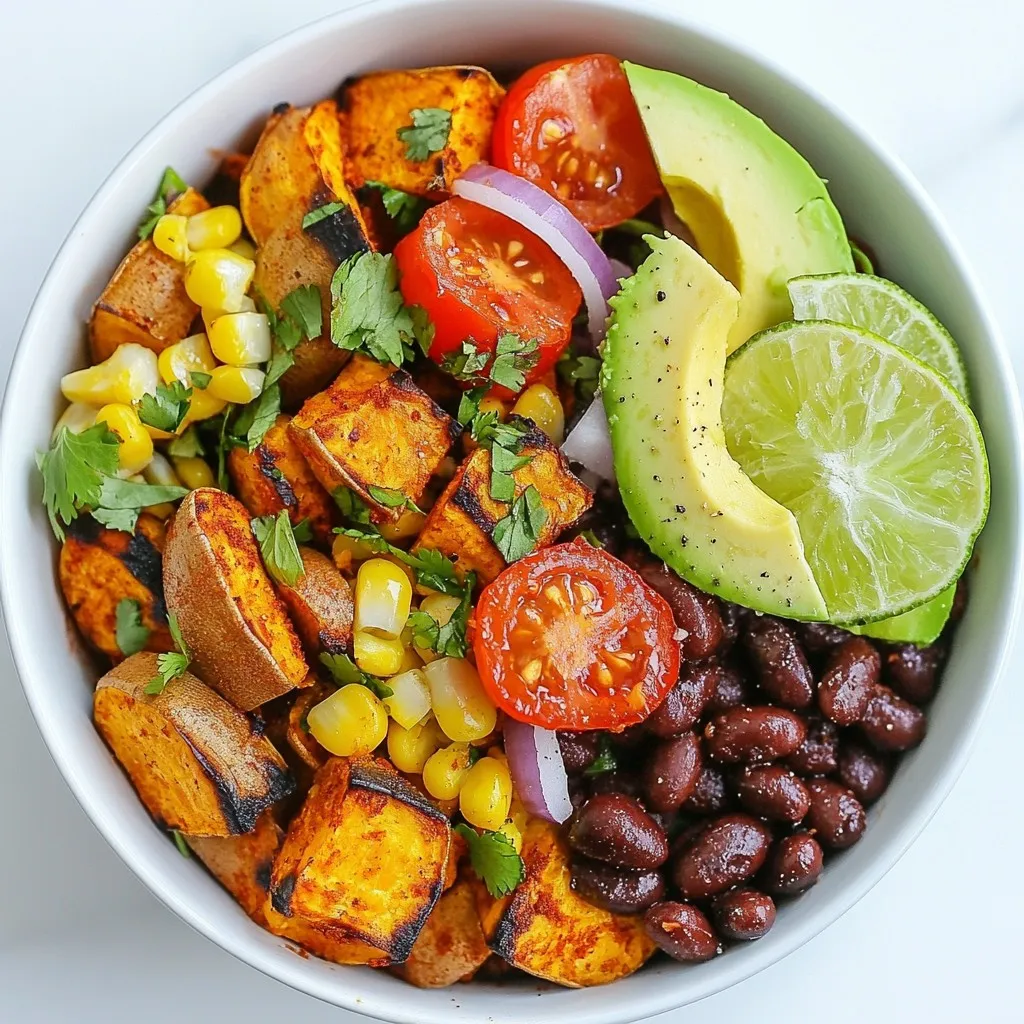
Sweet Potato Taco Bowls Flavorful and Easy Delight
Looking for a tasty meal that’s easy to make? Sweet Potato Taco Bowls are here to save the day! With crunchy veggies, savory black beans,
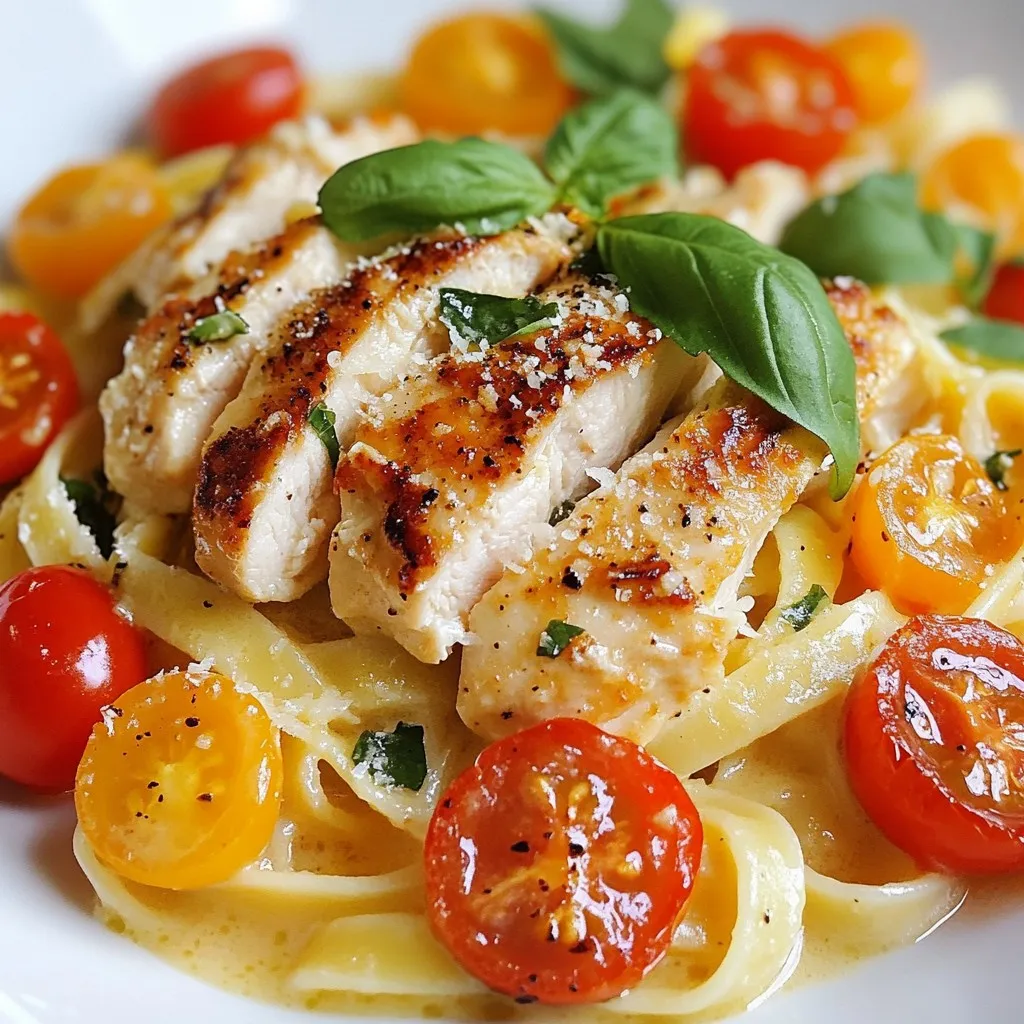
Marry Me Chicken Pasta Irresistible Dinner Delight
Looking for a dinner recipe that will truly impress? Marry Me Chicken Pasta is your answer! This creamy, flavorful dish is not just food; it’s
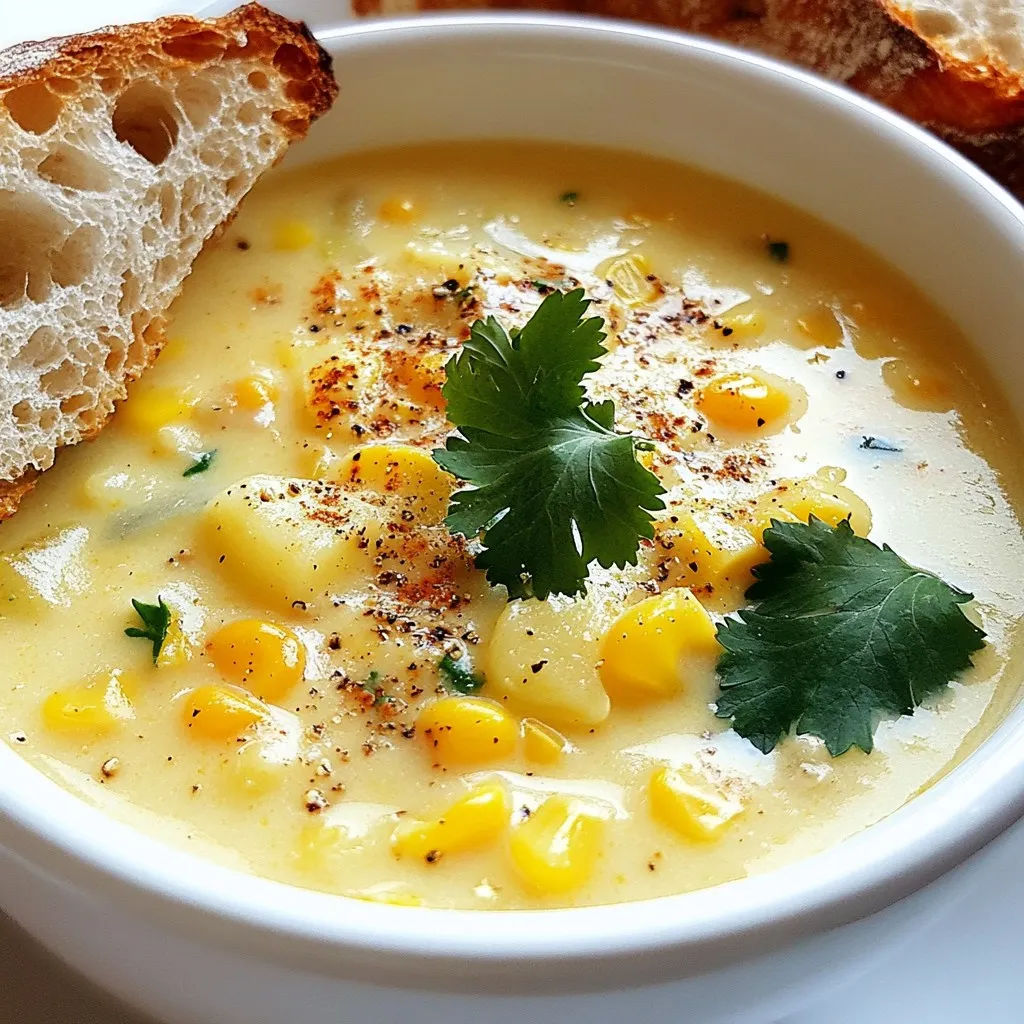
Creamy Corn Chowder Hearty and Comforting Bowl
Welcome to your new favorite comfort food! In today’s post, we’ll create a hearty and creamy corn chowder that warms the soul. Using simple ingredients
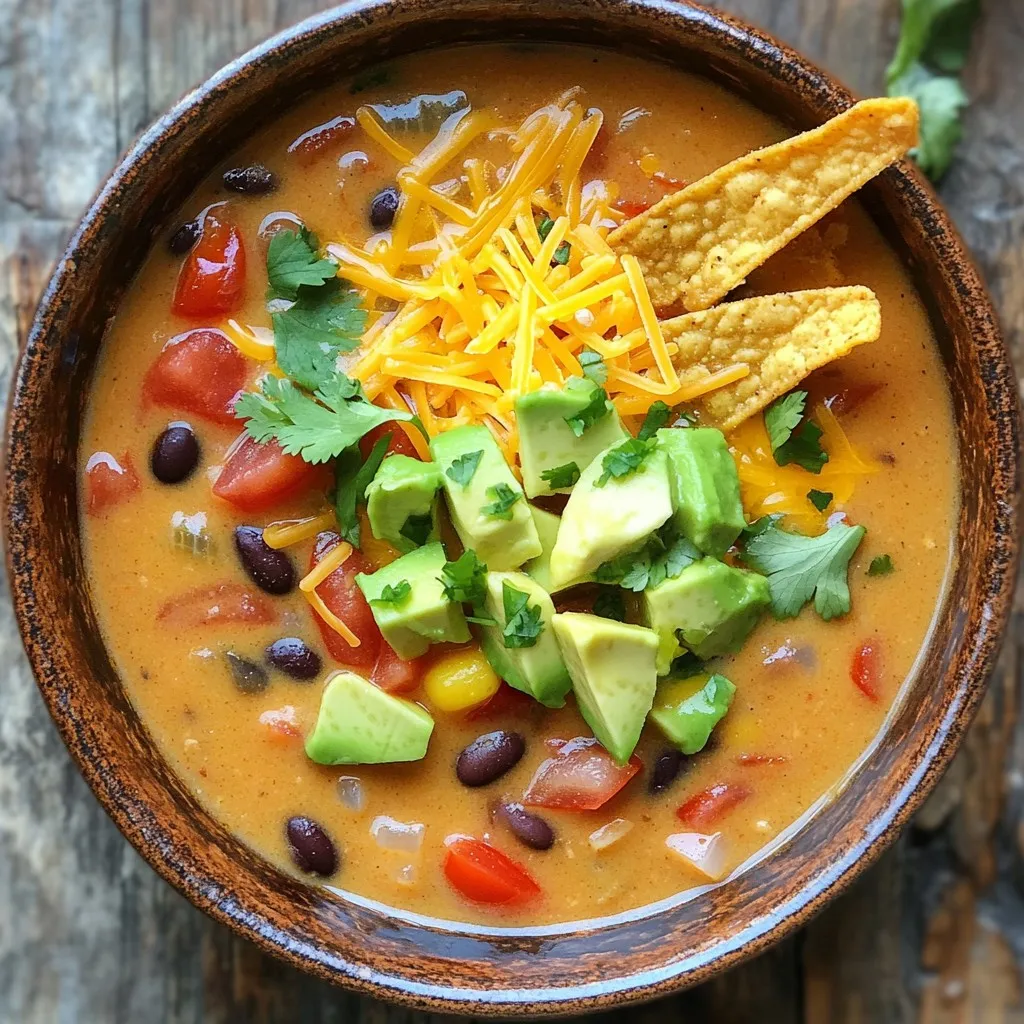
Slow Cooker Creamy Tortilla Soup Tasty and Simple Dish
Want a warm and tasty meal with minimal effort? Let me show you how to make Slow Cooker Creamy Tortilla Soup. This dish is simple,
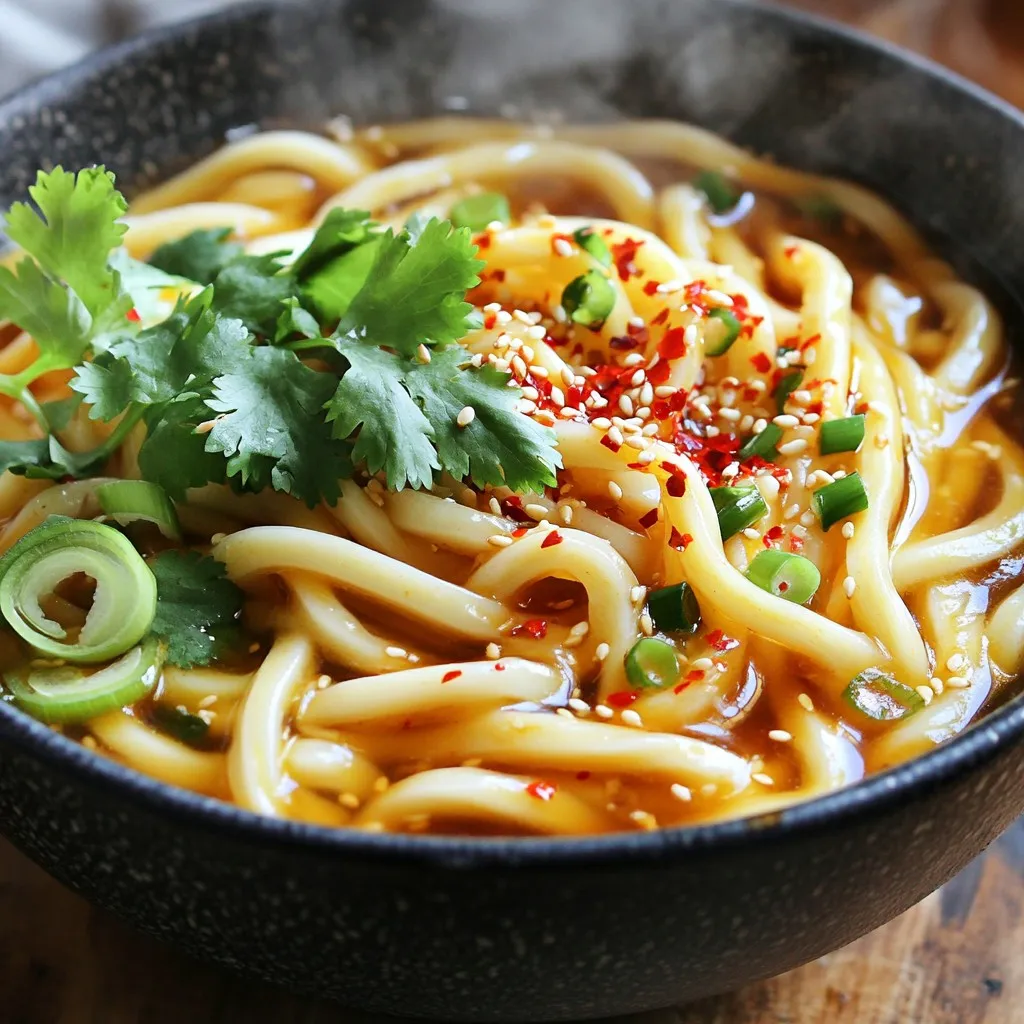
Spicy Honey Garlic Udon Quick and Tasty 15 Minutes
Craving a quick and tasty meal? You’re in the right place! This Spicy Honey Garlic Udon takes just 15 minutes to make. With a blend
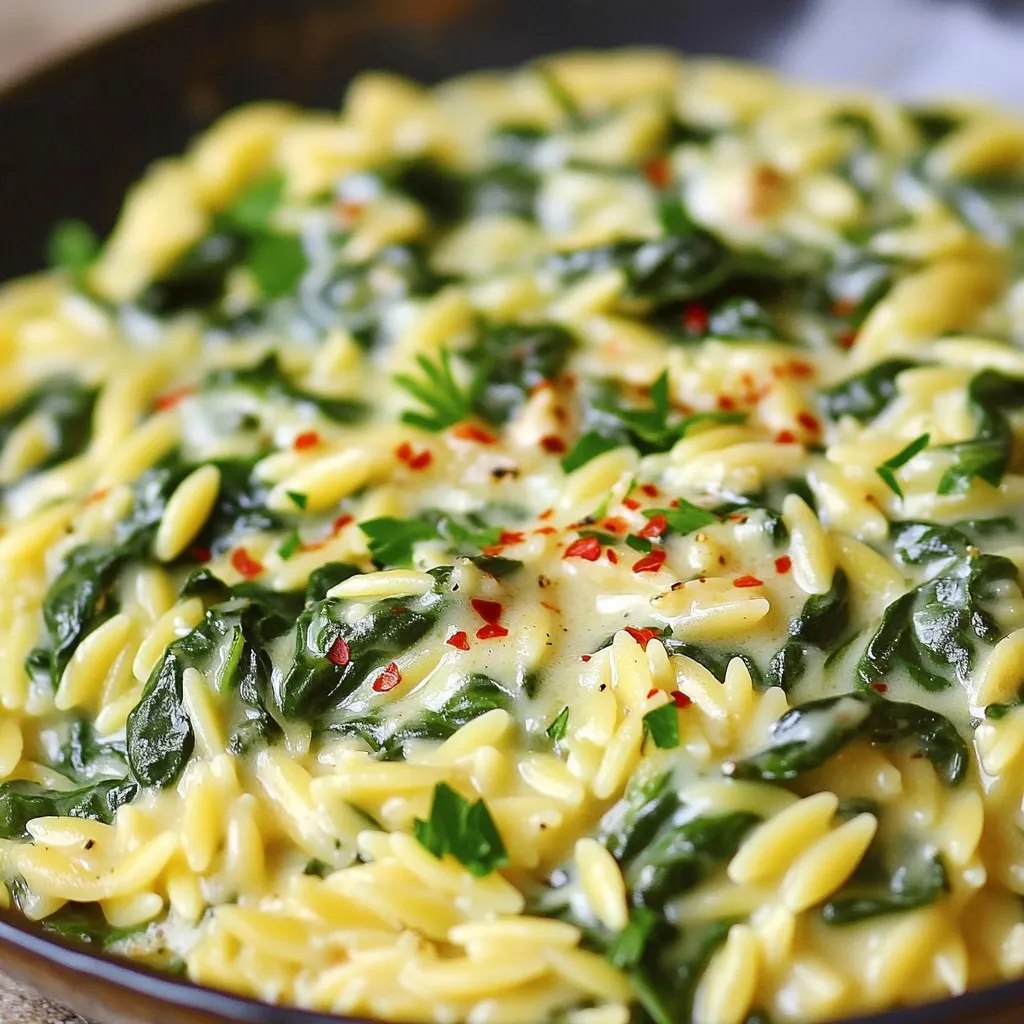
Creamy Garlic Parmesan Spinach Orzo Delightful Meal
Welcome to my kitchen, where we whip up a winning dish you’ll love—Creamy Garlic Parmesan Spinach Orzo! This meal combines tender orzo pasta with rich
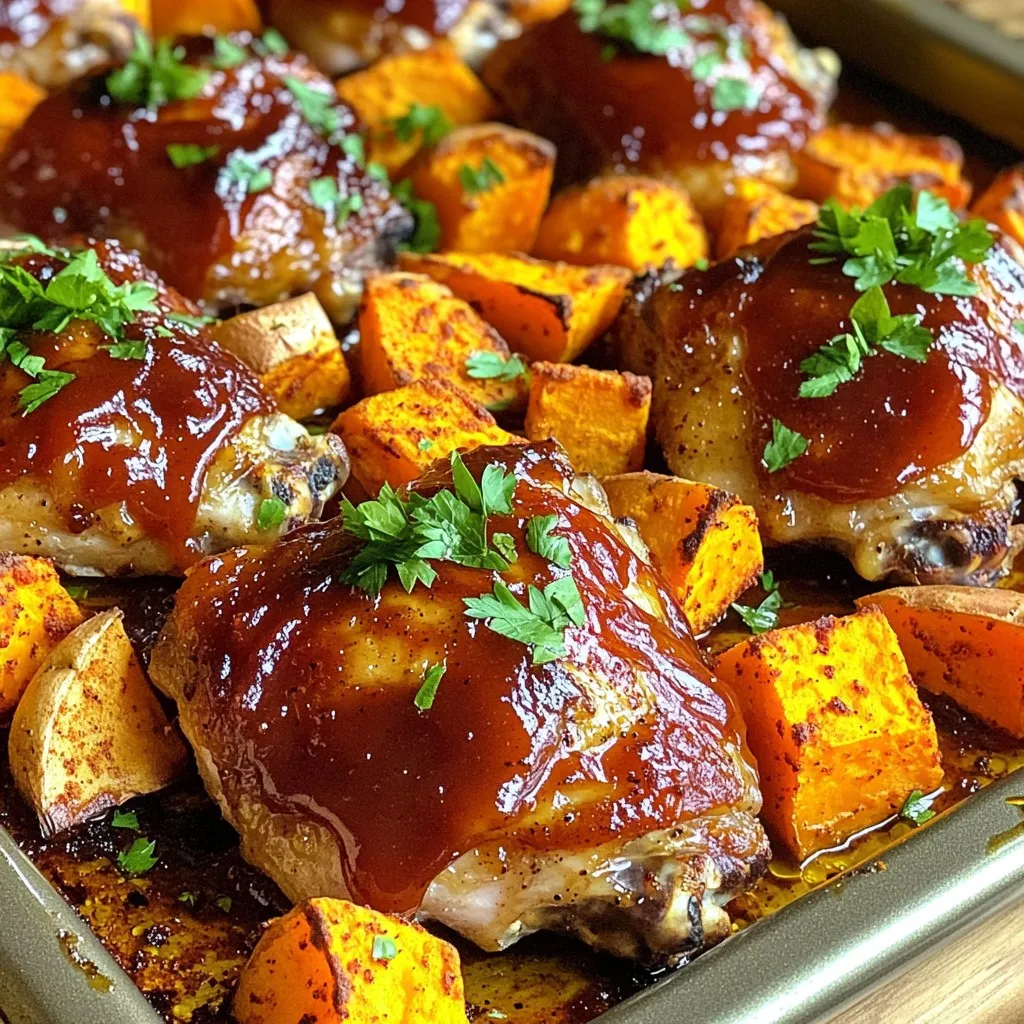
Sheet Pan BBQ Chicken & Sweet Potatoes Delight
Looking for a simple and tasty dinner? You’re in the right place! This Sheet Pan BBQ Chicken & Sweet Potatoes Delight is packed with flavor