Dinner
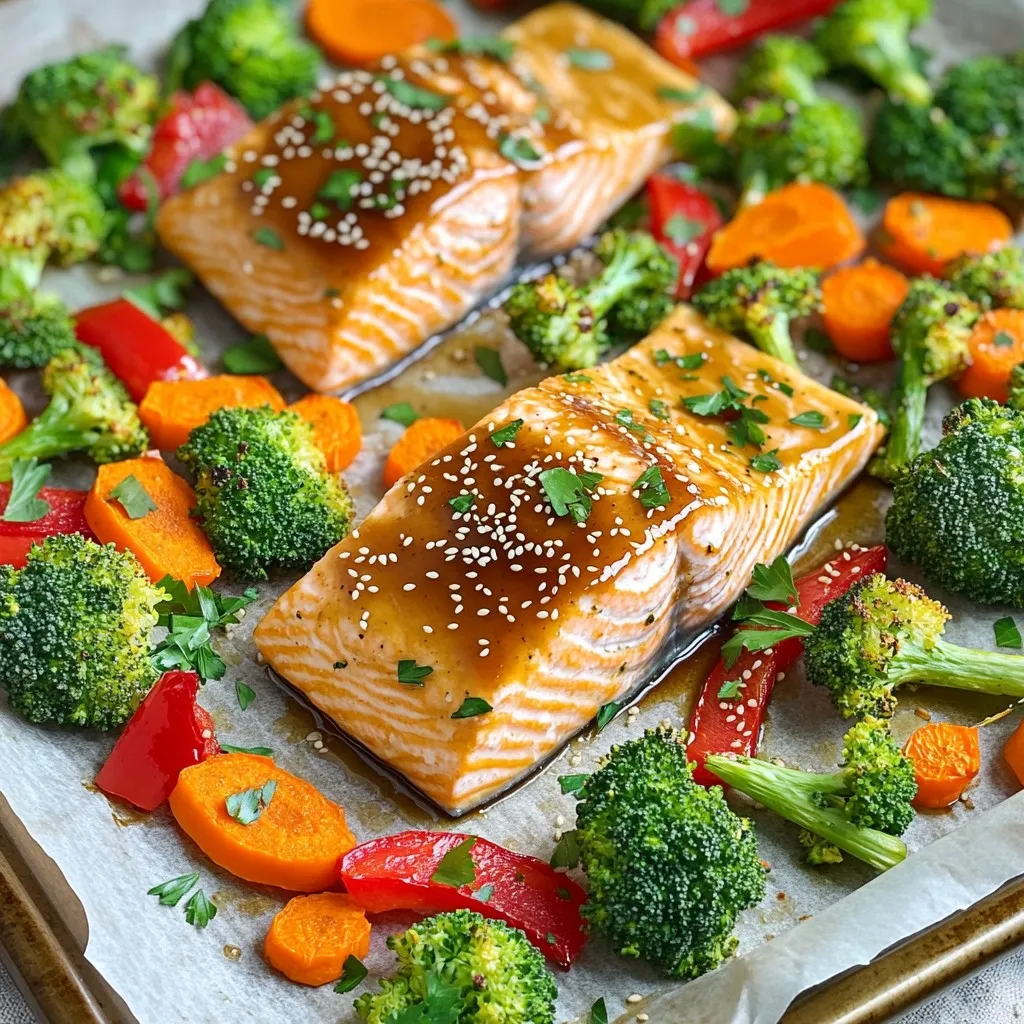
Sheet Pan Maple Dijon Salmon & Veggies Delight
Looking for a delicious, easy dinner option? My Sheet Pan Maple Dijon Salmon & Veggies Delight is just the answer! This dish combines tender salmon
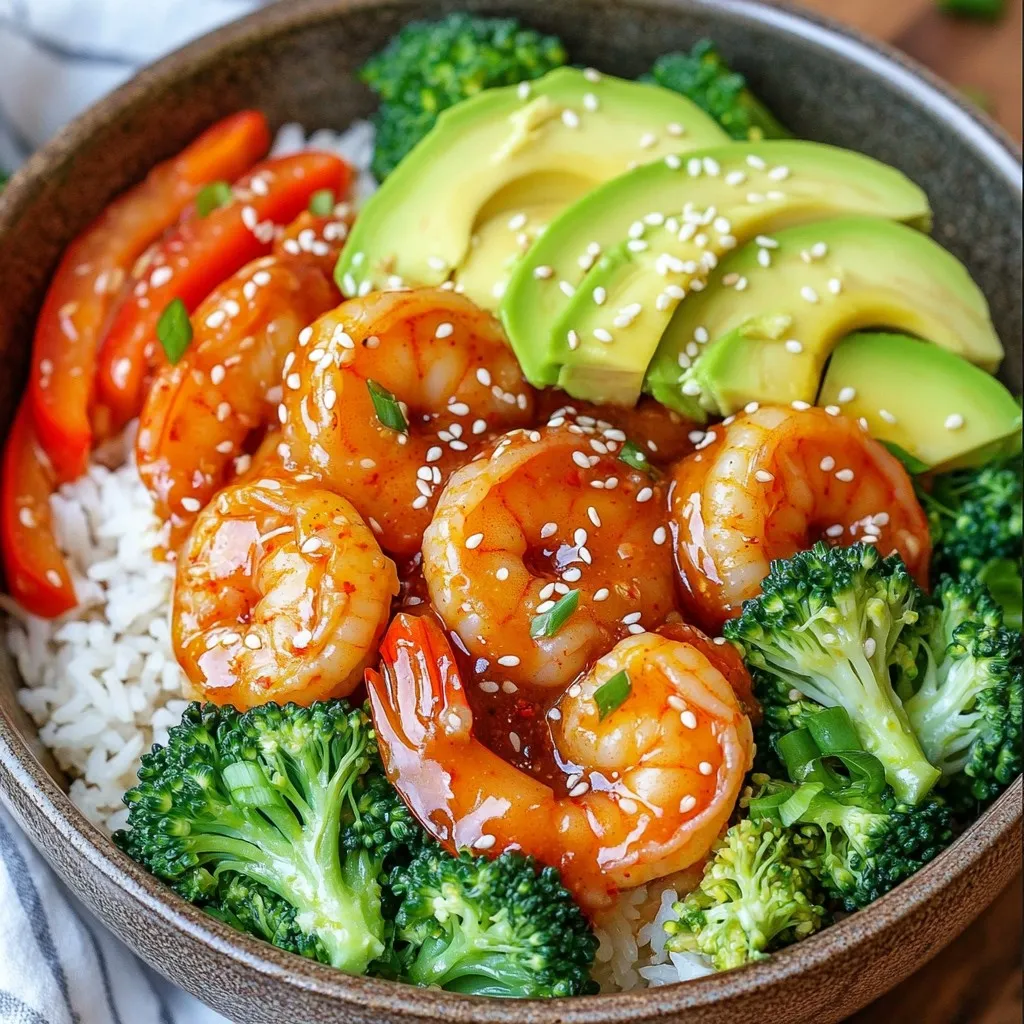
Air Fryer Sweet Chili Shrimp Bowls Flavorful and Easy
Are you ready to elevate your dinner game with a dish that’s both flavorful and easy? My Air Fryer Sweet Chili Shrimp Bowls pack a
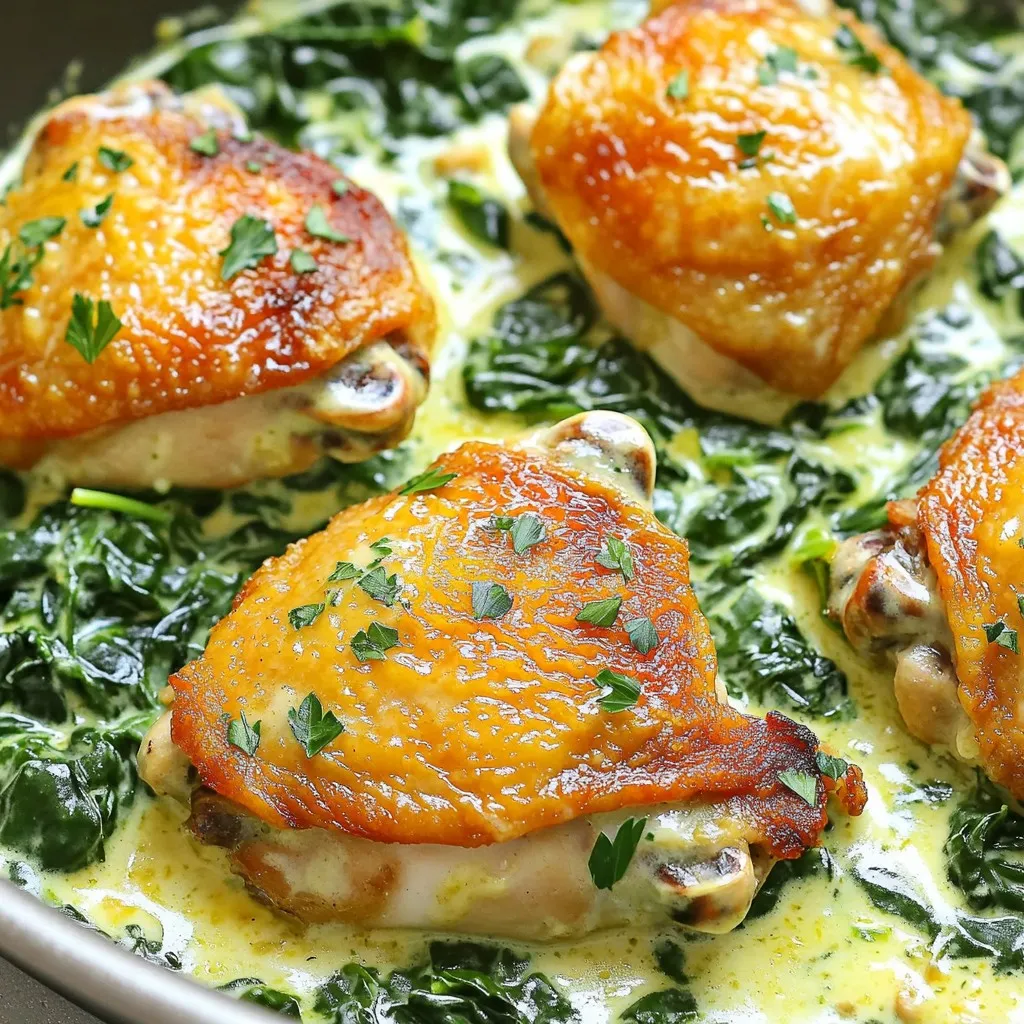
One-Pan Creamy Garlic Butter Chicken Thighs Delight
Are you ready to make a meal that’s rich, creamy, and full of flavor? One-Pan Creamy Garlic Butter Chicken Thighs Delight is the perfect dish
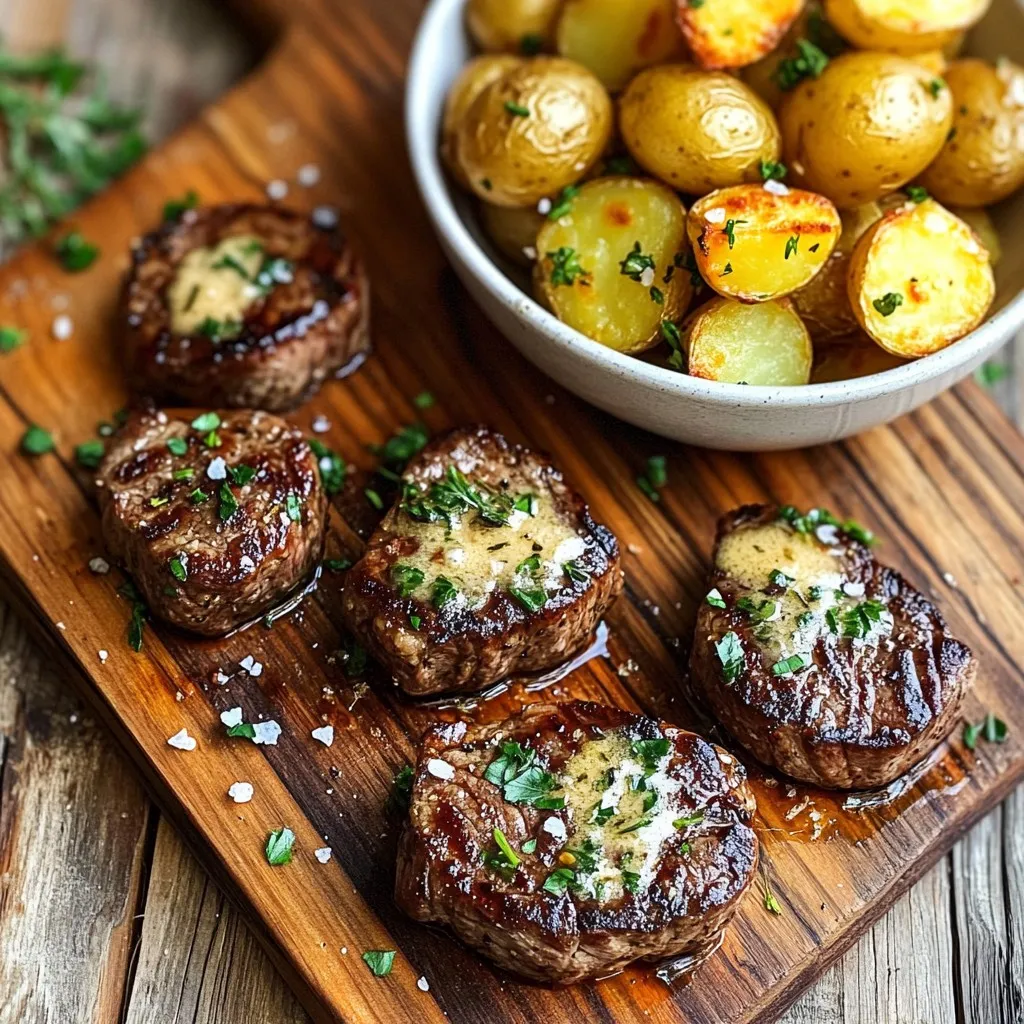
Garlic Butter Steak Bites & Herb Potatoes Flavor Meal
Get ready to delight your taste buds with my Garlic Butter Steak Bites & Herb Potatoes flavor meal! This dish is packed with juicy steak
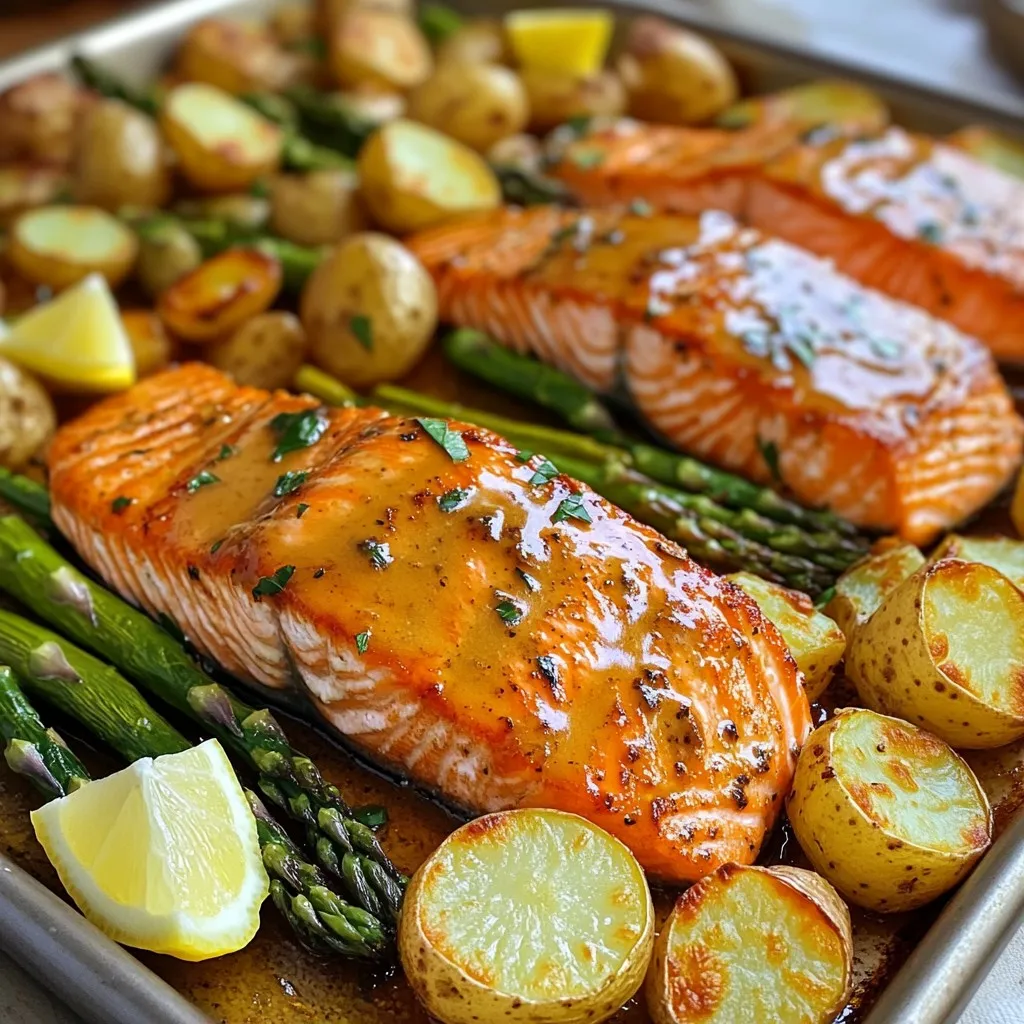
Maple Dijon Sheet-Pan Salmon Easy and Flavorful Dish
Craving a quick and tasty dinner? Maple Dijon Sheet-Pan Salmon is your answer! This simple, one-pan meal combines sweet maple syrup and tangy Dijon mustard
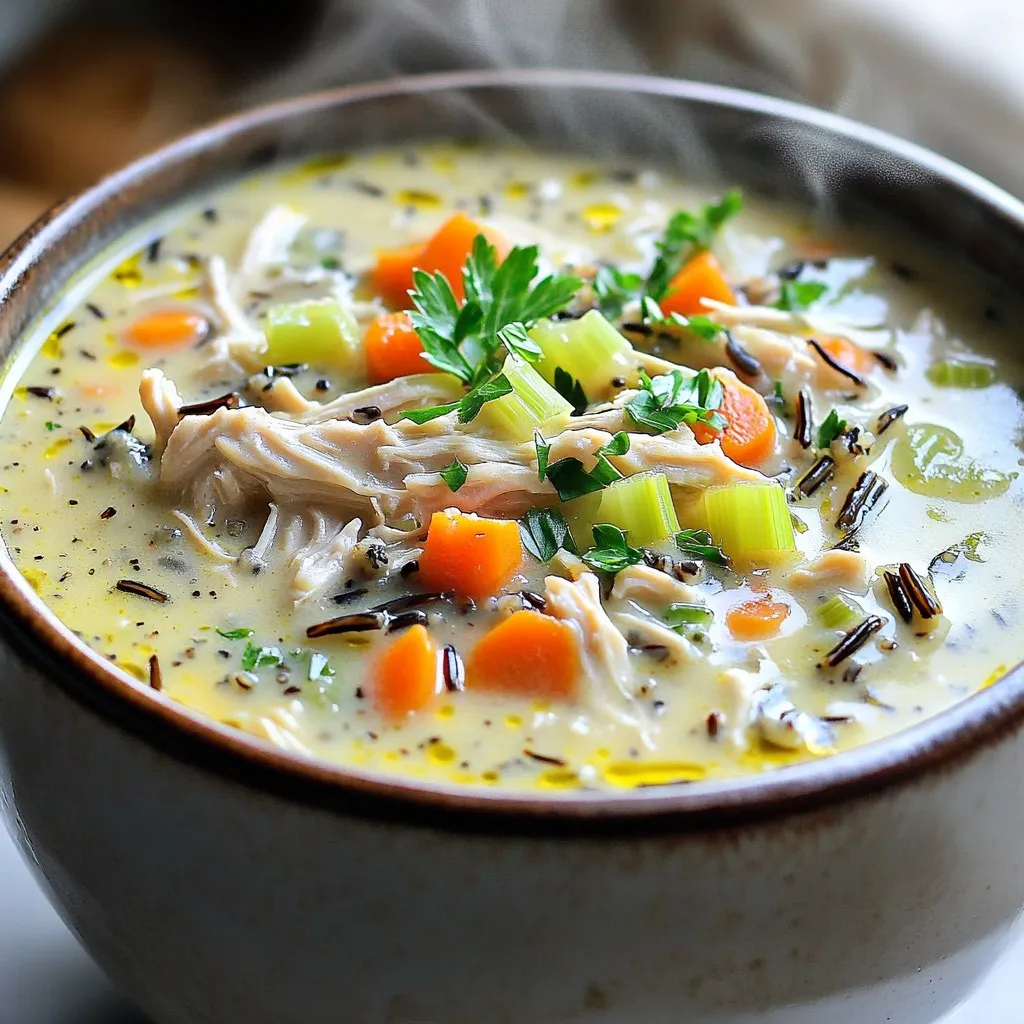
Creamy Slow Cooker Chicken & Wild Rice Soup Delight
Get ready to warm your heart and home with Creamy Slow Cooker Chicken & Wild Rice Soup! This cozy dish combines tender chicken, hearty wild
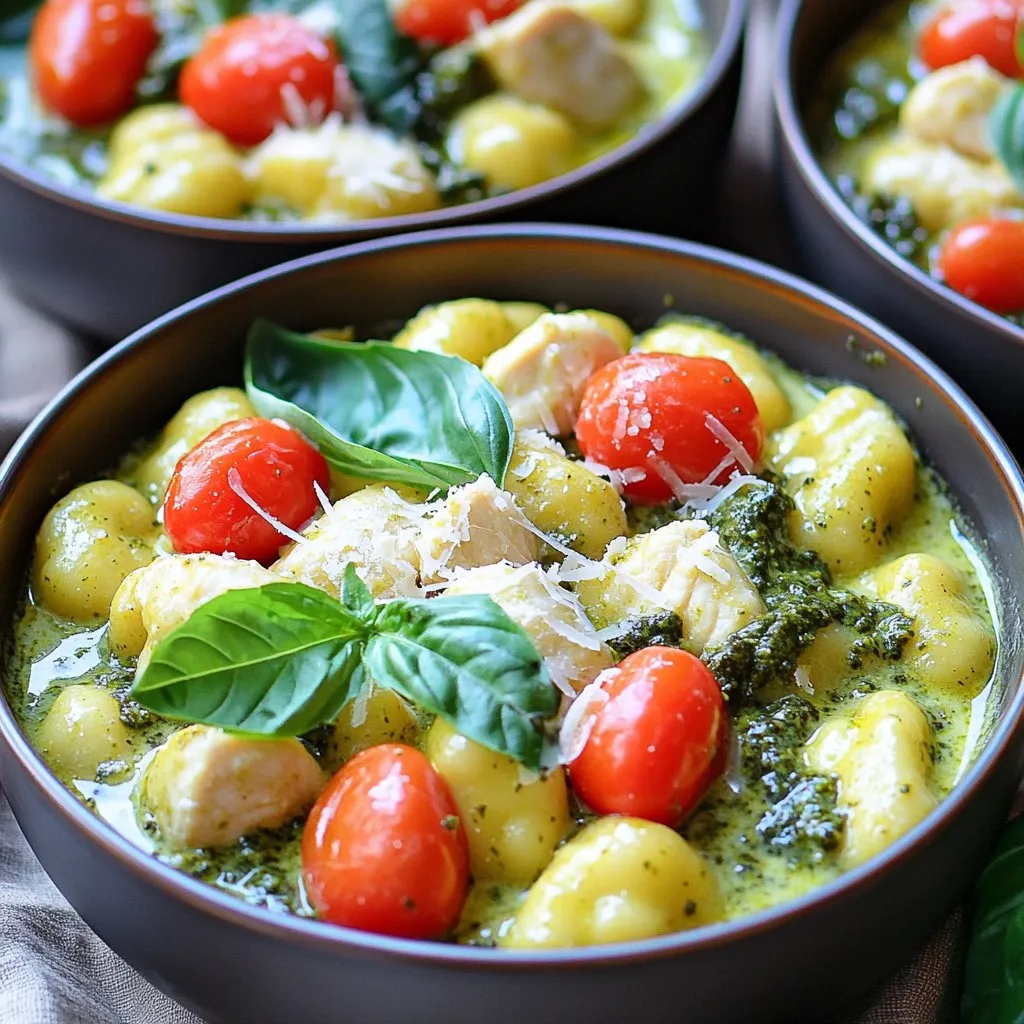
Creamy One-Pot Pesto Chicken Gnocchi Delight
If you crave a quick, tasty meal, look no further than creamy one-pot pesto chicken gnocchi! This dish combines tender chicken, fluffy gnocchi, and vibrant
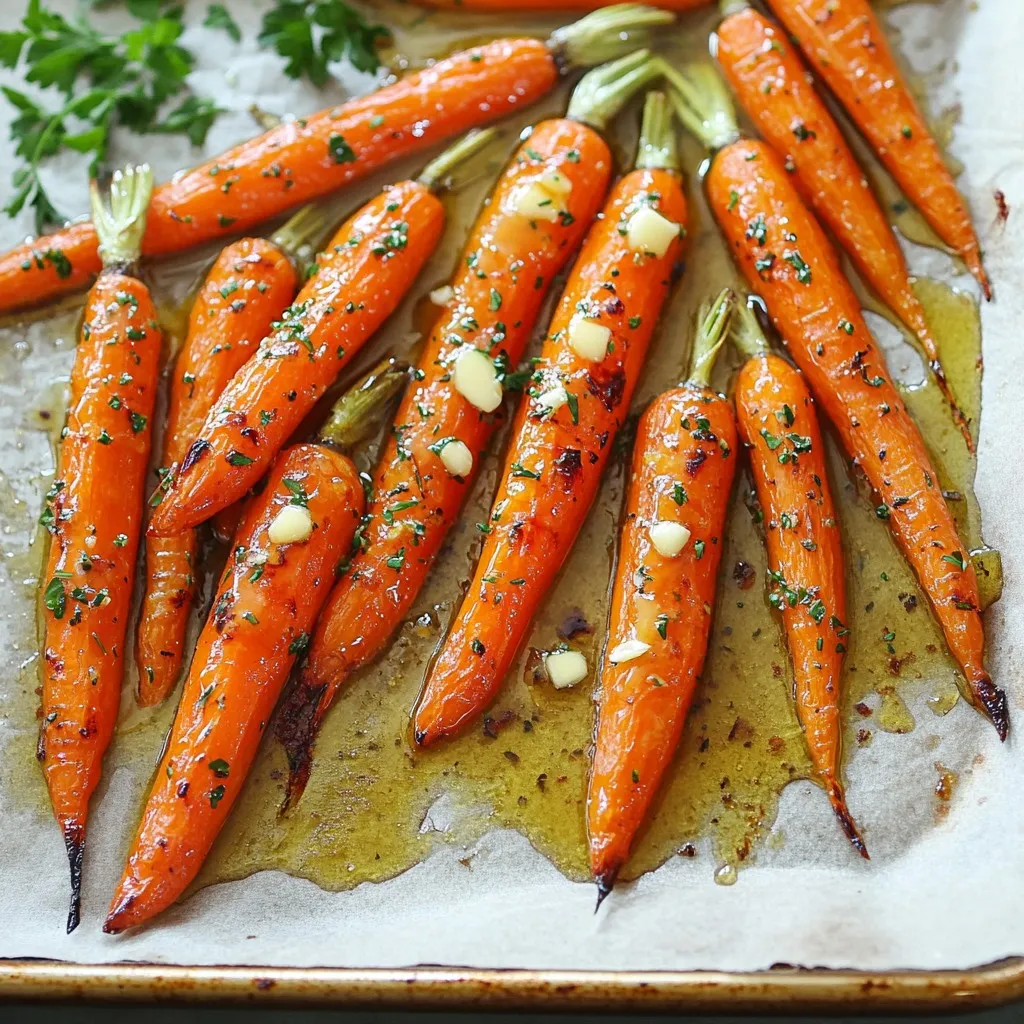
Honey Garlic Butter Roasted Carrots Simple and Tasty
Looking for a simple yet tasty side dish? Honey Garlic Butter Roasted Carrots are here to save your meal! This easy recipe combines sweet honey
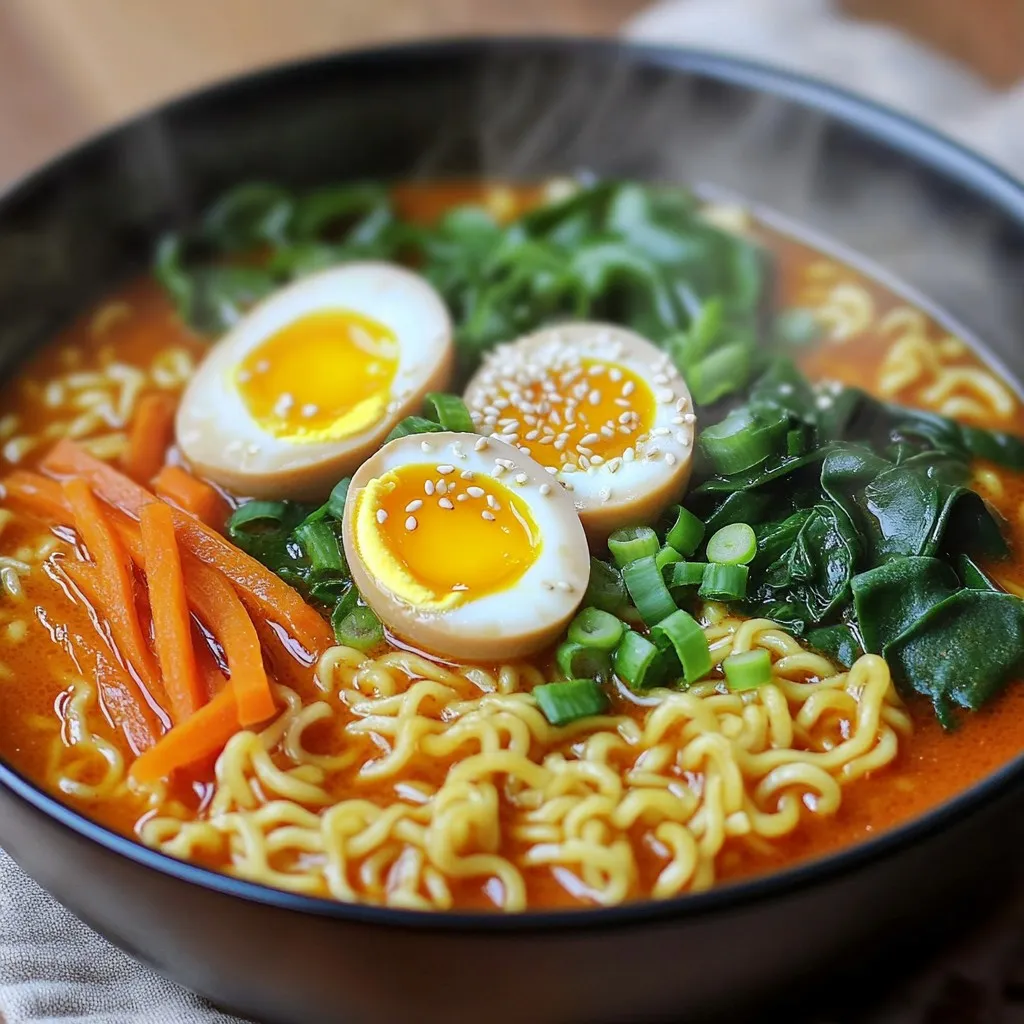
Minute Spicy Miso Ramen with Jammy Egg Delight
Welcome to a flavor-packed journey with my Minute Spicy Miso Ramen with Jammy Egg Delight! If you crave a quick meal that bursts with taste,
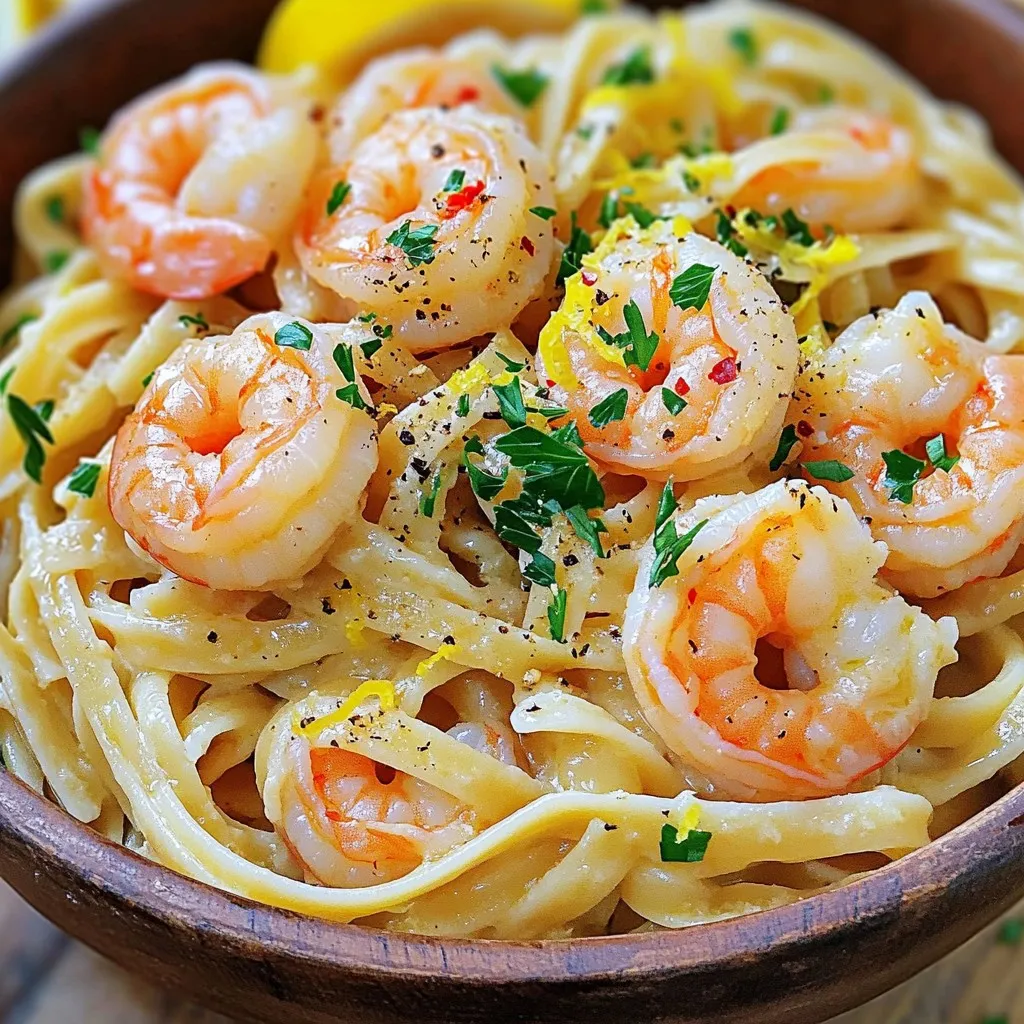
Garlic Butter Shrimp Scampi Linguine Flavorful Delight
If you crave a dish bursting with flavor, Garlic Butter Shrimp Scampi Linguine is for you. This meal combines juicy shrimp, rich garlic butter, and