Dinner
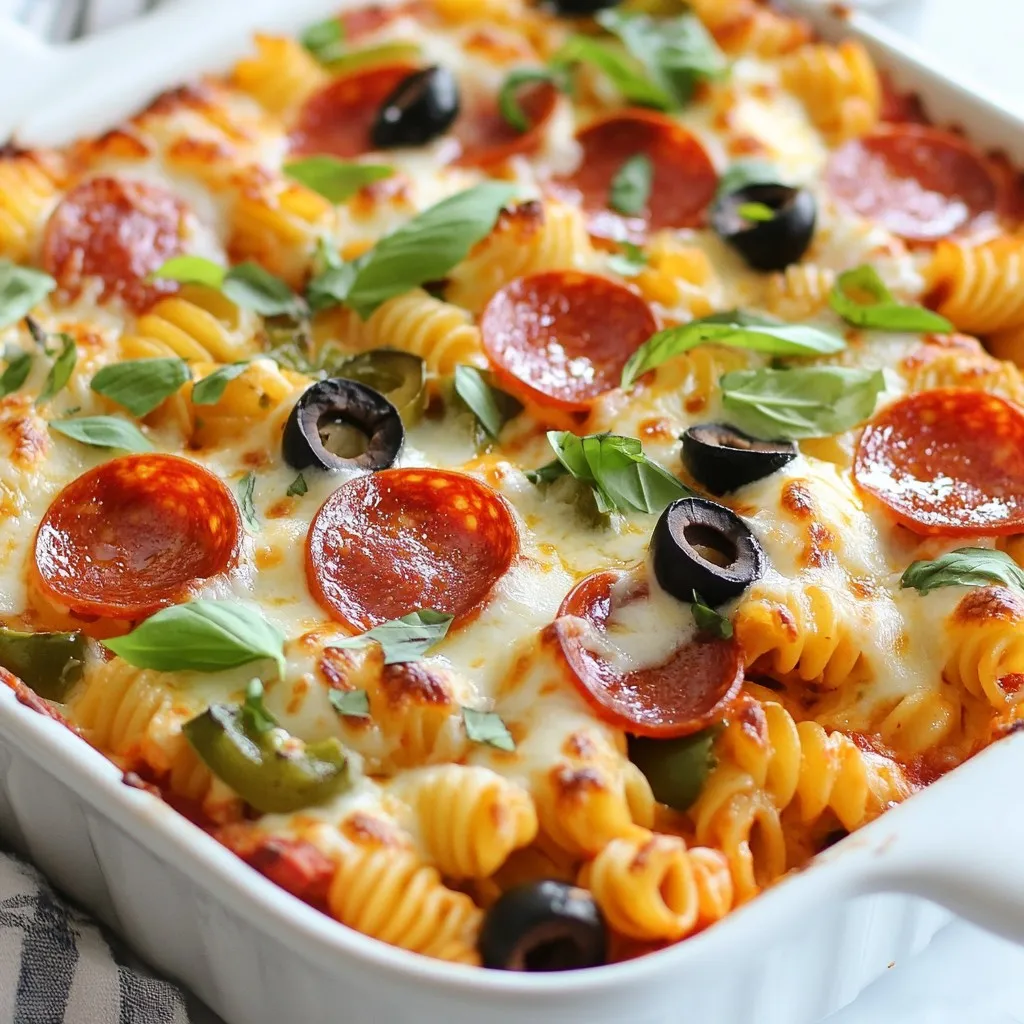
Pizza Pasta Bake Flavorful and Easy Midweek Meal
Looking for a quick and tasty dinner? Try this Pizza Pasta Bake! It’s easy to make and packed with flavor. You’ll use simple ingredients like
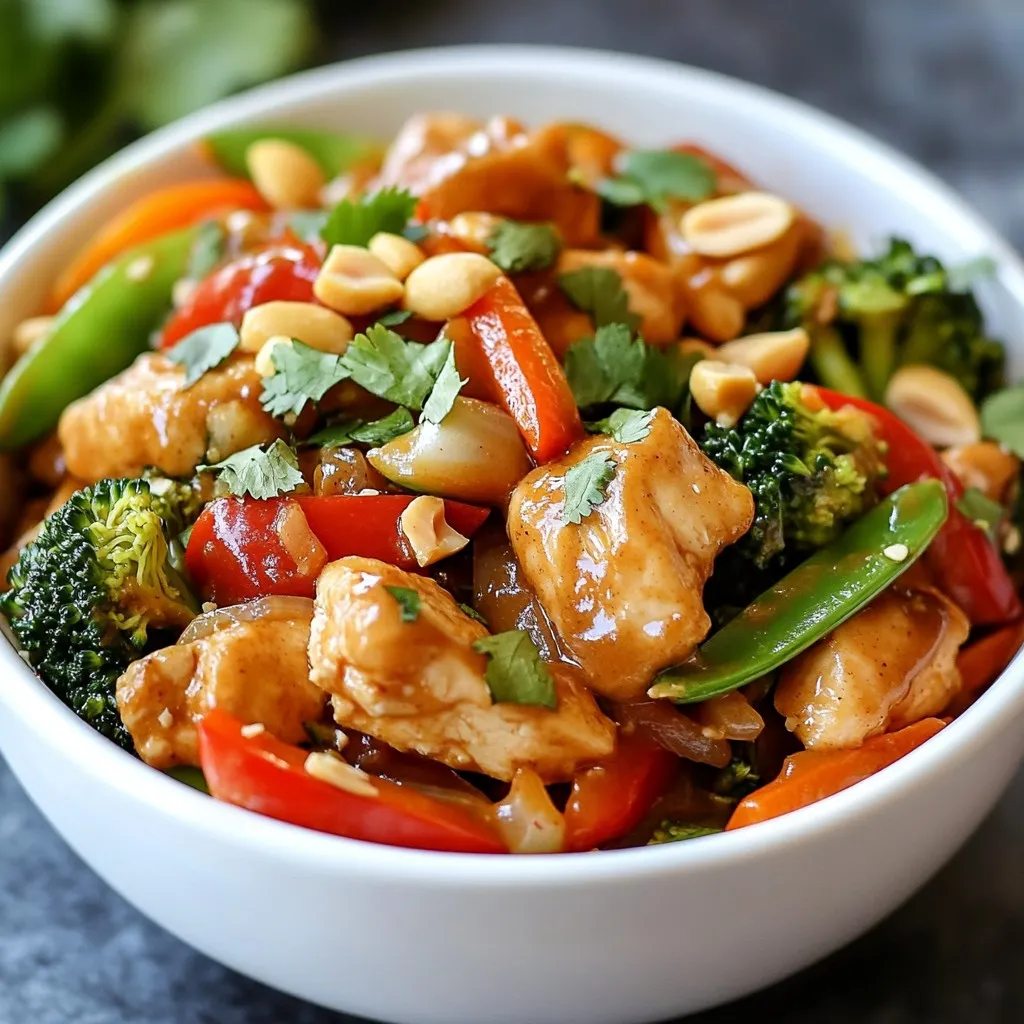
Thai Peanut Chicken Flavorful and Simple Recipe Guide
Looking for a tasty meal that’s easy to make? Look no further! Thai peanut chicken blends juicy chicken with a rich, creamy peanut sauce. It’s
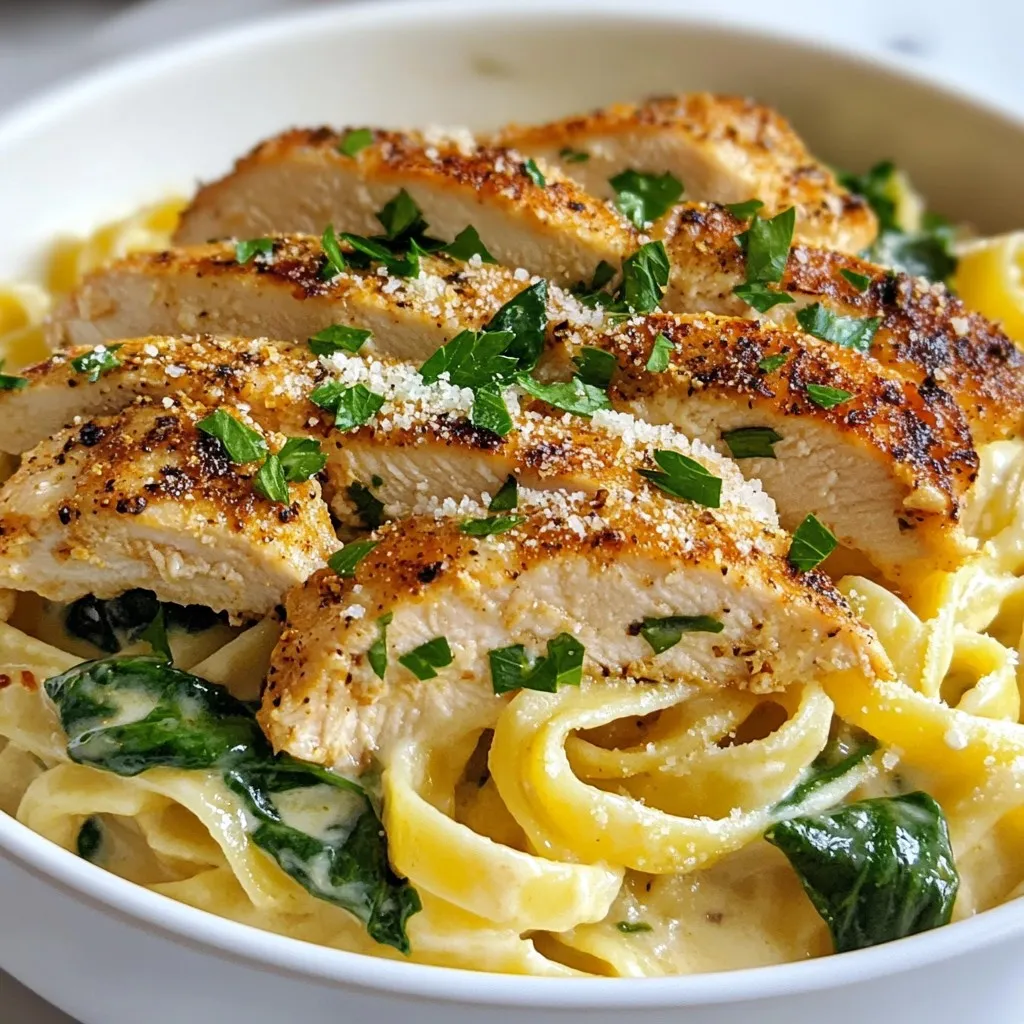
Cajun Chicken Alfredo Pasta Creamy Flavor Explosion
Get ready for a creamy flavor explosion with my Cajun Chicken Alfredo Pasta! This dish combines tender, seasoned chicken with rich Alfredo sauce and fettuccine.
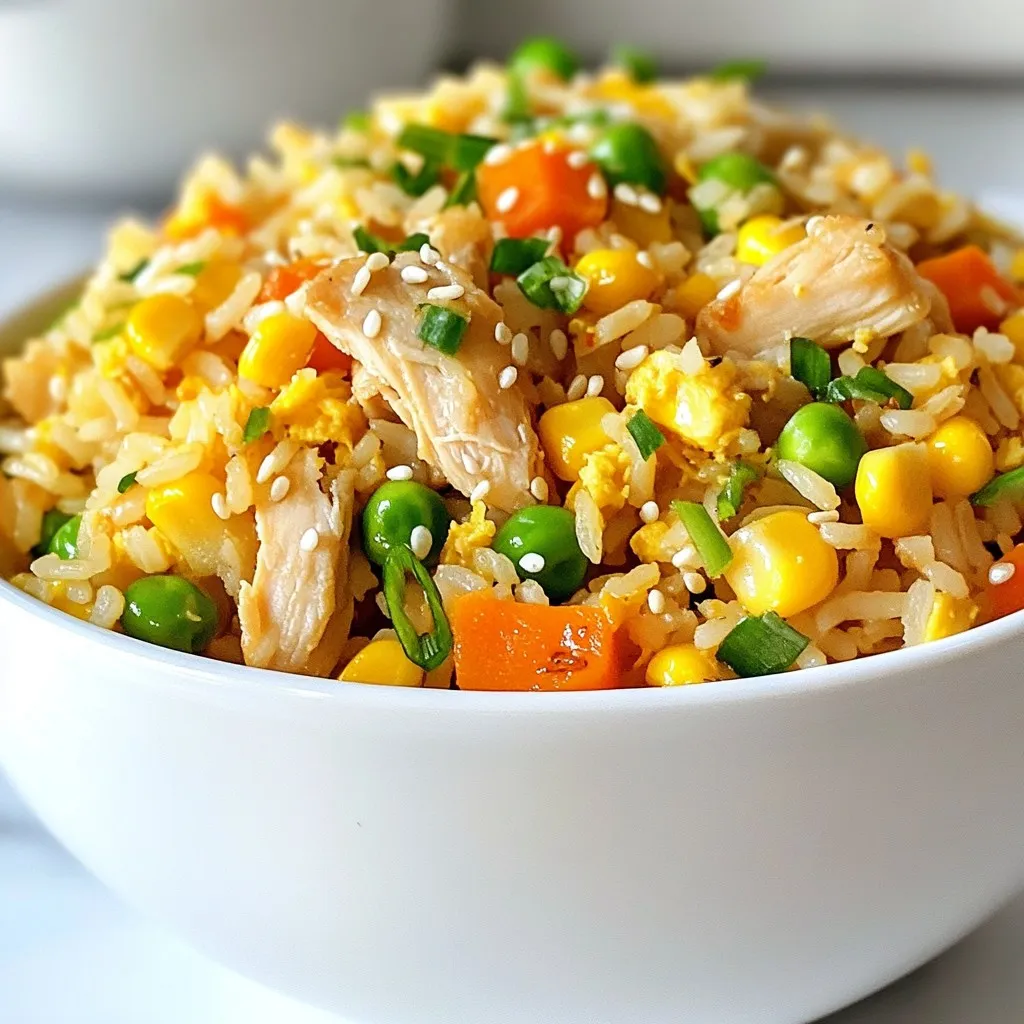
Minute Chicken Fried Rice Quick and Flavorful Recipe
Are you craving a quick and tasty meal? Look no further than my Minute Chicken Fried Rice! This simple recipe combines tender chicken, vibrant veggies,
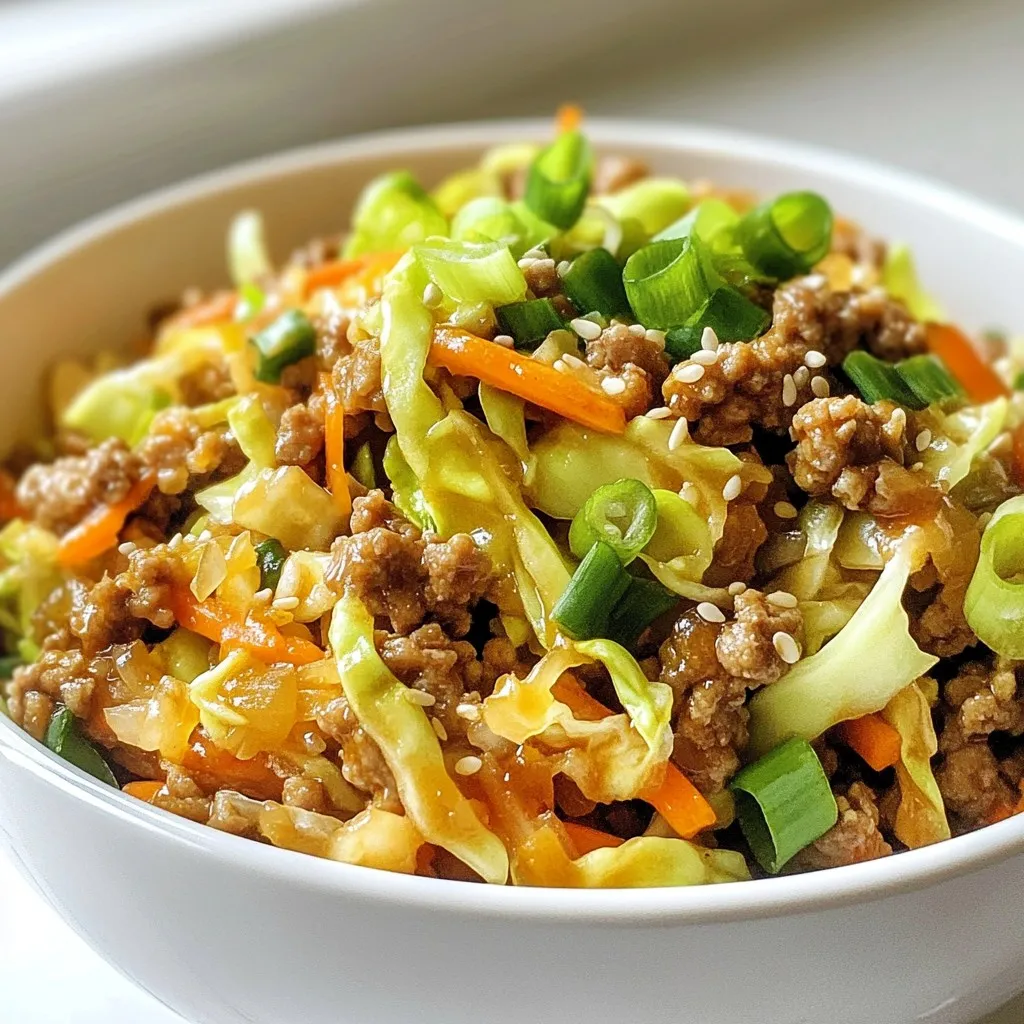
Egg Roll in a Bowl Flavorful and Easy Weeknight Meal
Craving a quick and tasty meal? Look no further than Egg Roll in a Bowl! This dish brings all the flavors of your favorite egg
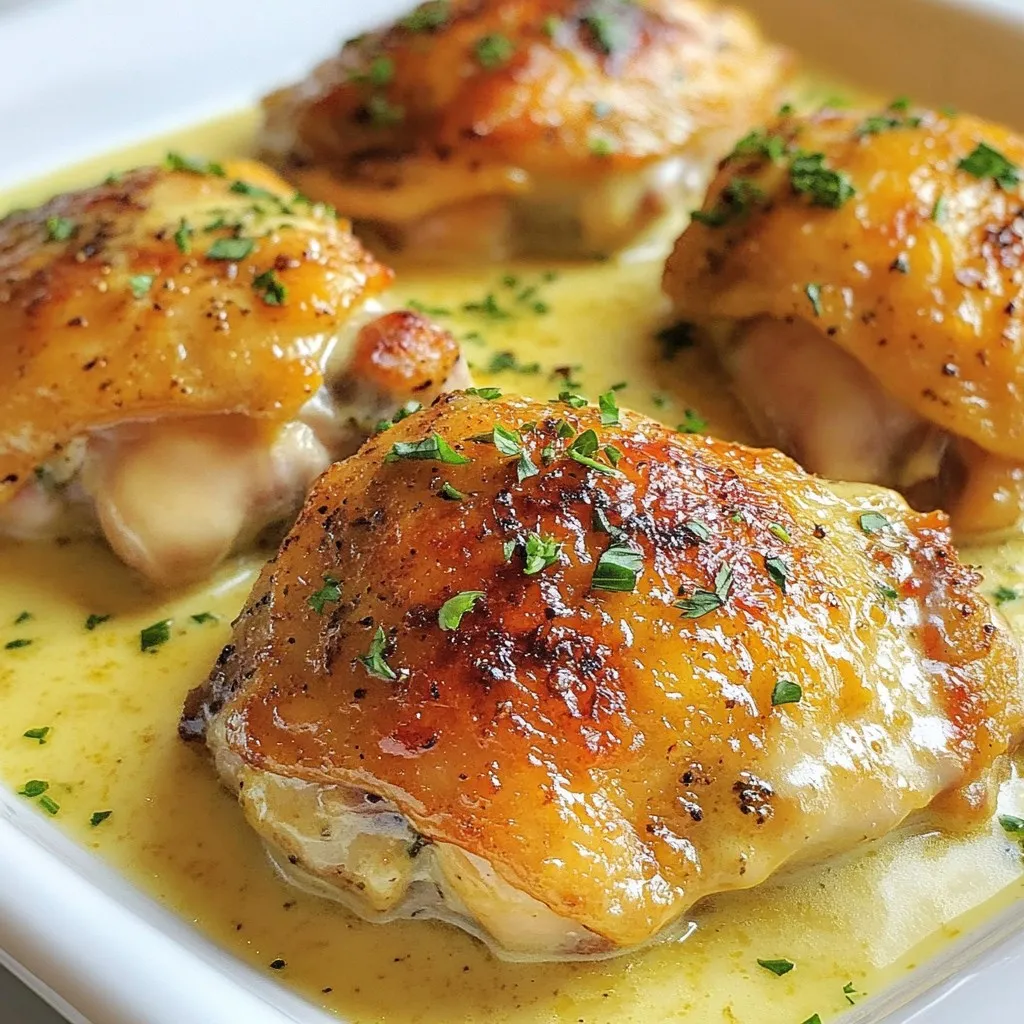
Creamy Oven-Baked Chicken Thighs Savory Delight
Are you ready to transform your dinner routine? My Creamy Oven-Baked Chicken Thighs are here to impress. Juicy chicken meets a rich, creamy sauce that
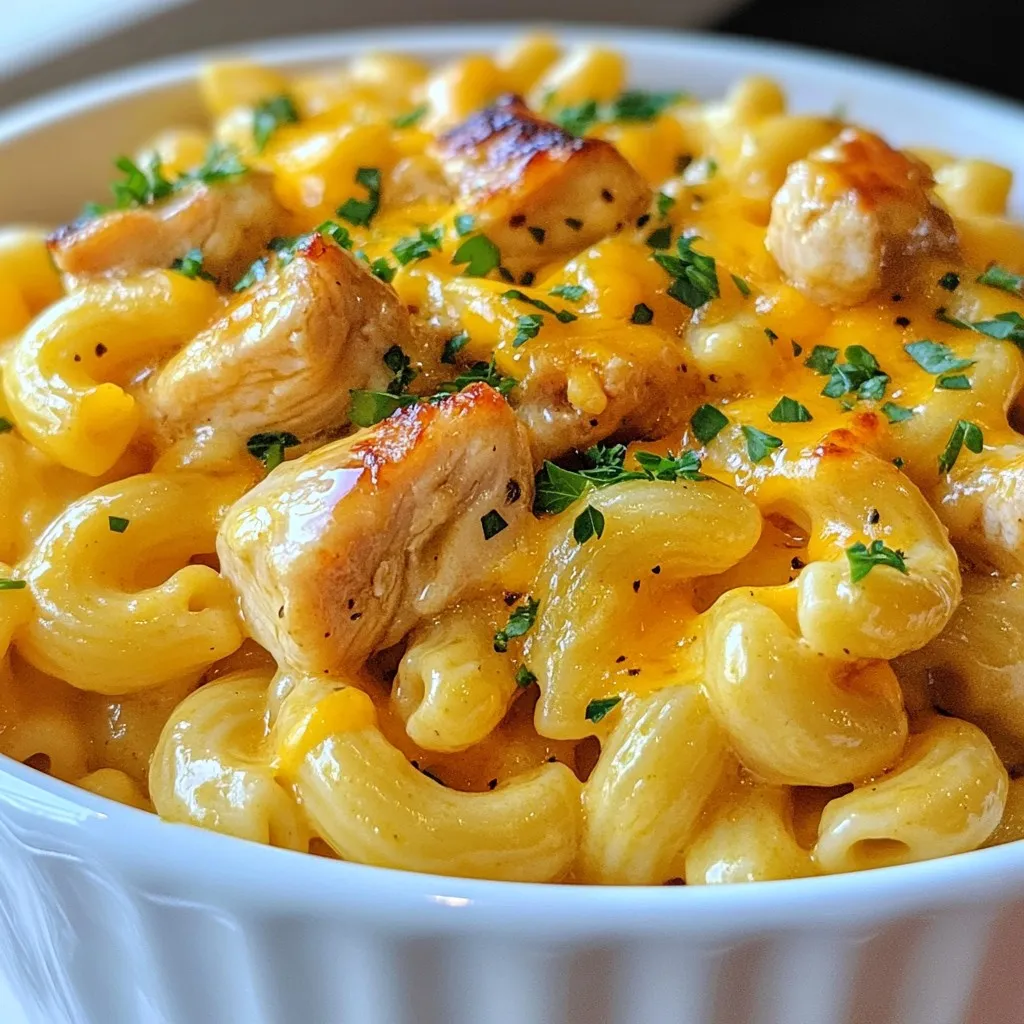
Honey Garlic Butter Chicken Mac and Cheese Delight
Get ready for a tasty twist on a classic dish! In Honey Garlic Butter Chicken Mac and Cheese Delight, you’ll discover how to blend rich
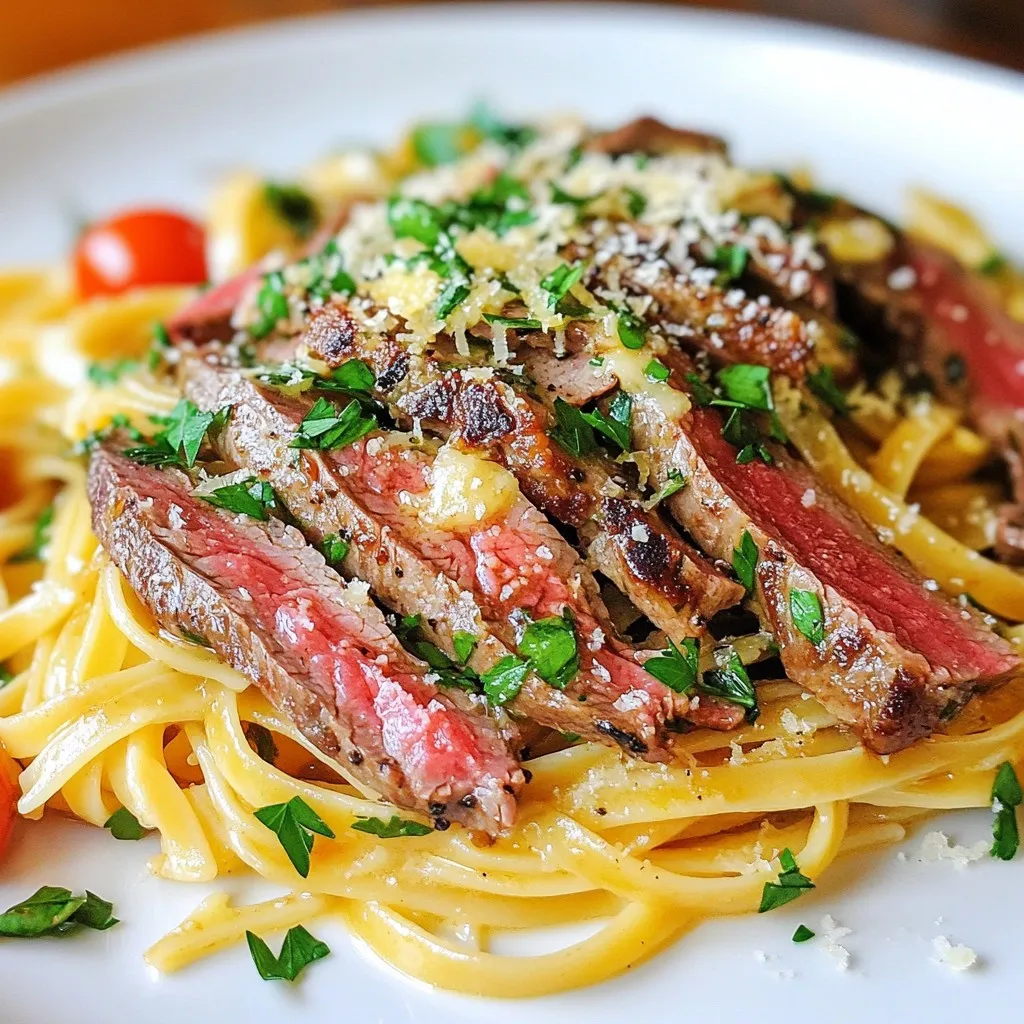
Cowboy Butter Steak Linguine Tasty Dinner Delight
Get ready for a flavor explosion with Cowboy Butter Steak Linguine! This dish combines tender flank steak, creamy cowboy butter, and perfectly cooked linguine for
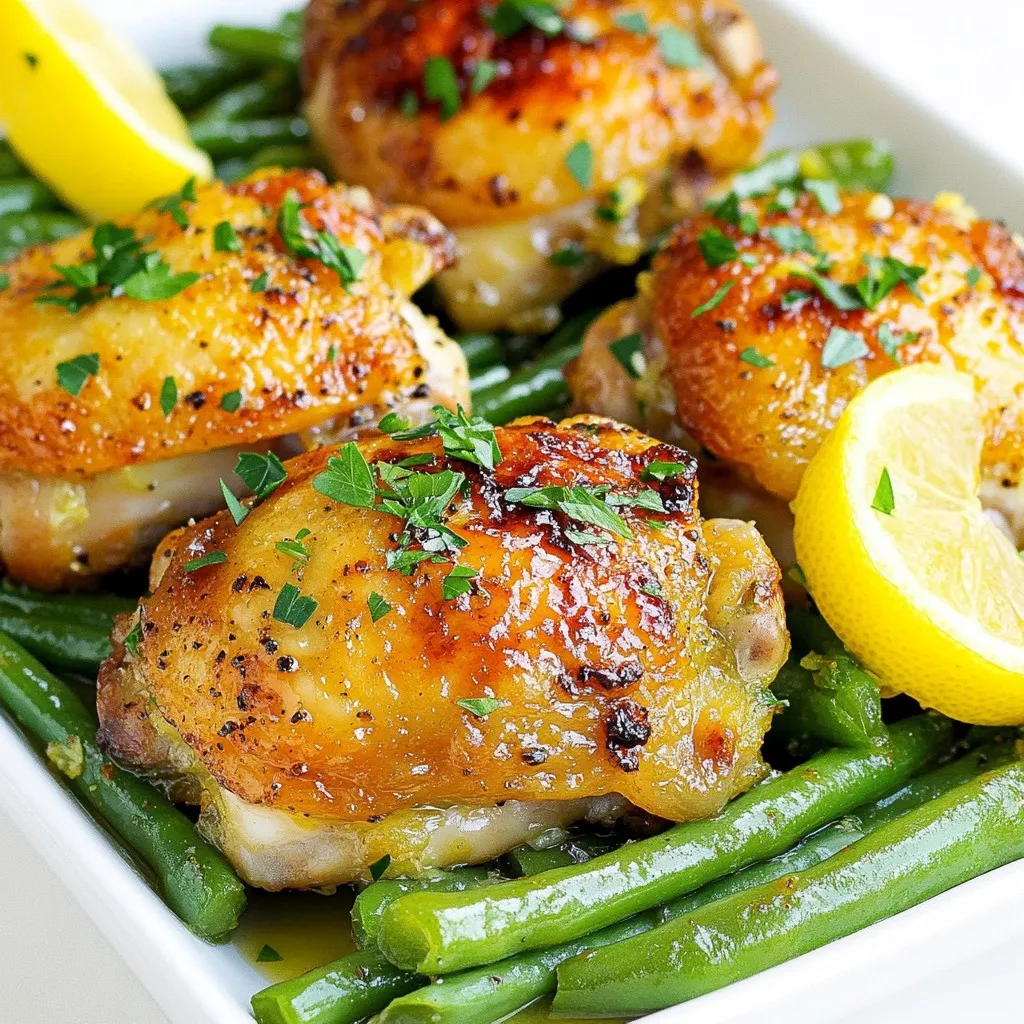
Lemon Garlic Chicken Thighs & Green Beans Recipe
Looking for a tasty dinner idea? Try my Lemon Garlic Chicken Thighs & Green Beans recipe! This dish is packed with flavor and is easy
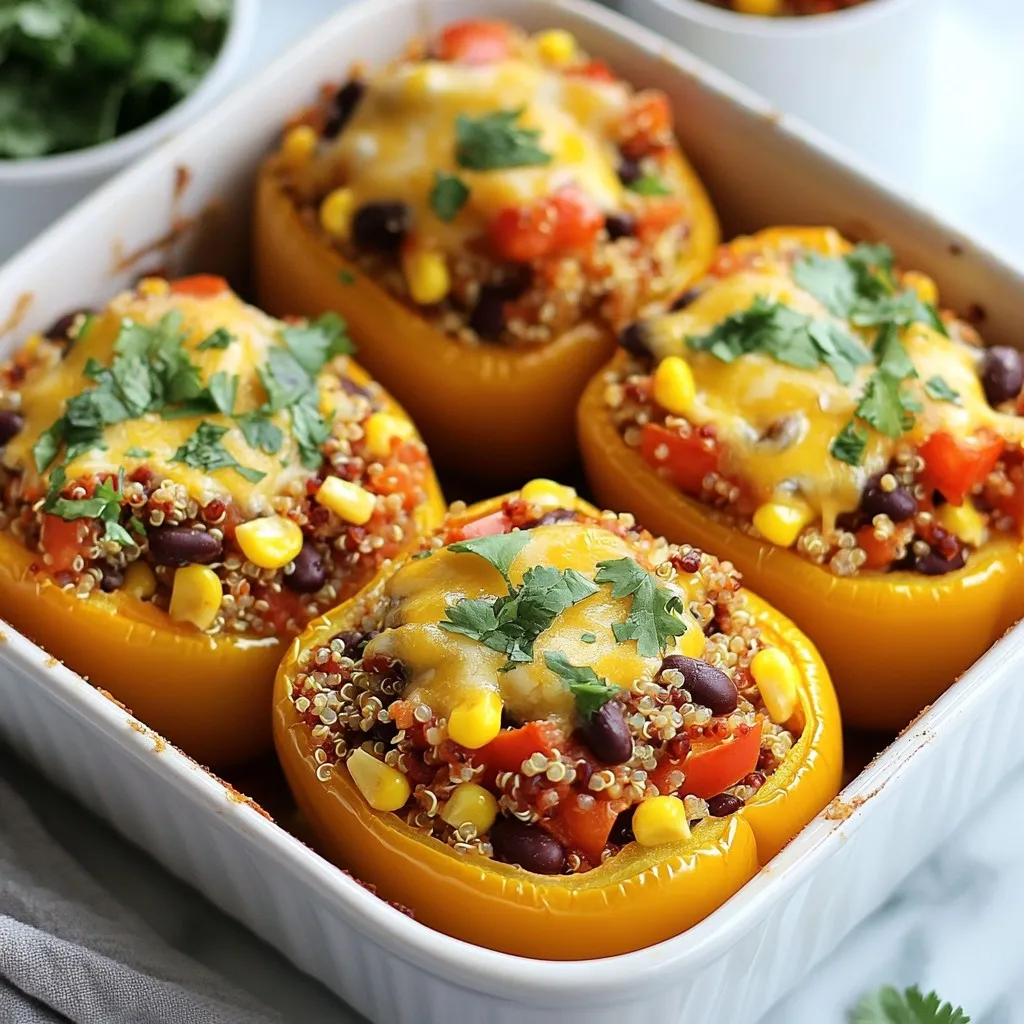
Classic Stuffed Peppers Flavorful and Easy Recipe
If you love vibrant meals that are easy to prepare, classic stuffed peppers are for you! This tasty dish combines fresh bell peppers with a