Dinner
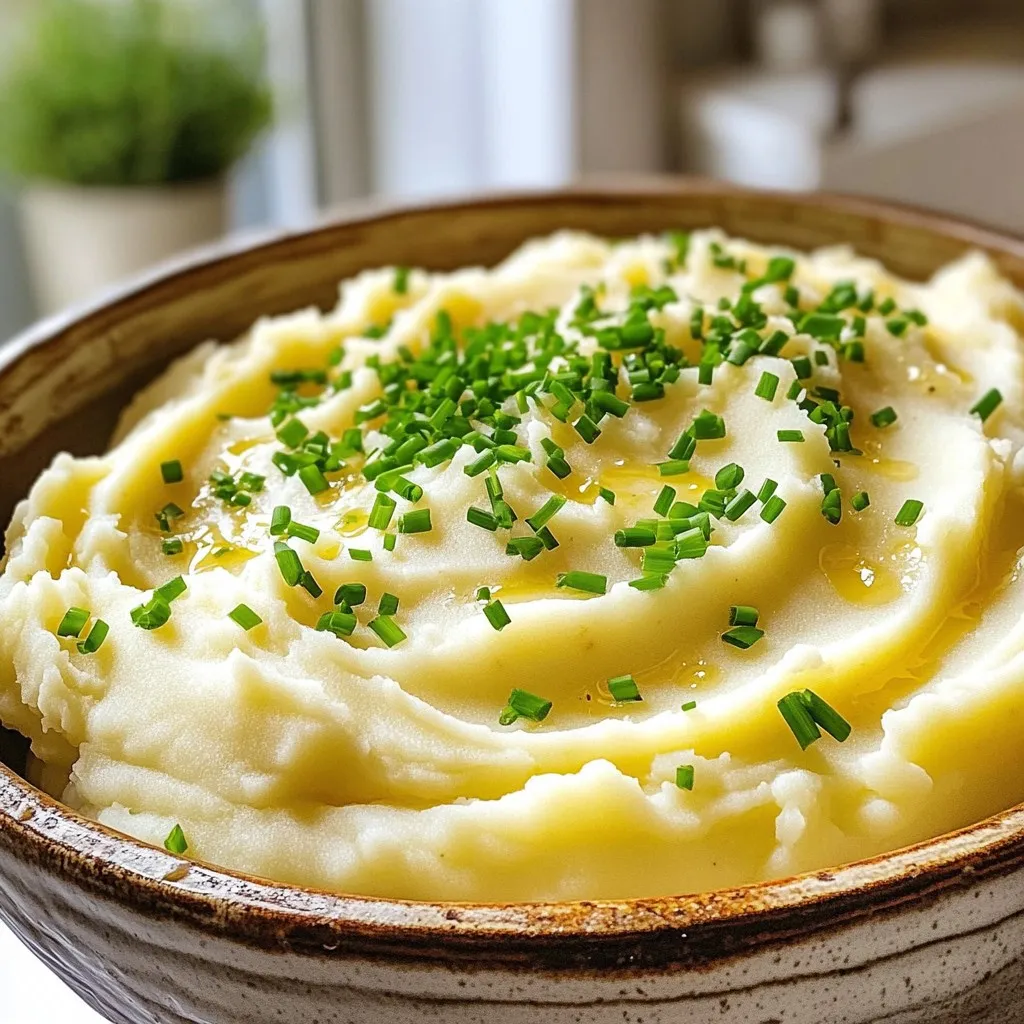
Slow Cooker Creamy Garlic Mashed Potatoes Delight
Are you ready to elevate your dinner with rich and creamy mashed potatoes? My Slow Cooker Creamy Garlic Mashed Potatoes Delight is the perfect side
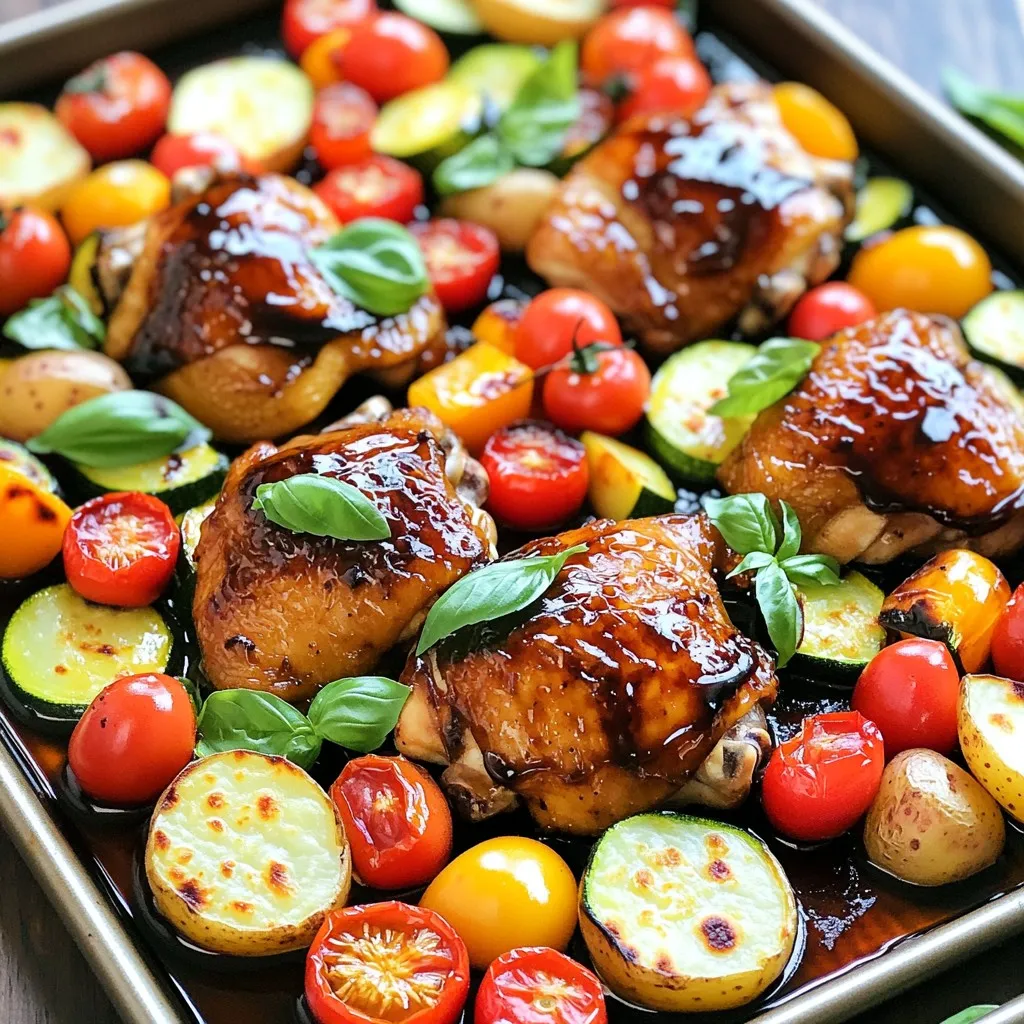
Sheet-Pan Balsamic Chicken & Veggies Easy Dinner
Looking for a simple yet tasty dinner? You’ll love this Sheet-Pan Balsamic Chicken and Veggies recipe! With just a few ingredients and minimal prep time,
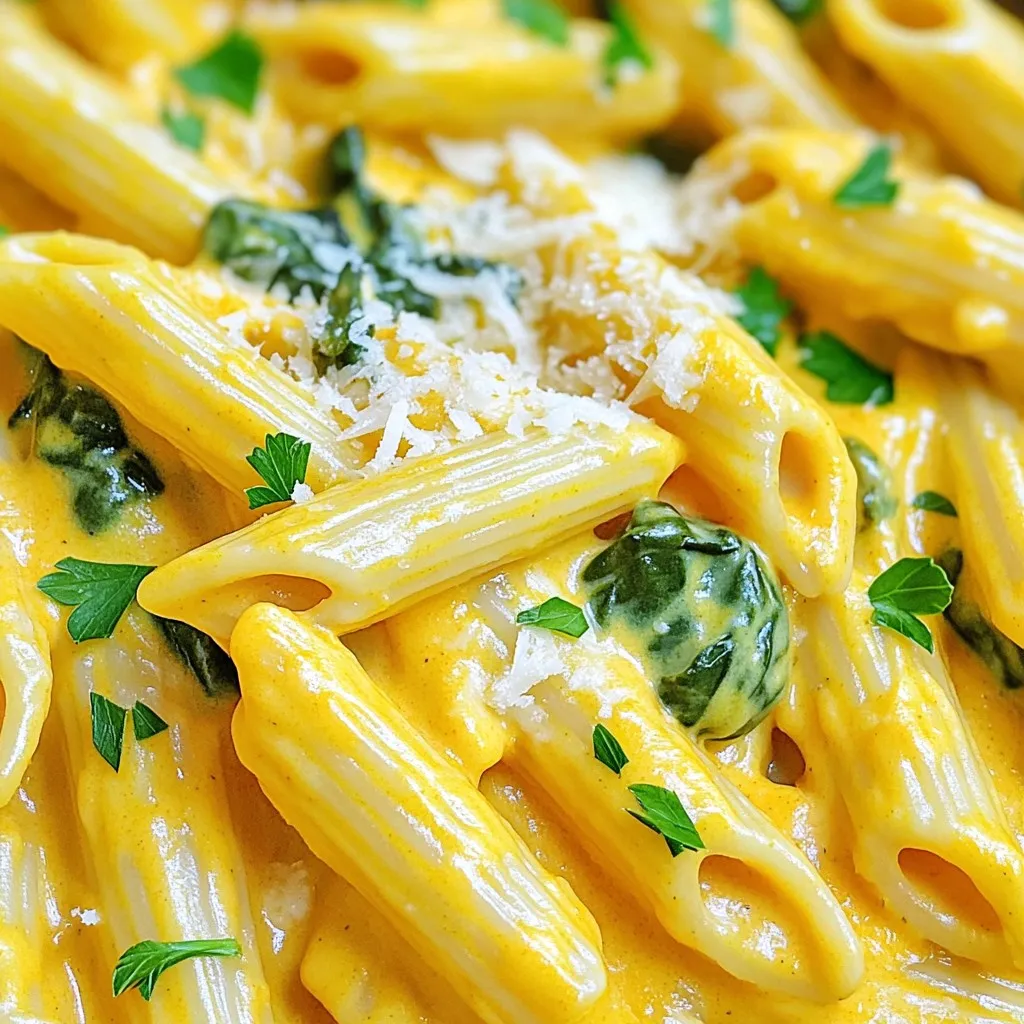
Creamy Pumpkin Spinach Alfredo Penne Delightful Dish
Are you ready to savor a bowl of comfort? My Creamy Pumpkin Spinach Alfredo Penne is perfect for cozy nights. This dish combines smooth pumpkin
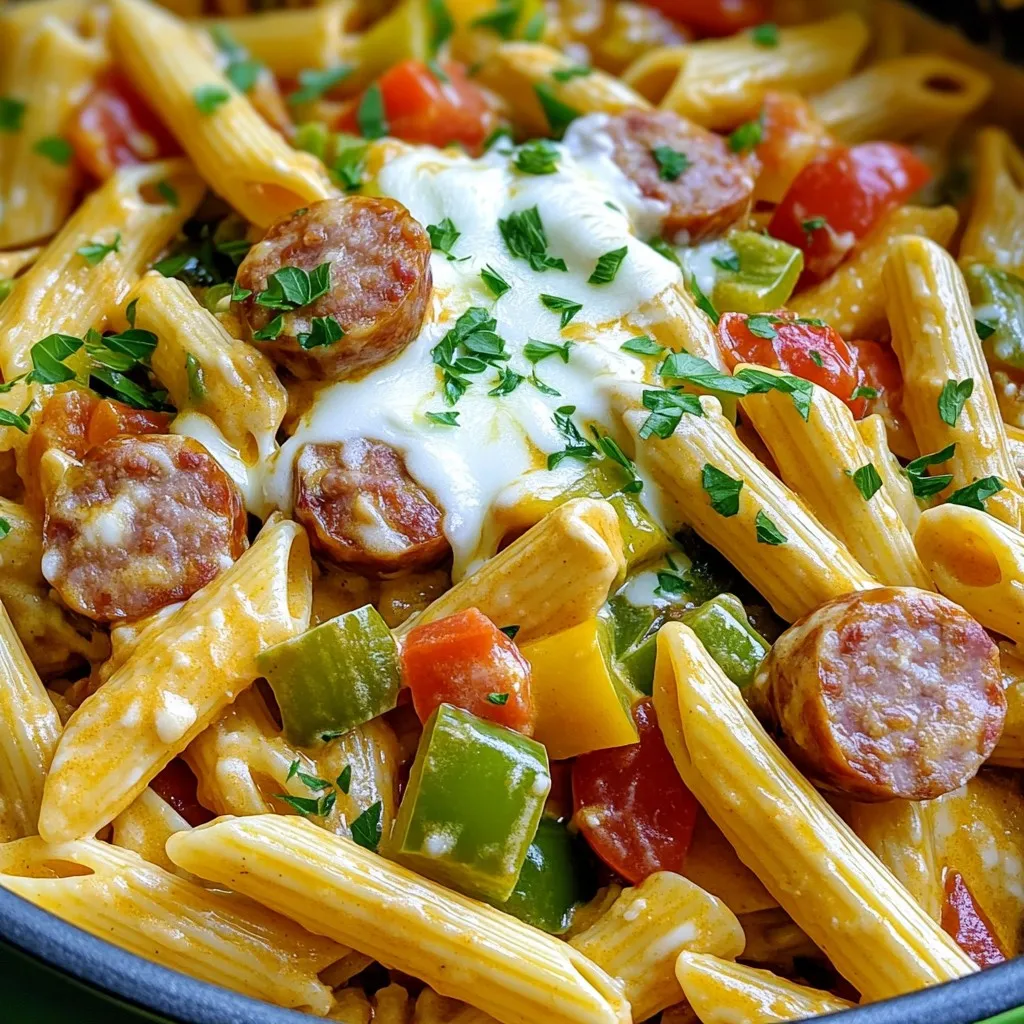
One-Pot Creamy Cajun Sausage Pasta Delightful Meal
Looking for a quick meal that packs a punch? My One-Pot Creamy Cajun Sausage Pasta is the answer! This dish is both creamy and spicy,
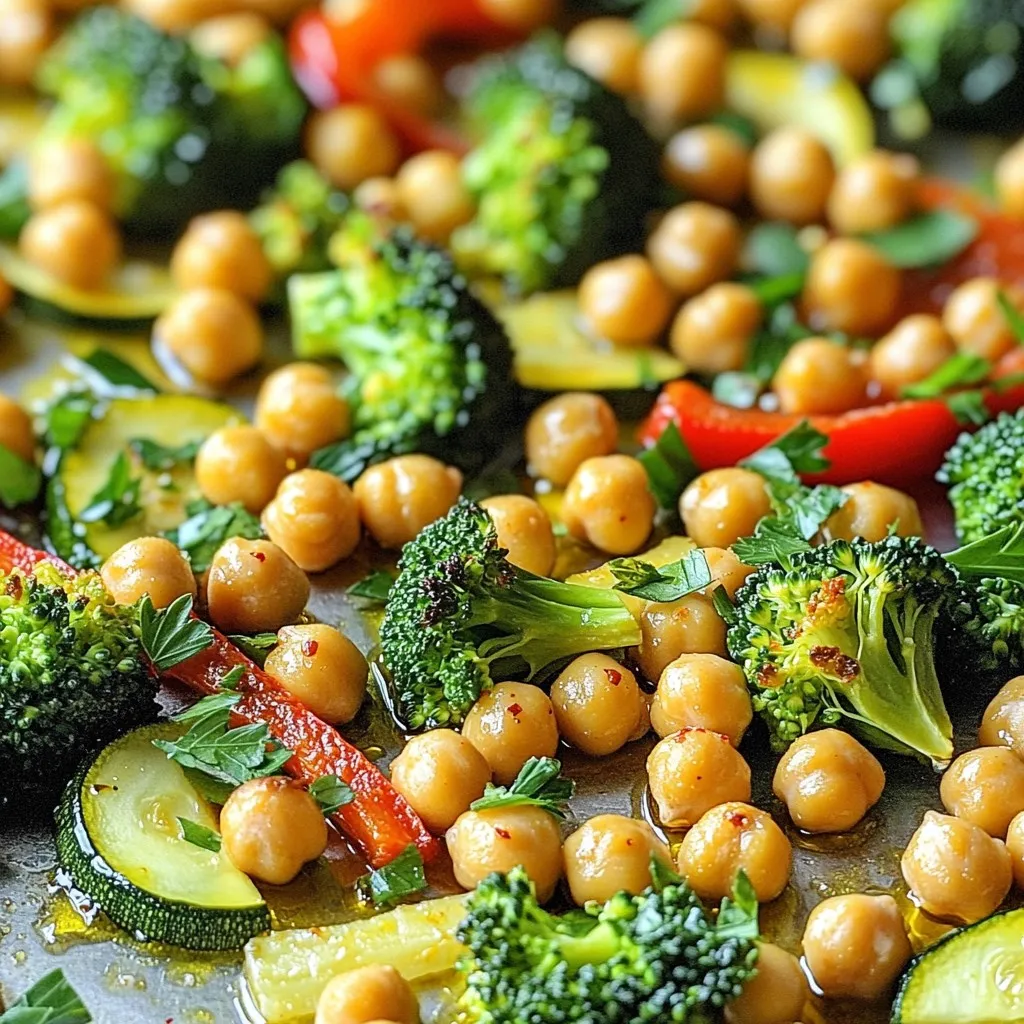
Sheet-Pan Lemon Garlic Chickpeas & Veggies Delight
Looking for a quick, healthy meal? Let me introduce you to my Sheet-Pan Lemon Garlic Chickpeas & Veggies Delight. This dish brings together tender chickpeas,
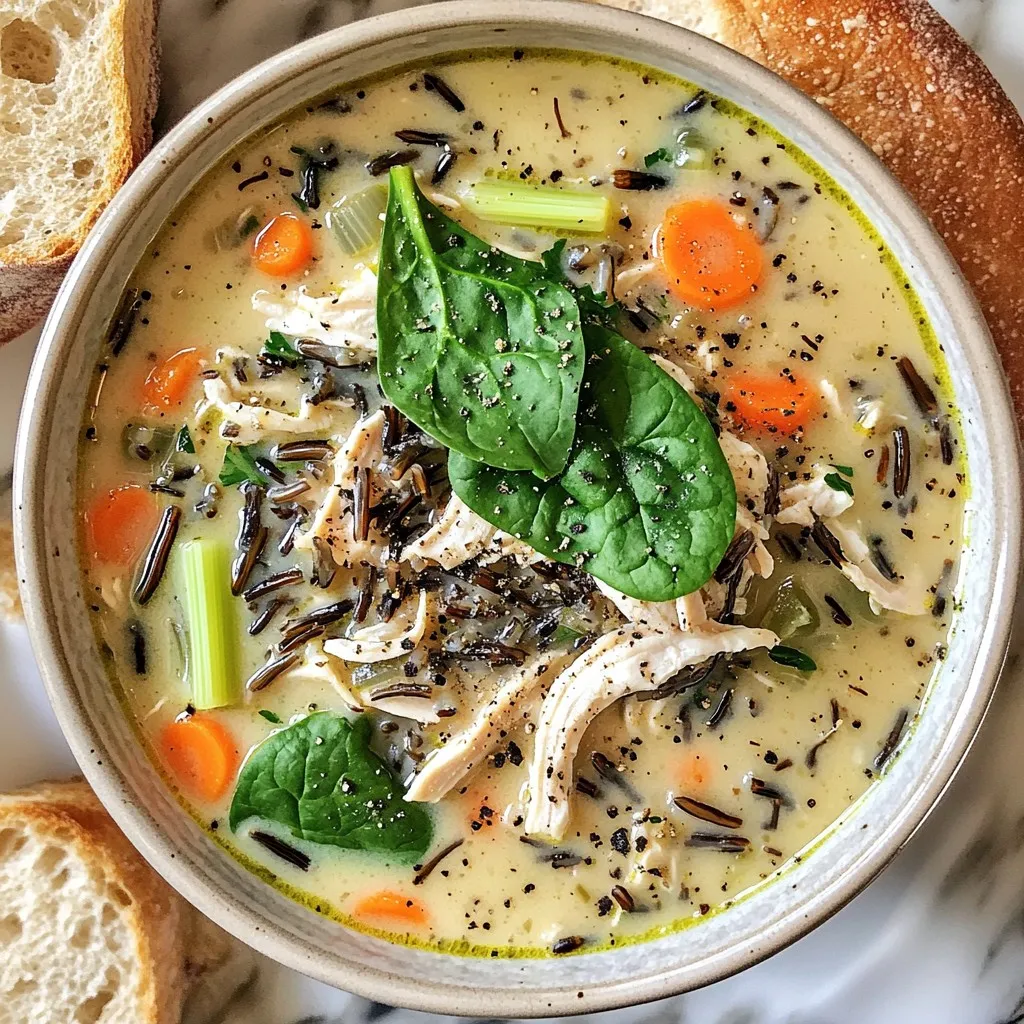
Slow Cooker Creamy Chicken Wild Rice Soup Delight
Are you ready to warm up with a bowl of comfort? Today, I’ll share my favorite Slow Cooker Creamy Chicken Wild Rice Soup Delight. This
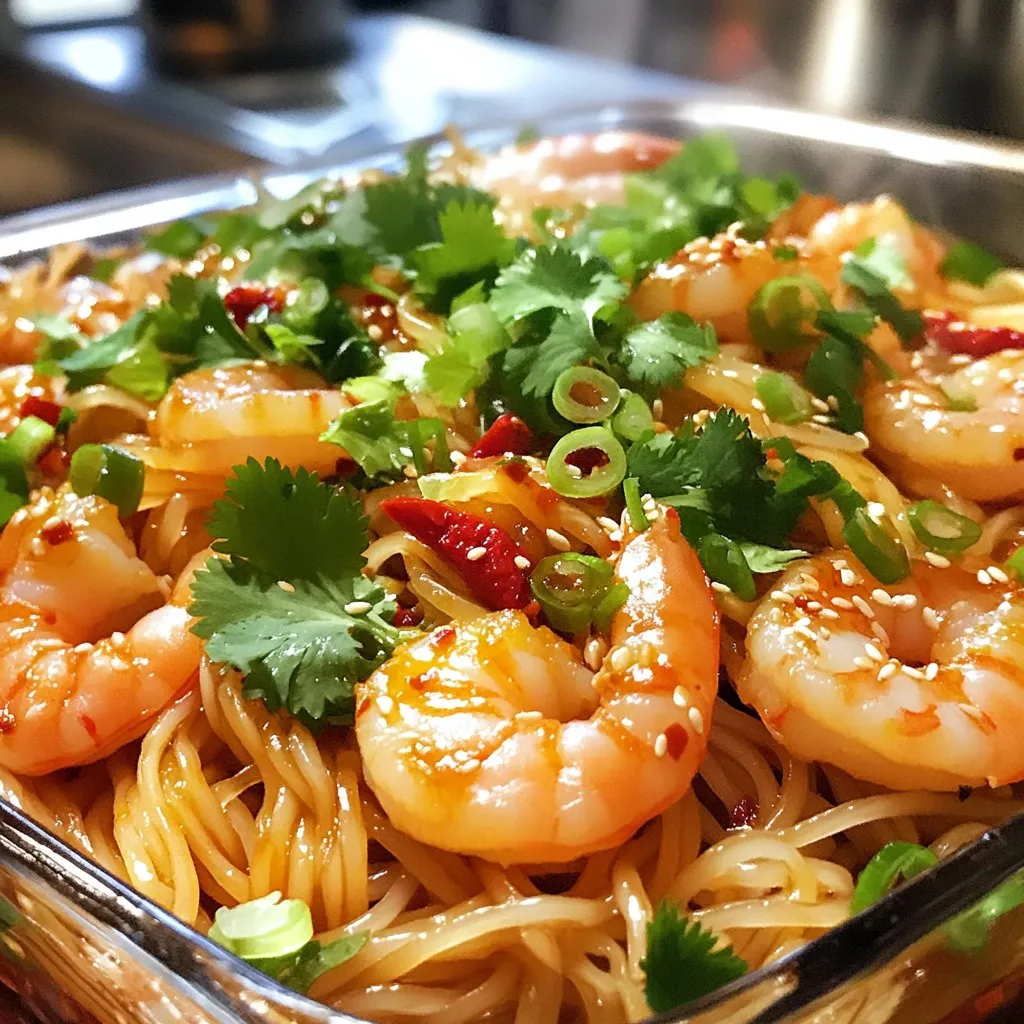
Minute Spicy Garlic Shrimp Noodles Quick and Tasty Meal
Looking for a quick and tasty meal? My Minute Spicy Garlic Shrimp Noodles are here to save dinner time! In just 30 minutes, you can
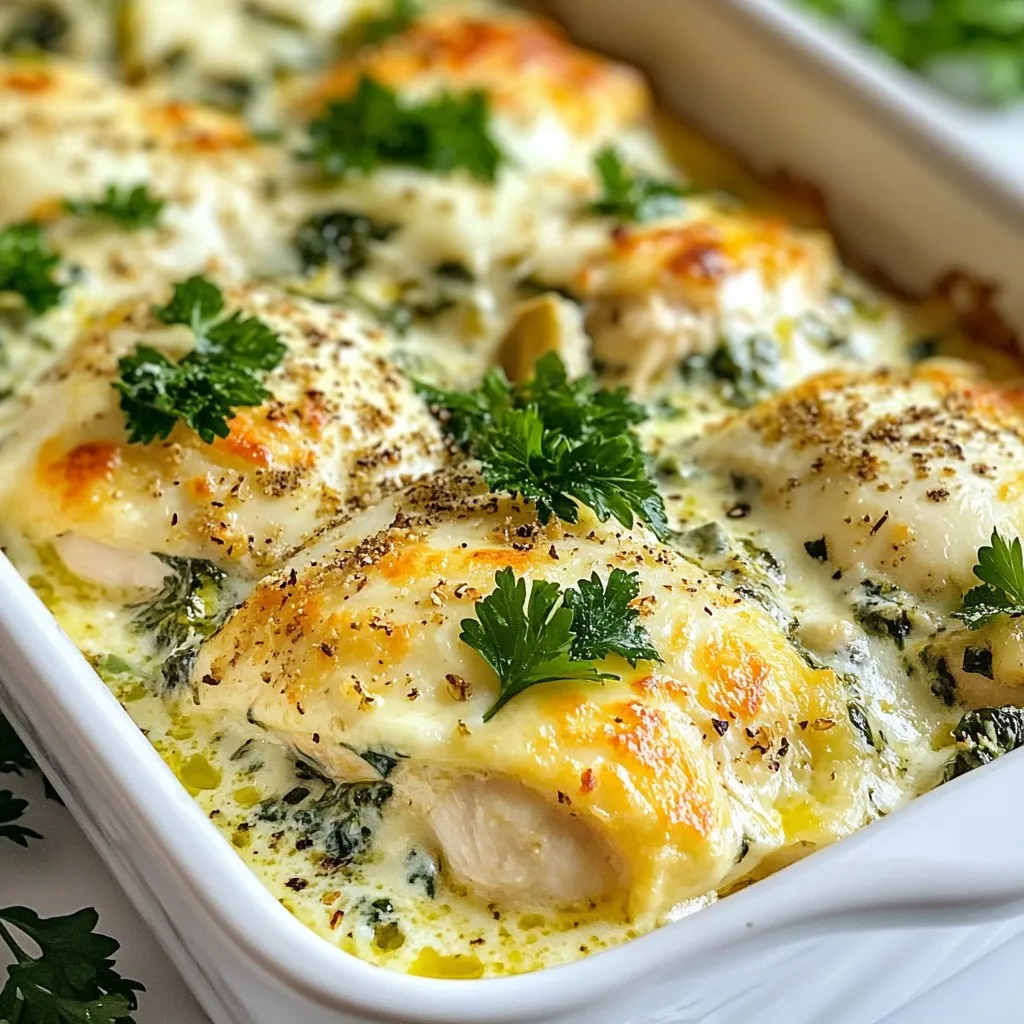
Spinach Artichoke Chicken Bake Flavorful and Easy Dish
Are you ready to dive into a dish that’s as delicious as it is easy to make? This Spinach Artichoke Chicken Bake combines tender chicken
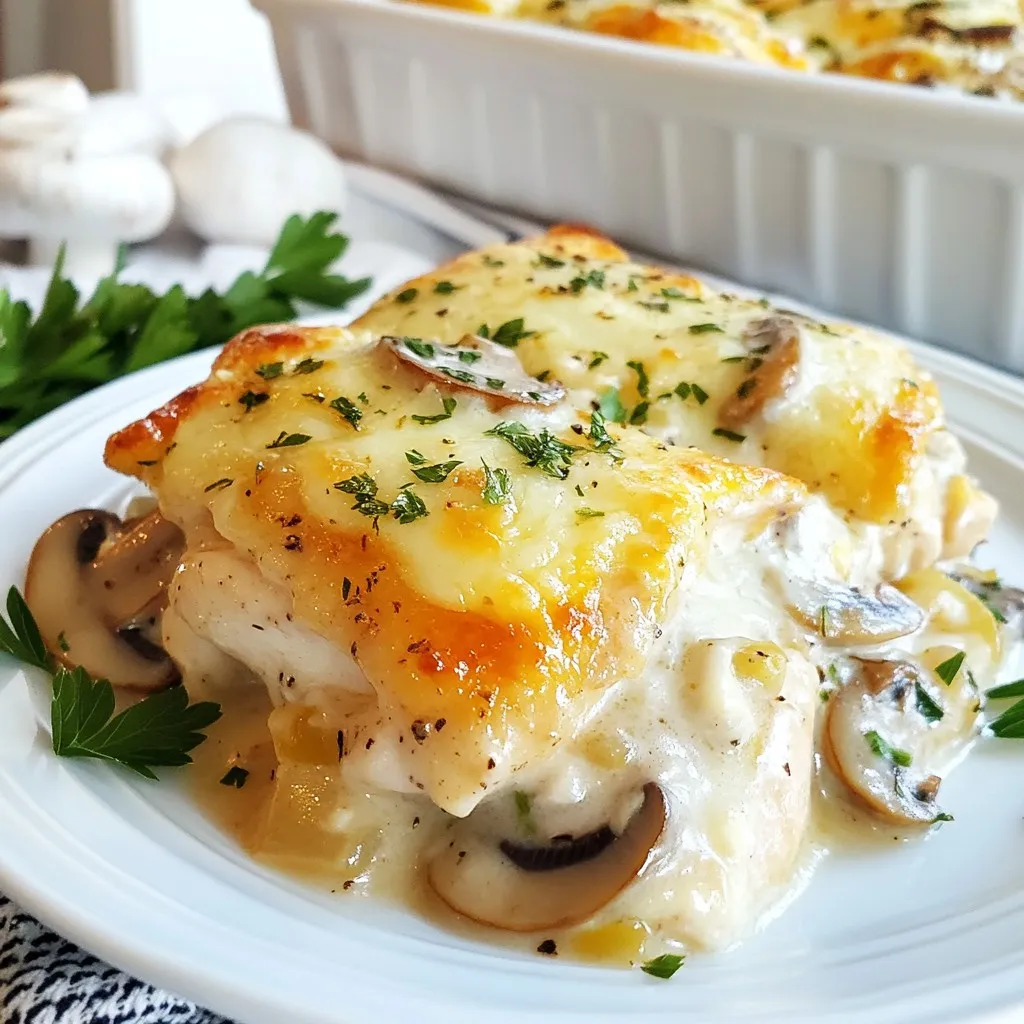
Keto Garlic Mushroom Chicken Casserole Delight
Are you ready to dive into a delicious dinner that fits your Keto diet? The Keto Garlic Mushroom Chicken Casserole Delight is a creamy, flavorful
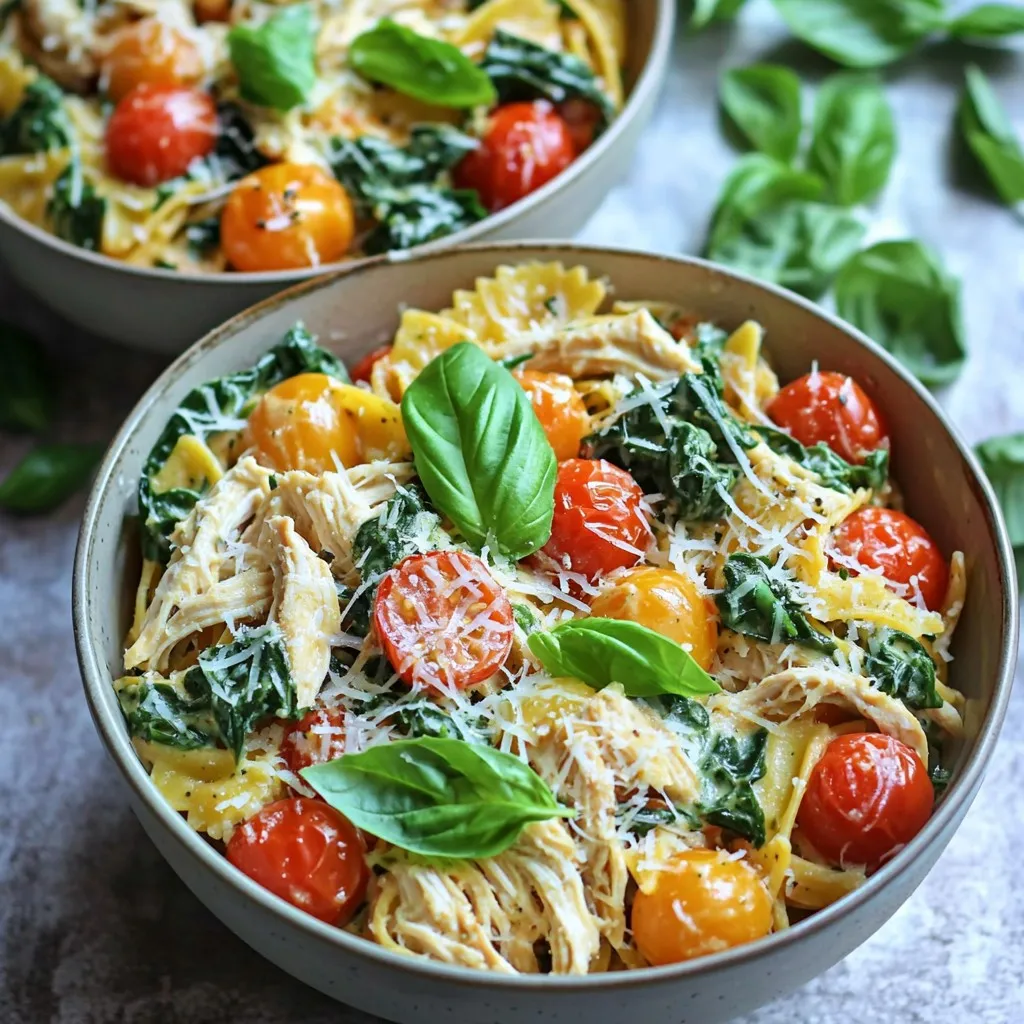
Slow Cooker Tuscan Chicken Pasta Delightful Recipe
Looking for a warm, comforting meal that’s easy to make? Slow Cooker Tuscan Chicken Pasta is your answer! With tender chicken, fresh veggies, and a