Dinner
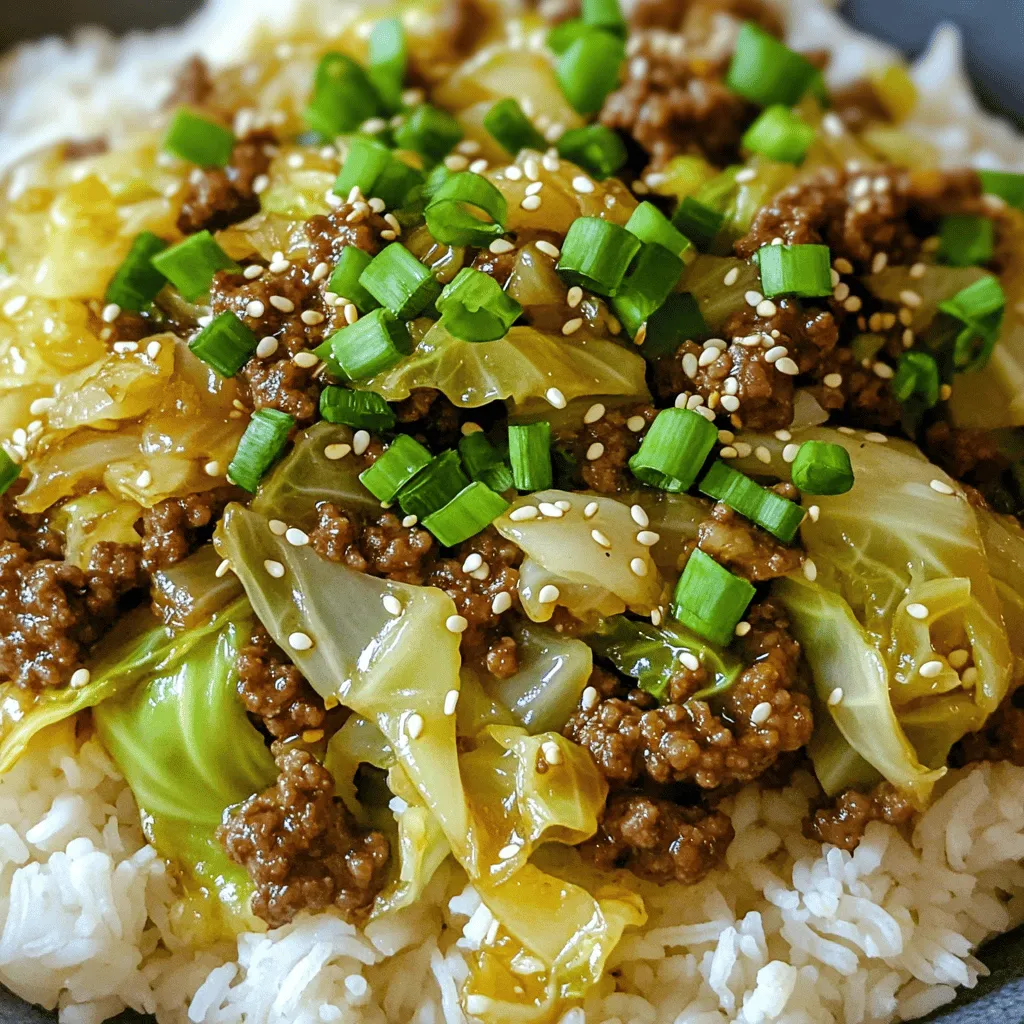
Quick Chinese Ground Beef & Cabbage Stir Fry Recipe
Want a tasty meal in minutes? This Quick Chinese Ground Beef & Cabbage Stir Fry is your answer! With simple ingredients and easy steps, you
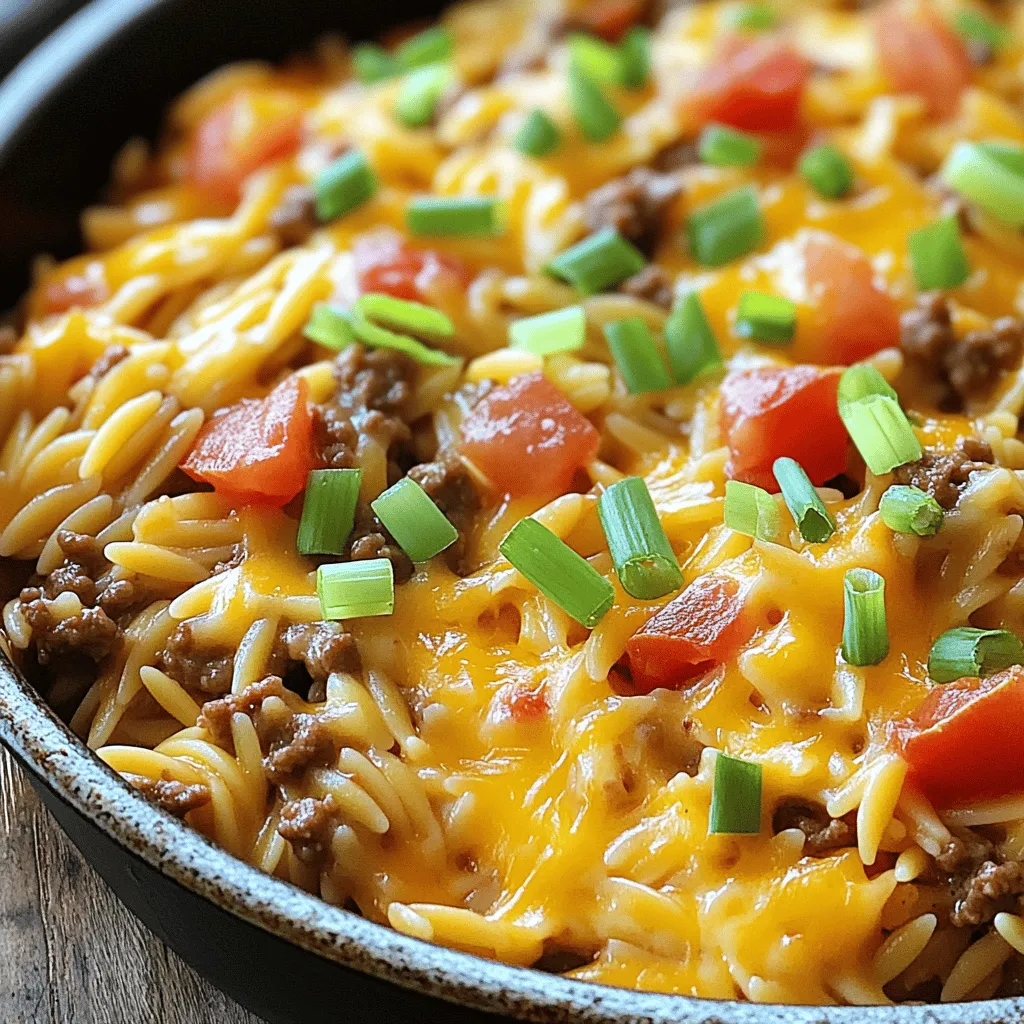
One-Pot Cheeseburger Orzo Skillet Flavorful Dinner
Looking for a quick and tasty dinner? This One-Pot Cheeseburger Orzo Skillet is your answer! You can enjoy rich flavors and creamy textures, all in
![- Ground beef - Cheddar cheese - Mozzarella cheese - Onion, garlic, bell pepper - Spices and seasoning - Flour tortillas For these cheesy ground beef quesadillas, you need some key ingredients. Start with one pound of ground beef. This forms the heart of the dish. You will also need two cups of shredded cheese—one cup of cheddar and one cup of mozzarella. This mix ensures a great melt and flavor. Next, chop up one small onion, two cloves of garlic, and one bell pepper. These add sweetness and depth to the beef. For spices, use ground cumin, chili powder, paprika, salt, and pepper. These will boost the flavor of the meat. Finally, grab four large flour tortillas to hold all this goodness. - Fresh cilantro - Sour cream - Avocado slices Want to make your quesadillas even better? Consider some optional garnishes. Fresh cilantro adds a nice touch of color and flavor. Sour cream gives a creamy dip that pairs well with the cheesy bite. Sliced avocado can add creaminess and a fresh taste. These extras can make your meal feel special and delicious. For the full recipe, check out the details listed above! - Brown the ground beef: Start by heating 1 tablespoon of olive oil in a large skillet. Add 1 pound of ground beef. Use a spatula to break it apart as it cooks. Cook for 5-7 minutes until it is fully browned. - Sauté onions, garlic, and bell pepper: After the beef is browned, add 1 small chopped onion, 2 minced garlic cloves, and 1 diced bell pepper. Cook for 3-4 minutes until the veggies are soft and smell good. - Season the meat mixture: Next, add 1 teaspoon of ground cumin, 1 teaspoon of chili powder, ½ teaspoon of paprika, and salt and pepper to taste. Stir everything well and cook for 1 more minute to let the spices mix in. Remove the skillet from heat and let it cool a bit. - Layering the ingredients in tortillas: Take a clean, flat surface and lay down one large flour tortilla. Sprinkle half of 1 cup of shredded cheddar cheese and 1 cup of shredded mozzarella cheese on one half of the tortilla. - Folding techniques for perfect quesadillas: Spoon ¼ of the beef mixture over the cheese. Add another layer of cheese on top of the beef. Carefully fold the tortilla over to make a half-moon shape. Repeat this for the rest of the tortillas. - Recommended skillet temperatures: Use the same skillet or another one. Heat the remaining tablespoon of olive oil over medium heat. - Cooking time for optimal texture: Once the oil is hot, gently place one quesadilla in the pan. Cook each side for 3-4 minutes until golden brown and the cheese is melted. Move the cooked quesadilla to a cutting board and repeat with the others. For the full recipe, don’t forget to check the details provided earlier. - Choosing the right skillet: A non-stick skillet works best. It helps prevent sticking and makes flipping easy. A cast iron skillet can also give you a nice crisp. - Ensuring cheese melts perfectly: Use a mix of cheddar and mozzarella. This blend melts well and gives great flavor. Keep the heat medium to avoid burning. Cover the skillet for a few moments during cooking. This helps the cheese melt evenly. - Spice adjustments: You can add more chili powder for heat. If you like it mild, reduce the spices. A pinch of cayenne pepper can add a nice kick. - Adding extra ingredients like jalapeños: Diced jalapeños add heat and flavor. You can add them to the meat mixture or the quesadilla itself. - Best sides to serve with quesadillas: Fresh guacamole and salsa are great choices. A side salad can also balance the meal. - Creative presentations for gatherings: Cut quesadillas into wedges and arrange them on a large platter. Garnish with fresh cilantro. Serve with bowls of sour cream and salsa for dipping. For the complete recipe, check out the [Full Recipe]. {{image_4}} You can make a tasty vegetarian quesadilla by swapping ground beef for beans. Use black beans or pinto beans for great flavor. You can also mix in some corn or spinach for extra nutrients. Bell peppers and mushrooms add a nice texture. Try different beans to find your favorite combo. If you prefer chicken or pork, adjust the cooking time. Chicken cooks faster than beef, so aim for about 5-6 minutes. Pork may take a bit longer, around 8-10 minutes. Season the chicken with lime juice and cumin for a zesty flavor. For pork, try adding smoked paprika for a rich taste. For gluten-free quesadillas, use corn tortillas instead of flour. They hold up well and taste great. You can also find almond or coconut flour tortillas. When cooking, watch carefully to avoid burning. If you want to make sure they stay crispy, use a non-stick pan. For the full recipe, check out the [Full Recipe]. To store leftover quesadillas, first let them cool to room temperature. Wrap each quesadilla in plastic wrap or aluminum foil. Place them in an airtight container. This helps keep them fresh and tasty. Leftover quesadillas will last in the fridge for about 3 to 4 days. Freezing quesadillas is an easy way to prep meals. Wrap each one tightly in plastic wrap. Then, place them in a freezer-safe bag. You can store them for up to 2 months. To thaw, move them to the fridge overnight. For reheating, you can use a skillet or microwave. If using a skillet, heat on medium until warm. This keeps them crispy and delicious. For the best storage, use airtight containers. Glass or high-quality plastic containers work well. They help keep air out, which keeps the quesadillas fresh. Avoiding air exposure is key to preventing sogginess. This way, you can enjoy your cheesy ground beef quesadillas later! For the full recipe, check the complete article. You can tell your quesadillas are done when they are golden brown. The cheese should melt and ooze from the sides. A good way to check is to lift one side gently with a spatula. If it looks crispy and the cheese is bubbly, it is ready to eat. Yes, you can make these quesadillas ahead of time. Cook the beef mixture and cool it down first. Assemble the quesadillas, but do not cook them yet. Place them in a single layer in the fridge. When you're ready, just heat them in the pan until they are hot and crispy. You can swap ground beef for cooked chicken or beans for a veggie version. If you lack cheddar, use Monterey Jack or any cheese you enjoy. No bell pepper? Try using spinach or mushrooms instead. Just adjust the cooking time as needed! In this blog post, we covered essential quesadilla ingredients, step-by-step instructions, and helpful tips. We explored variations like vegetarian and gluten-free options. You now know how to store leftovers and reheat them well. Remember, making delicious quesadillas at home is simple and fun. Feel free to experiment with flavors and garnishes. Enjoy your cooking adventure and impress friends with your skills!](https://roastedflavors.com/wp-content/uploads/2025/06/281d10d5-3e97-46fe-96e3-d19c06d3d55f.webp)
Cheesy Ground Beef Quesadillas Simple and Tasty Dish
Do you want a quick and tasty meal? Cheesy Ground Beef Quesadillas are the answer! This simple dish combines savory ground beef, melty cheese, and

Creamy Beef and Shells Quick and Delicious Dinner
Looking for a quick and delicious dinner? You’re in the right place! Creamy Beef and Shells is a dish that brings warmth and comfort to
![When making Taco Lasagna, the right ingredients make all the difference. Let’s break down what you need. - Ground meat options (beef or turkey): You can use one pound of either ground beef or ground turkey. Both add great flavor. Choose beef for a rich taste or turkey for a leaner option. - Alternative ingredients (vegetarian options): If you want a meat-free dish, swap the meat for lentils or more beans. Black beans work well. They keep the dish hearty and filling. You can also add chopped vegetables like bell peppers or zucchini for extra nutrients. - Optional toppings and garnishes: Feel free to get creative with toppings! You can add sliced jalapeños for heat or avocado for creaminess. Fresh cilantro is a great garnish. You can also serve with extra salsa or sour cream on the side for a zesty kick. Using high-quality ingredients will enhance the flavors. This Taco Lasagna is sure to impress anyone at your table. For the complete ingredient list, check the Full Recipe. 1. Preheat Oven: First, preheat your oven to 375°F (190°C). This prepares it for baking. 2. Cook Noodles: Boil water in a large pot. Add the lasagna noodles. Cook them until they are al dente. Drain the noodles and set them aside. 3. Prepare Meat: In a large skillet, heat over medium heat. Add your choice of ground beef or turkey. Cook until the meat is browned and no longer pink. Break it up with a spatula. Drain any extra fat. Stir in taco seasoning, garlic powder, and onion powder. Add 2 tablespoons of water. Cook for an additional 2 minutes to blend flavors. 1. Combine Ingredients: In a large bowl, mix the rinsed black beans, corn, salsa, and diced green chilies. Stir until mixed well. 2. Layer the Dish: In a 9x13 inch baking dish, start layering. Spread a thin layer of the meat mixture on the bottom. Place 3 lasagna noodles on top. Add half of the bean and corn mixture next. Follow it with half of the sour cream and a third of the shredded cheddar cheese. 3. Repeat Layering: Layer again by adding more meat, noodles, the rest of the bean and corn mixture, the remaining sour cream, and more cheese. Finish with a final layer of 3 noodles on top. 4. Add Final Toppings: Spread the remaining salsa over the last layer of noodles. Top with the last of the shredded cheese. 1. Cover and Bake: Cover the baking dish with aluminum foil. This stops it from browning too much. Bake in the preheated oven for 25 minutes. 2. Check for Doneness: After 25 minutes, carefully remove the foil. Bake for an additional 15 minutes. Check that the cheese is fully melted and bubbly. Following these steps will give you a delicious Taco Lasagna. For the complete recipe, refer to the [Full Recipe]. - How to cook noodles without sticking To cook noodles without sticking, use plenty of water. Bring the water to a rolling boil before adding the noodles. Stir them gently for the first minute. This helps keep them separated. - Making meat preparation easier Use a non-stick skillet for easy meat cooking. Ground beef or turkey cooks faster in a hot pan. Break the meat apart with a spatula as it cooks. This helps it brown evenly. - Best practices for layering Start with a thin layer of meat on the bottom. This helps prevent sticking. Alternate layers of noodles, meat, and beans. Try to keep the layers even for better cooking. - Ingredient substitutions for enhanced flavor You can swap ground beef for turkey or even beans for a veggie option. Use spicy salsa for more kick. Fresh herbs like cilantro add a bright touch. - Adding spice and heat (if desired) If you want more heat, add jalapeños to the layers. You can also sprinkle chili powder or cayenne pepper into the meat. This adds depth and makes each bite exciting. For the detailed recipe, check out the Full Recipe. {{image_4}} Vegetarian Taco Lasagna To make a vegetarian version, simply swap the meat for more beans or lentils. You can use a mix of black beans, kidney beans, and pinto beans. This adds protein and keeps the dish hearty. Also, try adding some chopped mushrooms or zucchini for extra flavor and texture. Gluten-free options for noodles If you need a gluten-free option, use gluten-free lasagna noodles. They cook and layer just like regular noodles. Always check the package to ensure they fit your needs. Your taco lasagna will still taste great and be safe for those with gluten sensitivities. Customizing with favorite veggies You can add your favorite veggies to enhance taste. Consider bell peppers, spinach, or corn. These veggies bring color and nutrients. Just chop them up and mix them into your layers. They will cook nicely in the oven. Exploring different types of cheese Feel free to experiment with different cheeses. Monterey Jack, pepper jack, or even queso fresco can add unique flavors. Mixing cheeses can create a creamy, delicious topping. Choose what you love most for a personal touch. For the full recipe, check out the section above. To keep your Taco Lasagna fresh, use airtight containers. Glass or plastic containers with tight lids work best. They help prevent air from spoiling your food. You can refrigerate the lasagna for up to four days. If you want to store it longer, freezing is a great option. Wrap the lasagna tightly in plastic wrap, then place it in a freezer bag or container. This method keeps the taste and texture intact for about three months. When reheating Taco Lasagna, the oven is the best choice. Preheat the oven to 350°F (175°C). Cover the lasagna with foil to keep it moist. Bake for about 20-25 minutes or until it is heated through. If you’re in a hurry, the microwave works too. Place a slice on a microwave-safe plate. Heat for 1-2 minutes, checking often to avoid overcooking. Reheating in the oven helps keep the cheese melty and the noodles firm, while the microwave can make it soft. Can I use no-boil lasagna noodles? Yes, you can use no-boil lasagna noodles. These noodles save time. Just layer them like regular noodles. They will soften during baking. How do I know when the Taco Lasagna is fully cooked? Look for bubbling cheese and a golden top. The edges should be slightly crispy. You can also use a knife. Insert it in the center. If it comes out hot, it’s ready. What side dishes pair well with Taco Lasagna? Serve it with a green salad and tortilla chips. You can also add guacamole or sour cream. These sides balance the meal well. How to make Taco Lasagna ahead of time? You can prepare it a day before. Layer all ingredients in the dish. Cover it tightly and refrigerate. Bake it when you are ready to serve. Can Taco Lasagna be made in advance and frozen? Yes, Taco Lasagna freezes well. Assemble it completely, but do not bake. Wrap it tightly in foil or plastic. Store it in the freezer for up to three months. What can I replace ground beef with? You can use ground turkey or chicken. For a vegetarian option, try lentils or mushrooms. They add great texture and flavor. Can I use different types of beans? Absolutely! You can use pinto beans or kidney beans. These beans work well in the dish. They add protein and fiber, making it even more filling. You’ve learned all the steps to make a tasty Taco Lasagna. From selecting ingredients to layering and baking, each part matters. Don’t forget to try variations for different diets. Use my tips for storage and reheating to enjoy leftovers later. With these insights, you can create delicious meals for any occasion. Now, gather your ingredients and start cooking a meal your friends and family will love!](https://roastedflavors.com/wp-content/uploads/2025/06/6fe57b06-43bd-4003-bfa8-7800093f0295.webp)
Taco Lasagna Delightful Layered Dinner Recipe
If you love tacos and lasagna, I have the perfect recipe for you: Taco Lasagna! This layered dinner is simple to make and bursting with
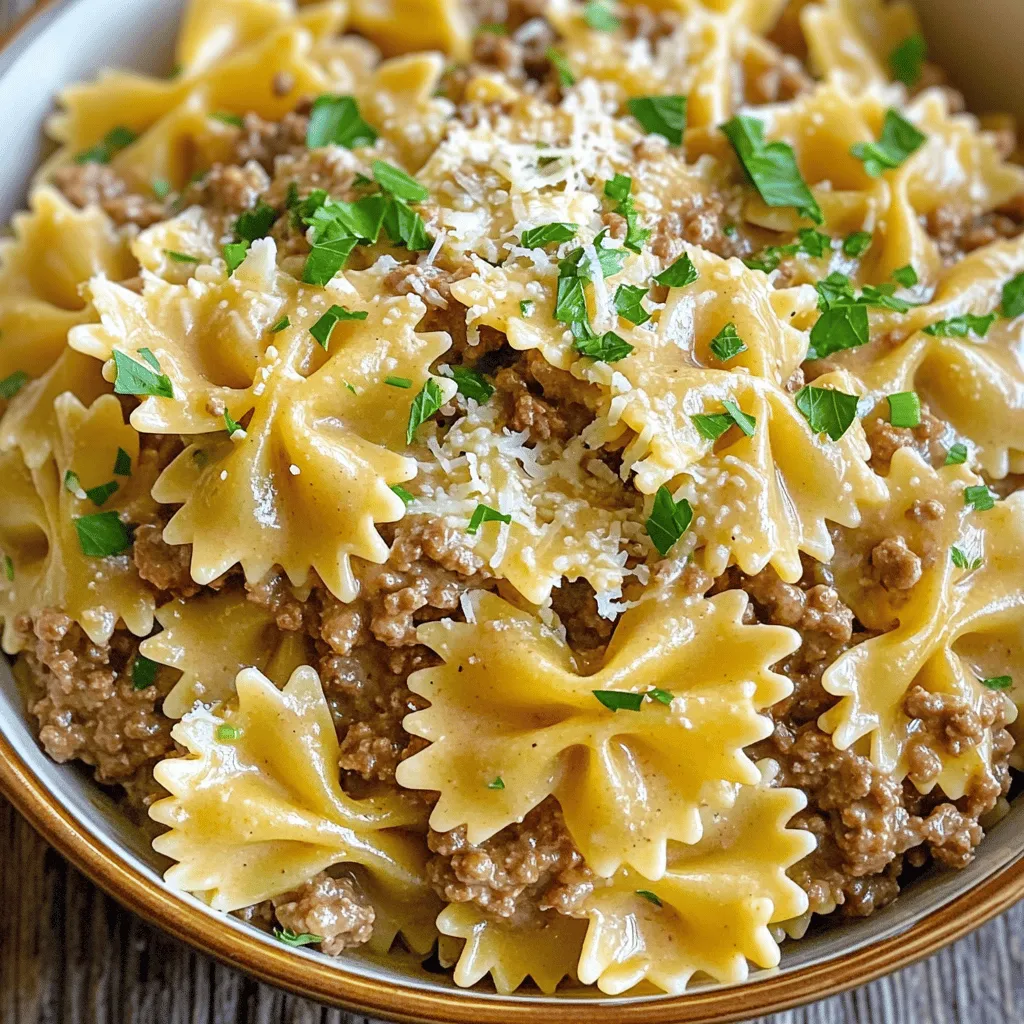
Creamy Parmesan Garlic Beef Bowtie Pasta Delight
Looking for a comforting dinner that’s also easy to make? You’ve come to the right place! My Creamy Parmesan Garlic Beef Bowtie Pasta Delight brings
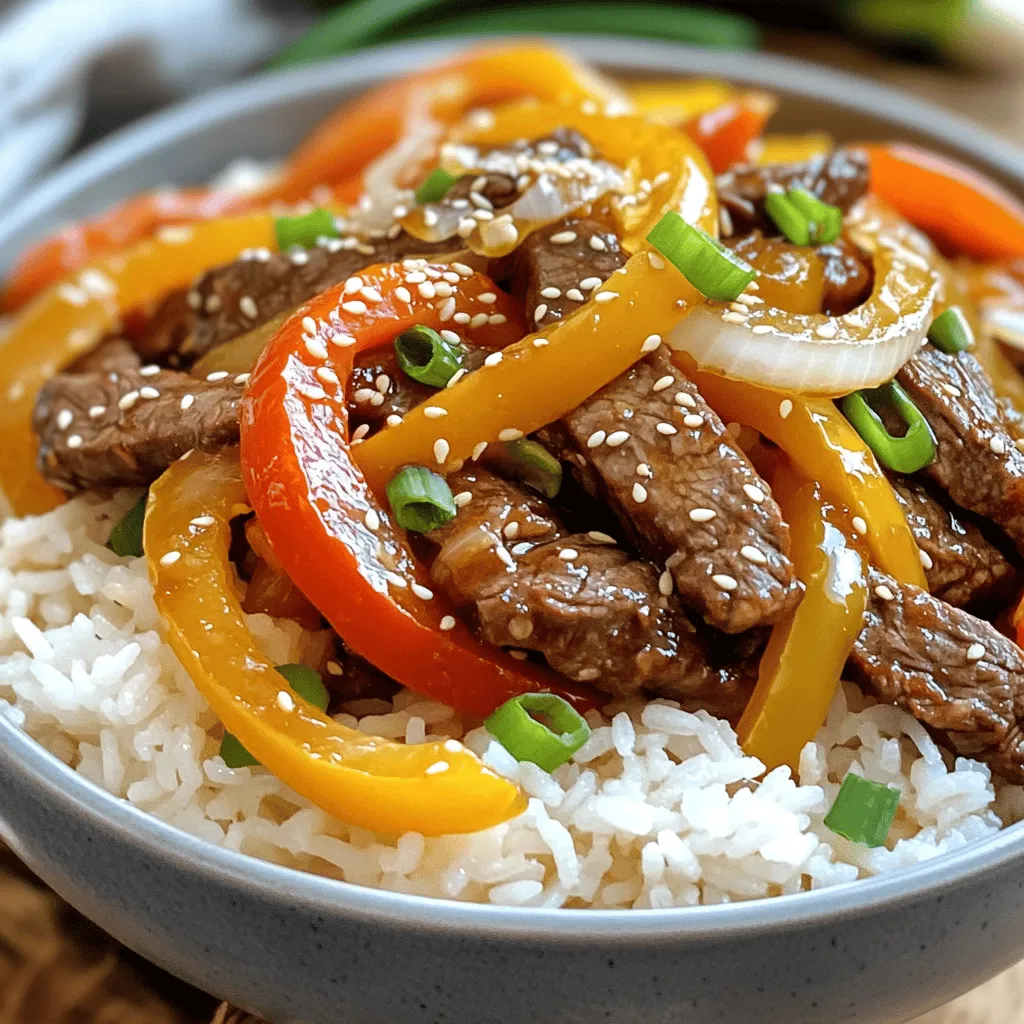
Beef and Pepper Rice Bowls Flavor-Packed Meal
Craving a quick, delicious meal? Beef and Pepper Rice Bowls are your answer! Packed with flavor and easy to make, this dish combines tender beef,
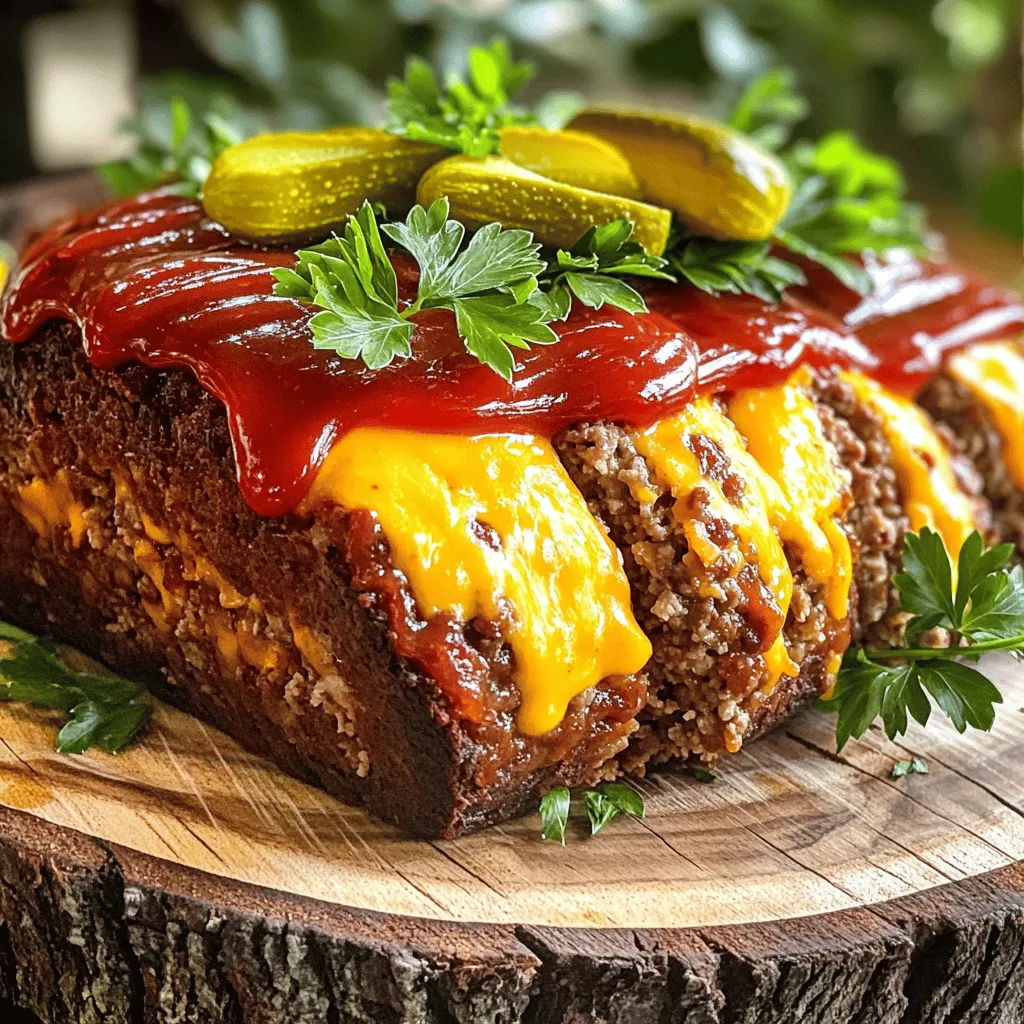
Cheeseburger Meatloaf Savory Family Favorite Dish
Ready to elevate your dinner routine? This Cheeseburger Meatloaf combines all the flavors you love about cheeseburgers with the heartiness of meatloaf. It’s simple to
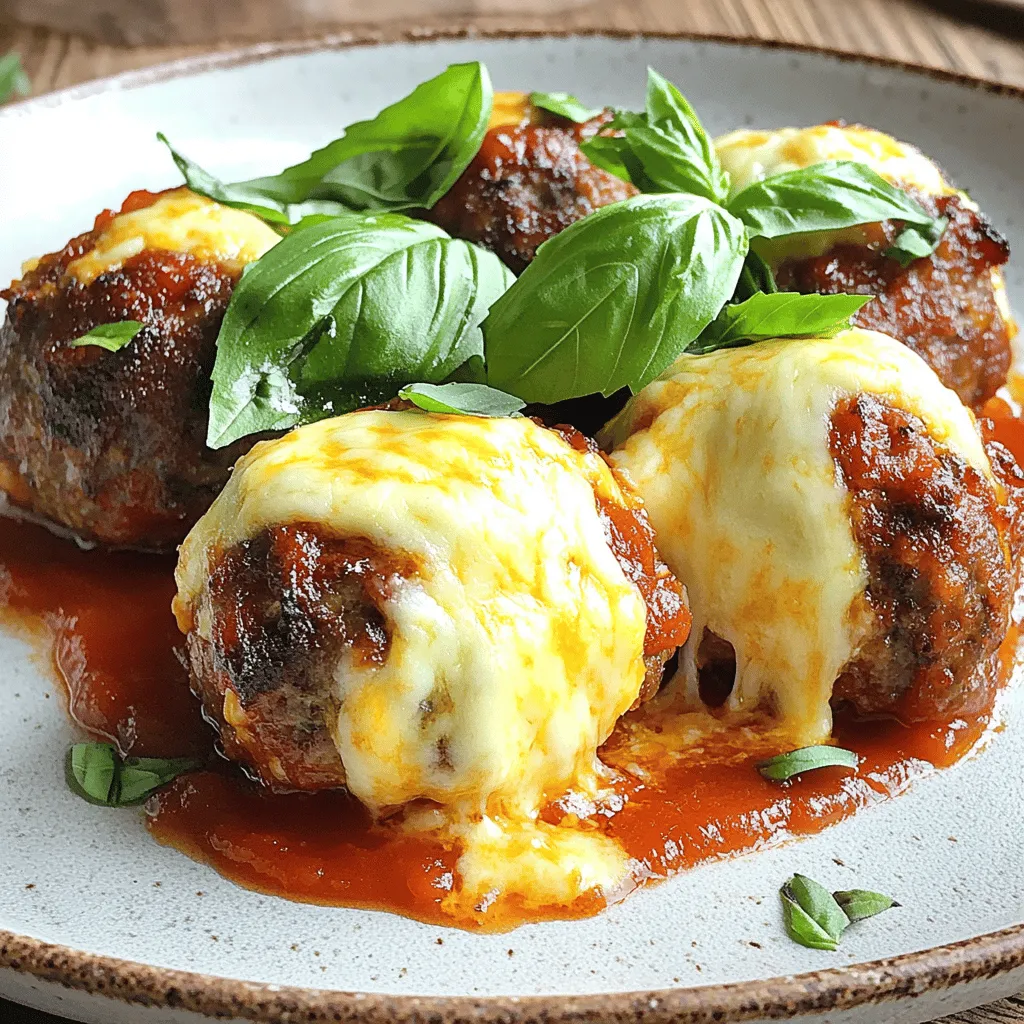
Stuffed Meatballs with Mozzarella Cheese Delight
Welcome to my kitchen, where I’m excited to share my favorite recipe: Stuffed Meatballs with Mozzarella Cheese! These juicy meatballs are packed with gooey cheese
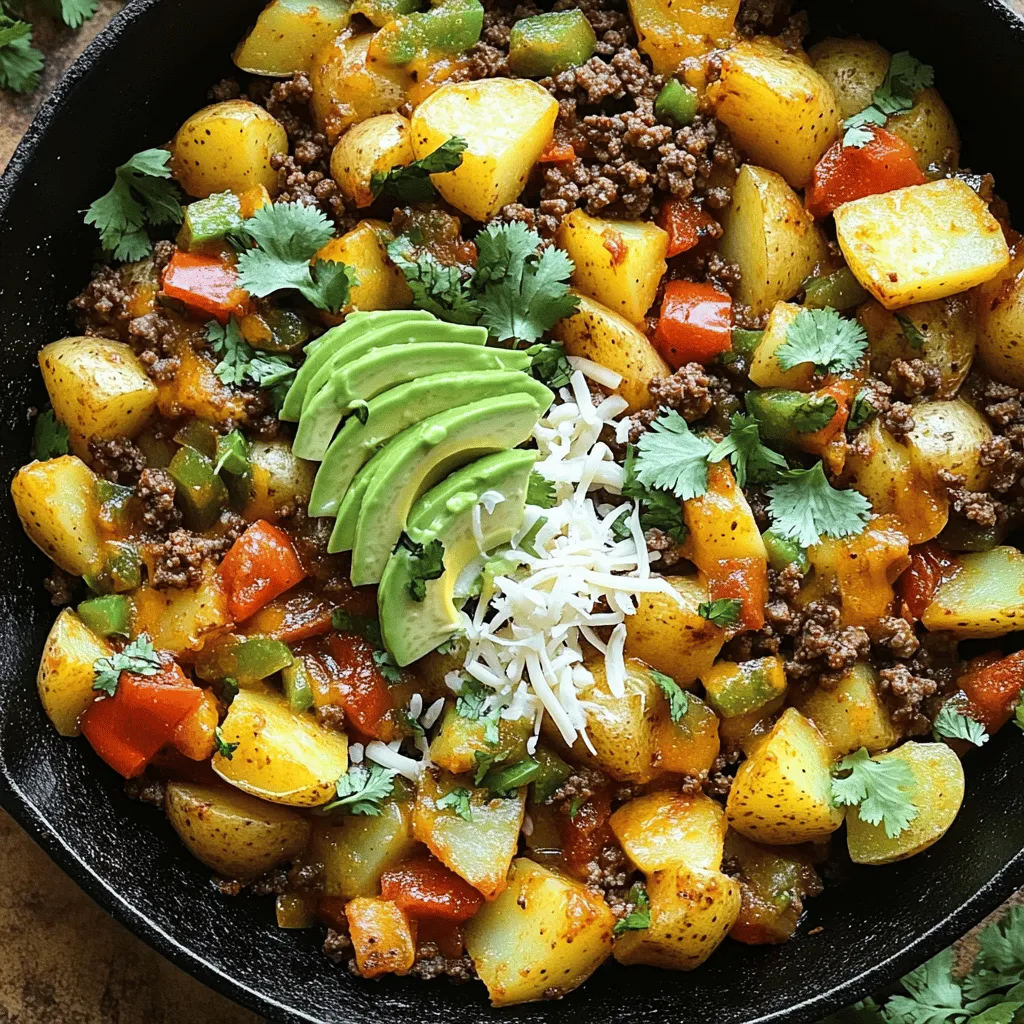
Mexican Ground Beef and Potato Skillet Delight
Are you ready to spice up your dinner routine? My Mexican Ground Beef and Potato Skillet is a game-changer! This one-pan wonder is packed with