Dinner
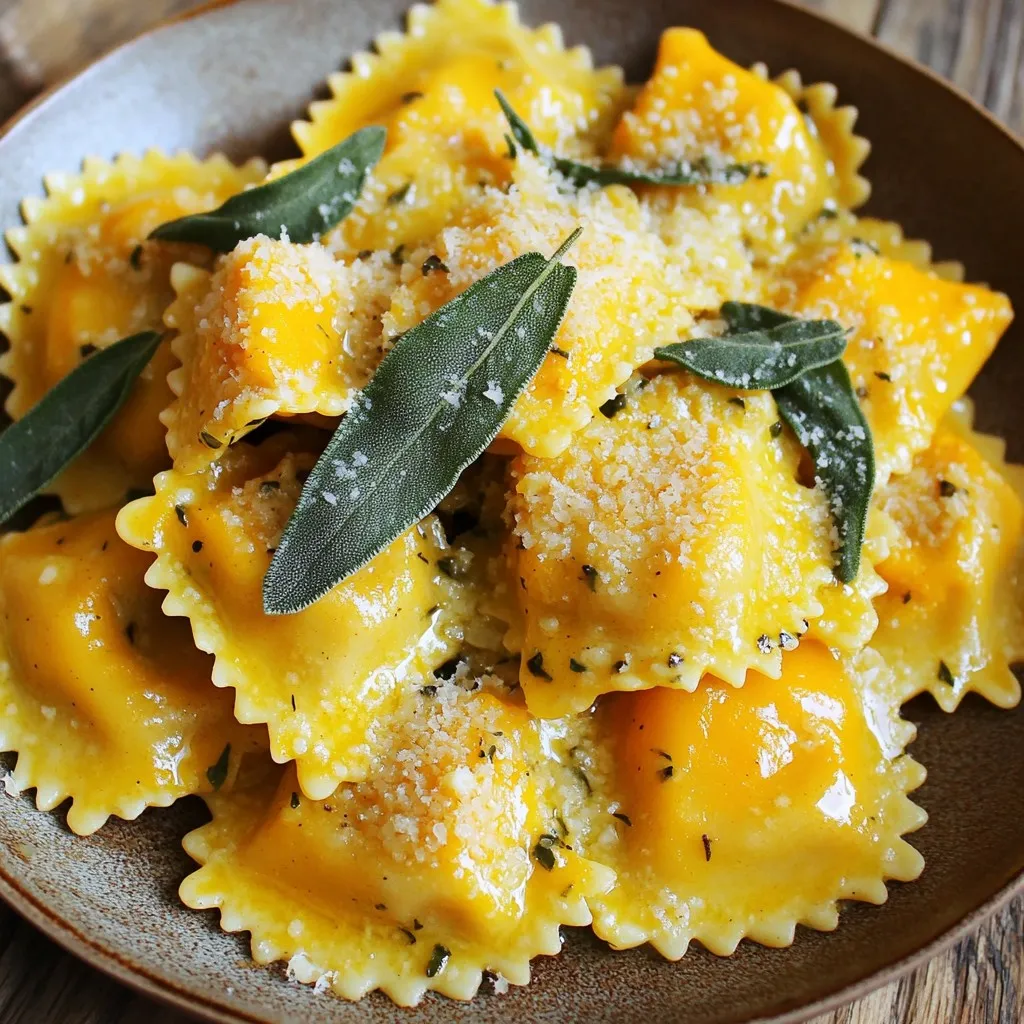
Creamy Pumpkin Sage Ravioli with Brown Butter Bliss
Get ready for a cozy culinary adventure with my Creamy Pumpkin Sage Ravioli with Brown Butter Bliss! This delightful dish combines the warmth of autumn
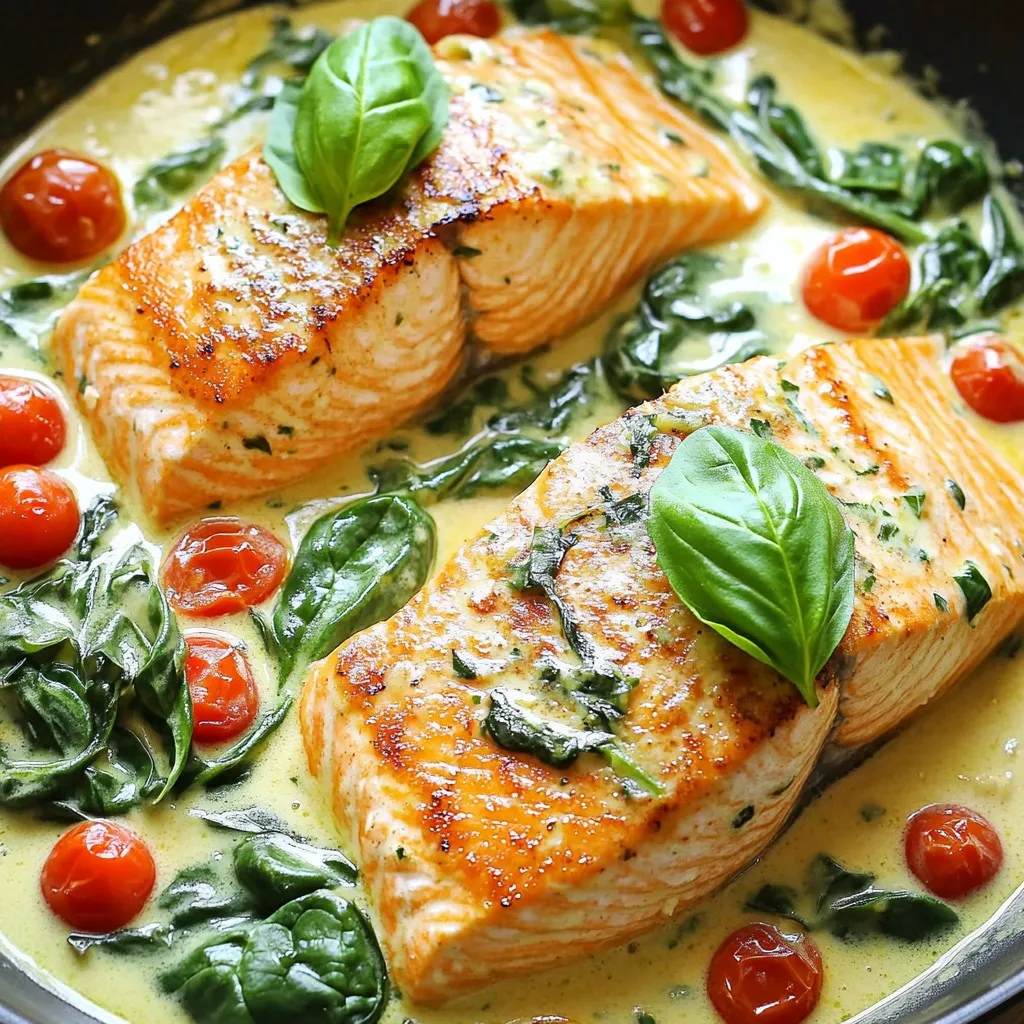
One-Pan Creamy Tuscan Salmon Rich and Flavorful Meal
Are you ready to elevate your weeknight dinners? This One-Pan Creamy Tuscan Salmon is a delicious and rich meal that you’ll love. In just one
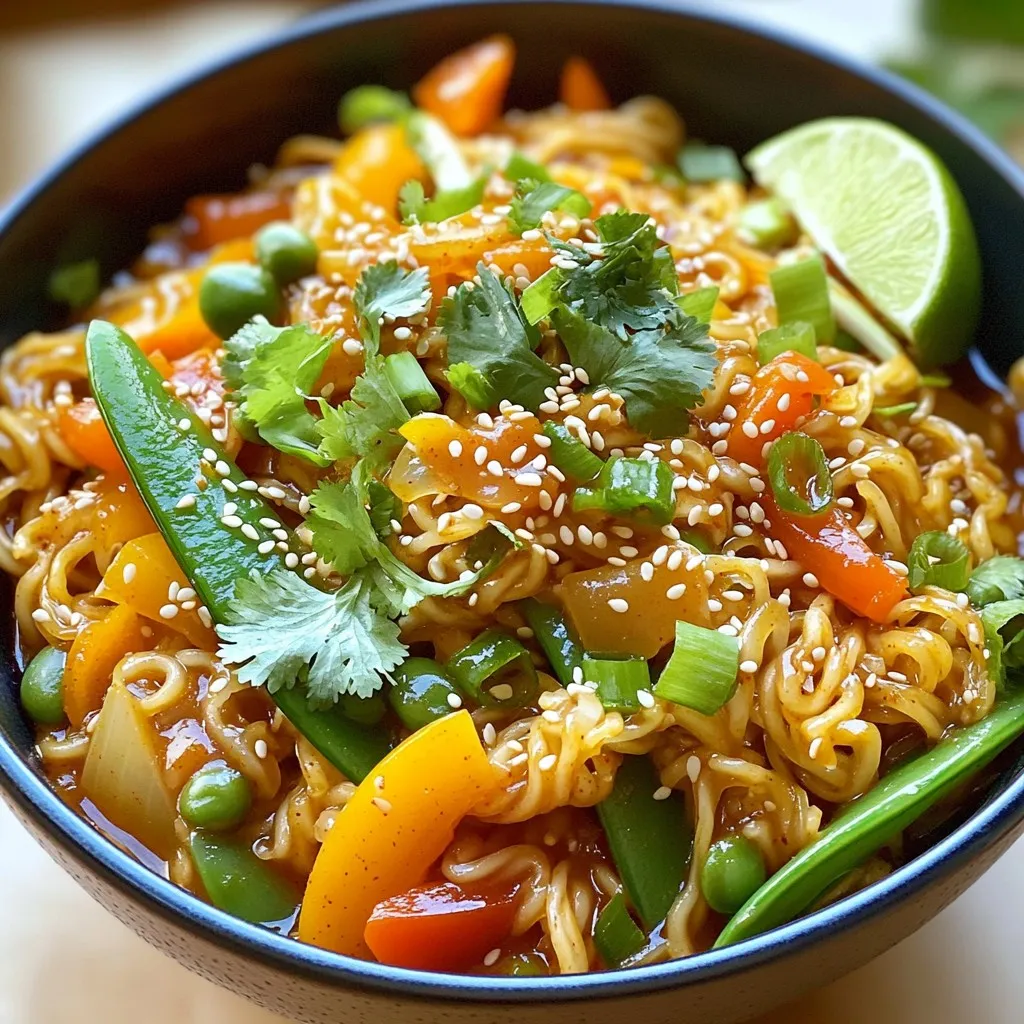
Minute Chili Crisp Noodles Quick and Flavorful Meal
Craving a quick meal that packs a punch? Minute Chili Crisp Noodles are your answer. With just a handful of ingredients and under 30 minutes,
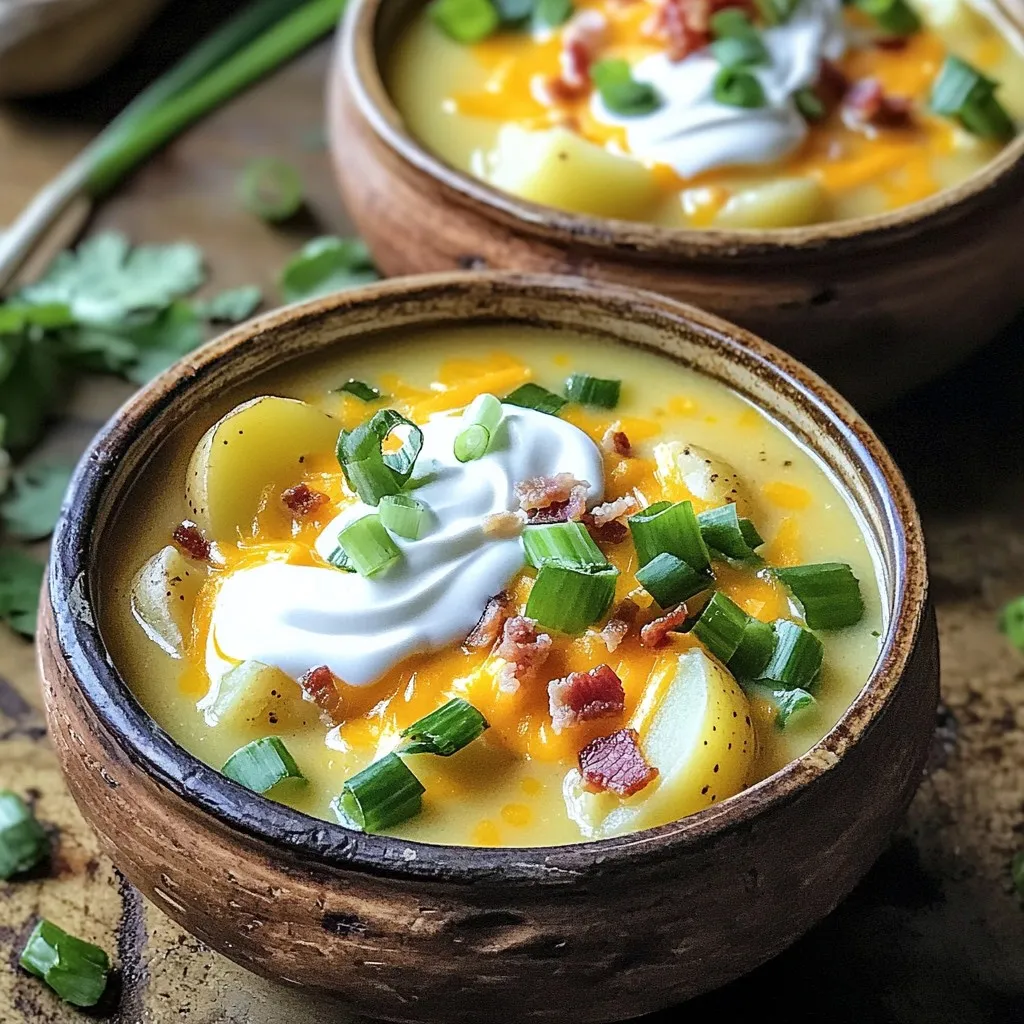
Slow Cooker Loaded Potato Soup Simple Comfort Dish
Looking for a cozy meal that warms you from the inside out? Slow Cooker Loaded Potato Soup is the perfect answer! This soup blends creamy,
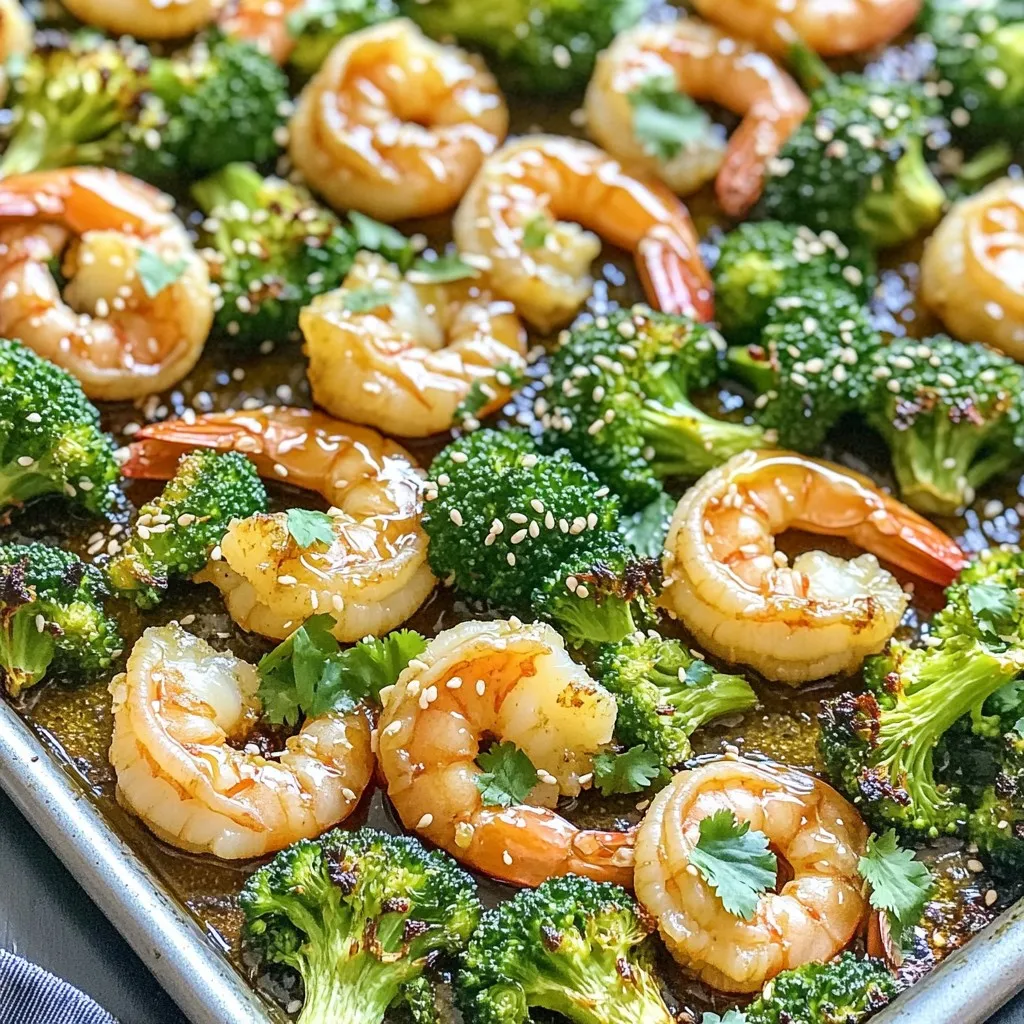
Sheet-Pan Honey Garlic Shrimp & Broccoli Delight
Get ready for a meal that’s quick, tasty, and healthy! In this blog post, I’ll show you how to make Sheet-Pan Honey Garlic Shrimp &
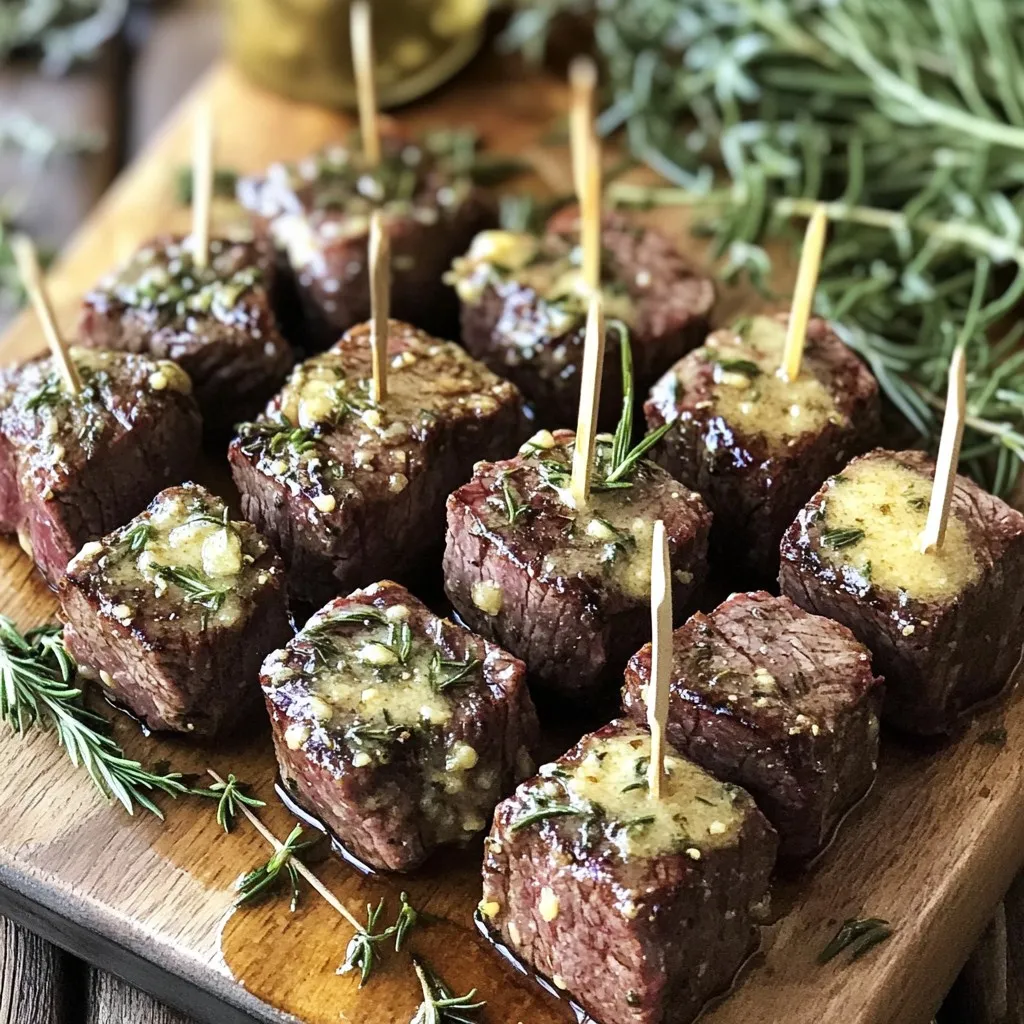
Air Fryer Garlic Butter Steak Bites Tasty and Quick Meal
Are you craving a quick, tasty meal that’s packed with flavor? Look no further than these Air Fryer Garlic Butter Steak Bites! With tender sirloin
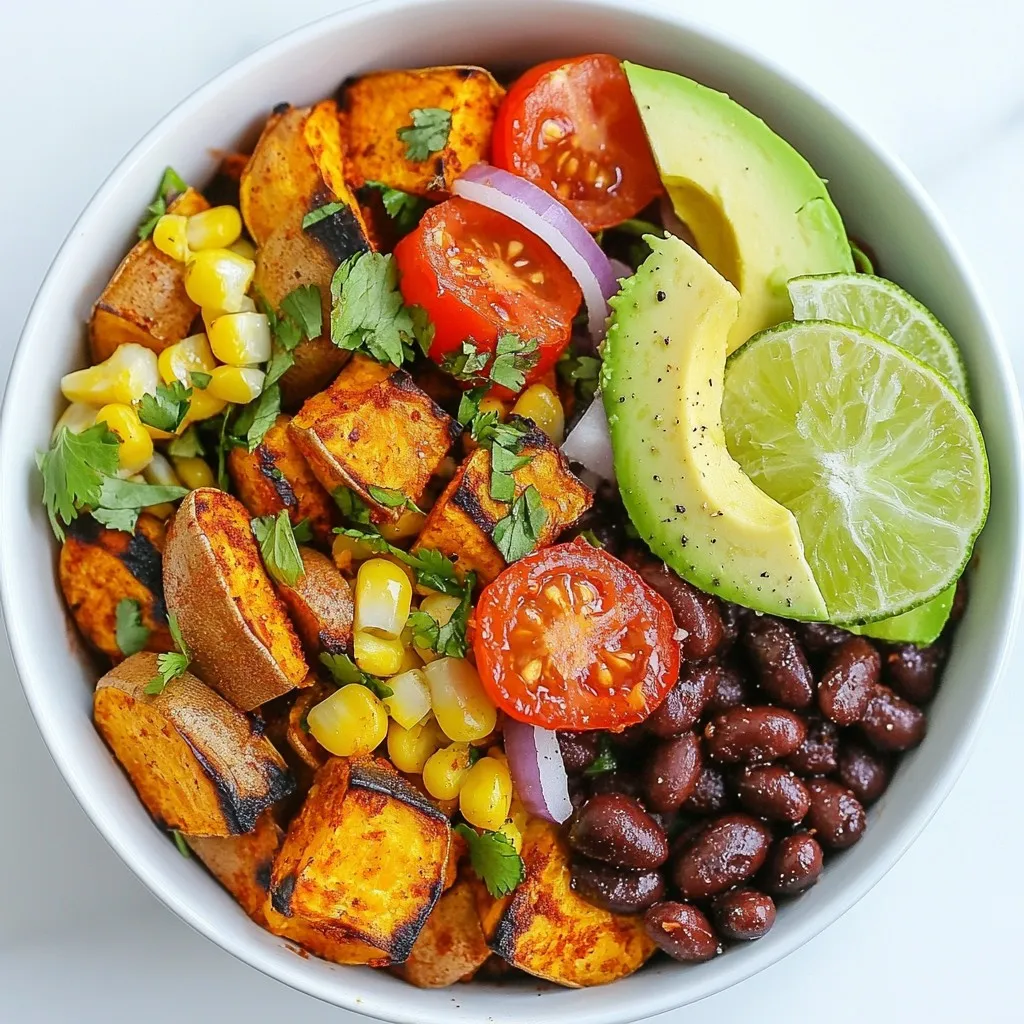
Sweet Potato Taco Bowls Flavorful and Easy Delight
Looking for a tasty meal that’s easy to make? Sweet Potato Taco Bowls are here to save the day! With crunchy veggies, savory black beans,
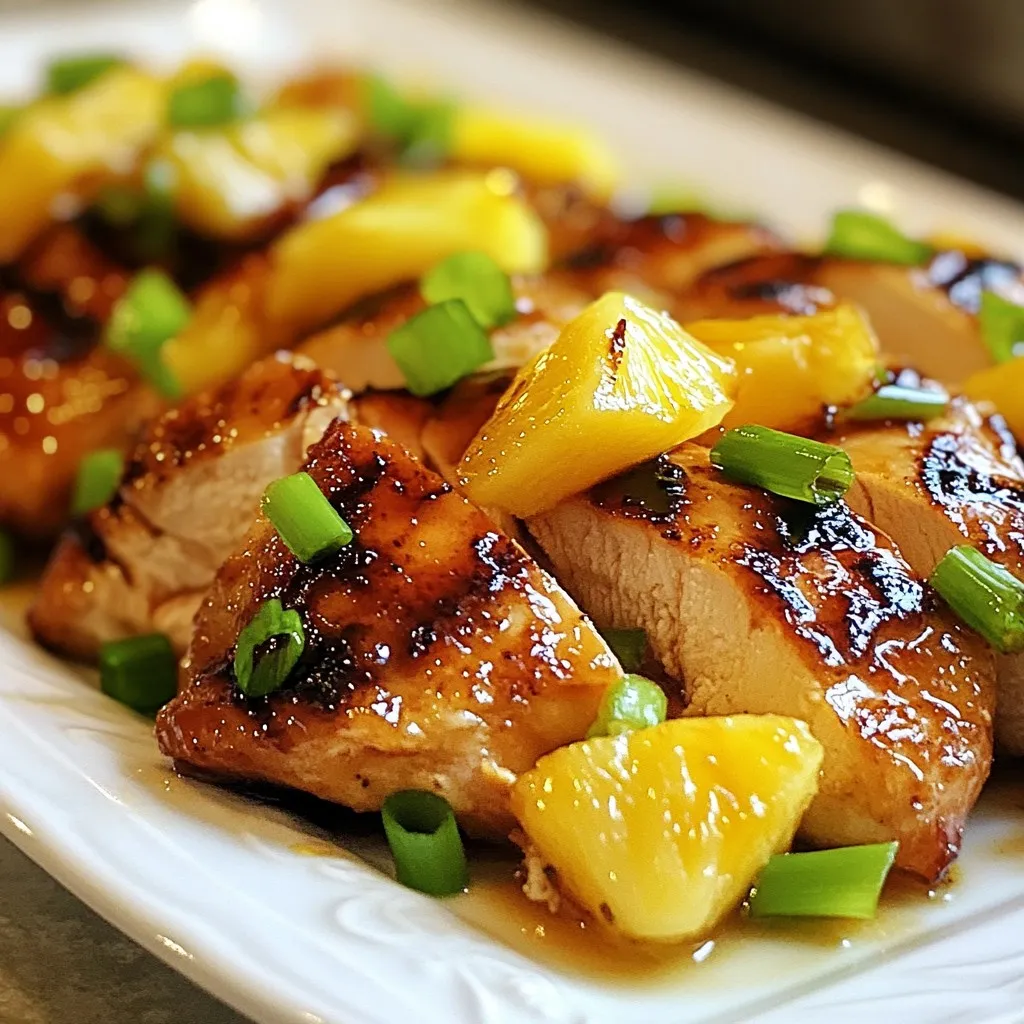
Brown Sugar Pineapple Chicken Flavorful Grilled Dish
Are you ready to elevate your grilling game? Brown Sugar Pineapple Chicken is a sweet and savory dish that stands out at any cookout. Using
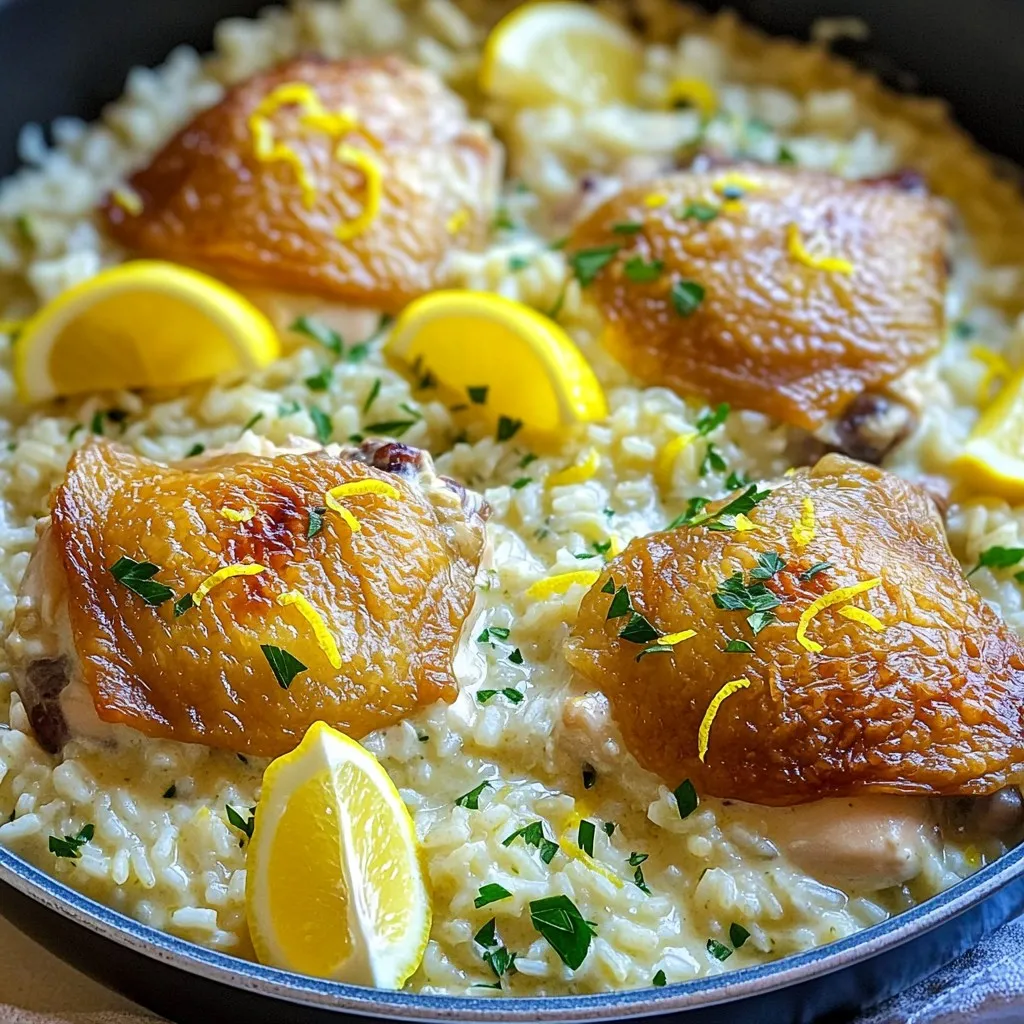
One-Pan Creamy Lemon Herb Chicken & Rice Delight
Are you ready for a dish that’s easy, creamy, and full of flavor? This One-Pan Creamy Lemon Herb Chicken & Rice Delight is perfect for
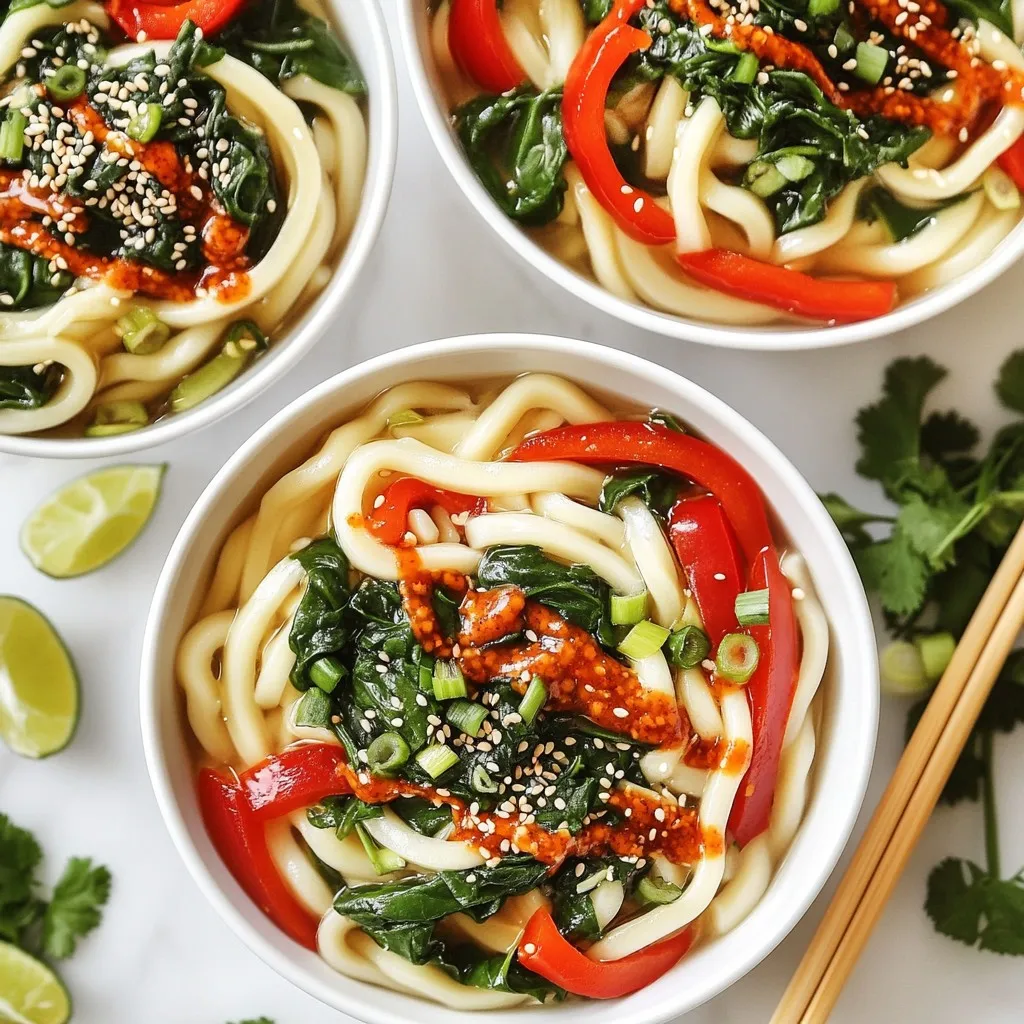
Spicy Chili Crisp Udon Noodles Delightful Dinner Treat
Are you ready to spice up dinner with a bowl of deliciousness? This Spicy Chili Crisp Udon Noodles recipe combines chewy udon noodles with a