Dinner
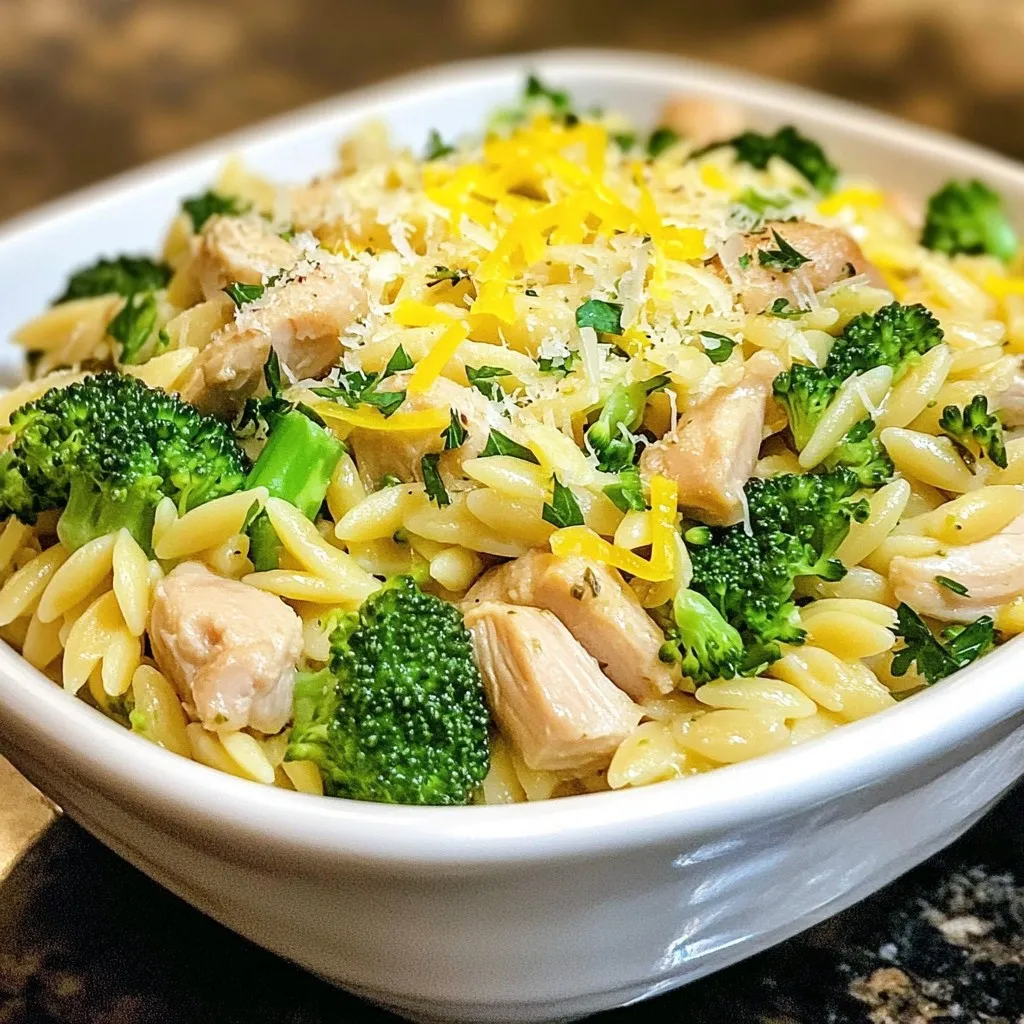
Chicken and Broccoli Orzo Flavorful Weeknight Meal
Looking for a quick, tasty dinner? Chicken and Broccoli Orzo is the answer! This meal is a breeze to cook and packed with flavors. You’ll
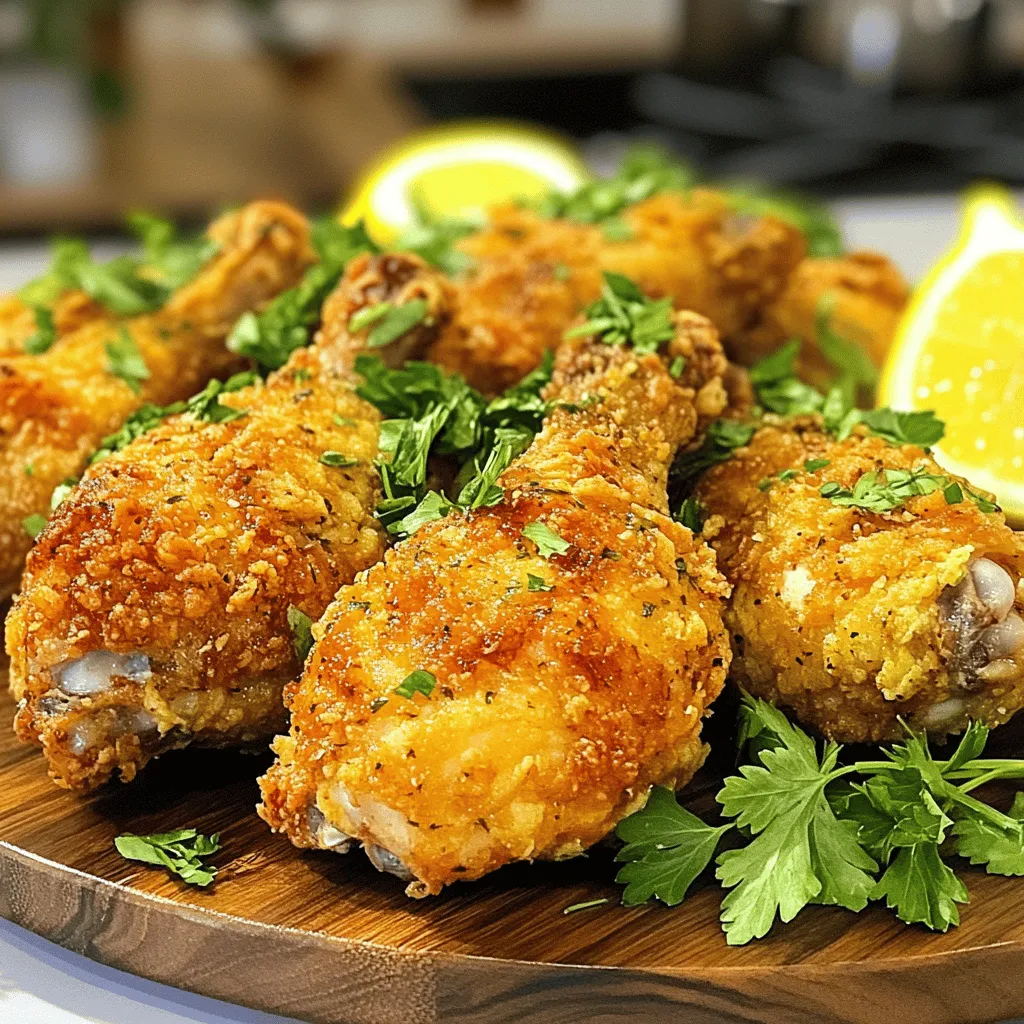
The Best Oven Fried Chicken Crunchy and Flavorful Recipe
Are you ready to enjoy crispy, juicy, oven-fried chicken that packs tons of flavor? I’ve got the ultimate recipe for you! With simple steps and

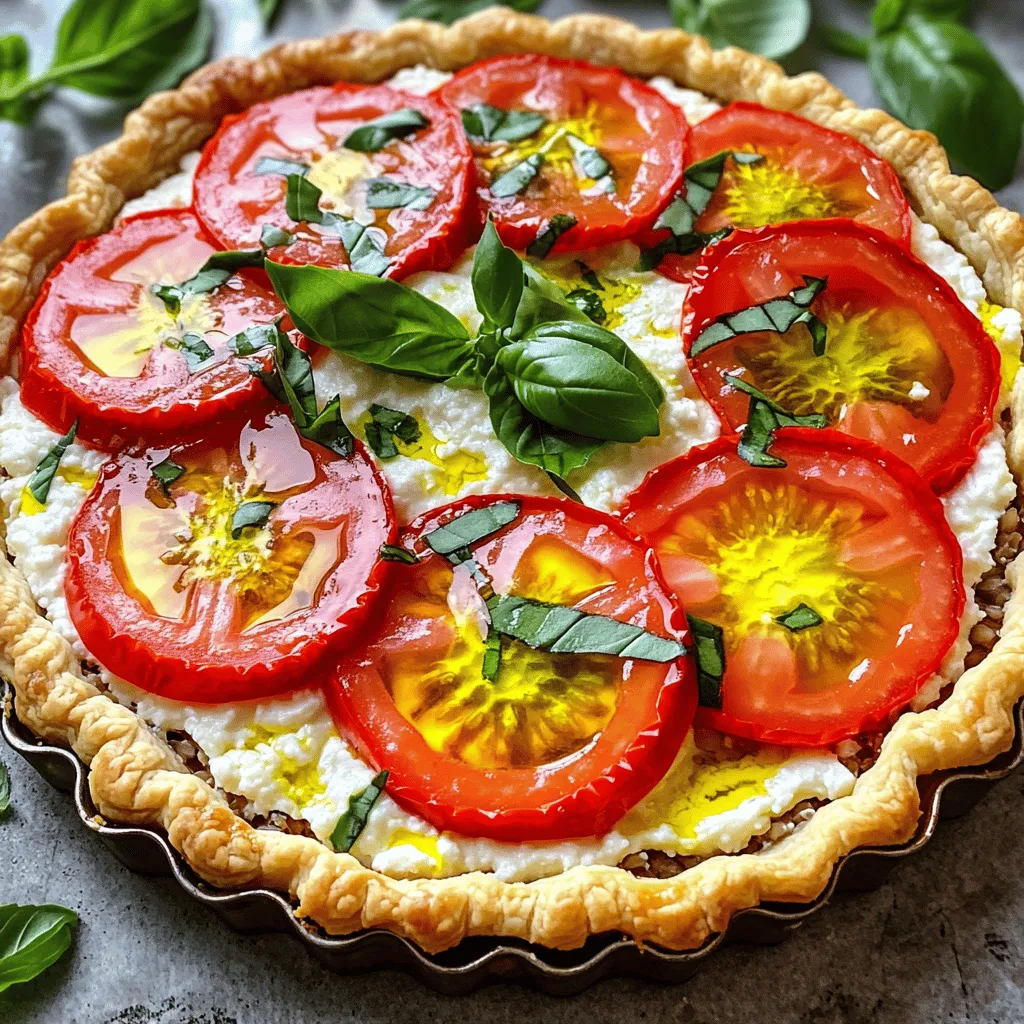
Dave’s Tomato Pie Flavorful and Simple Recipe Guide
If you crave a delicious, homemade dish that’s both simple and flavorful, you’ll love Dave’s Tomato Pie. This recipe combines fresh tomatoes, rich cheeses, and
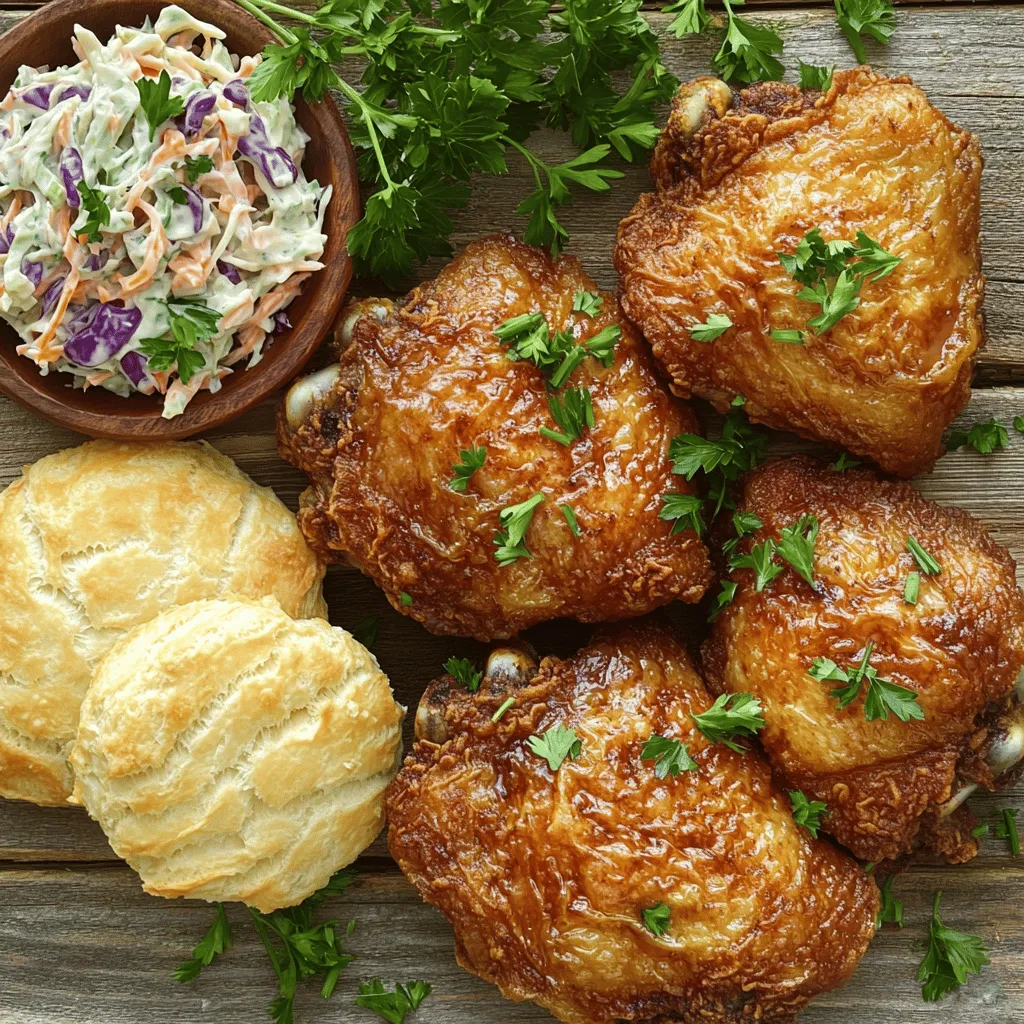
Crispy KFC-Style Chicken Irresistible Homemade Delight
Craving that crispy, juicy taste of KFC-style chicken but want to make it at home? You’re in the right place! In this guide, I’ll show

Fried Chicken Without Buttermilk Crispy and Flavorful
Craving crispy, flavorful fried chicken but don’t have buttermilk? No worries! I’ll show you how to make delicious fried chicken using easy substitutes. You’ll learn
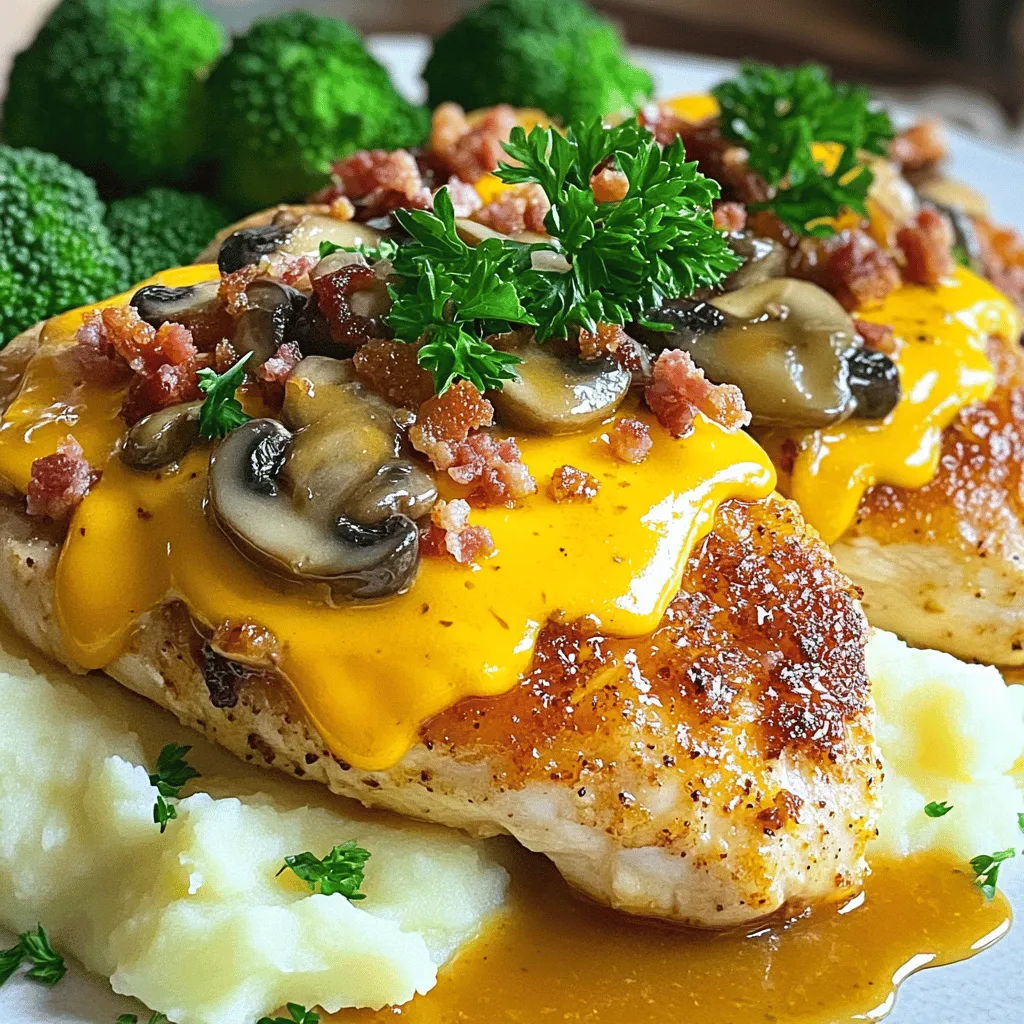
Alice Springs Chicken Simple and Tasty Recipe Guide
Are you ready to impress your family with a delicious dinner? Alice Springs Chicken is a simple and tasty dish that combines juicy chicken, savory

Savory Sheet Pan Chicken Kabobs Simple and Quick Meal
Craving a tasty meal that comes together in minutes? Let’s dive into Savory Sheet Pan Chicken Kabobs! This simple recipe delivers juicy chicken and vibrant

Crispy Air Fryer Chicken Perfectly Juicy and Tasty
Are you ready to enjoy crispy air fryer chicken that is perfectly juicy and tasty? I will guide you through a simple process, sharing every
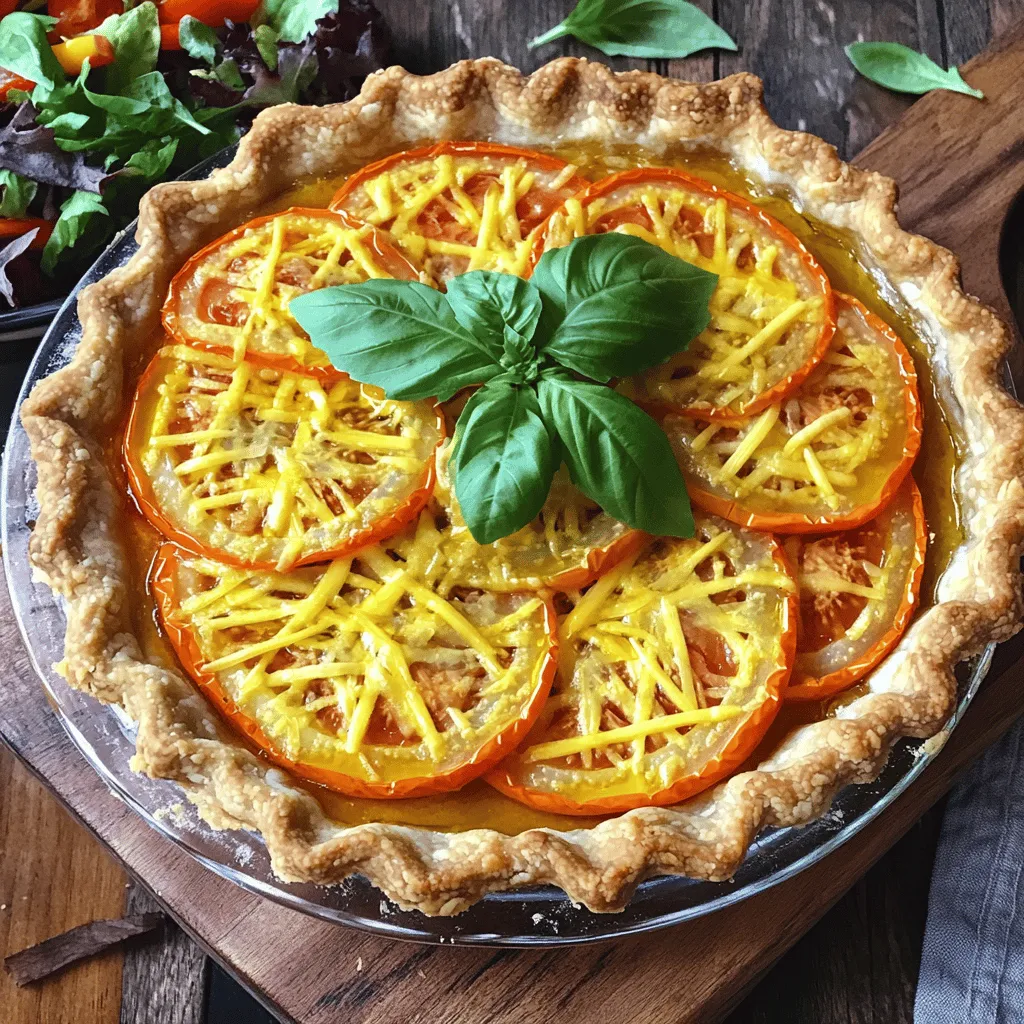
Tomato Tart with Brown Rice Flavorful and Easy Recipe
Looking for a dish that’s flavorful and easy to make? This Tomato Tart with Brown Rice is just what you need! You’ll find fresh ingredients
Savory Southern Tomato Pie Flavorful and Easy Dish
Welcome to the world of Southern Tomato Pie! This dish blends fresh tomatoes, cheese, and herbs into a savory dream. It’s easy to make and