Dinner
![When making a healthy zucchini tomato bake, you need fresh and tasty ingredients. Here’s what you will need: - 3 medium zucchinis, sliced into rounds - 3 large ripe tomatoes, sliced - 1 cup cherry tomatoes, halved - 1 medium red onion, thinly sliced - 4 cloves of garlic, finely minced - 1 teaspoon dried oregano - 1 teaspoon dried basil - 2 tablespoons extra-virgin olive oil - Salt and freshly ground black pepper, to taste - 1 cup shredded mozzarella cheese - Dairy-free alternatives for a vegan option I love how each ingredient plays a role in the dish. Zucchini gives it a nice texture, while tomatoes add juiciness. The garlic and onion bring out great flavors. You can mix and match the cheese to suit your taste. If you want to keep it vegan, just swap in a dairy-free cheese. Finding fresh, high-quality ingredients is key. Look for firm zucchinis and ripe tomatoes. This will make your bake even better. If you want to explore more, check out the [Full Recipe]. - Preheat your oven to 375°F (190°C). This step is key for even cooking. - In a large mixing bowl, combine the sliced zucchinis, tomatoes, red onion, and minced garlic. This mix looks bright and fresh. - Drizzle the mixture with olive oil. This adds flavor and helps with cooking. - Sprinkle dried oregano, dried basil, salt, and black pepper over the vegetables. - Toss everything well until the veggies are evenly coated with oil and seasonings. This step ensures each bite is flavorful. - Take a baking dish and layer half of the vegetable mix at the bottom. This creates a solid base. - Add half of the shredded mozzarella cheese on top of the first layer. It will melt nicely. - Spread the remaining vegetable mix evenly on top. Finish with the last bit of cheese for a bubbly topping. - Cover the dish with foil. This keeps moisture in while baking. - Bake for 20 minutes. After that, remove the foil. Continue to bake until the cheese is golden and the veggies are tender. This usually takes another 15-20 minutes. Once done, let it cool a bit. Then, you can serve your Healthy Zucchini Tomato Bake. For the full recipe, check out the earlier section. To get the best flavor, start with fresh herbs. Using them enhances the dish greatly. I recommend adding salt and pepper to taste. This step is key for a tasty bake. Adjust baking times based on your oven. If you prefer a softer texture, bake a bit longer. For a crispier top, let it brown for a few extra minutes. Presentation makes a big difference. You can serve the bake right in the dish for a rustic look. For a fancier touch, scoop portions onto plates. Top each with fresh basil and a drizzle of olive oil. This adds flavor and looks appealing. Pair this dish with a side salad or some crusty bread. These sides bring out the bake's flavors nicely. You can make this dish even healthier. Swap out mozzarella for a low-fat cheese. You can also use whole grain breadcrumbs for added fiber. If you want a low-carb option, skip the cheese or use a dairy-free substitute. This keeps it light yet delicious. Using seasonal veggies also boosts nutrition and taste. Opt for bell peppers or spinach to mix things up. For the full recipe, check out the detailed instructions. {{image_4}} You can easily change this dish with more veggies. Bell peppers add crunch and color. Spinach brings a lovely green touch and boosts nutrition. Try adding mushrooms for a hearty bite. For protein, beans or lentils work well. They add fiber and make the dish filling. Tofu is another great choice. It soaks up flavors and makes the dish more satisfying. Herbs and spices can change the taste. Try adding thyme for a warm flavor. A pinch of red pepper flakes brings heat and excitement. You can also use fresh herbs for a bright taste. Cheese can also shift the flavors. Swap mozzarella for sharp cheddar for a bolder taste. Feta cheese brings a tangy twist, while goat cheese adds creaminess. Mix and match to find your favorite blend. To make this dish vegan, skip the cheese or use a dairy-free option. Nutritional yeast adds a cheesy flavor without dairy. You can also try cashew cheese for creaminess. For a tasty vegan twist, use plant-based cheese. It melts well and gives a satisfying texture. This way, everyone can enjoy this healthy zucchini tomato bake. To keep your leftover zucchini tomato bake fresh, place it in the fridge. Use an airtight container. This helps lock in moisture and flavor. Make sure it cools down before sealing. Try to eat it within three days for the best taste. When it’s time to reheat, I suggest using the oven. It keeps the texture nice and crispy. Preheat your oven to 350°F (175°C). Place the bake in a baking dish and cover it with foil. Heat for about 15-20 minutes. You can also use the microwave. Just remember, it may make the dish a bit soggy. Heat it in short bursts until warm. If you want to save some for later, freezing works great. First, let the bake cool completely. Then, cut it into portions. Wrap each piece in plastic wrap, then place in a freezer bag. Be sure to remove as much air as you can. This helps prevent freezer burn. It can last up to three months in the freezer. When you’re ready to eat, thaw it in the fridge overnight. Then, reheat as mentioned above. Enjoy your Healthy Zucchini Tomato Bake anytime! For full details, check the Full Recipe. Yes, you can! Feel free to add other veggies. I like bell peppers, eggplant, or spinach. They all blend well with zucchini and tomatoes. Just keep the ratios similar. Use about 2 cups of extra vegetables to maintain the bake’s balance. This dish pairs well with many sides. You could serve it with a fresh green salad. A side of crusty bread works great too. For a heartier meal, try quinoa or brown rice. These sides add flavor and texture. Absolutely! You can prepare it a day in advance. Just follow the steps up to baking. Cover and store it in the fridge. When you're ready, bake it as directed. For leftovers, store them in an airtight container. Enjoy them within three days for best taste. This blog post provided a clear guide to making a healthy zucchini tomato bake. We covered the ingredients, the step-by-step cooking process, and tips for perfecting the dish. You learned about variations and healthy substitutes, as well as how to store and reheat your leftovers. Now, you have everything you need to create a tasty meal. Enjoy making your zucchini tomato bake, and don't hesitate to experiment with flavors to make it your own. Happy cooking!](https://roastedflavors.com/wp-content/uploads/2025/07/b8eb893f-d54d-4a10-9da3-7ffaa081ef33.webp)
Healthy Zucchini Tomato Bake Flavorful Vegetable Dish
Looking for a delicious way to enjoy fresh veggies? This Healthy Zucchini Tomato Bake is your answer! Packed with flavor and nutrients, it’s easy to

Refreshing Peach Iced Tea Recipe for Summer Joy
Summer is here, and nothing beats a glass of refreshing peach iced tea! If you’re looking to cool off and enjoy a delicious drink, you’ve

Garlic Butter Chicken Simple and Flavorful Recipe
If you love rich flavors and easy cooking, you’re in for a treat! This Garlic Butter Chicken recipe is simple yet delicious, perfect for a

High Protein Chicken Parmesan Casserole Delight
Looking for a tasty and protein-packed meal? My High Protein Chicken Parmesan Casserole Delight is just what you need! This dish combines tender chicken, rich
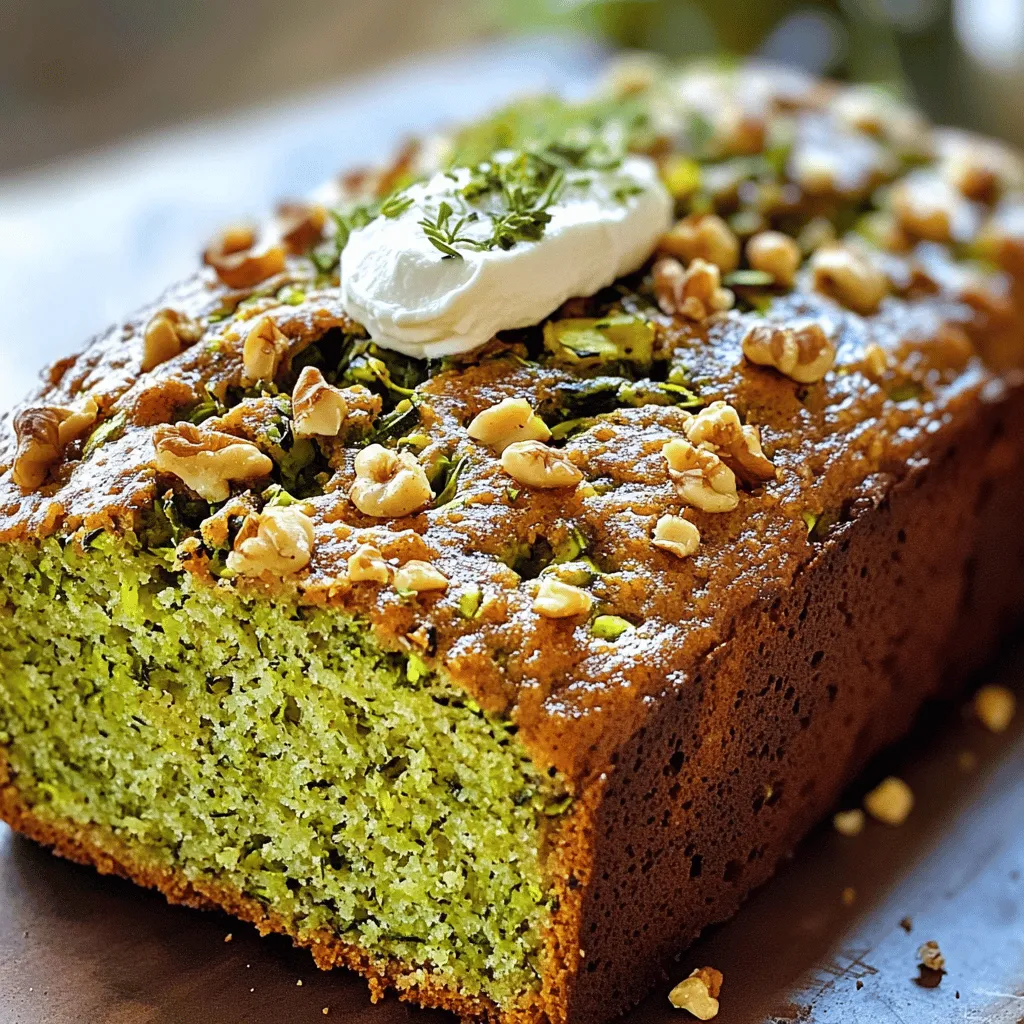
Low Carb Zucchini Bread Flavorful and Easy Recipe
Craving a delicious bread that won’t wreck your diet? Try my low carb zucchini bread! This recipe is simple and uses fresh zucchini, almond and
. To get the best flavor from your ratatouille, sautéing is key. Start by heating your olive oil over medium heat until it shimmers. This means it's ready for the onions and garlic. Cook them for about 3-4 minutes. You want them soft and fragrant but not browned. When adding the eggplant, let it cook for about 5 minutes. Stir it often to help it soften evenly. This step helps release its natural flavors. After that, you can add zucchini and bell peppers. They cook quickly, so keep an eye on them. To boost the flavor, think about adding fresh herbs like thyme or rosemary. You can also sprinkle in a bit of red pepper flakes for some heat. If you're feeling adventurous, try adding olives or capers for a briny twist. These ingredients can brighten your dish and add depth. One big mistake is overcooking the vegetables. You want them tender but not mushy. Keep an eye on the pot while it simmers. Another common pitfall is choosing the wrong veggies. Aim for fresh, seasonal produce. This gives your ratatouille the best taste and texture. For the full recipe, check out the Vibrant Garden Ratatouille section. It has all the details you need to create this dish. Enjoy cooking! {{image_4}} You can change up ratatouille based on what you have. Seasonal veggies work great. Try adding: - Bell peppers: Any color adds sweetness. - Squash: Yellow squash or pattypan can add color. - Carrots: They add a nice crunch and sweetness. - Mushrooms: They provide umami flavor. For protein, think about adding beans or lentils. They make this dish heartier. Chickpeas mix well too. They add texture and protein. Ratatouille can adapt to different cooking styles. You can bake it in the oven or use a slow cooker. Oven-baked ratatouille: - Preheat the oven to 375°F (190°C). - Layer the veggies in a baking dish. - Drizzle with olive oil and season. - Cover with foil and bake for about 45 minutes. Slow cooker variation: - Chop all your veggies. - Place them in the slow cooker. - Add broth, olive oil, and spices. - Cook on low for 6-8 hours or high for 3-4 hours. Both methods create lovely flavors and textures. Ratatouille has many regional takes. Each adds a unique flair. Mediterranean variations: - In Greece, they add potatoes and feta cheese. - In Italy, you might find olives or capers mixed in. Spicy ratatouille options: - Add red pepper flakes for heat. - Consider jalapeños for a kick. - A dash of smoked paprika offers a cozy warmth. These twists can make your ratatouille exciting and new. For the full recipe, check out the vibrant garden ratatouille. To keep your ratatouille fresh, use an airtight container. Glass or plastic containers work great. Make sure to let it cool before sealing. In the fridge, it will stay fresh for about three to four days. When reheating, use the stovetop or microwave. For stovetop, heat on low to avoid burning. Stir often to warm evenly. If using a microwave, cover the dish and heat in short bursts. Leftovers taste great on crusty bread or over rice. To freeze ratatouille, let it cool completely. Then, transfer it to freezer-safe bags or containers. Remove as much air as possible before sealing. It can last for up to three months in the freezer. For thawing, place it in the fridge overnight. Reheat on the stovetop or microwave until hot. Enjoy your flavorful vegetable delight anytime! Yes, you can make ratatouille ahead of time. This dish tastes even better the next day. The flavors meld together, making it more delicious. Cook it, then let it cool. Store it in a sealed container in the fridge. You can reheat it when you're ready to eat. Ratatouille pairs well with many sides. Crusty bread is a classic choice. You can also serve it over couscous or pasta. A simple green salad adds freshness. Grilled chicken or fish complements the dish nicely too. Homemade ratatouille stays fresh in the fridge for about 4 to 5 days. Make sure to store it in an airtight container. When reheating, the texture may change slightly. It can become softer, but the taste remains great. Yes, ratatouille is quite healthy. It includes many vegetables like eggplant and zucchini. These ingredients offer vitamins and fiber. It is low in calories and fat. Enjoying it in moderation fits well in most diets. Homemade ratatouille is a tasty dish packed with fresh veggies. We covered the main ingredients, cooking steps, and helpful tips. You learned to avoid common mistakes and explore variations. Remember, this dish not only tastes great but is also healthy. Whether you enjoy it hot or as a leftover, ratatouille is always a good choice. So gather your ingredients and enjoy making your own unique version. Keep experimenting with flavors until you find your favorite recipe!](https://roastedflavors.com/wp-content/uploads/2025/07/02805607-855e-4598-82c6-a77f37cb8008.webp)
Homemade Ratatouille Flavorful Vegetable Delight
Are you ready to savor the vibrant flavors of homemade ratatouille? This colorful vegetable delight combines fresh ingredients like eggplant, zucchini, and ripe tomatoes for

Irresistible Juicy Skillet Chicken Breasts Recipe
Looking for a quick and tasty meal? This Irresistible Juicy Skillet Chicken Breasts recipe is a game changer! With just a few simple ingredients, you

Cheesy Zucchini Squash Casserole Tasty and Simple Dish
Looking for a simple yet delicious dish? My Cheesy Zucchini Squash Casserole is the answer! This tasty casserole layers fresh zucchini and yellow squash with

Chicken Ramen Stir Fry Quick and Flavorful Meal
Looking for a quick and tasty meal? Let me introduce you to Chicken Ramen Stir Fry! This dish comes together fast, with juicy chicken, colorful

Easy Zucchini Lasagna Tasty and Healthy Dinner Meal
Craving a dinner that’s both tasty and healthy? Let me share my Easy Zucchini Lasagna recipe with you. This dish delivers layers of creamy ricotta,