Dinner
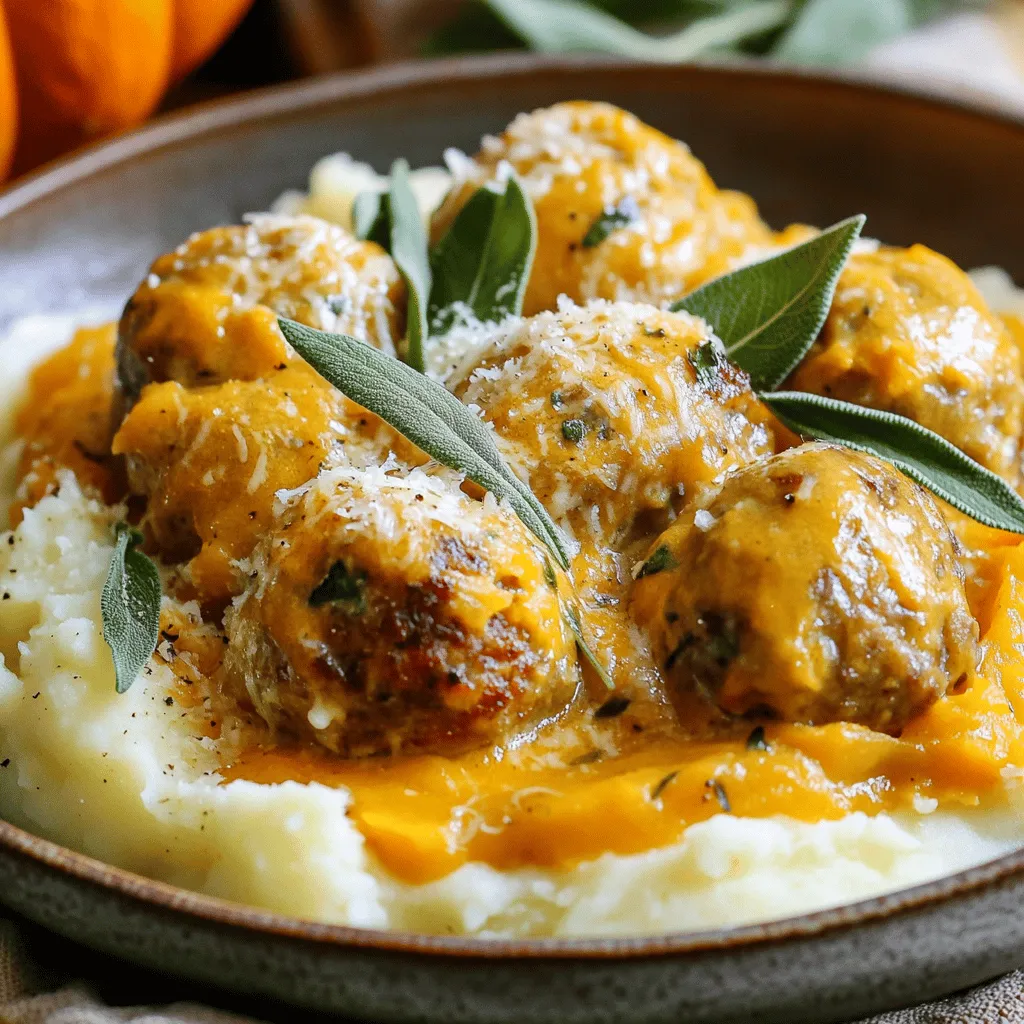
Turkey Meatballs in Pumpkin Sage Sauce Delight
If you’re craving a warm, hearty meal, I’ve got the perfect dish for you: Turkey Meatballs in Pumpkin Sage Sauce. This recipe combines juicy turkey
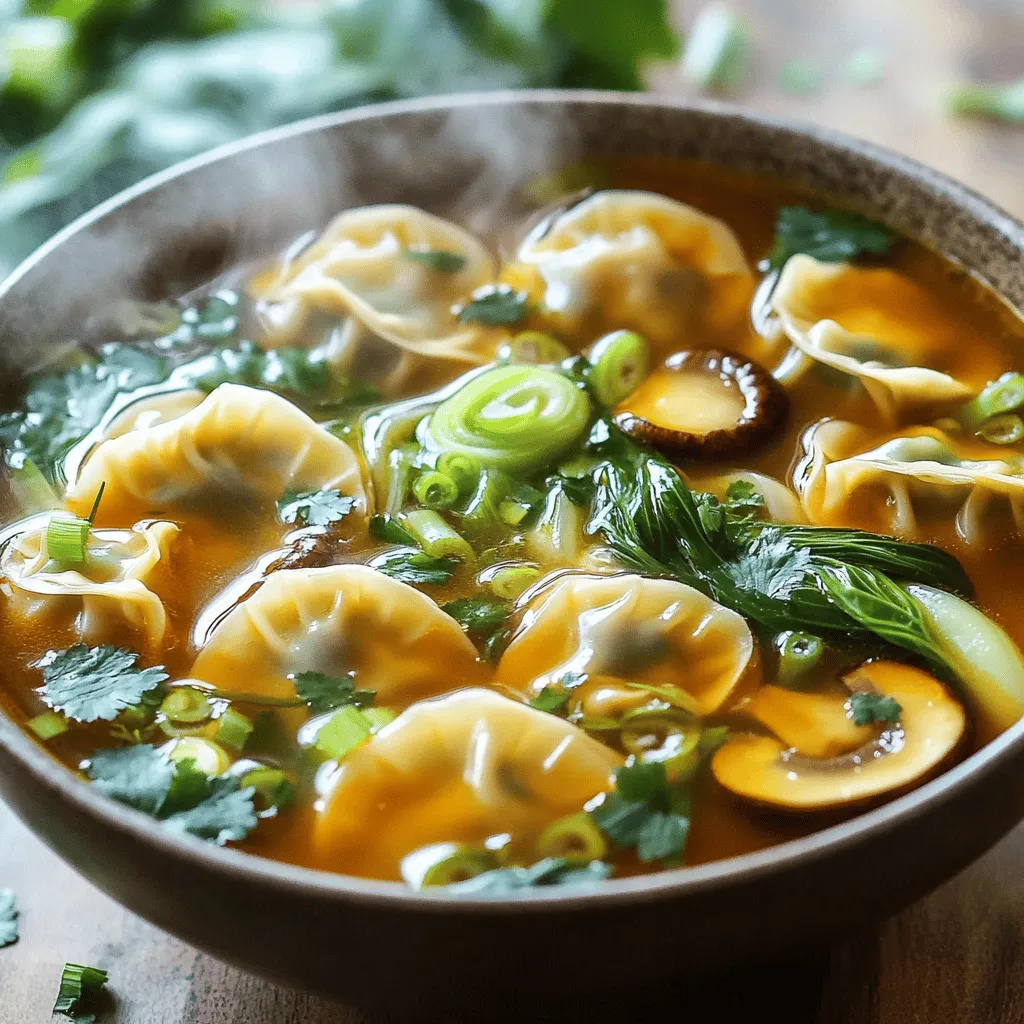
Potsticker Soup Recipe Quick and Tasty Delight
Are you craving a warm bowl of comfort? My Potsticker Soup Recipe combines juicy potstickers, tasty broth, and fresh veggies in one quick dish. In
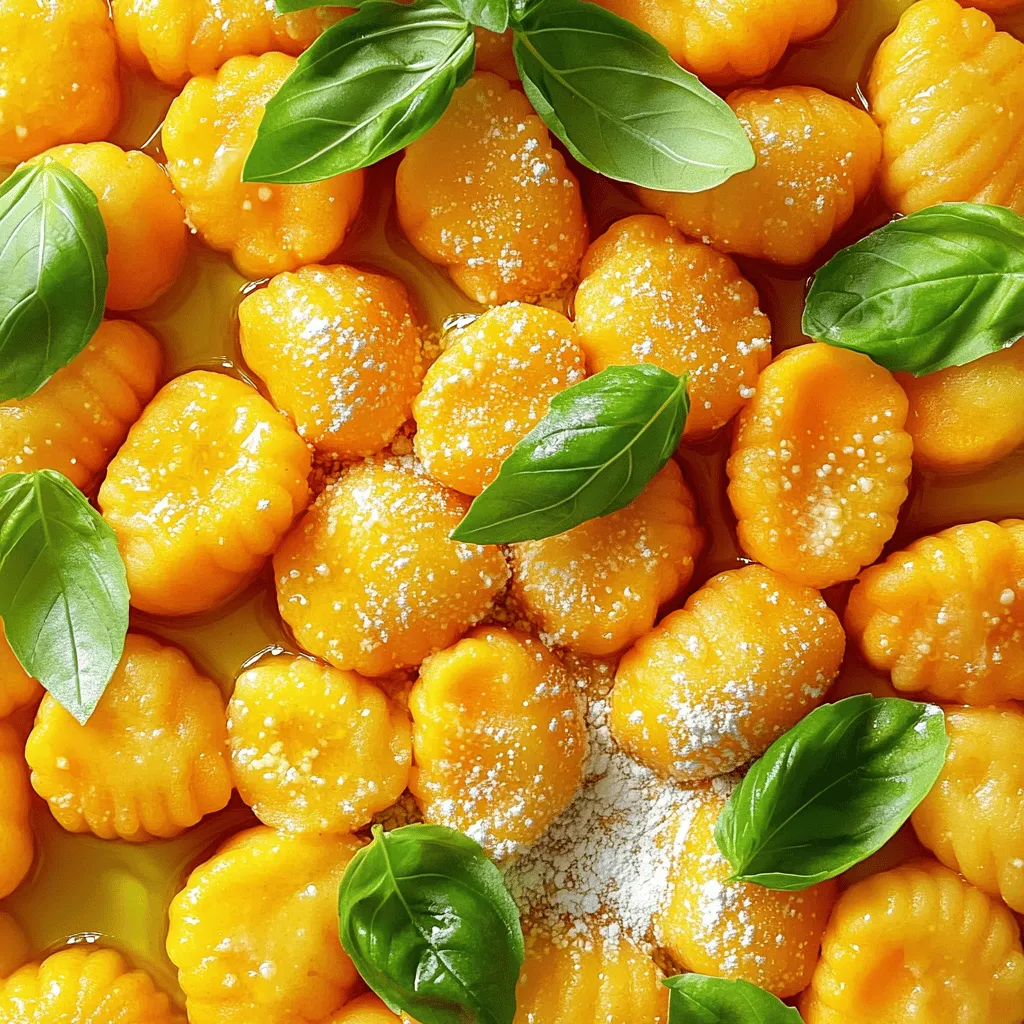
Healthy Sweet Potato Gnocchi Simple and Tasty Recipe
Are you ready to elevate your dinner game with a delightful twist? This Healthy Sweet Potato Gnocchi recipe is simple, tasty, and packed with nutrition.
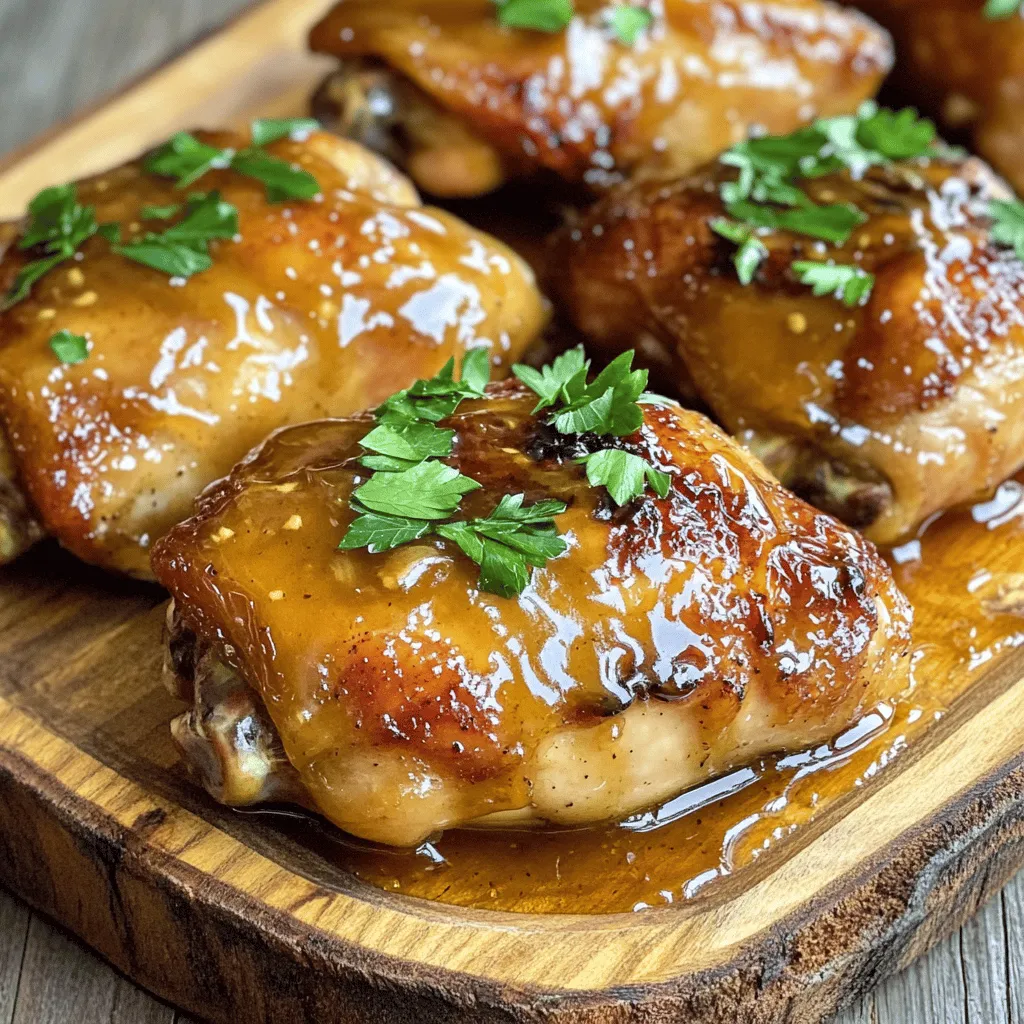
Apple Cider Glazed Chicken Juicy Flavor Explosion
Get ready for a flavor explosion with my Apple Cider Glazed Chicken recipe! This dish combines apple cider, honey, and Dijon mustard for a sweet
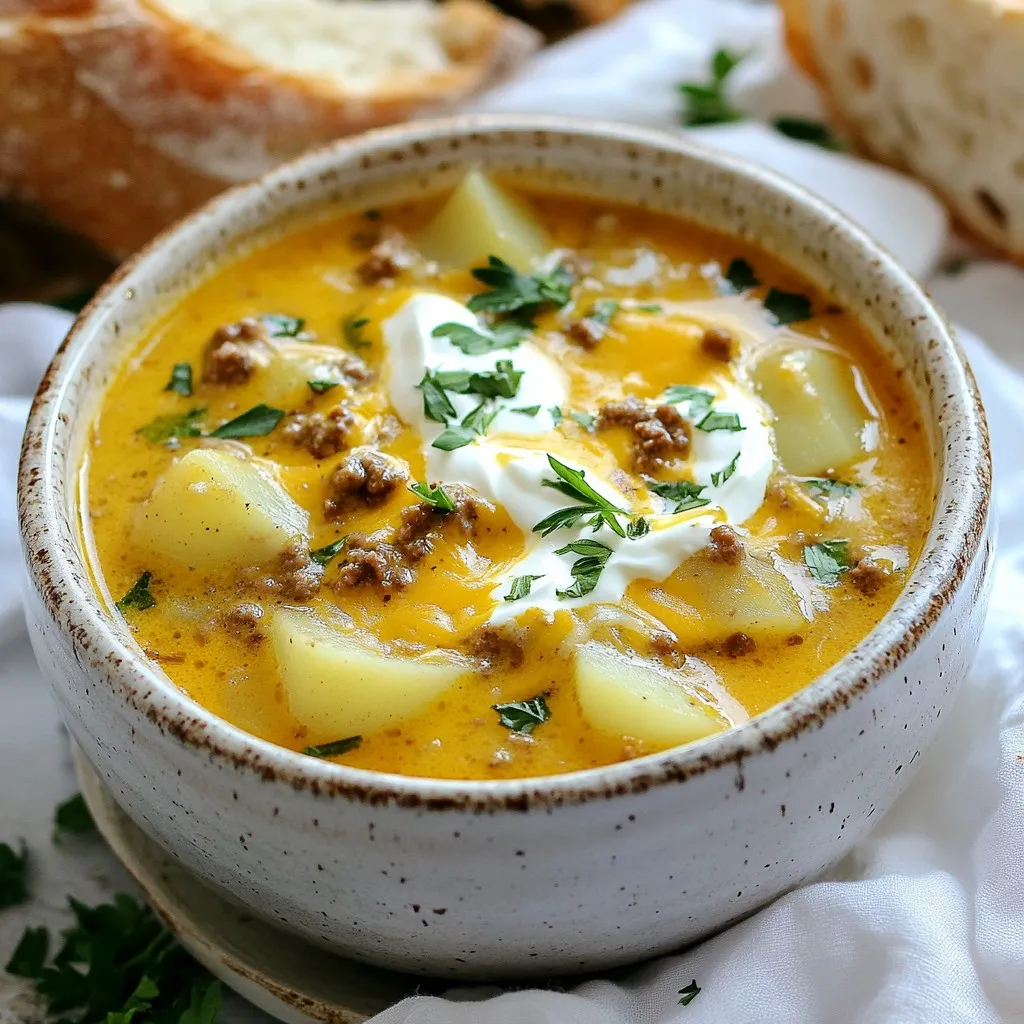
Cheeseburger Soup Hearty and Flavorful Comfort Meal
Warm up your kitchen with my hearty and flavorful Cheeseburger Soup! This cozy dish blends ground beef, creamy cheese, and potatoes into a bowl of
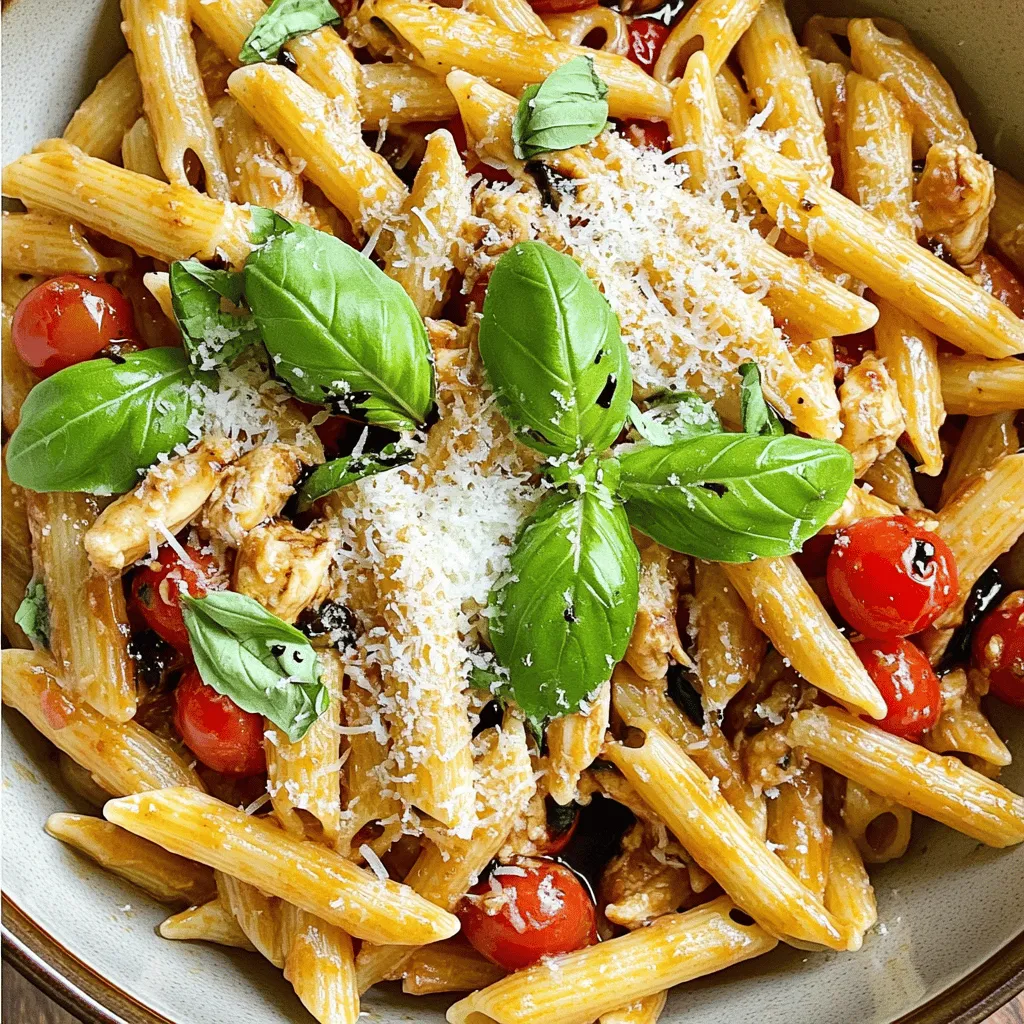
Bruschetta Chicken Pasta Savory and Simple Dish
Are you ready to savor a dish that’s both tasty and easy to make? Bruschetta Chicken Pasta is a perfect blend of fresh flavors and
![- 4 boneless, skinless chicken breasts - 2 tablespoons extra virgin olive oil - Fresh herbs: rosemary and thyme - Seasonings: sea salt and black pepper - 1 tablespoon fresh lemon zest (from about 1 lemon) - 3 tablespoons freshly squeezed lemon juice - 3 cloves garlic, minced (about 1 tablespoon) - 1 tablespoon honey - Fresh herbs - Lemon wedges To make a great grilled chicken, you need a mix of fresh and tasty ingredients. The main items are chicken breasts, olive oil, herbs, and seasonings. These items give the chicken a nice flavor. For the marinade, I use lemon zest, lemon juice, garlic, and honey. This mix adds a zesty and sweet touch that makes the chicken shine. You can also add fresh herbs and lemon wedges as garnishes. They make the dish look beautiful and add extra flavor. If you want to see the full recipe, check out the Zesty Herb-Infused Grilled Chicken. First, gather your ingredients for the marinade. You need olive oil, lemon zest, lemon juice, garlic, rosemary, thyme, honey, sea salt, and black pepper. - Combine all these ingredients in a mixing bowl. - Whisk them together until they blend well. - Next, add the chicken breasts to the bowl. Make sure each piece gets a good coat of the marinade. - Cover the bowl with plastic wrap or a lid. Refrigerate it for at least 30 minutes. For better flavor, marinate for 2-4 hours. Now, let’s get the grill ready. - Preheat your grill to medium-high heat, about 400°F (200°C). - Clean the grill grates with a brush to remove old bits. - Oil the grates lightly to help prevent sticking. Once your grill is ready, it’s time to cook the chicken. - Take the chicken out of the marinade. Let the excess drip off. - Place the chicken breasts on the grill, spacing them apart. - Grill for 6-7 minutes on one side without moving them. This helps create nice grill marks. - Flip the chicken and grill the other side for another 6-7 minutes. - Use a meat thermometer to check the internal temperature. It should reach 165°F (75°C) to be safe to eat. After grilling, let the chicken rest for about 5 minutes. This helps keep it juicy. For the full recipe, you can find more details. Marinating chicken is key to great flavor. I suggest marinating for at least 30 minutes. For even better taste, go for 2-4 hours. This lets the herbs soak in. Feel free to add your favorite herbs, like basil or parsley. Spice it up with a pinch of cayenne or smoked paprika. These choices add more depth to your dish. Flare-ups can ruin your grilling. To avoid them, keep a close eye on the heat. Move the chicken to a cooler part of the grill if flames rise. For that perfect sear, don’t flip the chicken too soon. Let it cook for 6-7 minutes on one side before turning. This helps lock in juices and flavor. Resting is crucial for juicy chicken. After grilling, let the chicken sit for about 5 minutes. This step allows the juices to spread out. If you cut right away, the juices escape. The result is dry meat. Trust me, this small wait makes a big difference in taste. {{image_4}} You can change up the flavor of your grilled chicken with different marinades. Here are a few ideas: - Citrus-based marinades: Use orange or lime juice instead of lemon. These fruits add a sweet and tangy taste. Mix in some zest for extra flavor. - Spicy or sweet options: Add chili powder or cayenne for heat. For a sweet touch, try maple syrup or brown sugar. Both give a nice balance to the chicken. You can grill chicken in different ways. Here are two methods you can try: - Oven-baked grilled chicken: If you don’t have a grill, you can use your oven. Preheat it to 425°F (220°C). Place the marinated chicken on a baking sheet. Bake for about 25-30 minutes. Check that it reaches 165°F (75°C) inside. - Stovetop grilling method: If you want to grill indoors, use a grill pan. Heat the pan over medium-high heat. Add a little oil to prevent sticking. Cook the chicken just like on an outdoor grill. Grilled chicken pairs well with many sides. Here are some ideas to enhance your meal: - Pairing grilled chicken with salads: A fresh salad goes great with grilled chicken. Try mixed greens with a light vinaigrette. Add fruits like berries or mango for a sweet contrast. - Adding sauces and dips for flavor enhancement: Serve the chicken with dips like tzatziki or salsa. These add a nice burst of flavor. You can also drizzle some balsamic glaze over the top for an elegant touch. These variations keep your grilled chicken exciting and tasty. For the full recipe, check out [Full Recipe]. To keep grilled chicken fresh, let it cool first. Place it in an airtight container. Store it in the fridge. Consume it within three to four days. This helps prevent spoilage and maintains flavor. To freeze grilled chicken, wrap each piece tightly in plastic wrap. Then place them in a freezer bag. Remove as much air as possible. This keeps the chicken from getting freezer burn. You can freeze grilled chicken for up to three months. When ready to eat, thaw the chicken overnight in the fridge for best results. Reheating grilled chicken can make it dry. To avoid this, use a microwave with a damp paper towel. You can also use the oven at 350°F (175°C). Heat until it's just warm. Check the middle to ensure it's heated through. Enjoy your flavorful chicken without losing moisture. You should marinate chicken for at least 30 minutes. For the best flavor, aim for 2 to 4 hours. This time allows the marinade to soak into the meat. It helps to make the chicken tasty and moist. You can even marinate overnight for a stronger flavor. Just keep it in the fridge to stay safe. The best internal temperature for grilled chicken is 165°F (75°C). Use a meat thermometer to check this. This temperature ensures the chicken is safe to eat. Undercooked chicken can cause foodborne illness. Always let the chicken rest after grilling. This helps keep the juices in the meat. Yes, you can grill frozen chicken, but it is not ideal. It is better to thaw chicken before grilling. Thawing helps cook the chicken evenly. You can thaw chicken in the fridge overnight or in cold water. If grilling from frozen, cook it longer and check the internal temperature carefully. Grilled chicken is a tasty and simple dish that many enjoy. This guide shared key ingredients, marinade tips, and grilling steps to make it a success. You learned about variations and storage methods to keep the chicken fresh. Remember, a good marinade and resting time make all the difference. Explore new flavors and techniques to elevate your grilling game. With practice, you can create delicious meals that impress every time. Enjoy your grilling adventures and savor every bite!](https://roastedflavors.com/wp-content/uploads/2025/07/d574719a-a5b0-407a-b83d-80b5847442dd.webp)
Grilled Chicken Recipe Easy and Flavorful Meal Guide
Are you ready to master the art of grilling chicken? This easy and flavorful grilled chicken recipe is a game changer for your meals! With
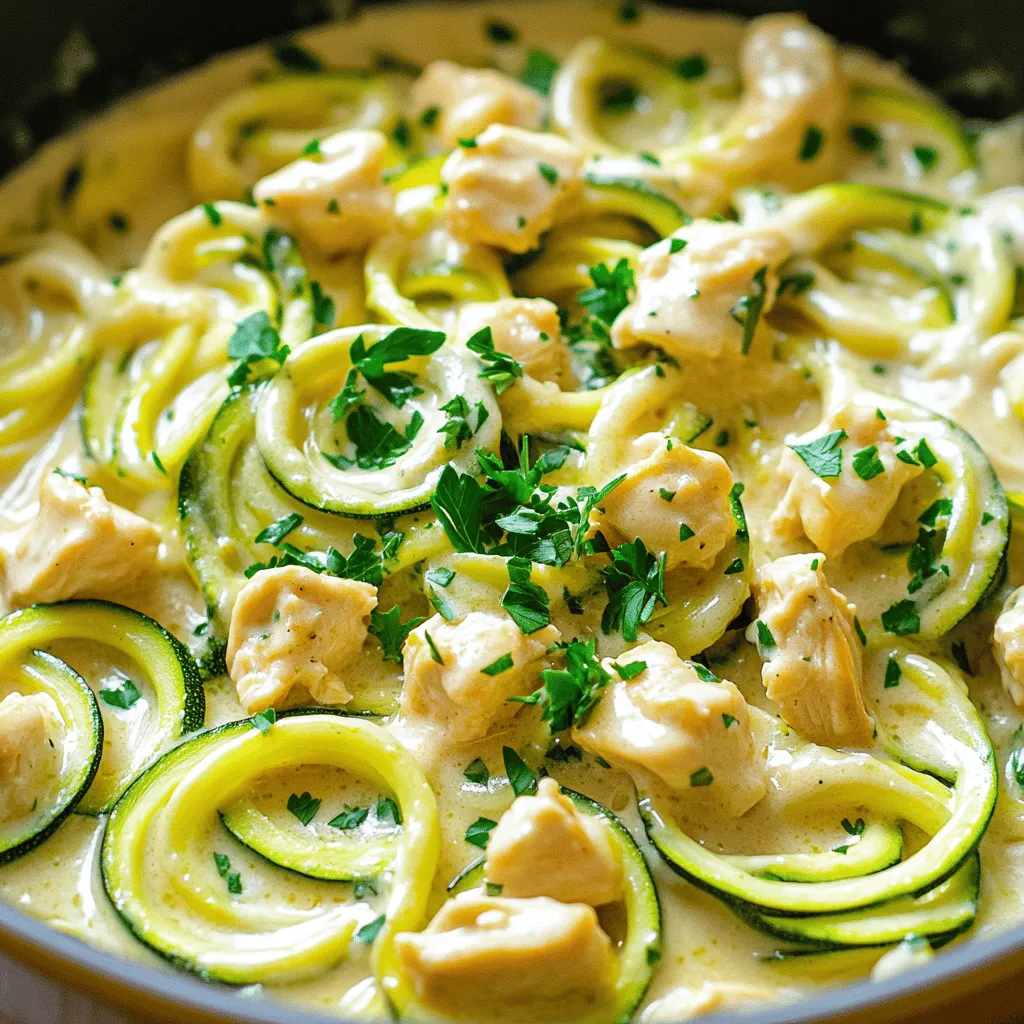
Zucchini Noodle Chicken Alfredo Simple and Satisfying
Are you looking for a fresh and easy twist on a classic? Zucchini Noodle Chicken Alfredo is your answer! This dish offers creamy goodness without
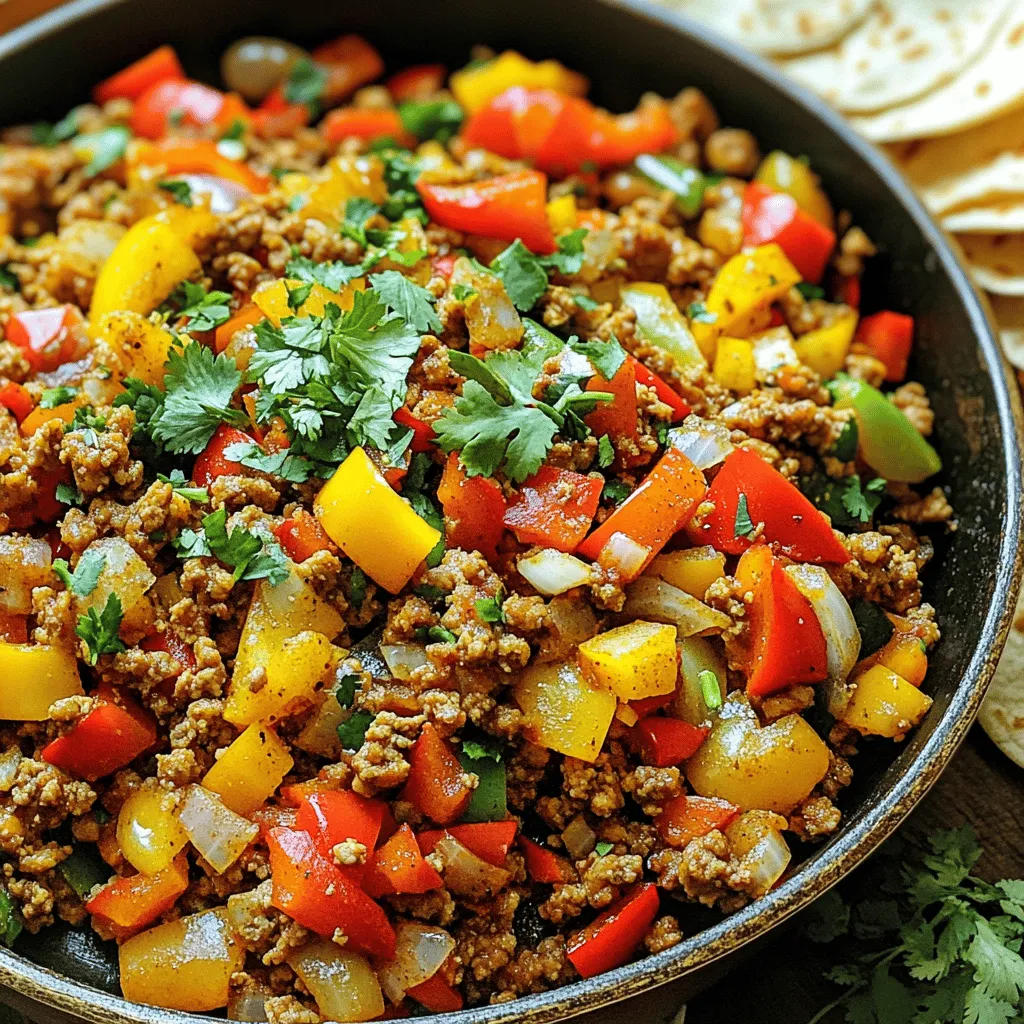
Ground Turkey and Peppers Simple One-Pan Meal
Looking for a quick, healthy dinner? This Ground Turkey and Peppers Simple One-Pan Meal is perfect! With vibrant bell peppers, seasoned turkey, and simple ingredients,
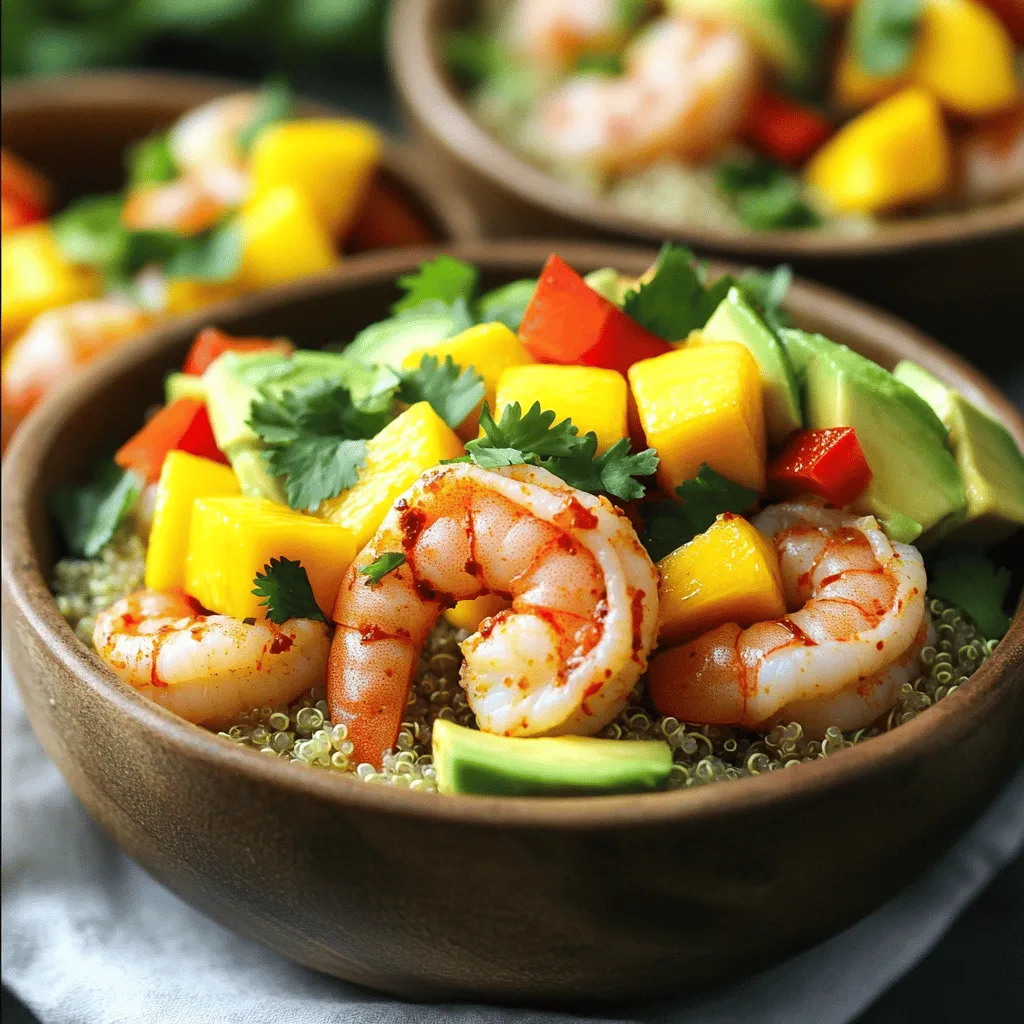
Shrimp Avocado Mango Bowls Flavorful and Fresh Delight
Dive into a world of vibrant flavors with my Shrimp Avocado Mango Bowls! This dish bursts with freshness, bringing together juicy shrimp, creamy avocado, and