Dinner
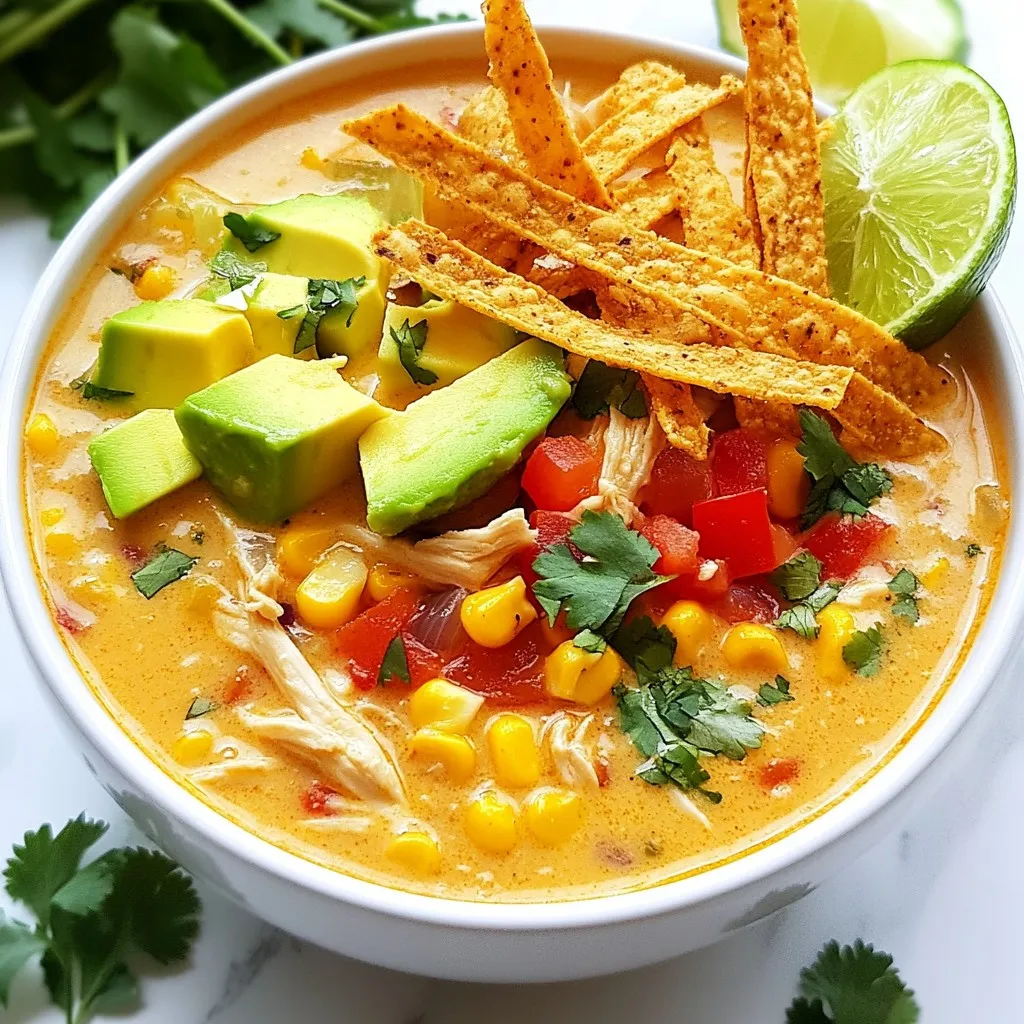
Creamy Chicken Tortilla Soup Easy and Delicious Recipe
Creamy Chicken Tortilla Soup is a warm hug in a bowl! This easy recipe combines tender chicken, savory spices, and fresh veggies for a meal
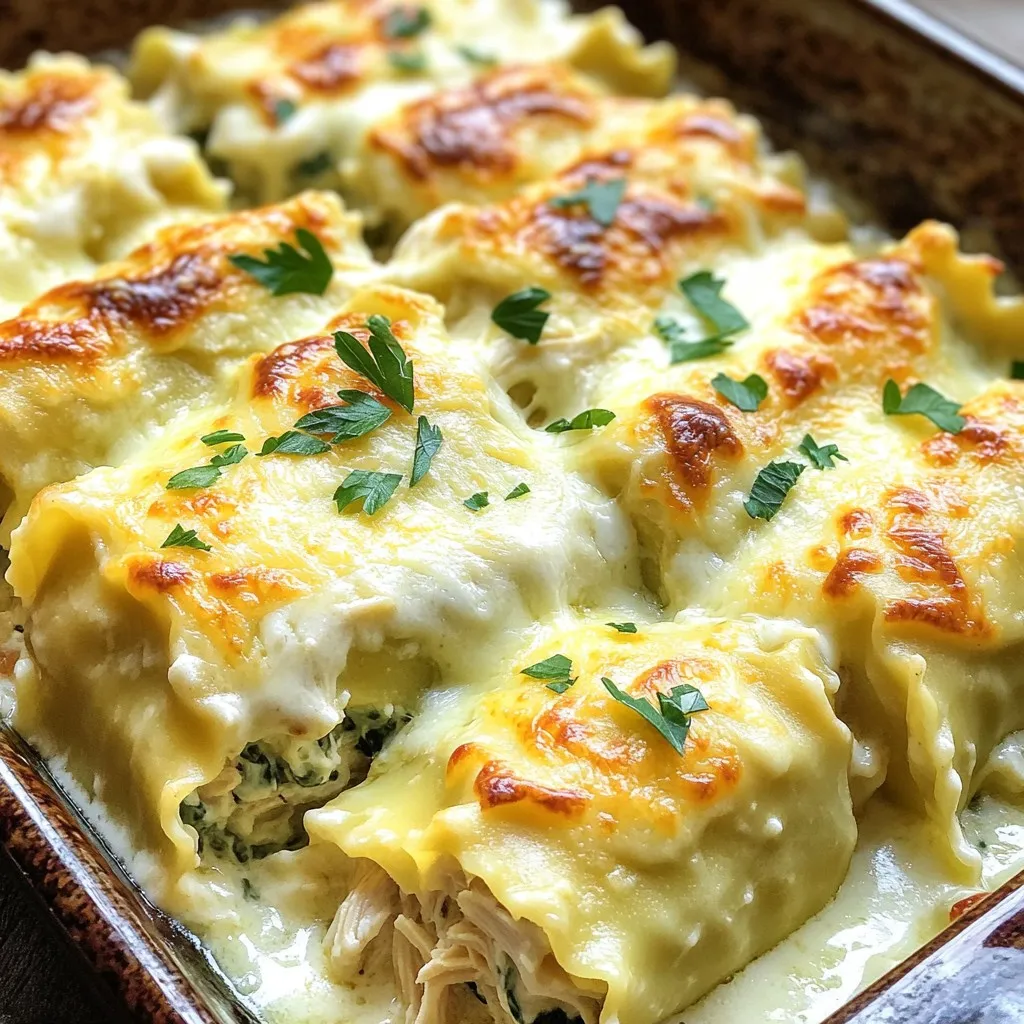
Cheesy Chicken Alfredo Lasagna Rolls Easy Recipe
Are you ready to take your dinner game to the next level? Cheesy Chicken Alfredo Lasagna Rolls are here to impress! This easy recipe combines
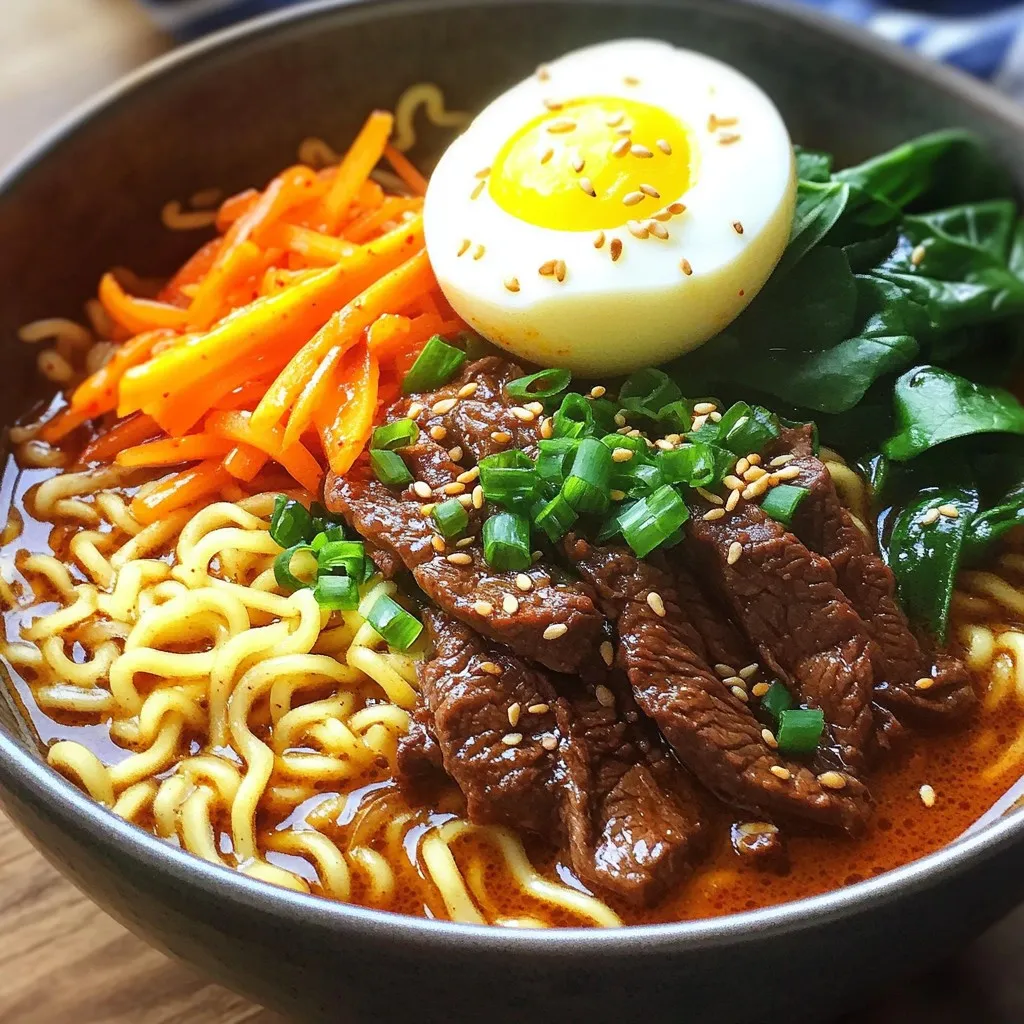
Spicy Korean Beef Ramen Flavorful and Simple Meal
Craving a warm bowl of comfort? My Spicy Korean Beef Ramen is both flavorful and simple to make! This dish combines tender beef, savory broth,
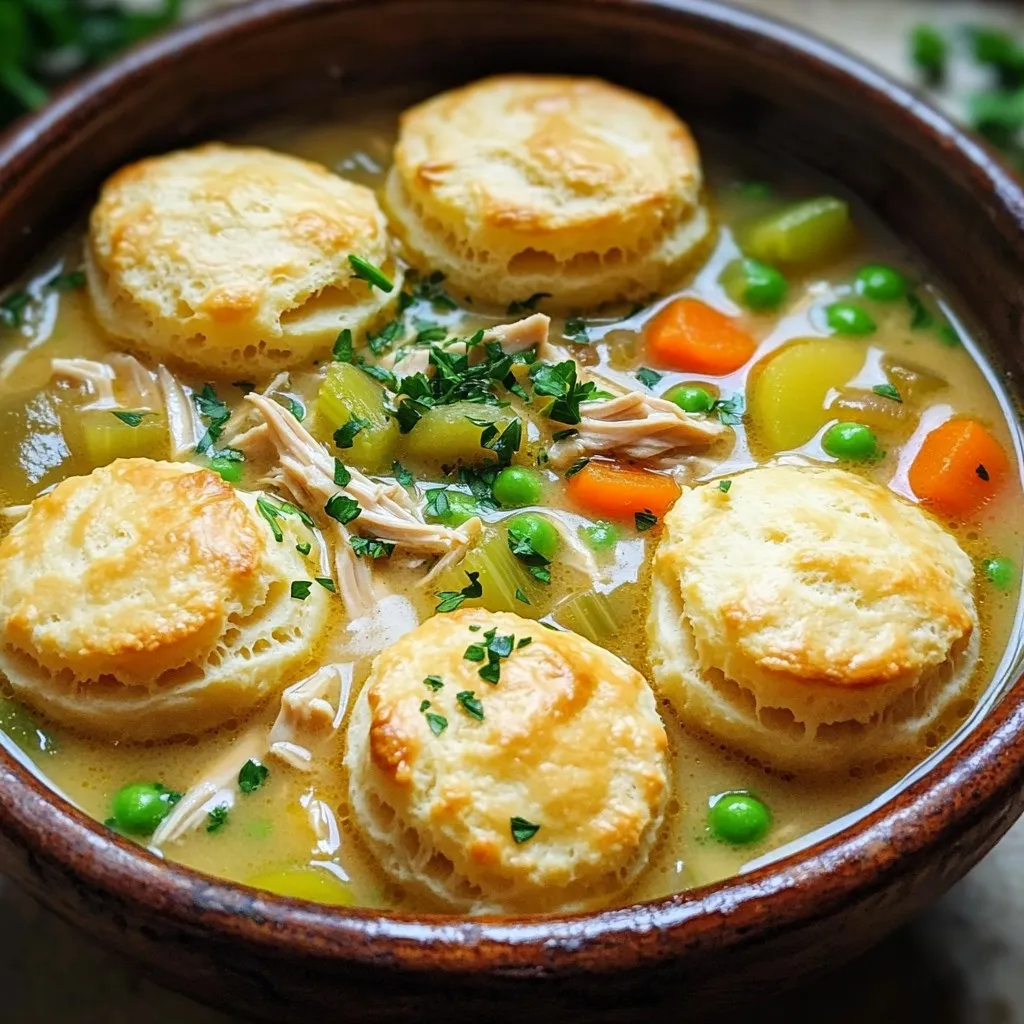
Chicken Pot Pie Soup Comforting and Hearty Meal
If you want a warm and filling meal, Chicken Pot Pie Soup is the answer. This dish brings all the cozy flavors of traditional chicken
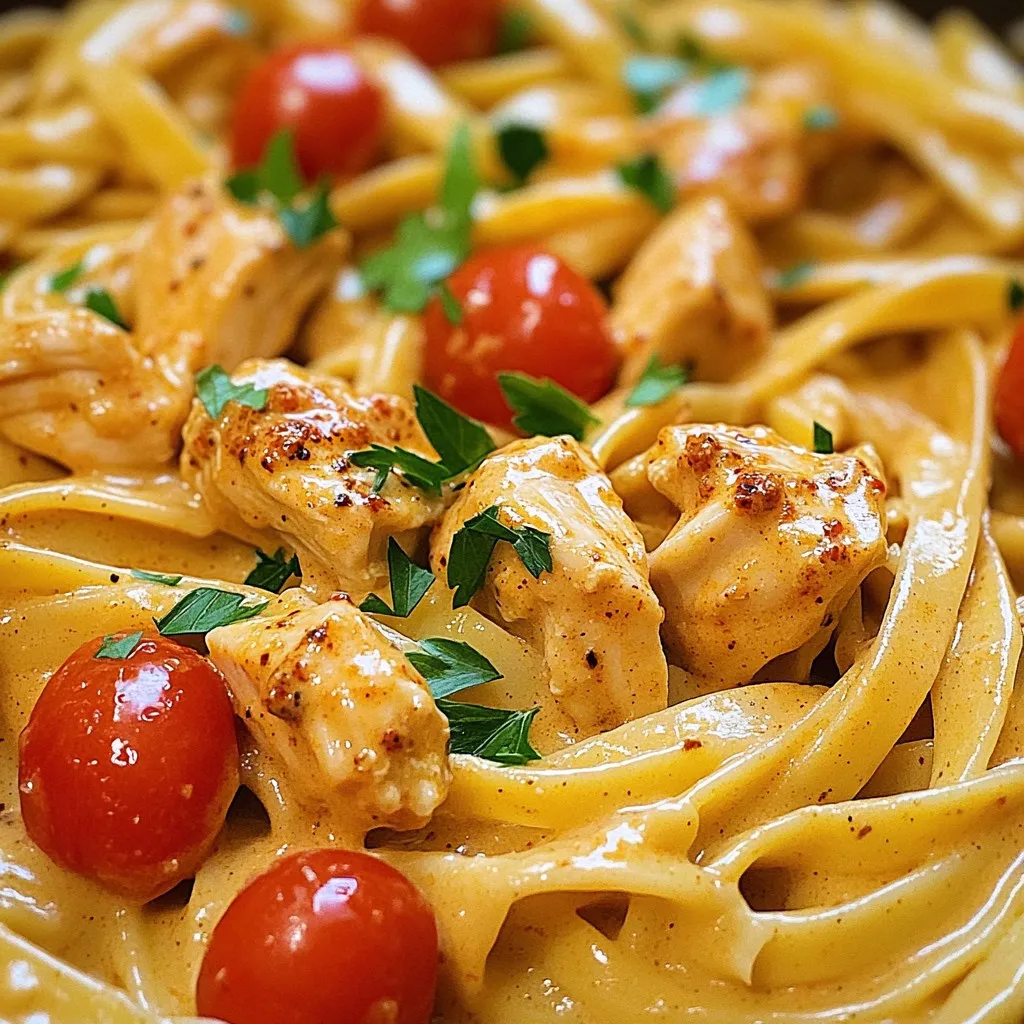
Creamy Cajun Chicken Pasta Tasty Dinner Delight
Get ready for a flavorful evening with my Creamy Cajun Chicken Pasta! This dish combines spicy Cajun seasoning, tender chicken, and rich cream for an
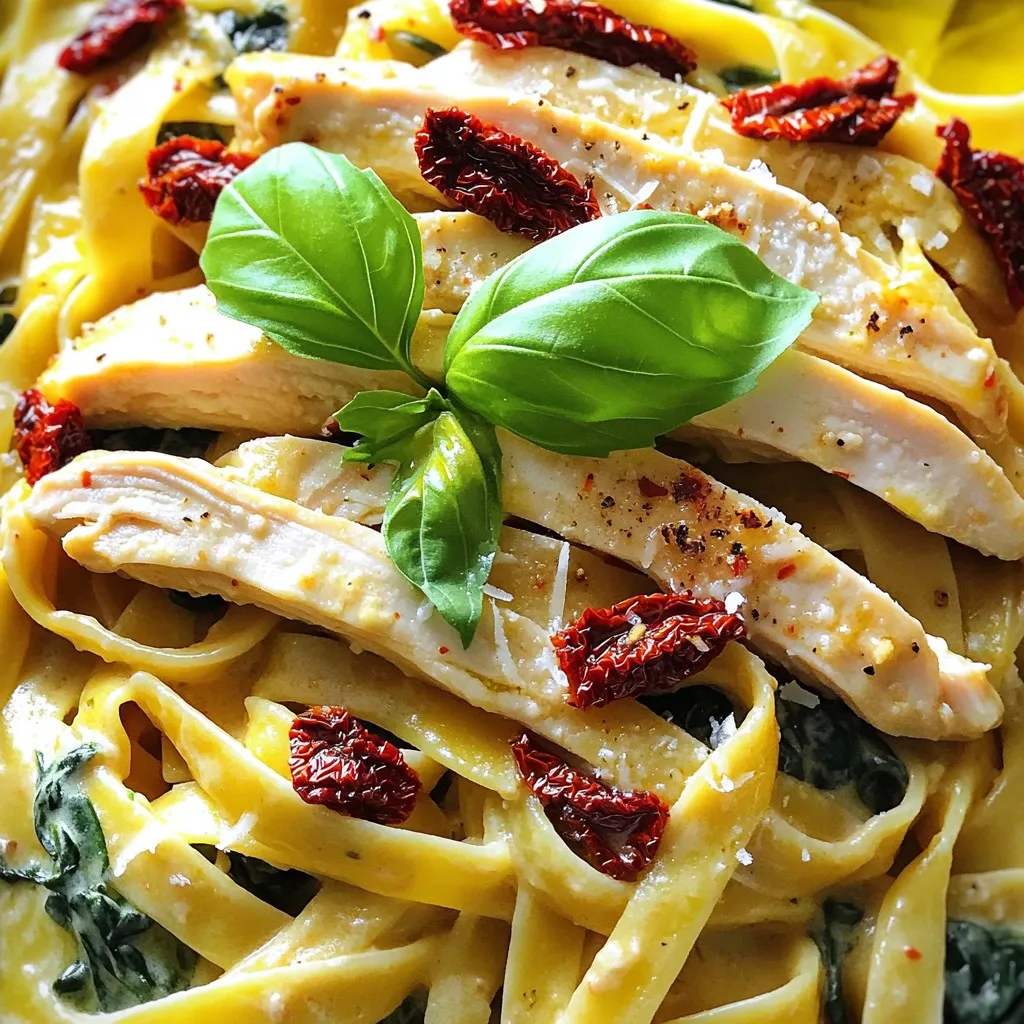
Marry Me Chicken Pasta Simple and Flavorful Recipe
Looking for a dish that’ll make your taste buds sing? Let me introduce you to Marry Me Chicken Pasta! This simple and flavorful recipe combines

One Pot Creamy Garlic Parmesan Pasta Delightful Recipe
Do you crave a simple yet rich dinner? My One Pot Creamy Garlic Parmesan Pasta is the answer! With just a few ingredients and easy
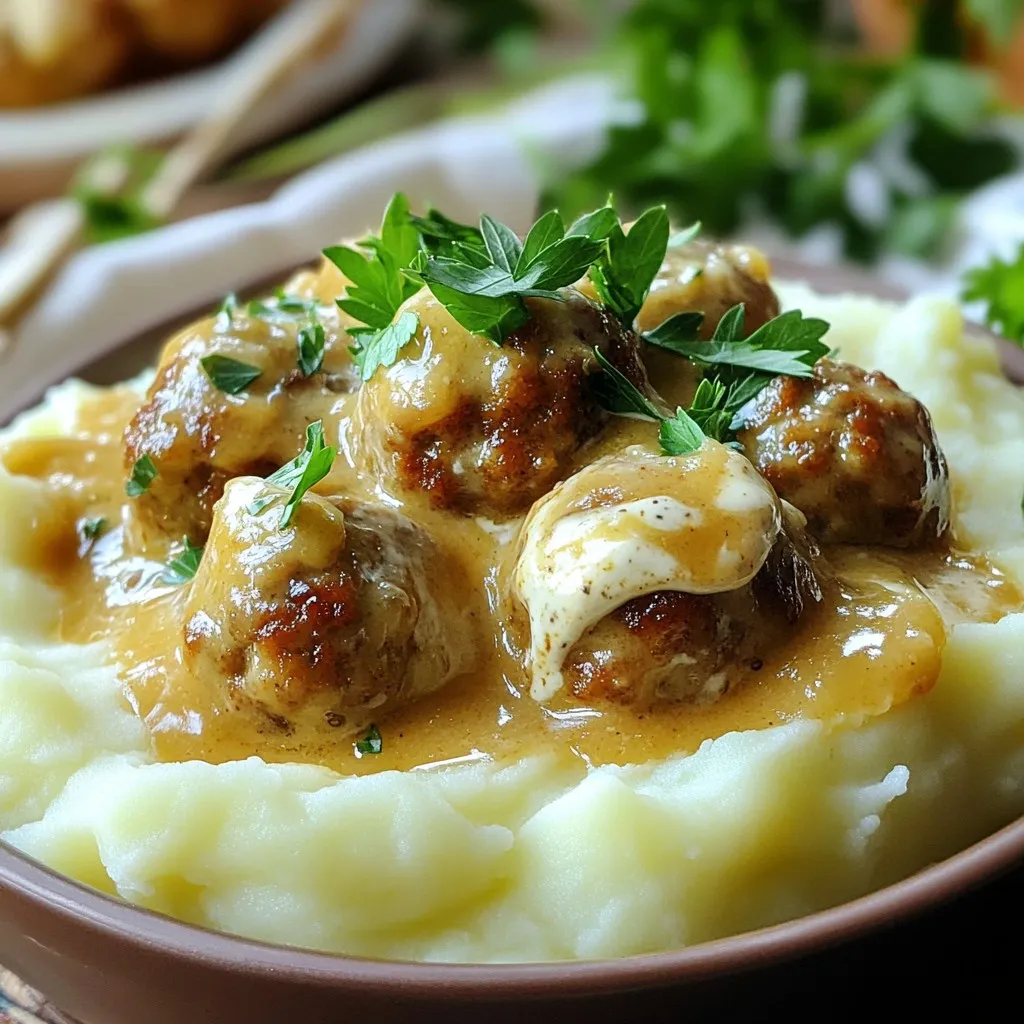
Creamy Swedish Meatballs with Fluffy Mashed Potatoes
If you crave comfort food that warms your soul, you’ve come to the right place. Creamy Swedish meatballs served with fluffy mashed potatoes is a
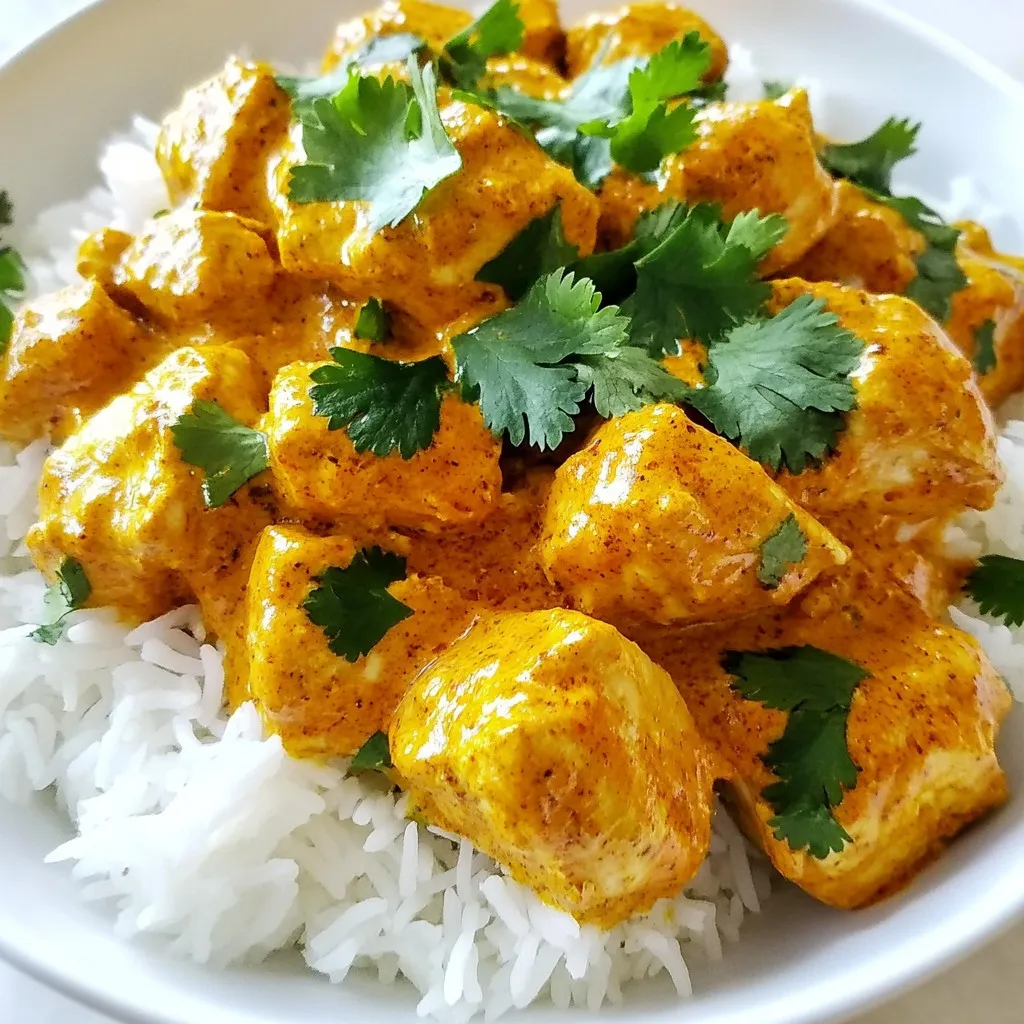
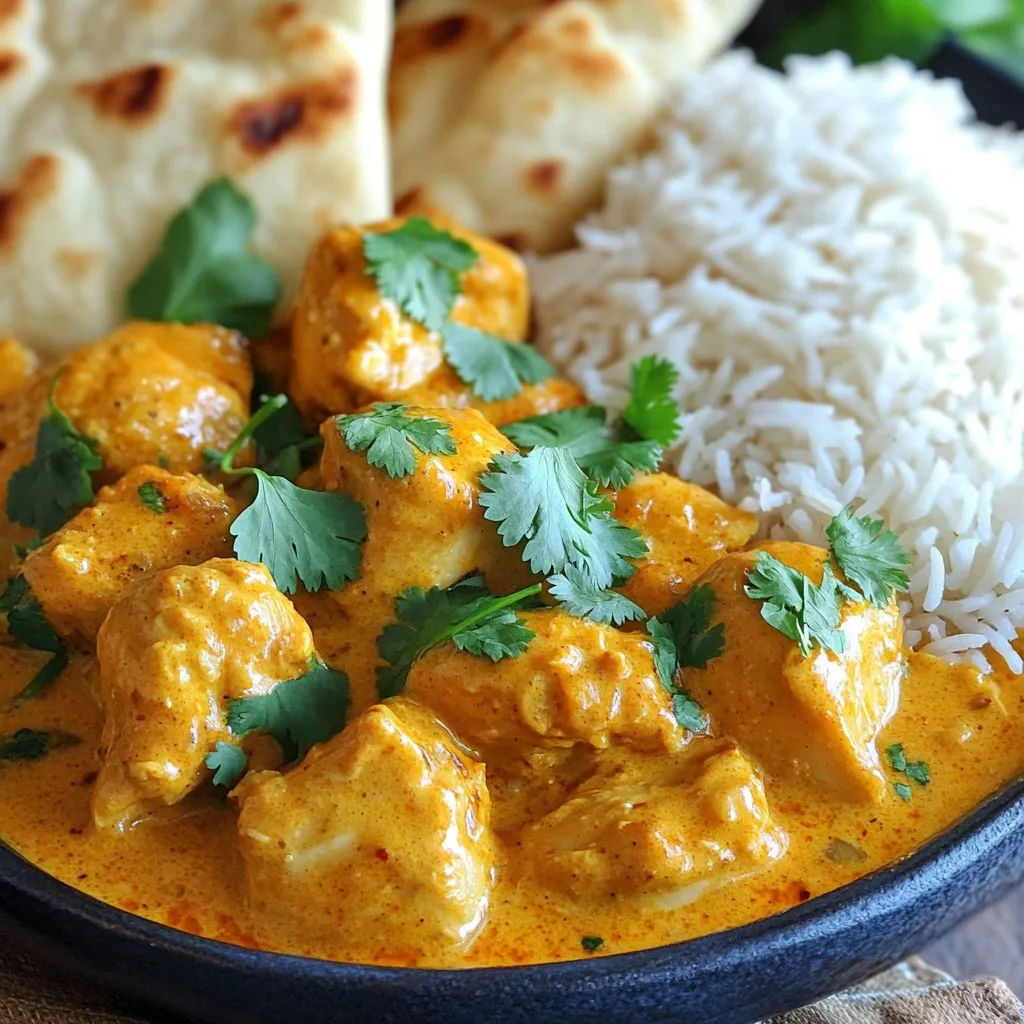
Quick Butter Chicken Flavorful Dish for Any Occasion
Looking for a tasty meal in a flash? My Quick Butter Chicken is packed with flavor and perfect for any occasion! With tender chicken, aromatic
Quick Butter Chicken Tasty and Easy Recipe Guide
Craving a warm and rich dish that’s easy to make? You’re in the right place! This Quick Butter Chicken recipe packs flavor and comfort in