Dinner

Lemon Herb Chicken Orzo One Pot Tasty Delight
Are you ready to impress your family with a simple yet delicious dinner? The Lemon Herb Chicken Orzo is a one-pot wonder that brings fresh
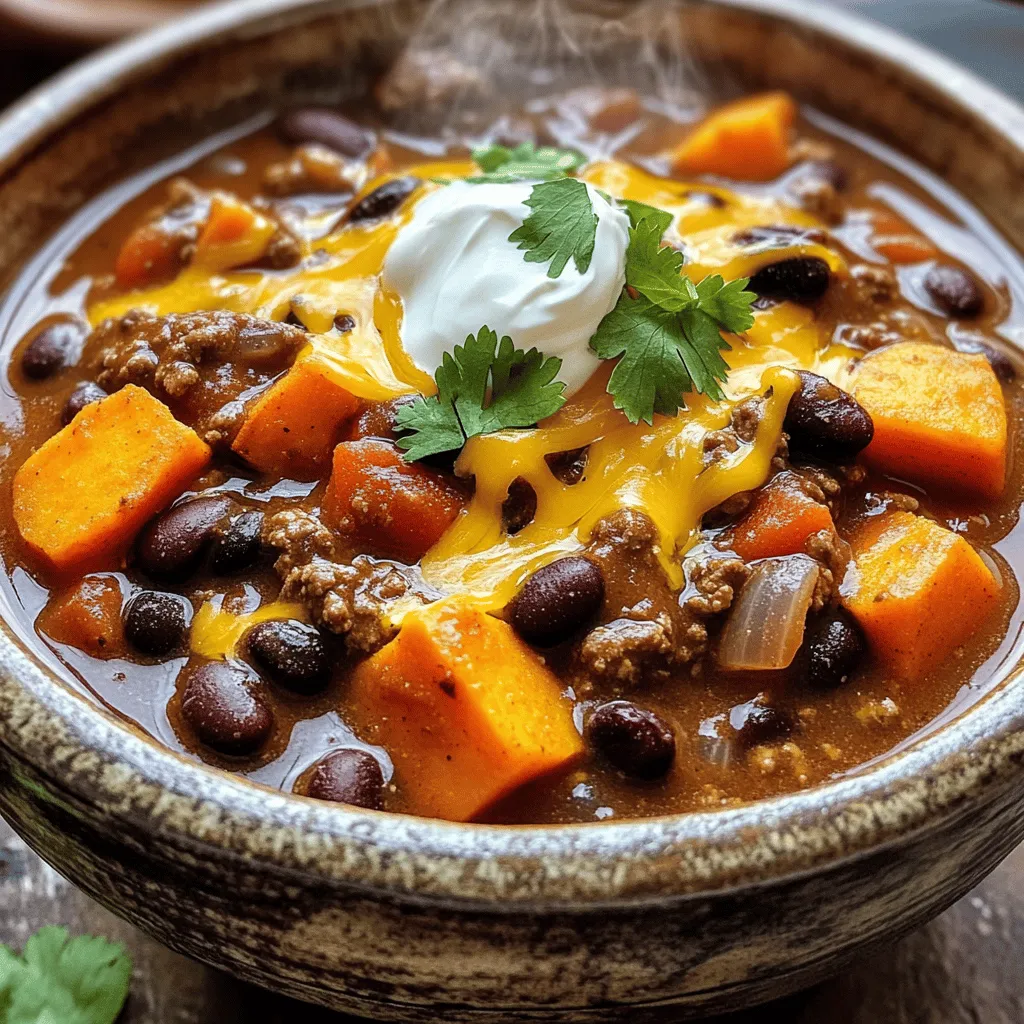
Slow Cooker Beef & Sweet Potato Chili Delight
Looking for a warm, hearty meal? My Slow Cooker Beef & Sweet Potato Chili is the answer. It combines tender ground beef, sweet potatoes, and
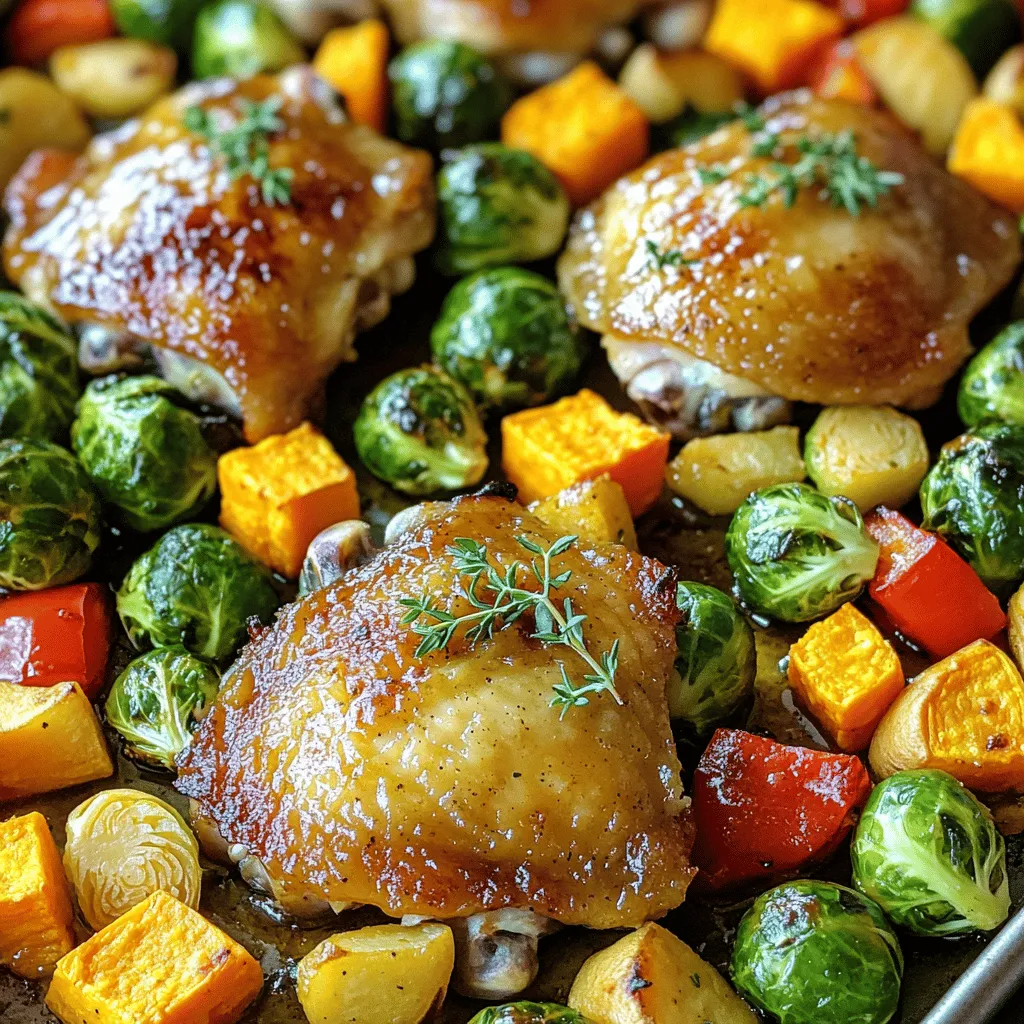
Maple Dijon Sheet-Pan Chicken & Veggies Delight
Ready to impress your taste buds? My Maple Dijon Sheet-Pan Chicken & Veggies delight is both simple and tasty. With juicy chicken, fresh veggies, and
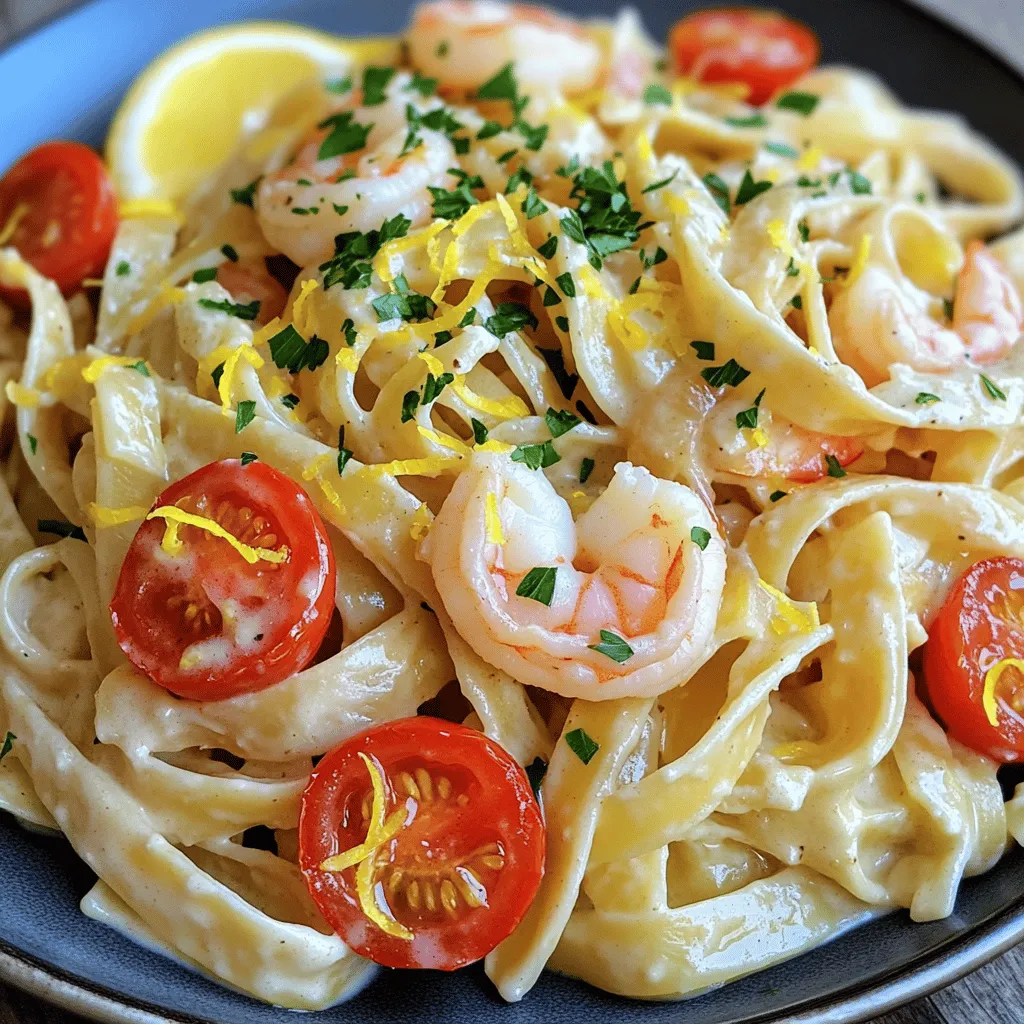
Creamy Garlic Butter Shrimp Pasta Flavorful Delight
Craving a dish that wows your taste buds? Look no further than my Creamy Garlic Butter Shrimp Pasta! This dish brings together tender shrimp, rich
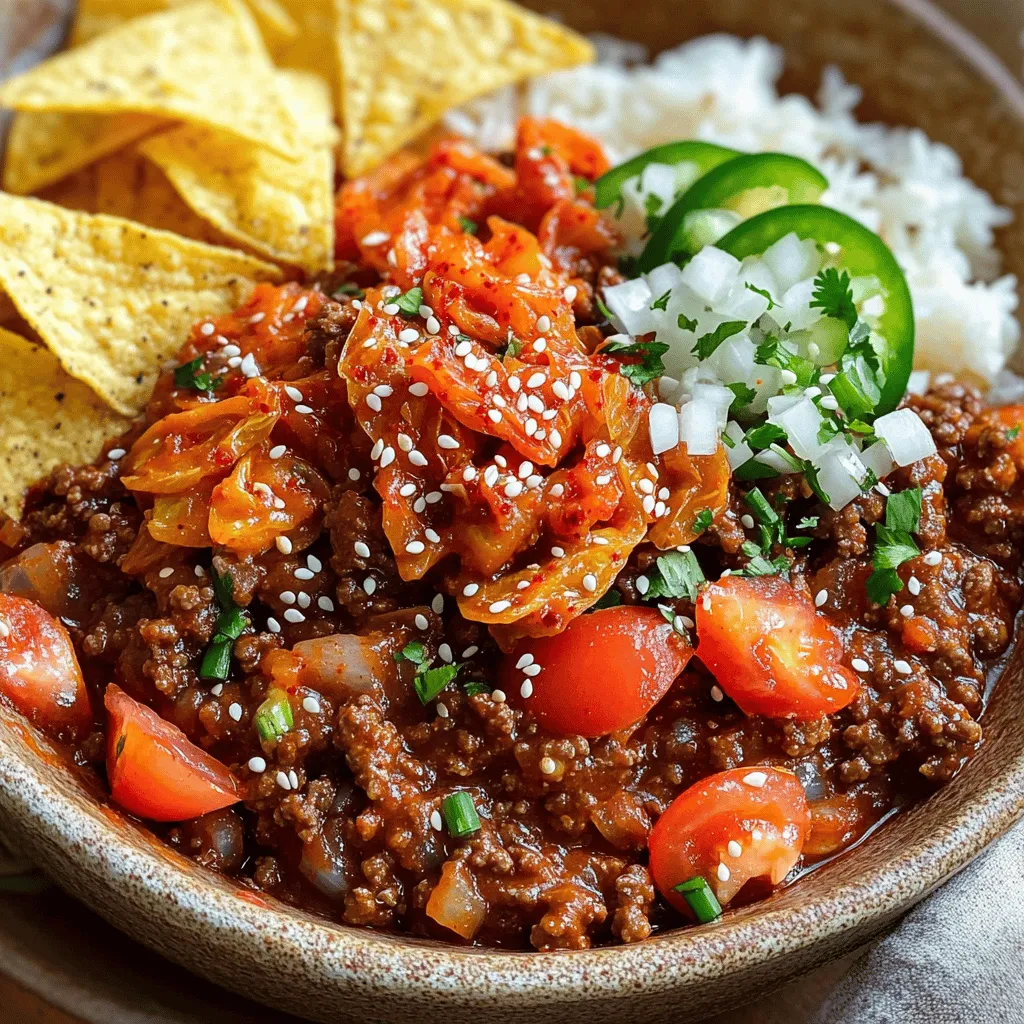
Korean Chile Con Carne Tasty and Hearty Recipe
Are you ready to elevate your chili game? This Korean Chile Con Carne recipe packs bold flavors and hearty textures into one comforting dish. I’ll

Crockpot Cream Cheese Chicken Chili Flavorful Comfort Meal
Craving a warm, flavorful dish that’s both easy to make and comforting? Let me introduce you to my Crockpot Cream Cheese Chicken Chili! This hearty
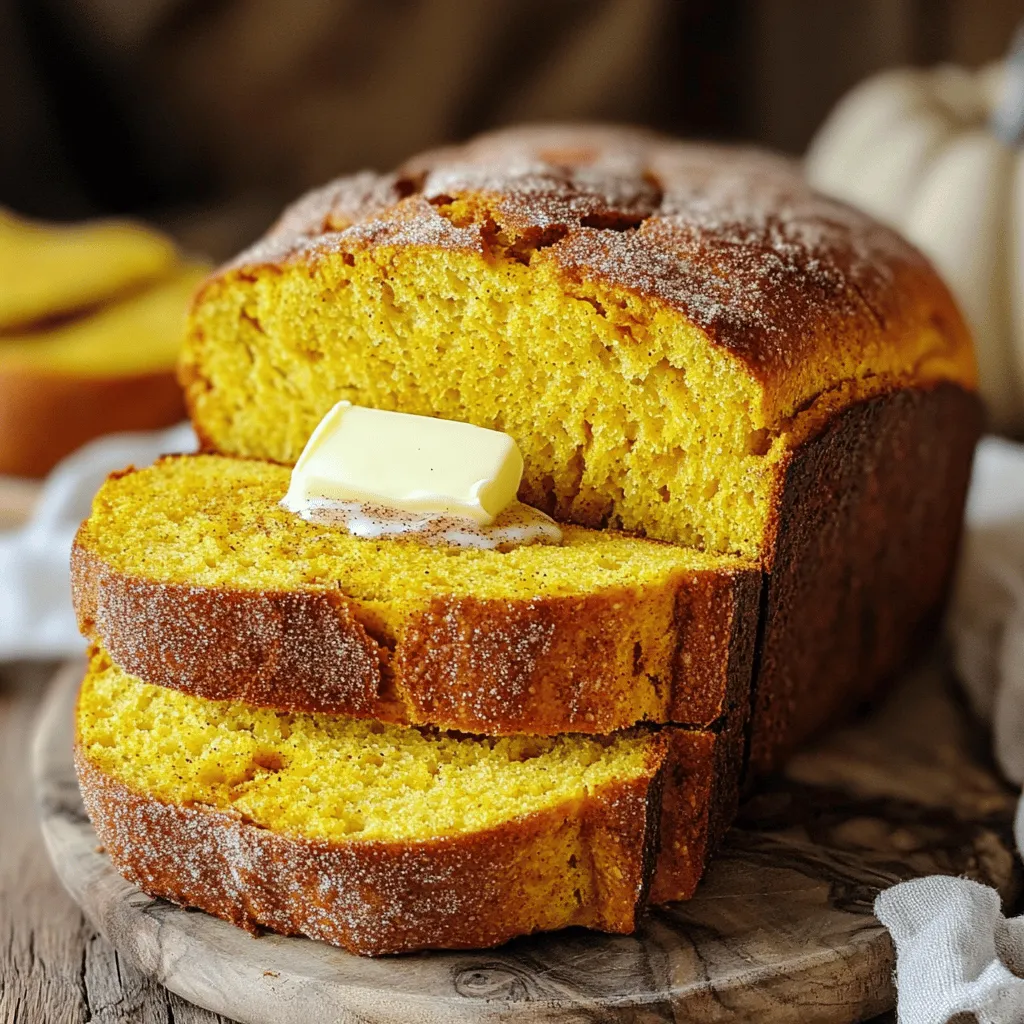
Pumpkin Spice Sourdough Bread Scrumptious Fall Delight
Ready to embrace fall with a warm slice of Pumpkin Spice Sourdough Bread? This recipe is perfect for those chilly days when you crave comfort

Sloppy Joe Casserole Delightful and Hearty Meal
Are you ready to make a dinner that everyone will love? My Sloppy Joe Casserole is a delightful and hearty meal that brings comfort to

Pumpkin Crumb Muffins Perfect for Fall Baking
Fall is here, and that means it’s pumpkin season! If you’re looking for a tasty treat that captures the spirit of autumn, try my Pumpkin
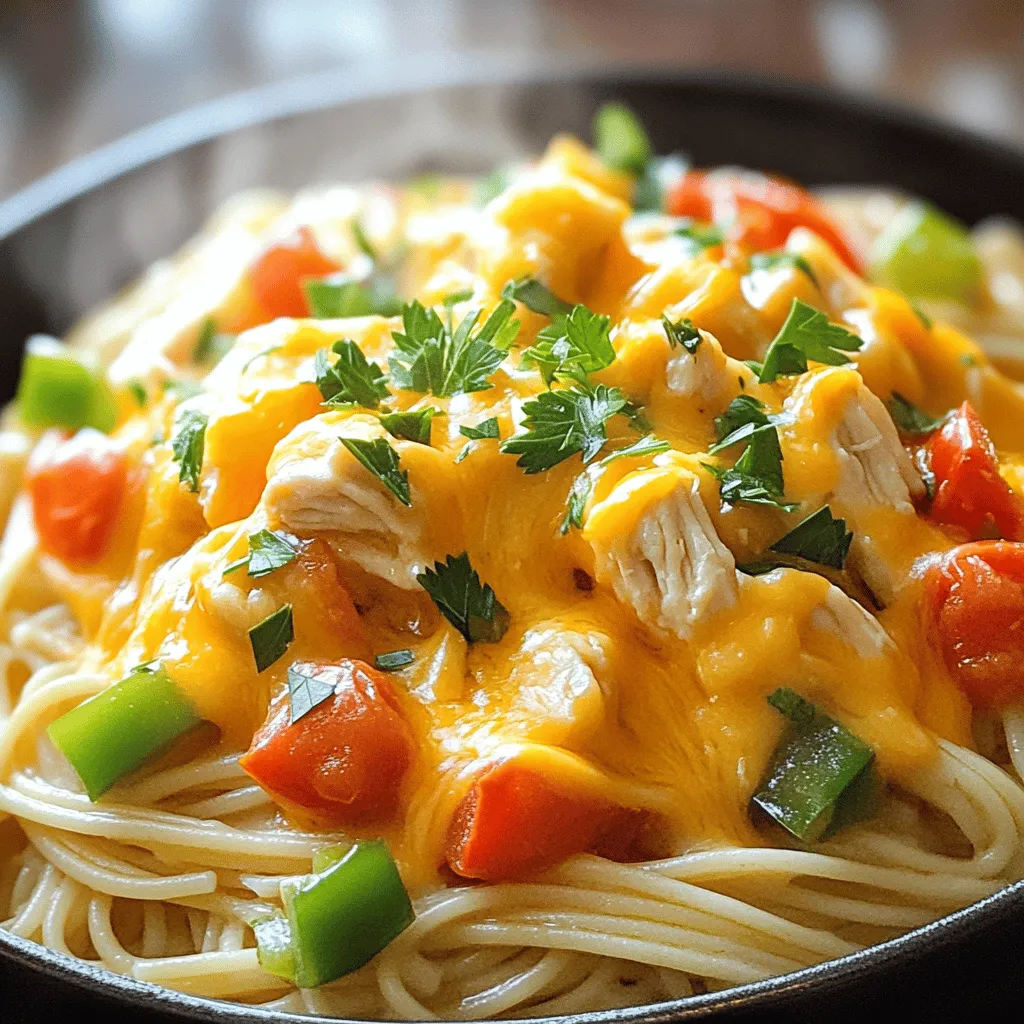
Creamy Velveeta Chicken Spaghetti Simple Family Meal
Looking for a quick and tasty dinner idea? Creamy Velveeta Chicken Spaghetti combines rich flavors and easy steps, making it a perfect family meal. With