Dinner

Minute Garlic Butter Shrimp Orzo Quick and Tasty Meal
If you’re looking for a simple, quick meal, you’re in the right place! This Minute Garlic Butter Shrimp Orzo is fast to make and full
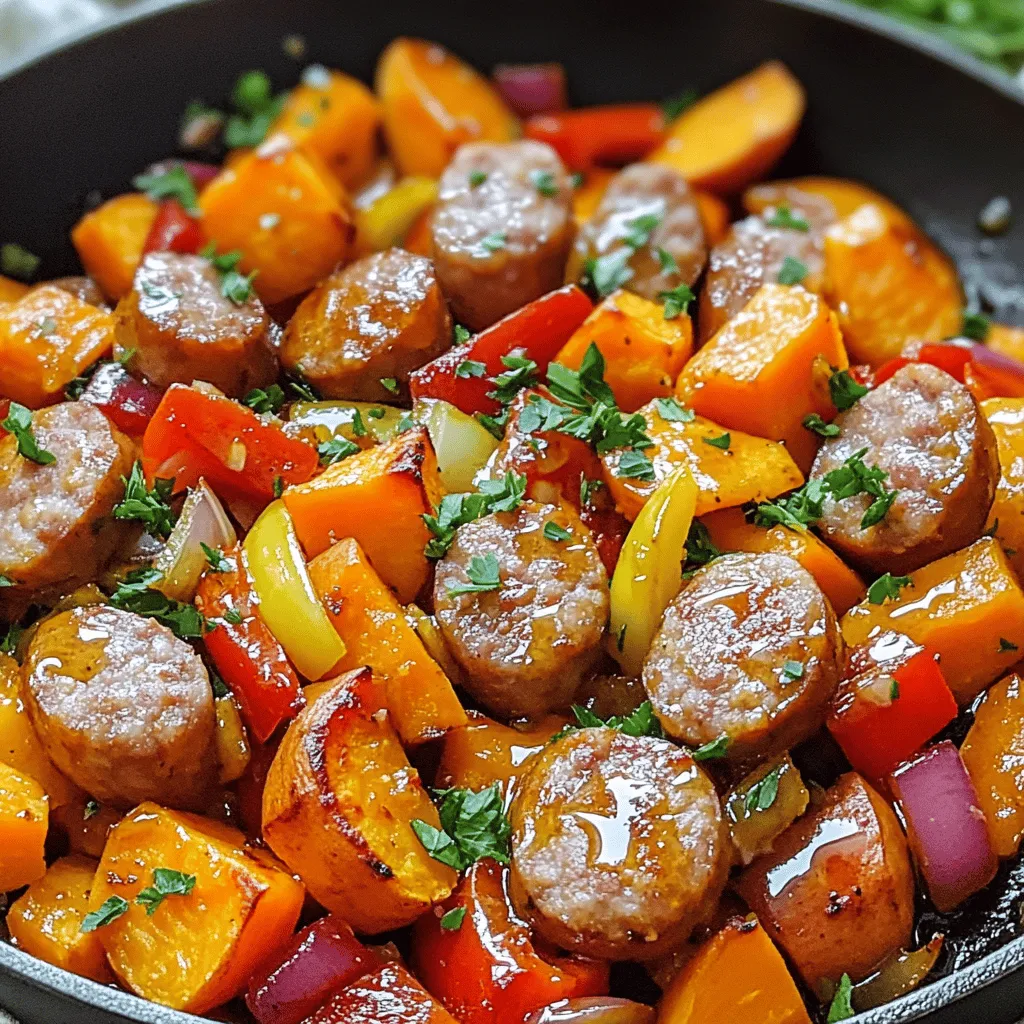
Honey Garlic Sausage & Sweet Potatoes Skillet Delight
Are you ready for a meal that combines comfort and flavor? In this blog post, I’ll show you how to make a tasty Honey Garlic

Slow Cooker Hearty Beef Veggie Stew for Comfort
When the chill of winter hits, nothing warms the soul quite like a Slow Cooker Hearty Beef Veggie Stew. This dish is not only easy
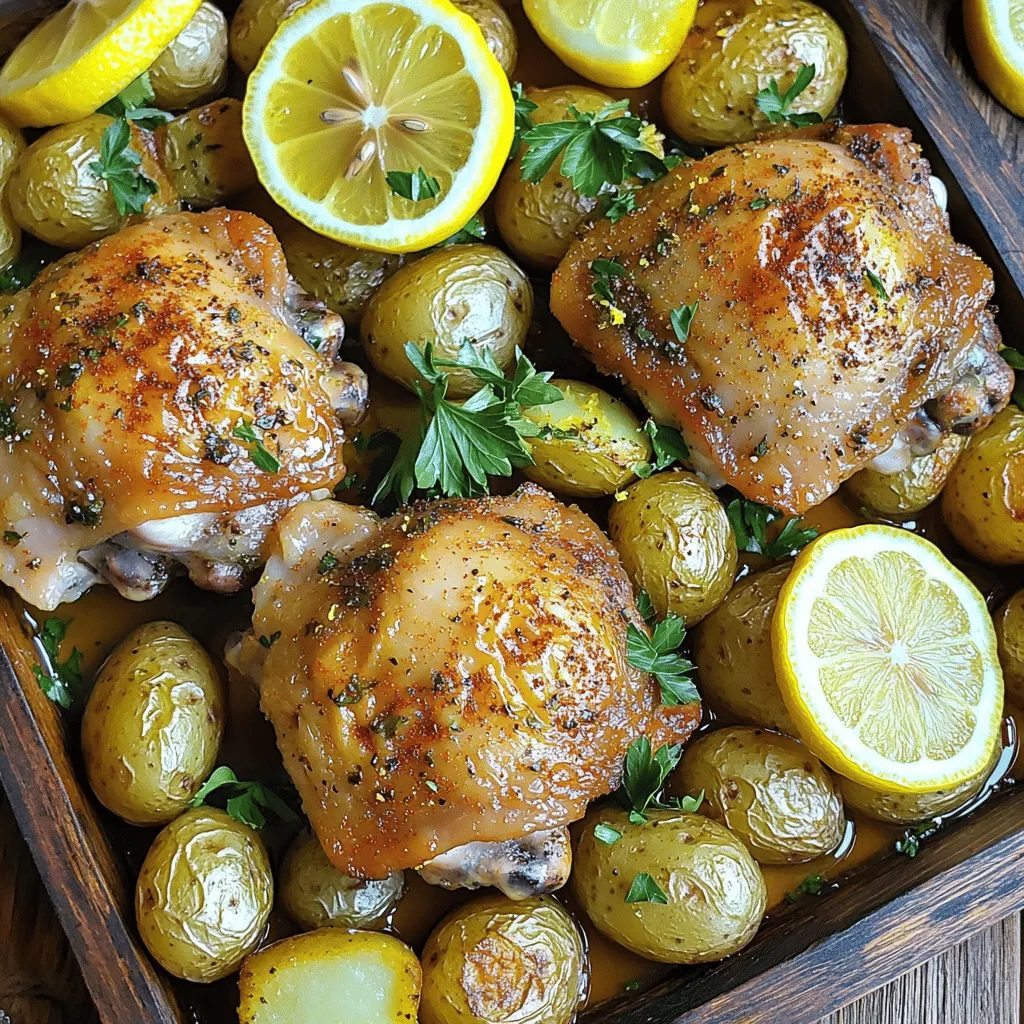
Sheet Pan Lemon Herb Chicken and Potatoes Delight
Looking for a simple and delicious dinner? This Sheet Pan Lemon Herb Chicken and Potatoes Delight is your answer! With juicy chicken thighs, tender baby
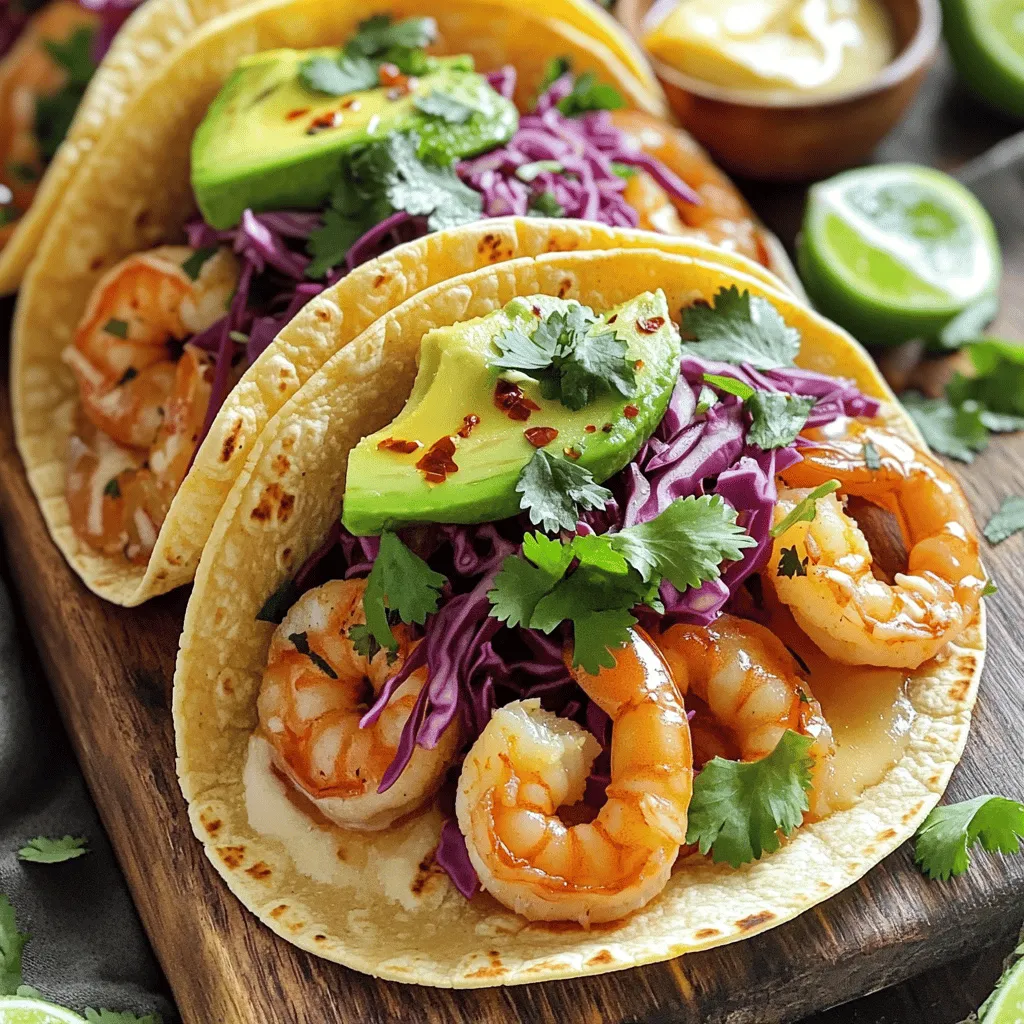
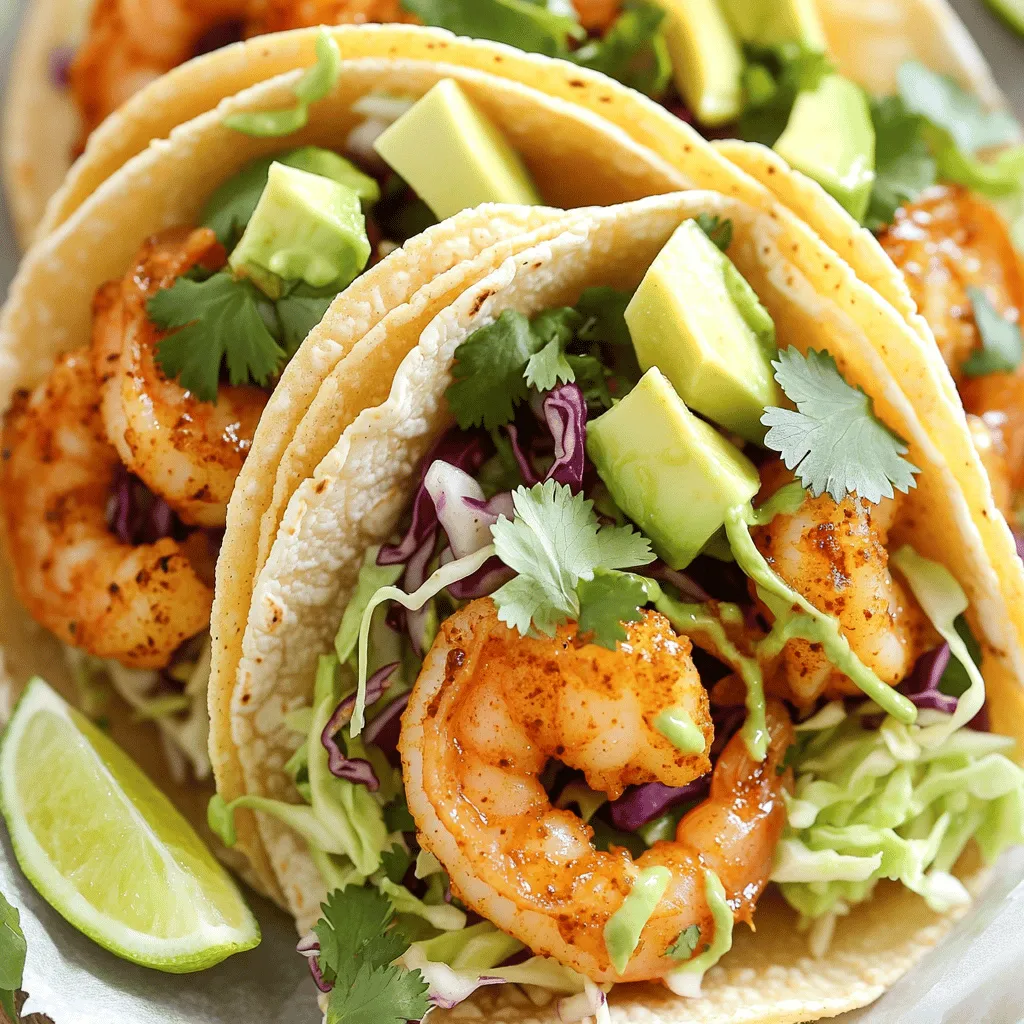
Spicy Garlic Butter Shrimp Tacos Quick and Tasty Meal
Get ready to elevate taco night with my Spicy Garlic Butter Shrimp Tacos! This quick and tasty meal packs bold flavors and a simple prep.
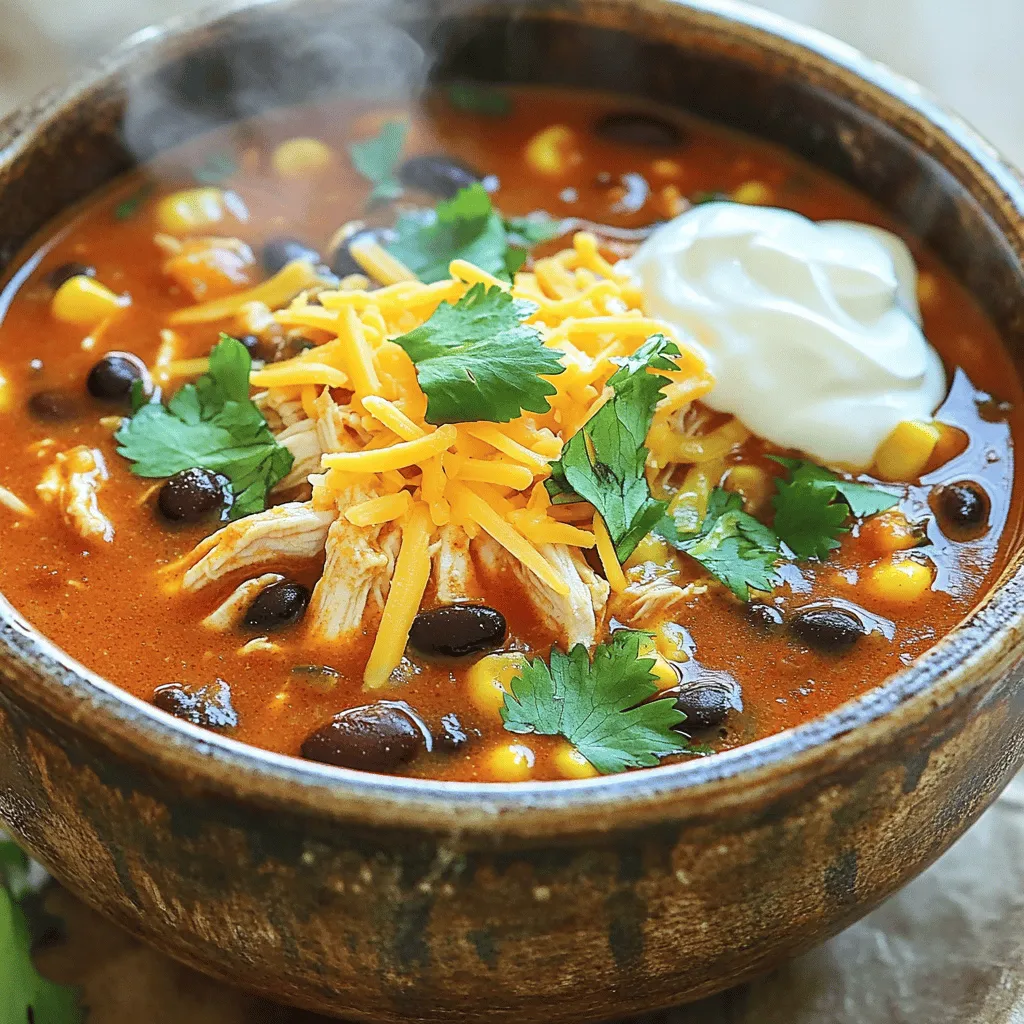
Slow Cooker Chicken Enchilada Soup Flavor Boost
Are you ready to elevate your dinner game? My Slow Cooker Chicken Enchilada Soup is not just easy to make; it’s packed with bold flavors
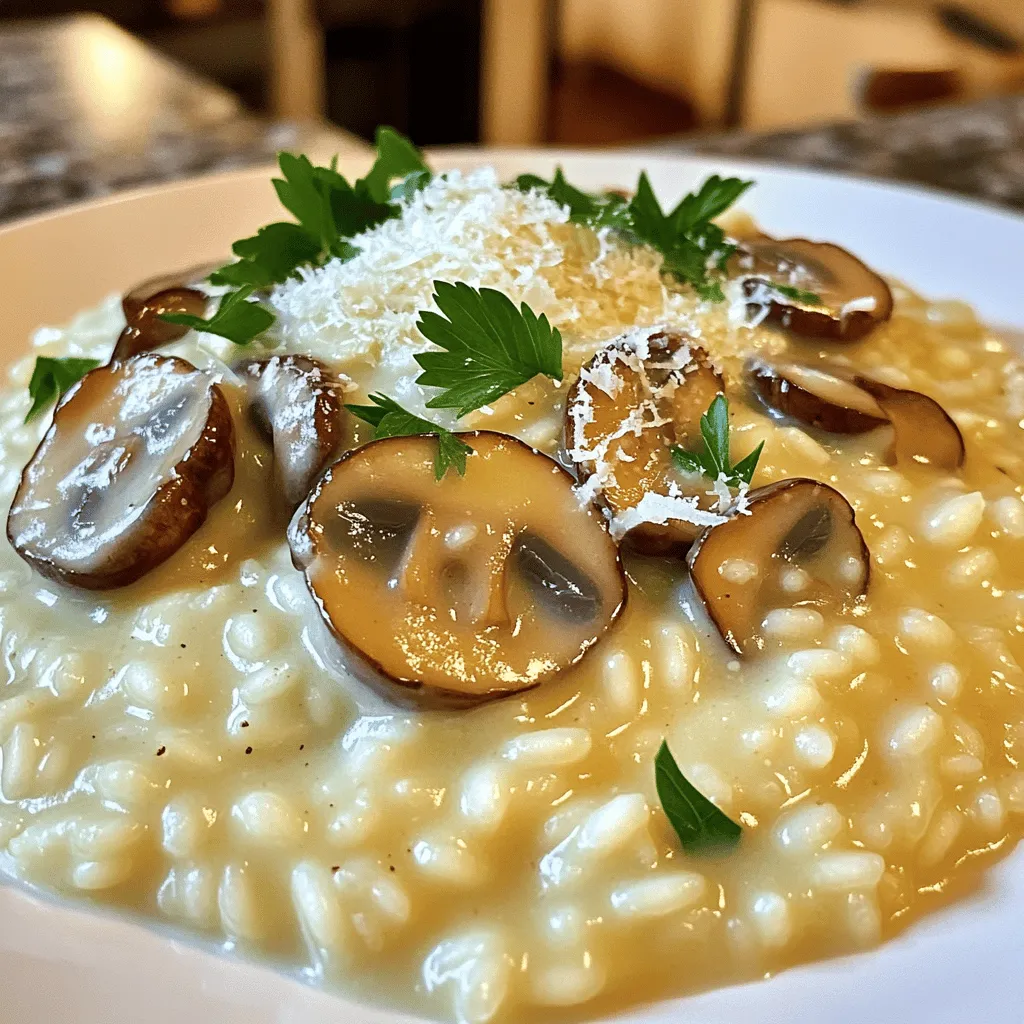
Creamy Garlic Mushroom Risotto Rich and Flavorful Meal
Welcome to the world of Creamy Garlic Mushroom Risotto! This meal is rich, flavorful, and perfect for any occasion. You’ll learn how to pick top-notch
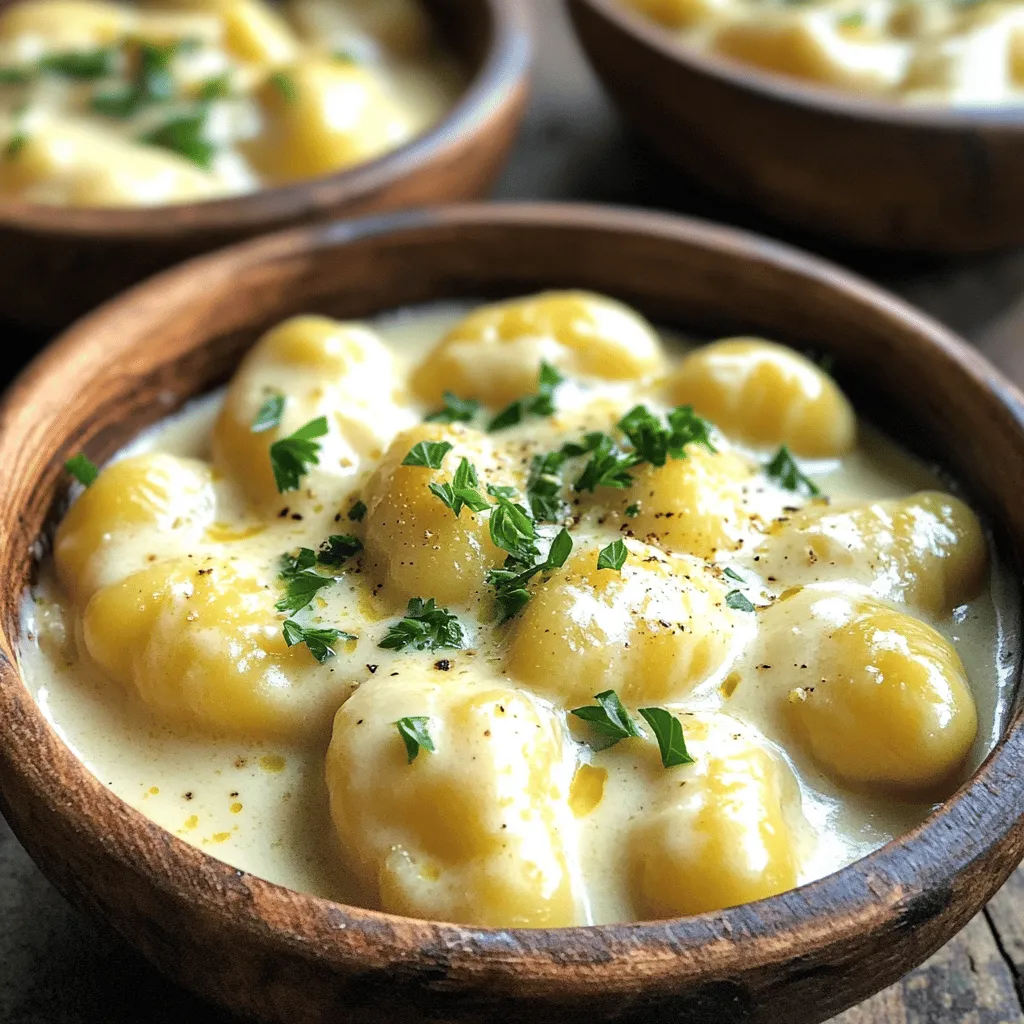
Minute Creamy Garlic Gnocchi Quick and Tasty Meal
Looking for a quick and tasty meal? You’ll love my Minute Creamy Garlic Gnocchi! In just minutes, you can whip up this comforting dish that
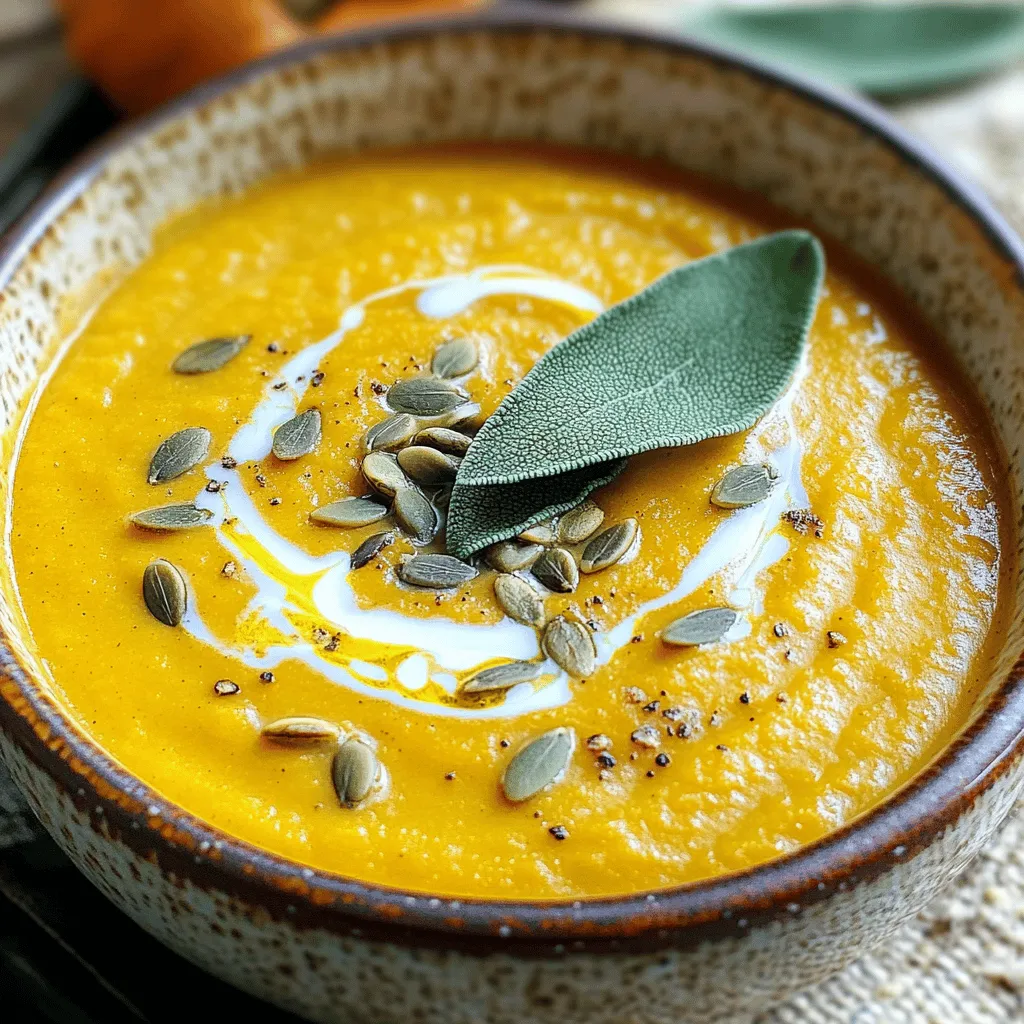
Slow Cooker Butternut Sage Soup Simple and Savory Dish
Are you ready to warm up with a simple and tasty dish? My Slow Cooker Butternut Sage Soup is the perfect mix of comfort and
Air Fryer Chili-Lime Shrimp Tacos Flavorful Treat
Craving a zesty, easy meal? Look no further than my Air Fryer Chili-Lime Shrimp Tacos! Bursting with bright flavors, these tacos are a quick way