Dinner
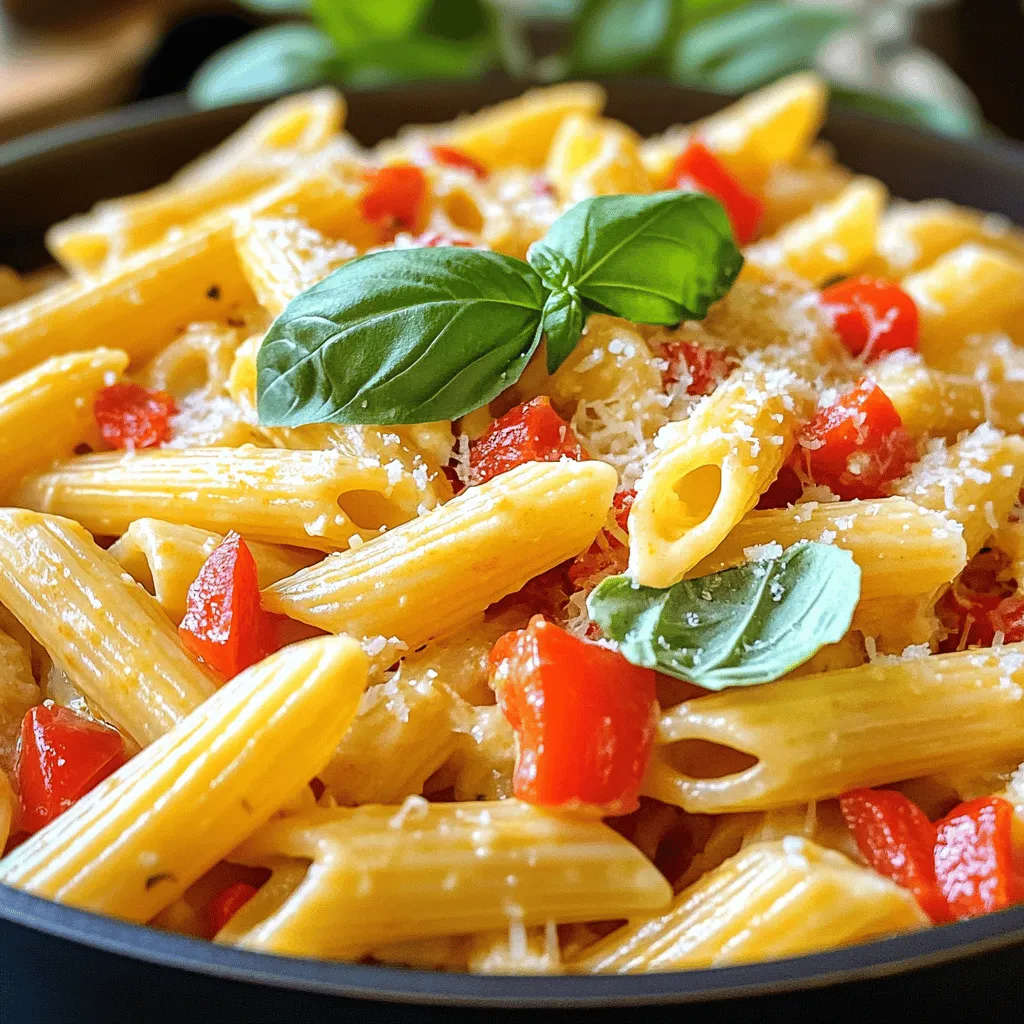
Creamy Cottage Cheese Red Pepper Pasta Delight
Dive into the creamy goodness of my Creamy Cottage Cheese Red Pepper Pasta Delight! This dish turns simple ingredients into a rich and satisfying meal.
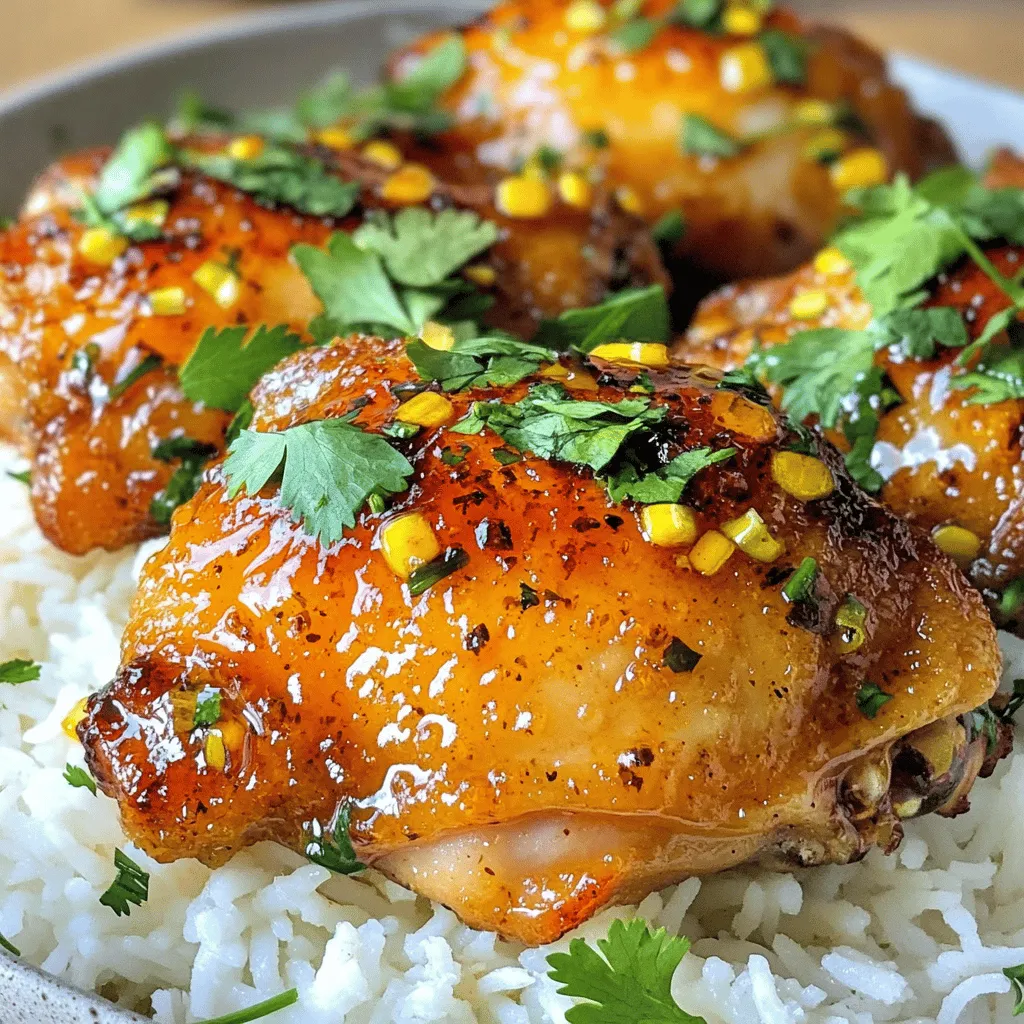
Spicy Honey Garlic Chicken Thighs Easy and Flavorful Meal
If you’re craving a delicious meal with a kick, look no further! These Spicy Honey Garlic Chicken Thighs are both easy to make and packed
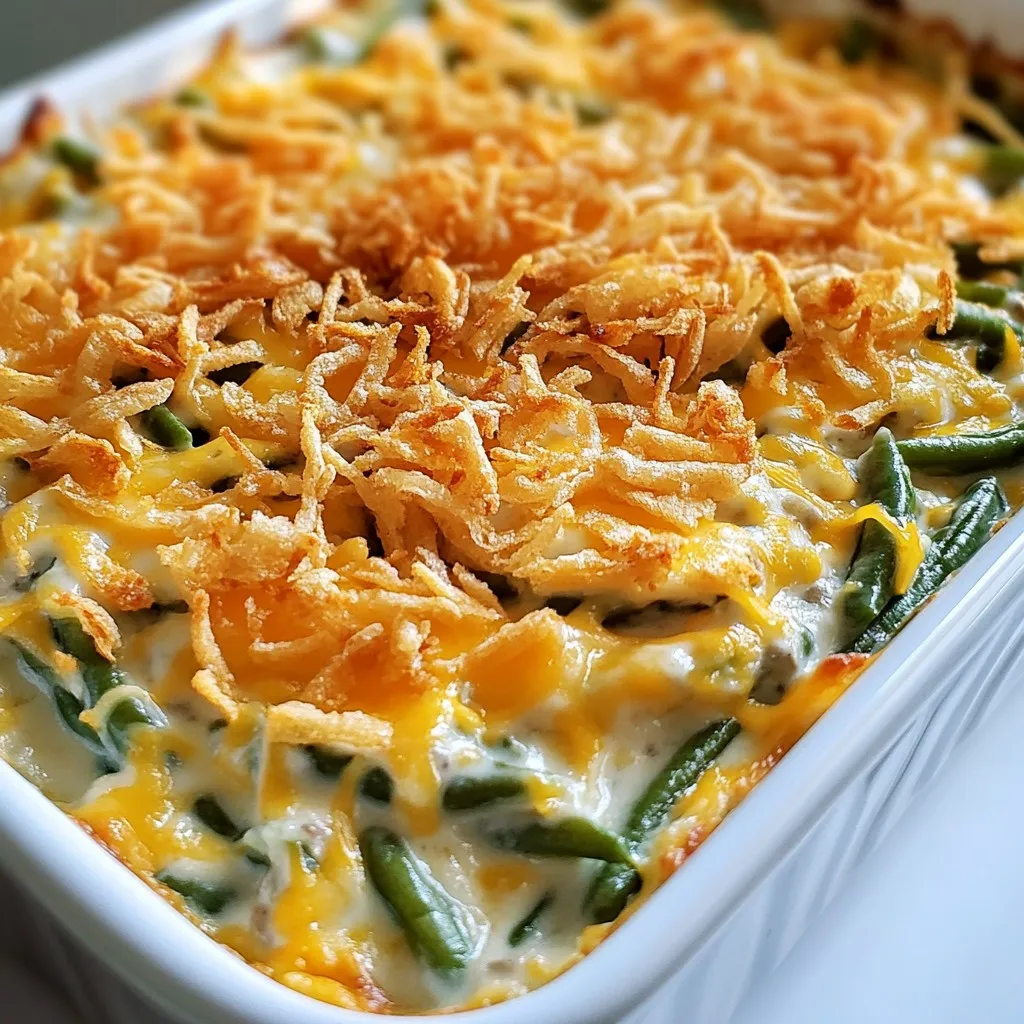
Crack Green Bean Casserole Simple Comfort Food Delight
If you’re looking for a meal that hugs your soul, you’ve found it! My Crack Green Bean Casserole is a cozy dish full of flavor
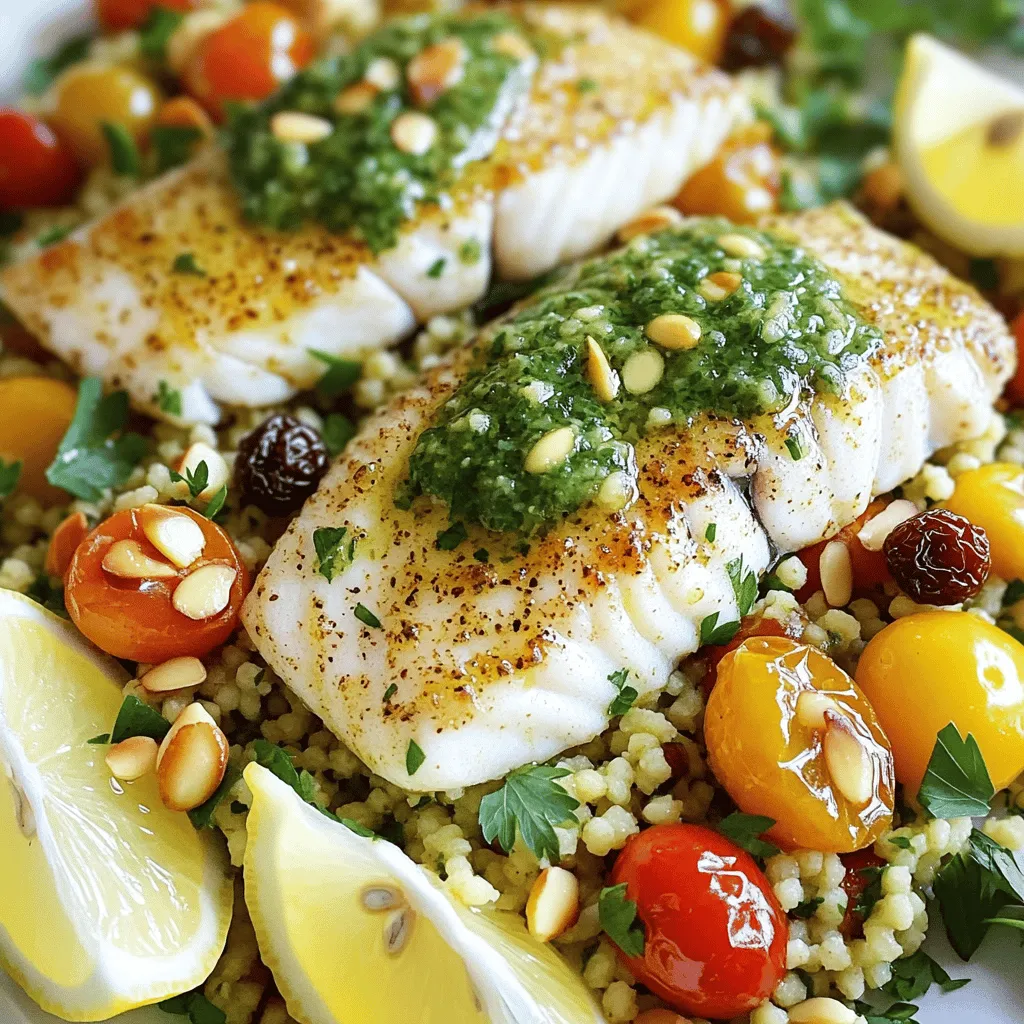
Moroccan Chermoula Baked Fish with Herb Couscous Delight
If you’re craving a burst of flavor, this Moroccan Chermoula Baked Fish with Herb Couscous is for you! Chermoula is a zesty marinade that elevates
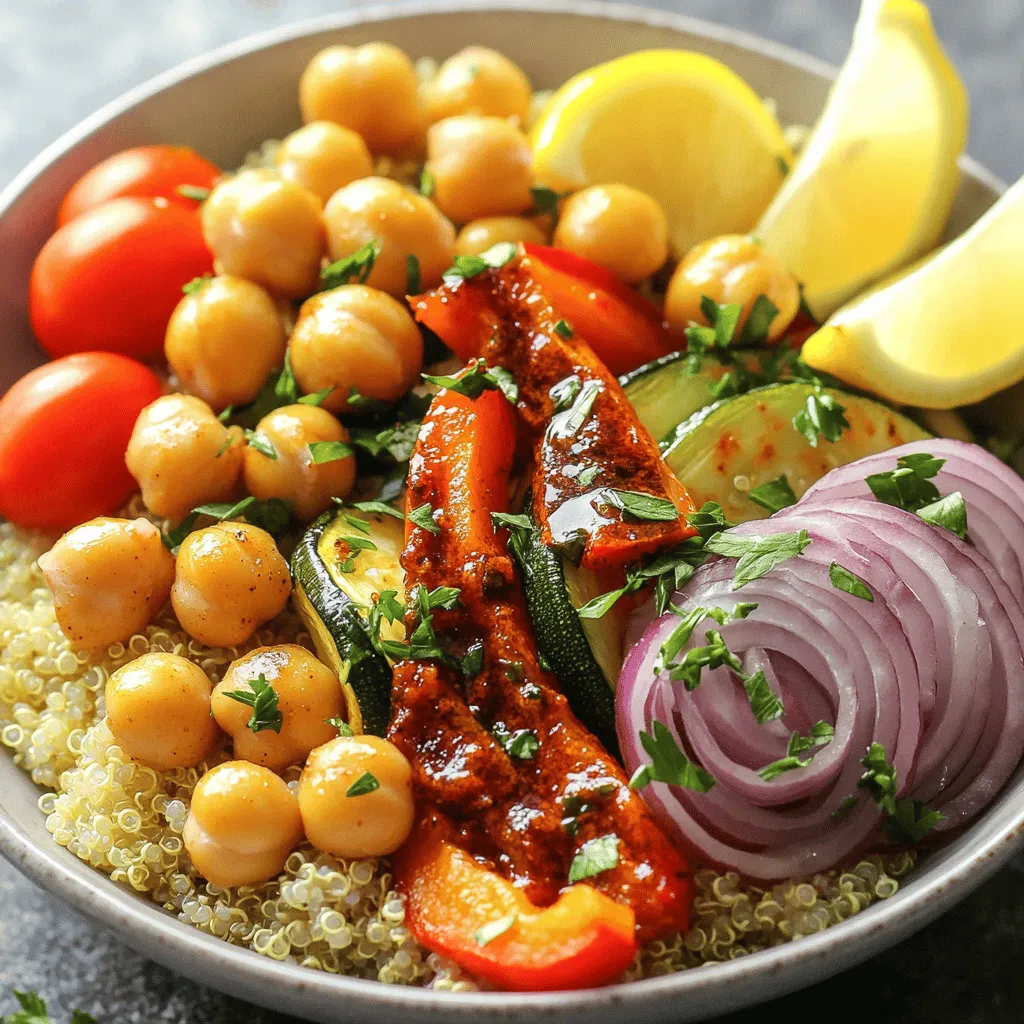
Smoky Harissa Veggie & Chickpea Bowls Delightful Dish
Looking for a healthy and tasty meal? Your search ends here! Smoky Harissa Veggie & Chickpea Bowls are packed with flavor, nutrients, and easy steps.
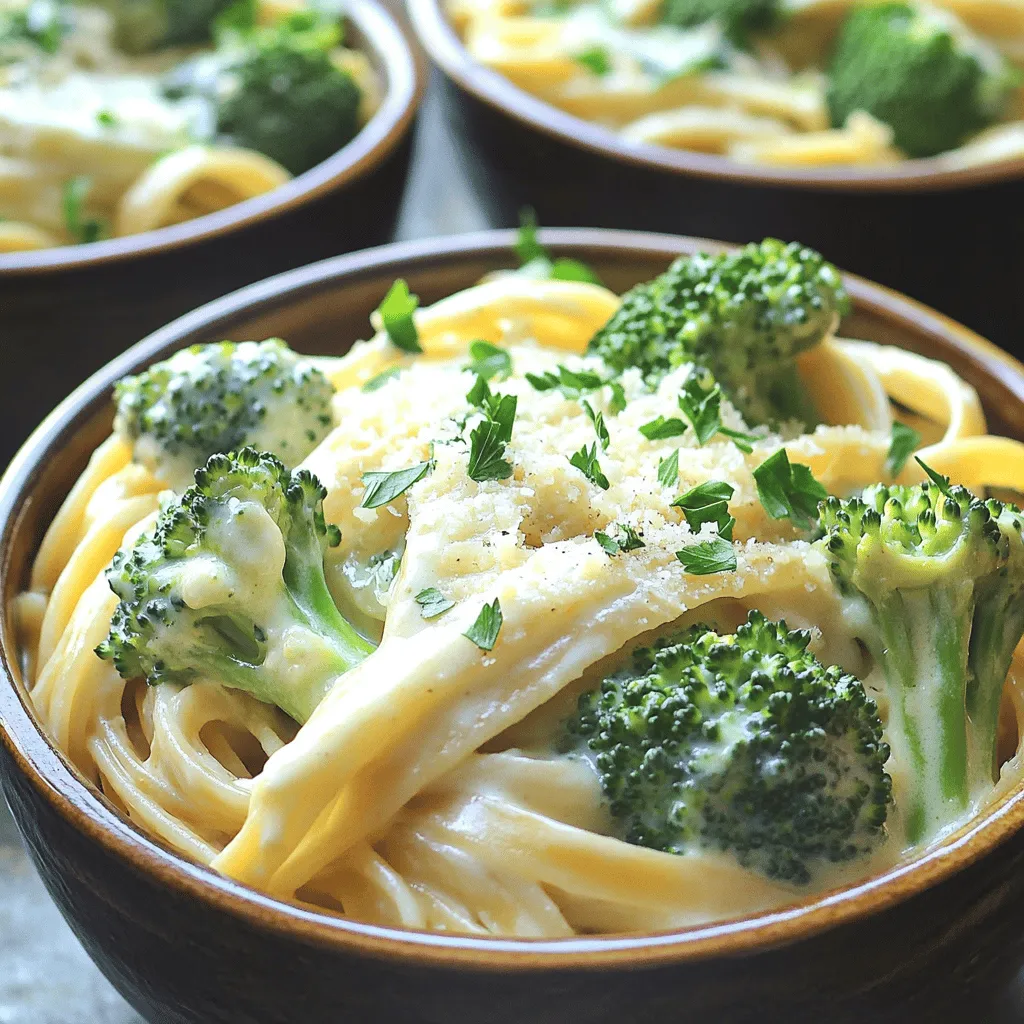
High-Protein Cottage Cheese Alfredo with Broccoli Dish
Looking for a tasty meal that packs a protein punch? Try my High-Protein Cottage Cheese Alfredo with Broccoli! This creamy dish is not only easy
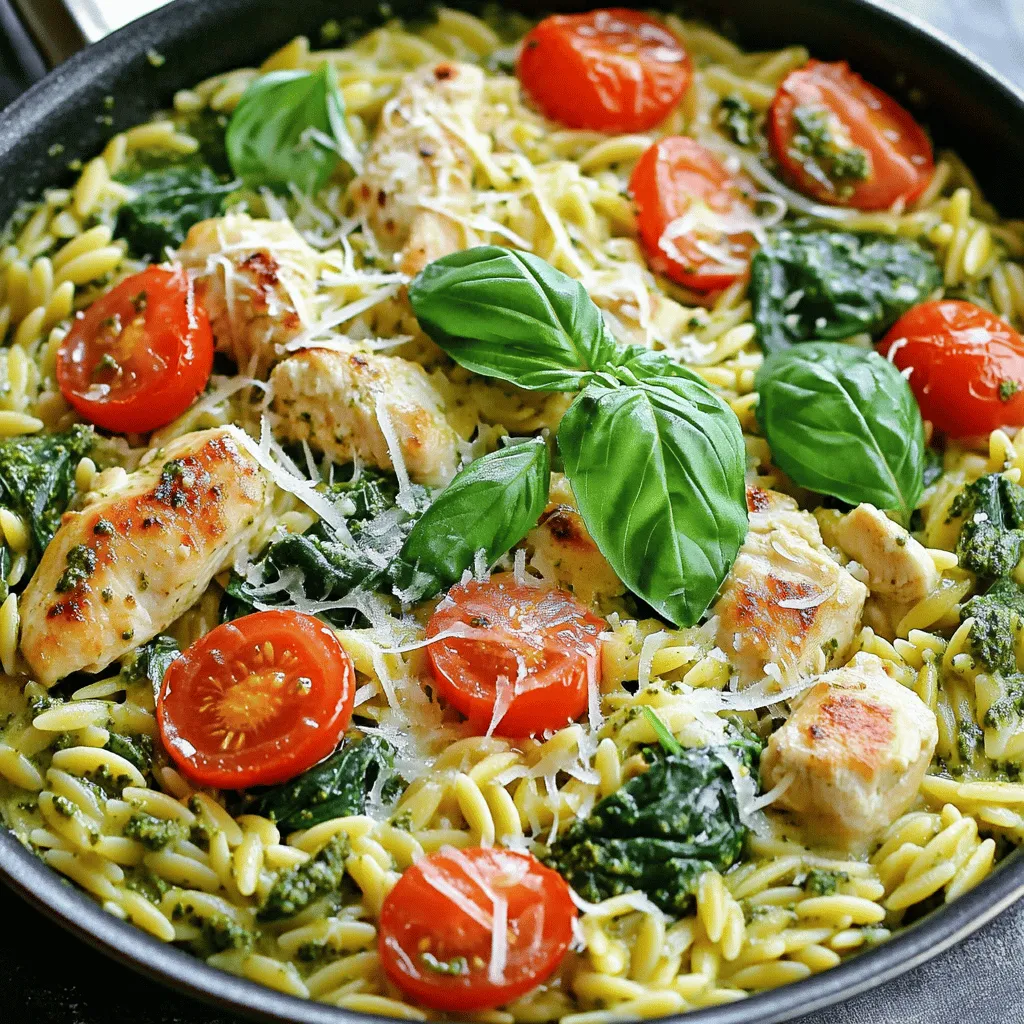
One-Pan Creamy Pesto Chicken Orzo Easy Dinner Recipe
Are you ready to whip up a simple yet delicious meal? My One-Pan Creamy Pesto Chicken Orzo recipe is perfect for a quick dinner. With
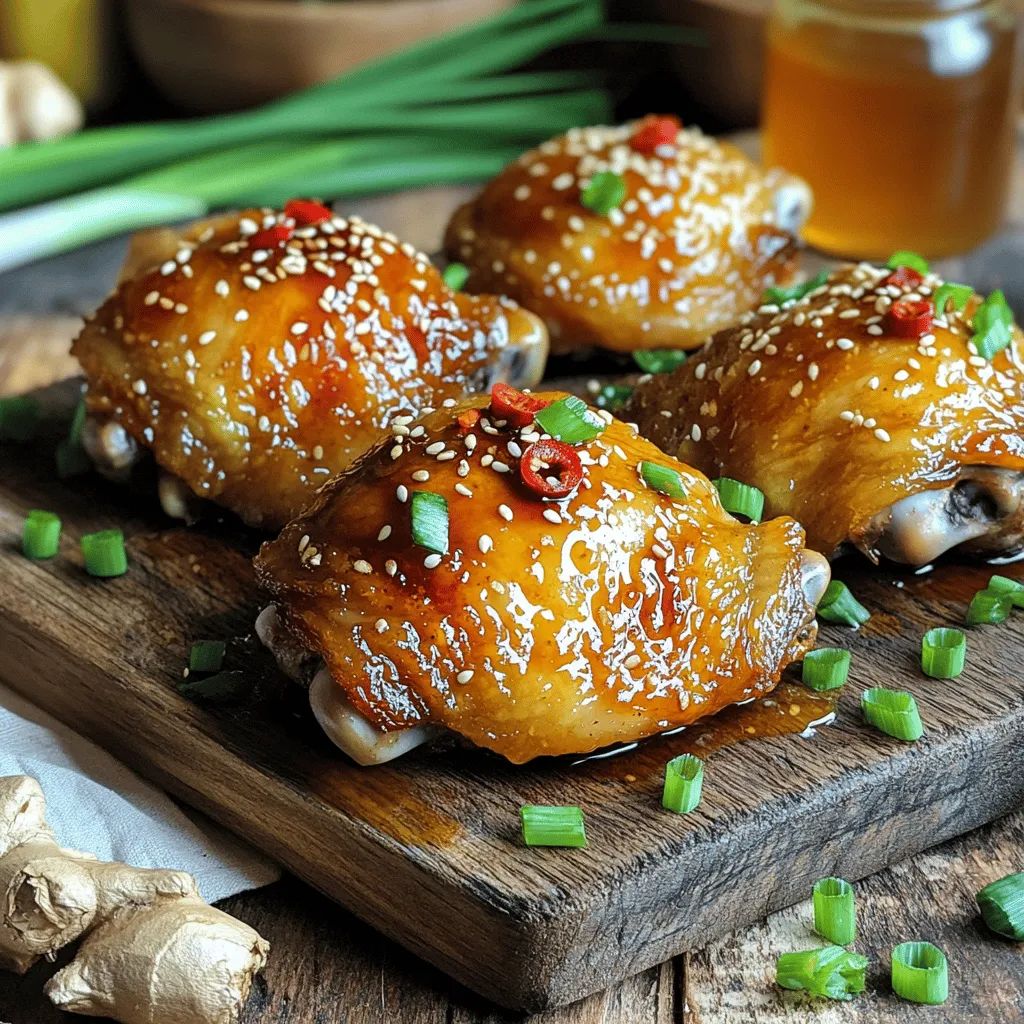
Air Fryer Honey Chile Crisp Chicken Thighs Recipe
Get ready to spice up your dinner with my Air Fryer Honey Chile Crisp Chicken Thighs recipe! This dish combines sweet and spicy flavors, creating
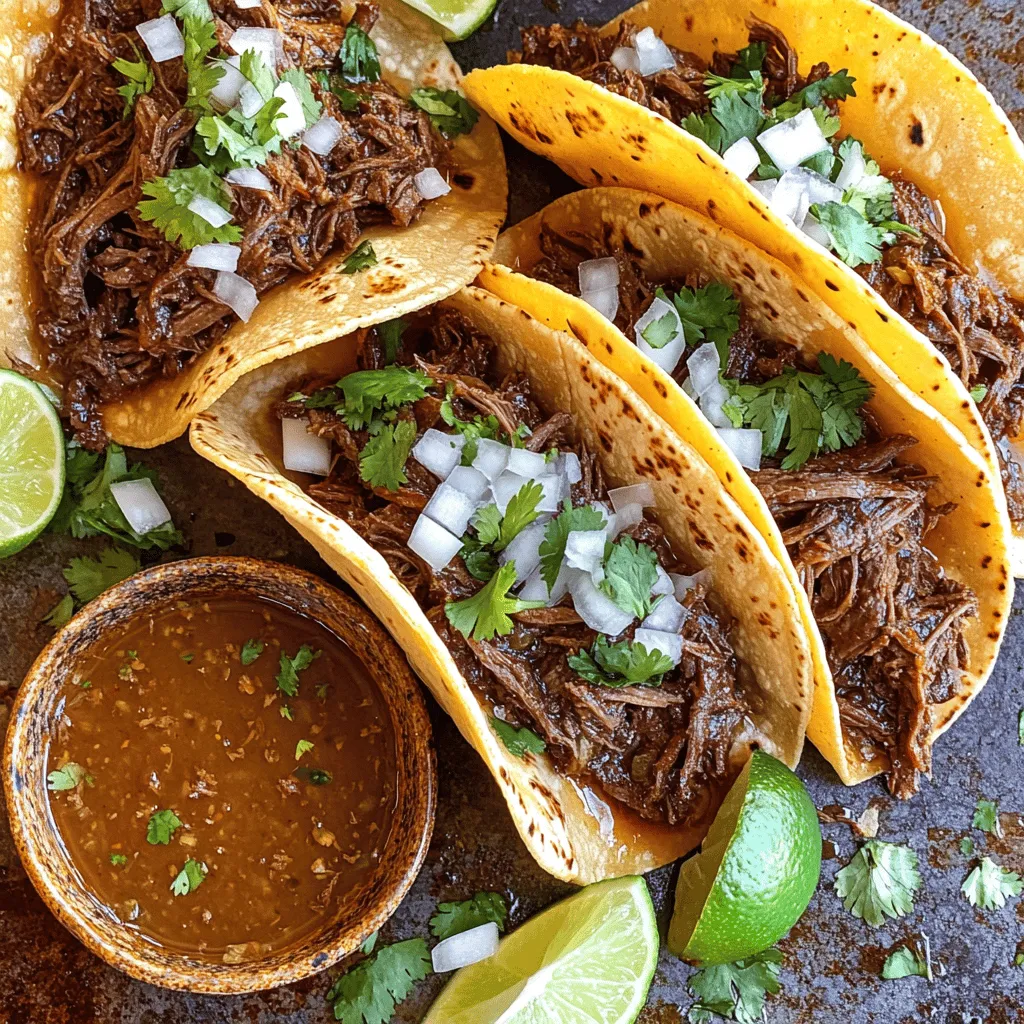
Slow Cooker Birria Beef Tacos with Consommé Delight
If you crave juicy, flavorful tacos that melt in your mouth, you’re in the right place! In this blog, I’ll show you how to make
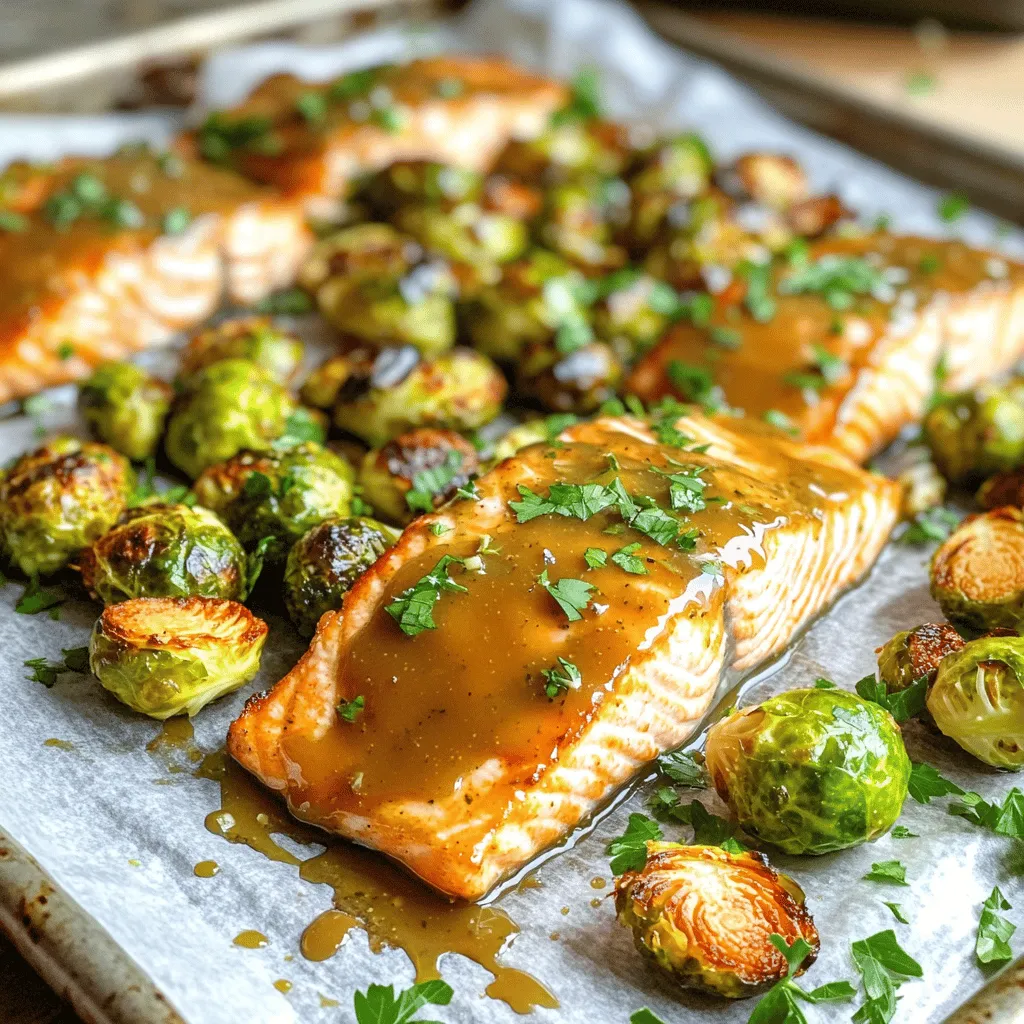
Maple Dijon Salmon & Brussels Sheet Pan Delight
Welcome to my kitchen! Today, I’m excited to share a simple yet delicious meal: Maple Dijon Salmon & Brussels Sheet Pan Delight. This recipe is