Dinner
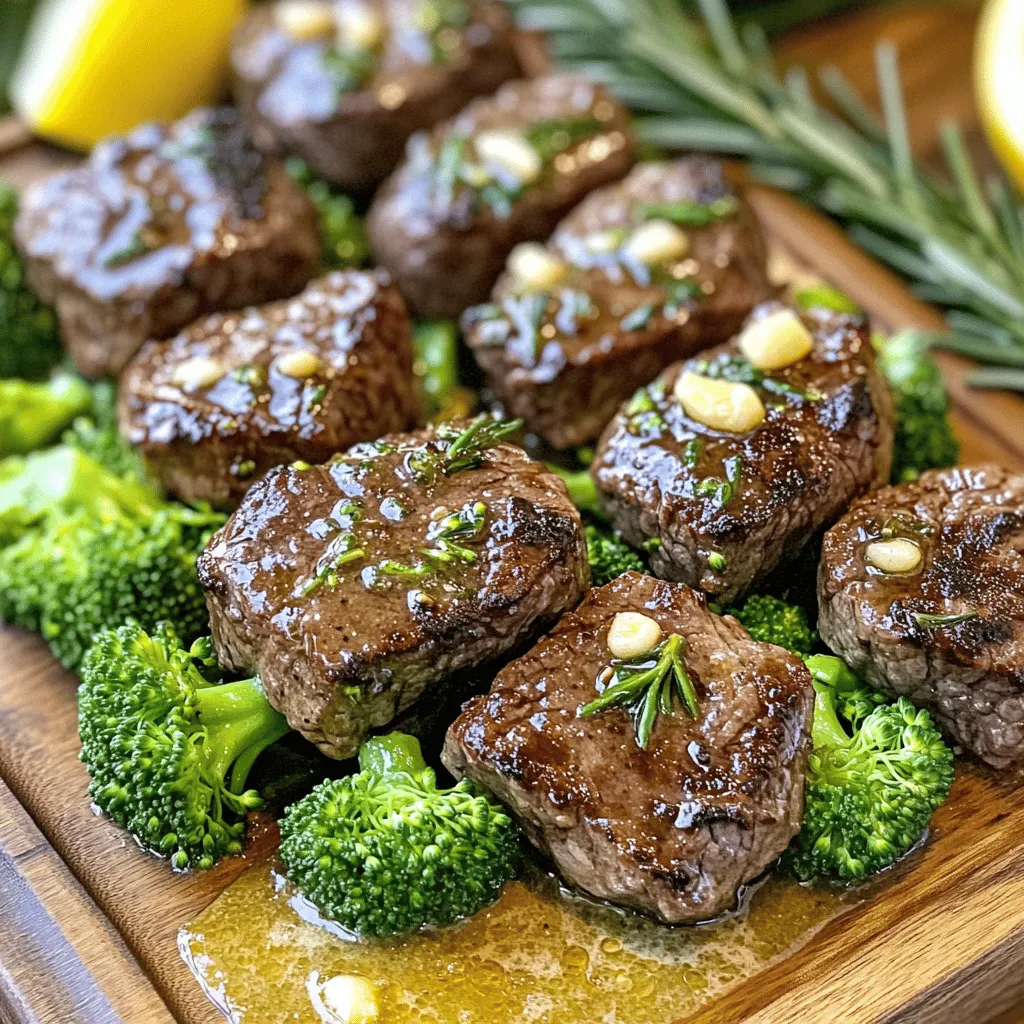
Minute Garlic Butter Steak Bites & Broccoli Delight
Get ready to savor the quick and tasty Minute Garlic Butter Steak Bites & Broccoli Delight. In just minutes, you can whip up an amazing
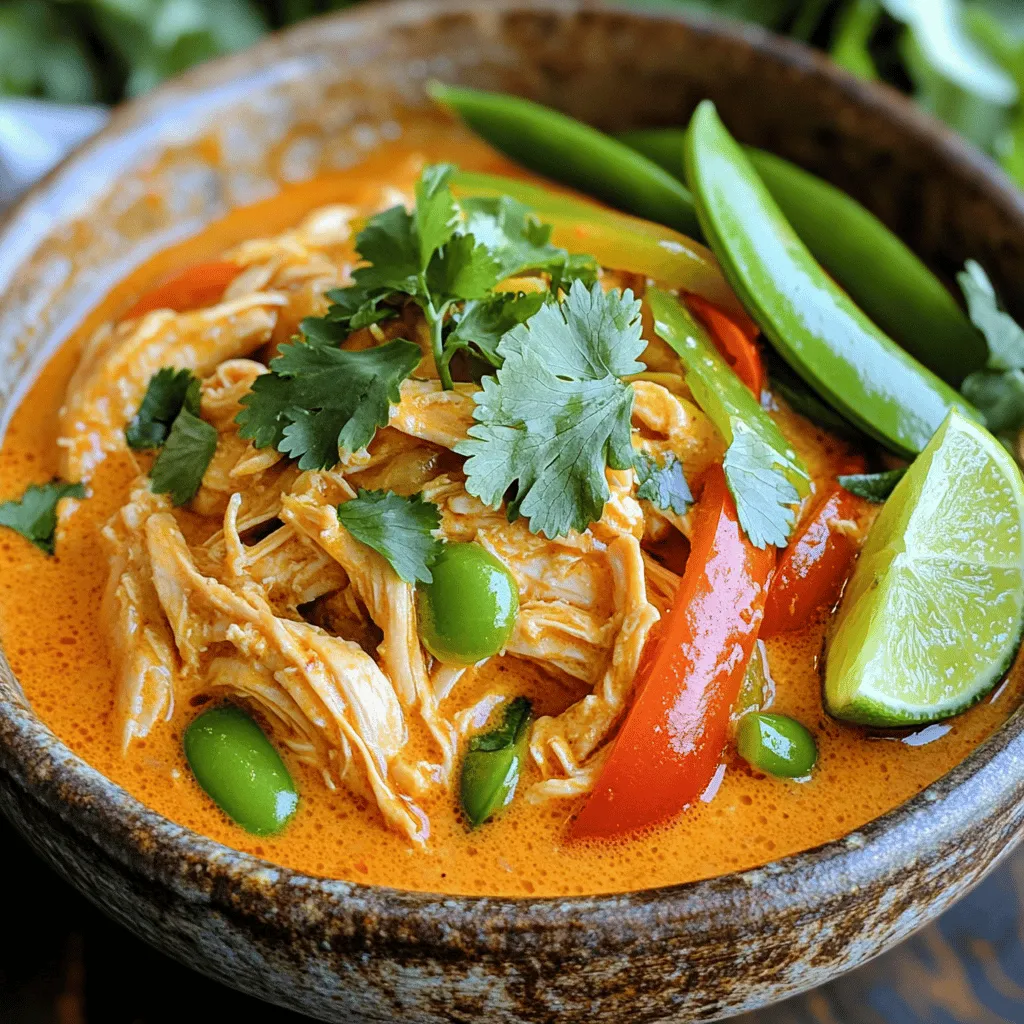
Slow Cooker Thai Coconut Chicken Curry Easy and Tasty
Craving a flavorful meal that’s easy to make? Look no further than Slow Cooker Thai Coconut Chicken Curry. This dish combines tender chicken thighs with
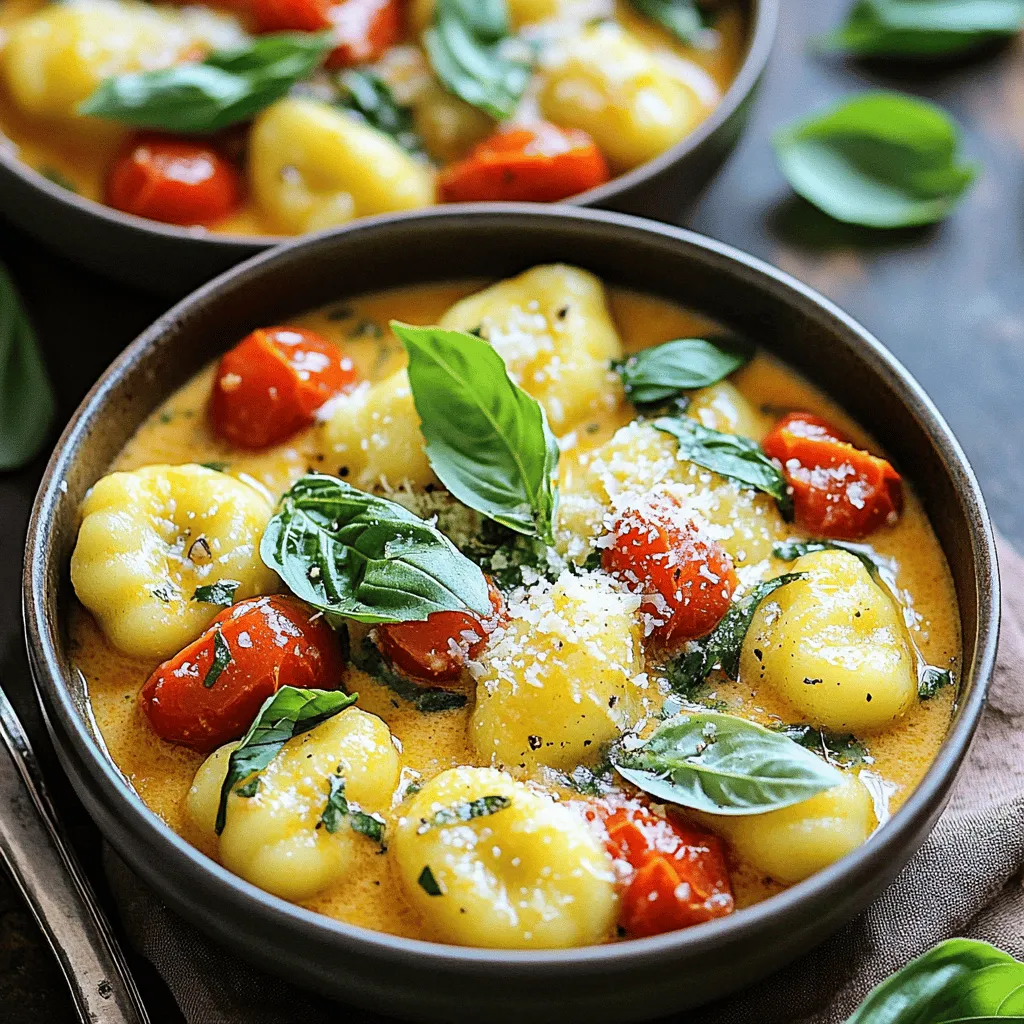
One-Pot Creamy Tomato Basil Gnocchi Delight
Are you craving a comforting meal that’s quick and easy? Let’s dive into making One-Pot Creamy Tomato Basil Gnocchi! This dish is perfect for busy
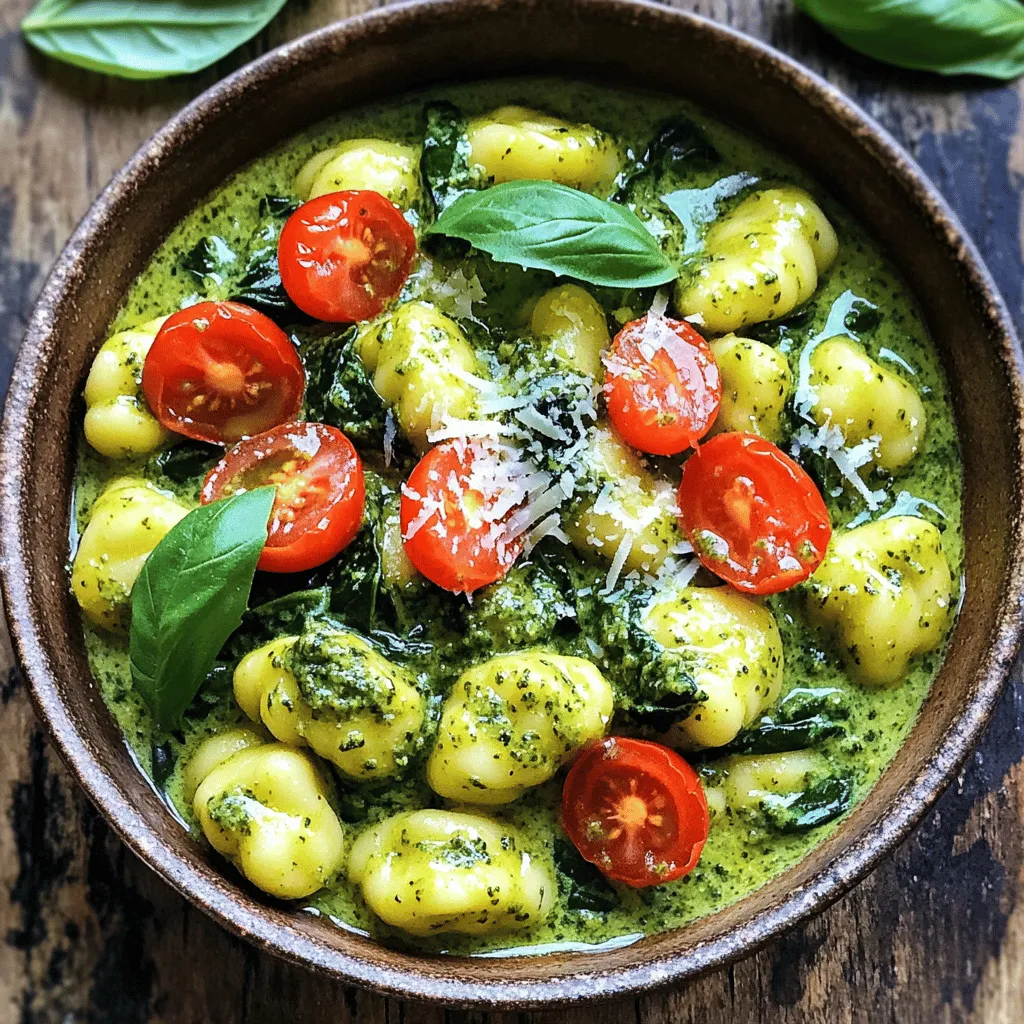
One Pot Creamy Pesto Gnocchi with Spinach Delight
Welcome to One Pot Creamy Pesto Gnocchi with Spinach Delight! If you crave a quick, tasty meal, you’re in the right spot. This dish combines
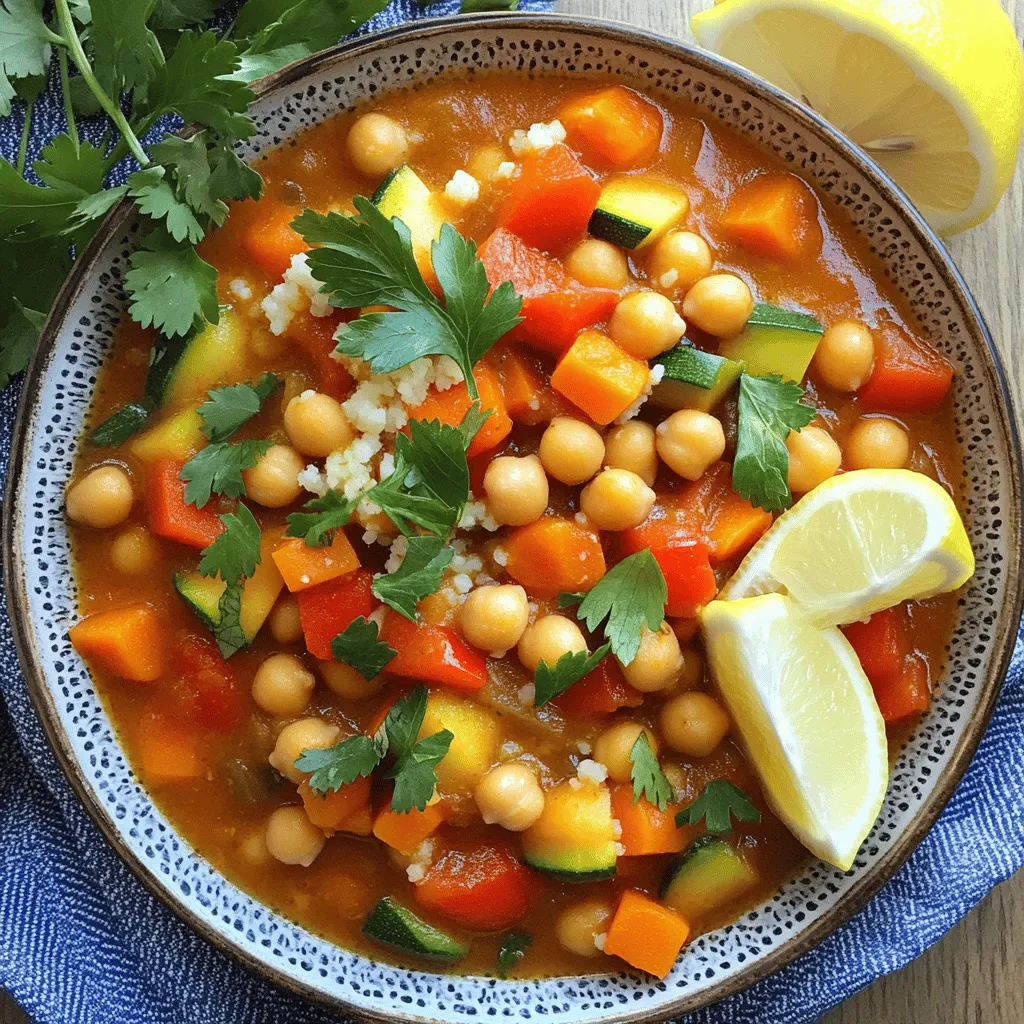
Slow Cooker Moroccan Chickpea Couscous Stew Delight
Are you ready to explore a delicious and easy meal? My Slow Cooker Moroccan Chickpea Couscous Stew is packed with flavor and nutrition. Using simple
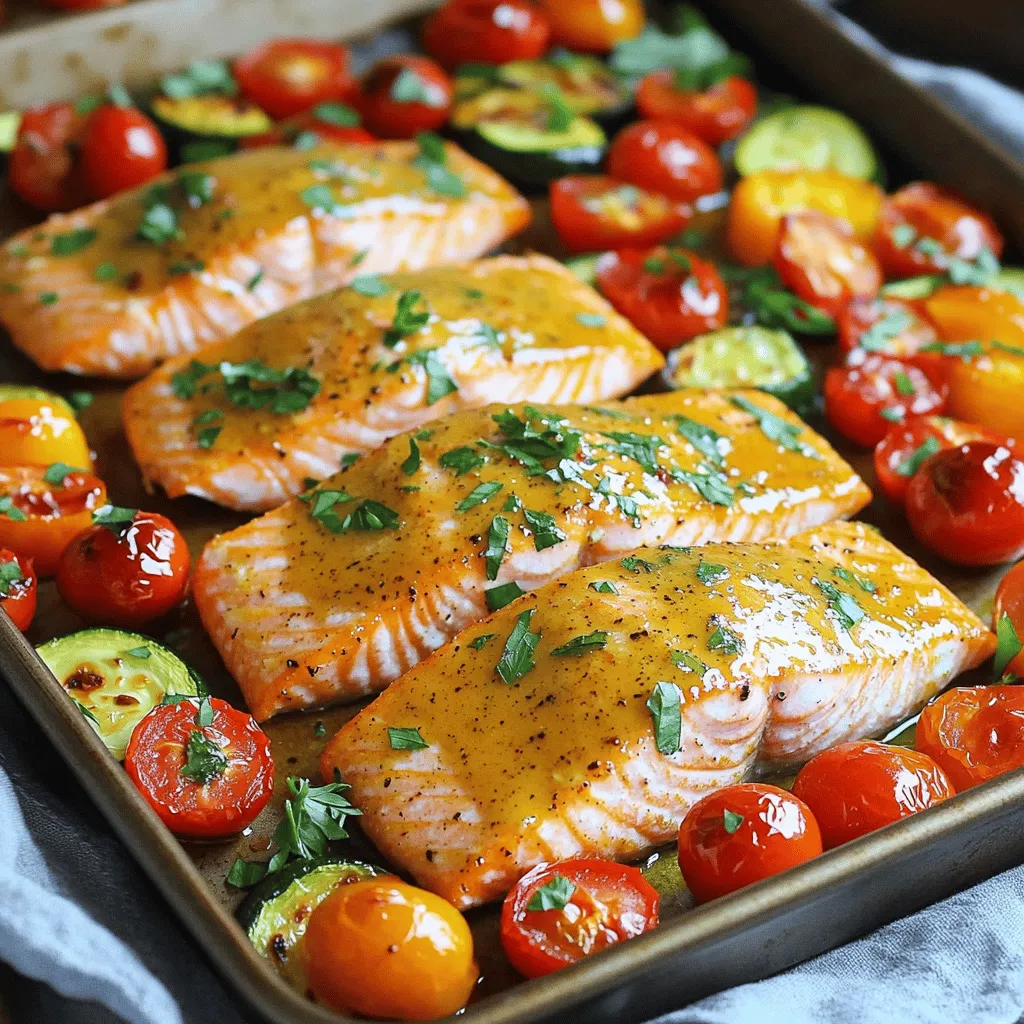
Maple Dijon Sheet Pan Salmon Veggie Dinner Delight
Ready to whip up a tasty meal that’s quick and easy? Welcome to my Maple Dijon Sheet Pan Salmon Veggie Dinner Delight! This one-pan recipe
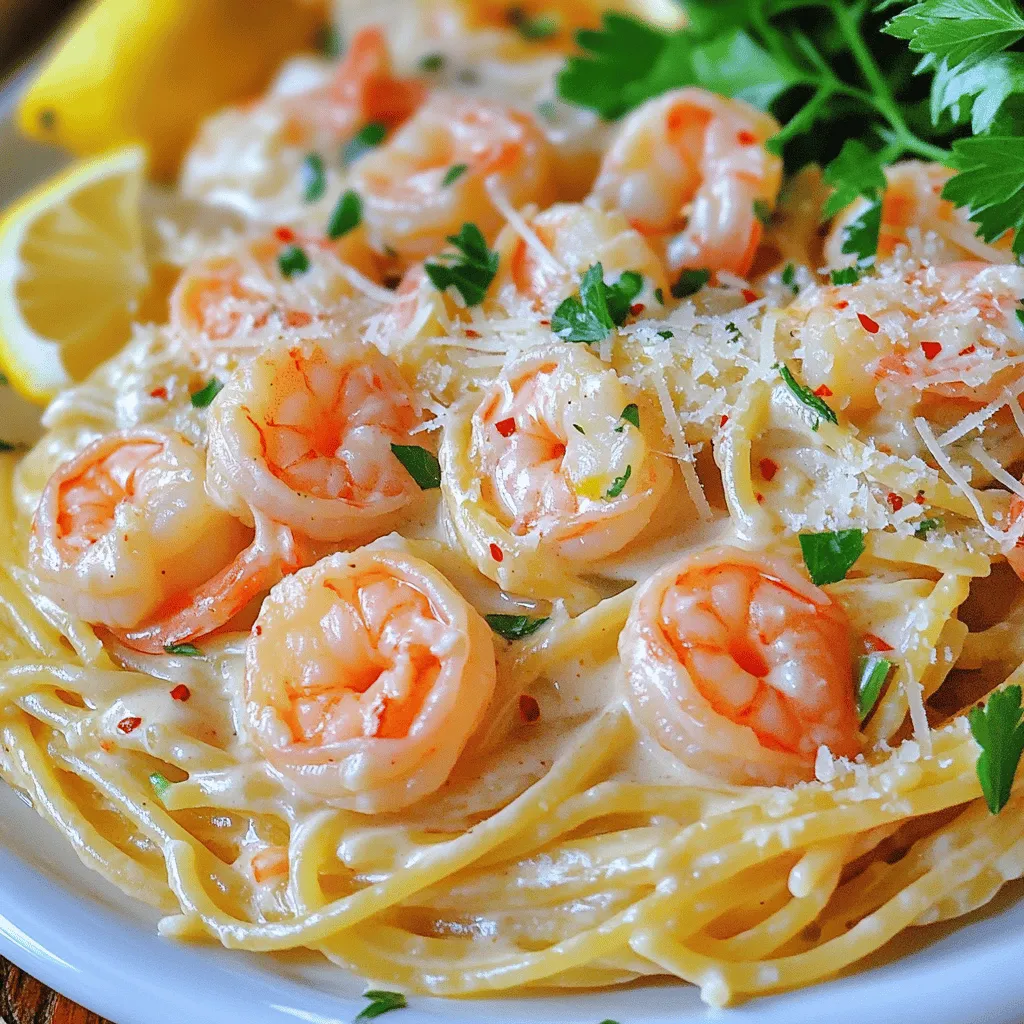
Creamy 20 Minute Garlic Butter Shrimp Pasta Delight
Looking for a quick, tasty meal? Try my Creamy 20 Minute Garlic Butter Shrimp Pasta Delight! This easy recipe combines tender shrimp, rich garlic butter,
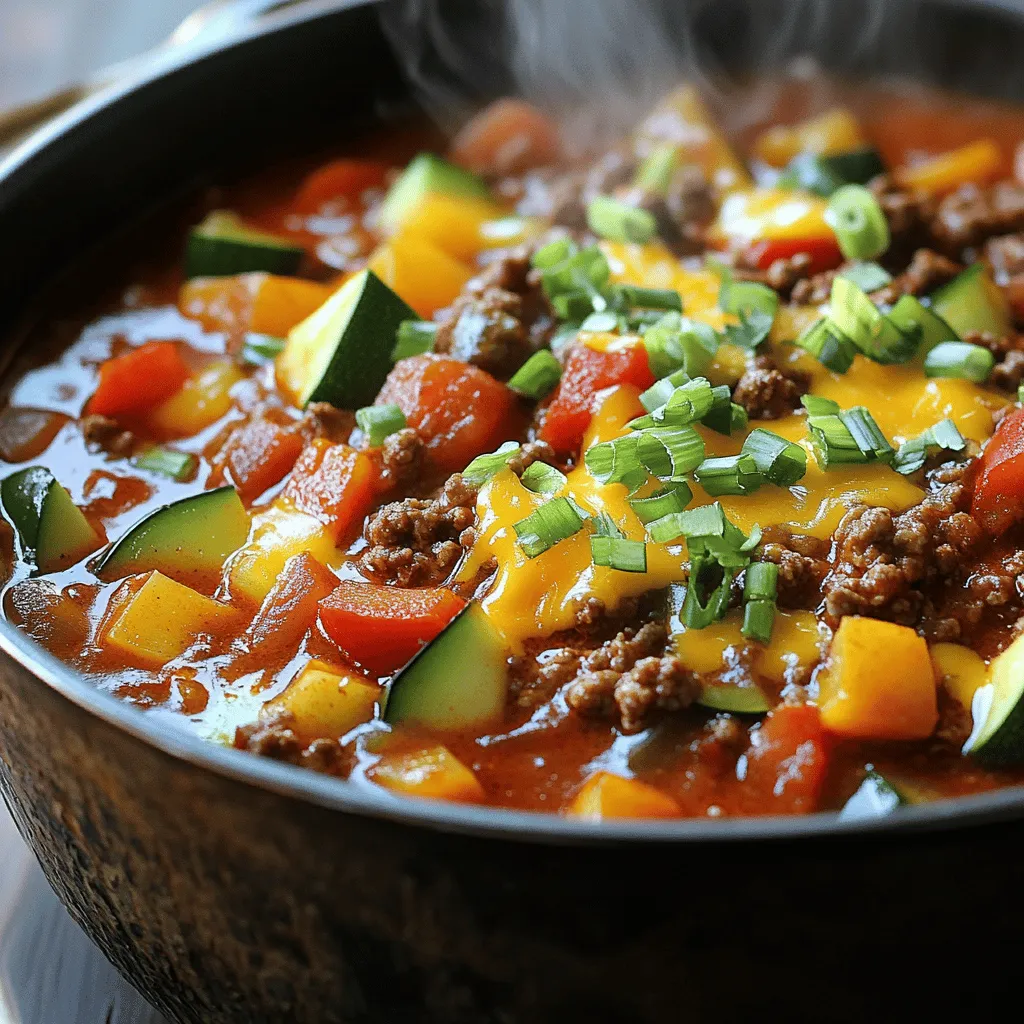
Cozy Keto Chili Hearty Delight for Comfort Food
Are you craving a warm, satisfying meal that fits your keto lifestyle? Cozy Keto Chili offers hearty flavors without the carbs! In this article, I’ll
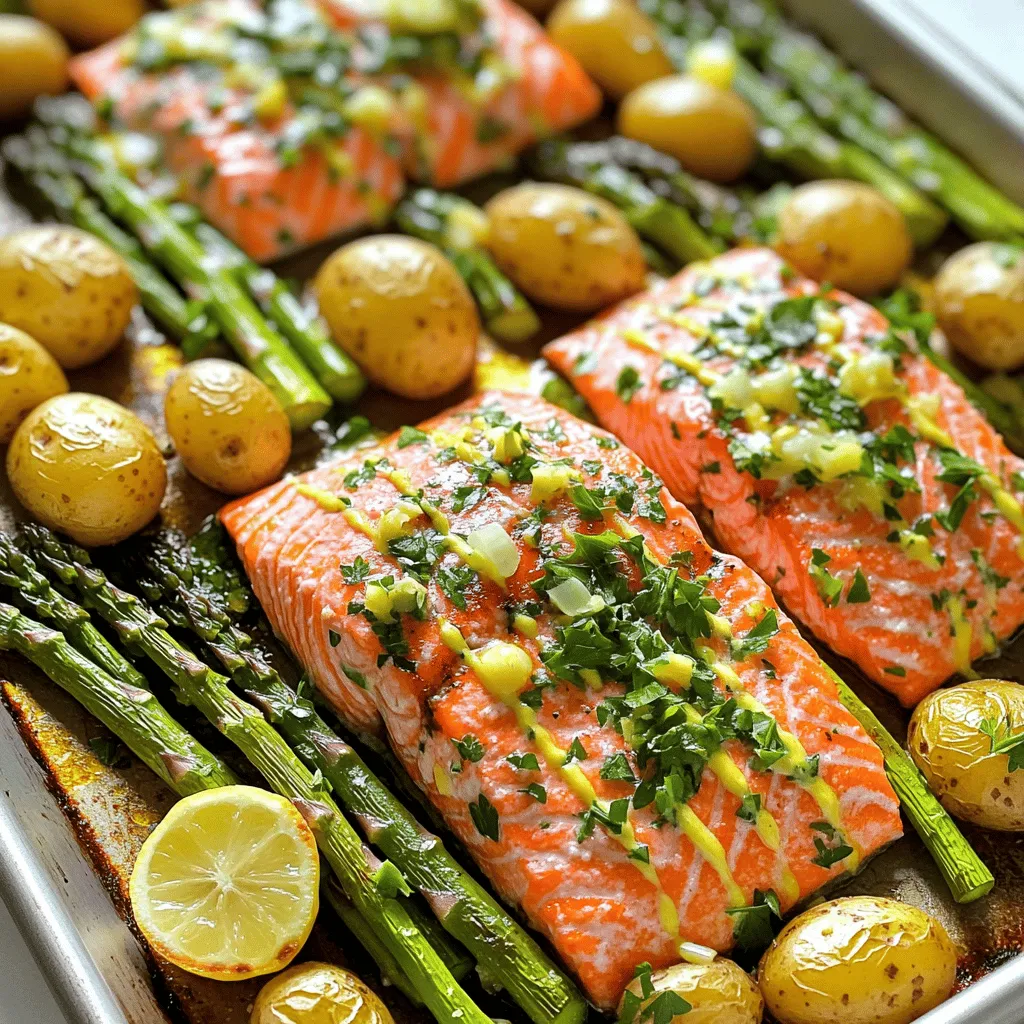
Lemon Herb Salmon Sheet Pan Dinner Simple and Fresh
Ready to impress your taste buds? This Lemon Herb Salmon Sheet Pan Dinner is simple and fresh, making it perfect for busy weeknights. With just
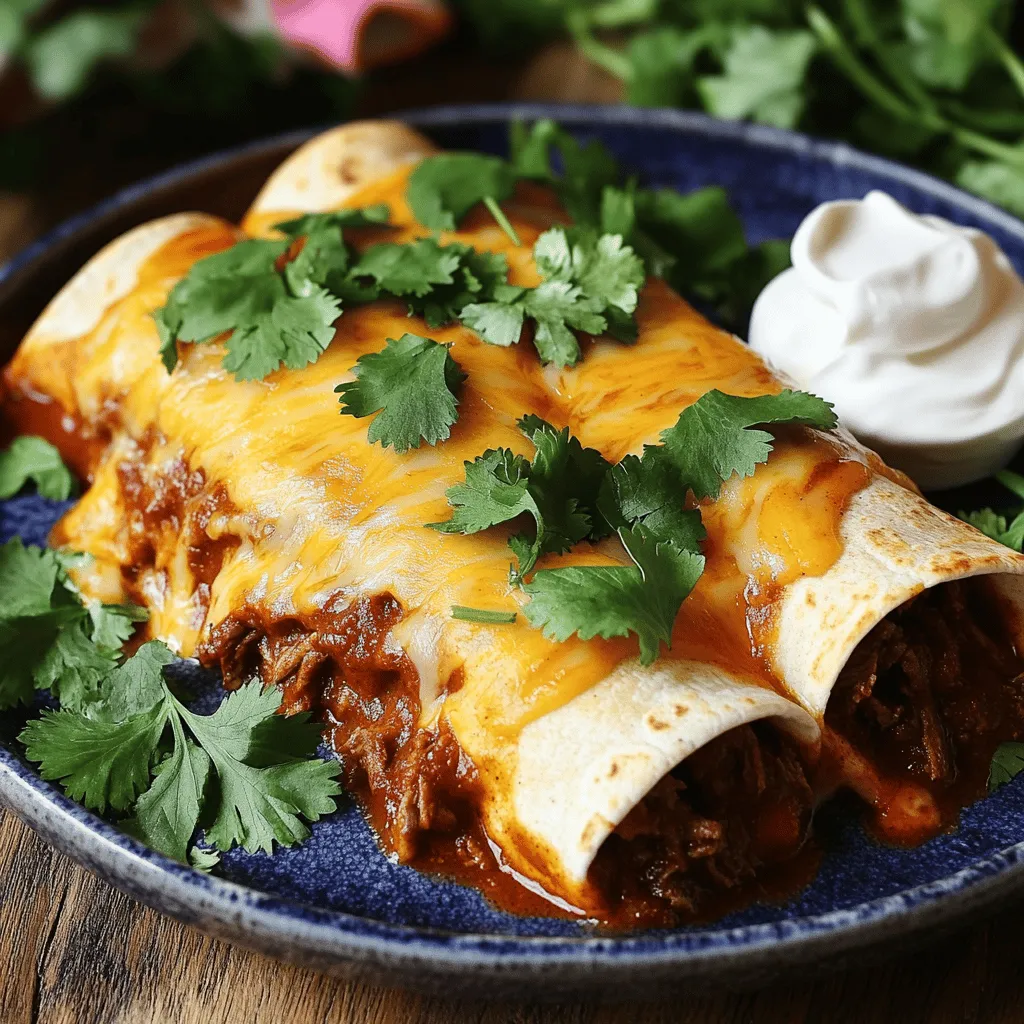
Slow Cooker Chipotle Beef Enchiladas Delightful Recipe
Craving a hearty meal that’s packed with flavor and easy to make? Look no further! My Slow Cooker Chipotle Beef Enchiladas recipe is a game