Dinner
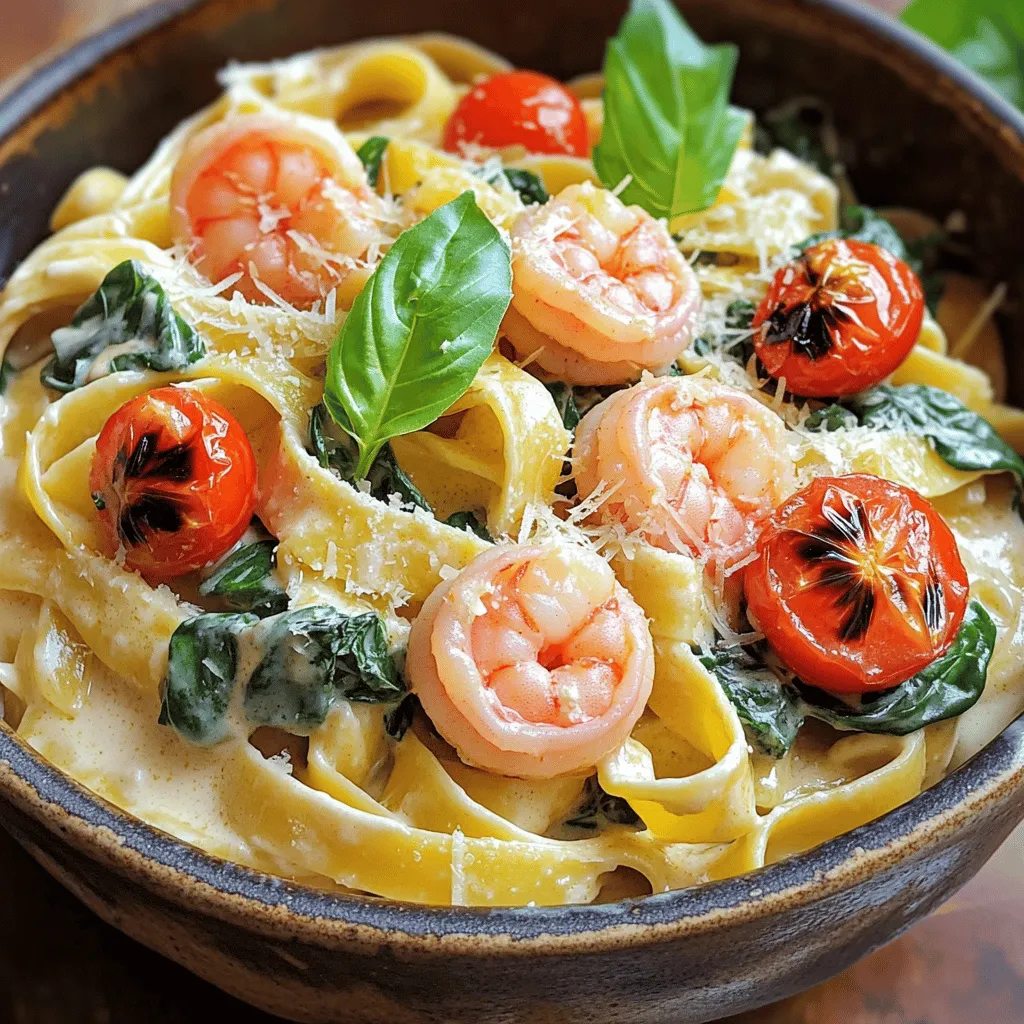
Creamy Tuscan Garlic Shrimp Pasta Irresistible Dish
Get ready to impress your taste buds with my Creamy Tuscan Garlic Shrimp Pasta! This dish combines juicy shrimp and fresh spinach in a rich,
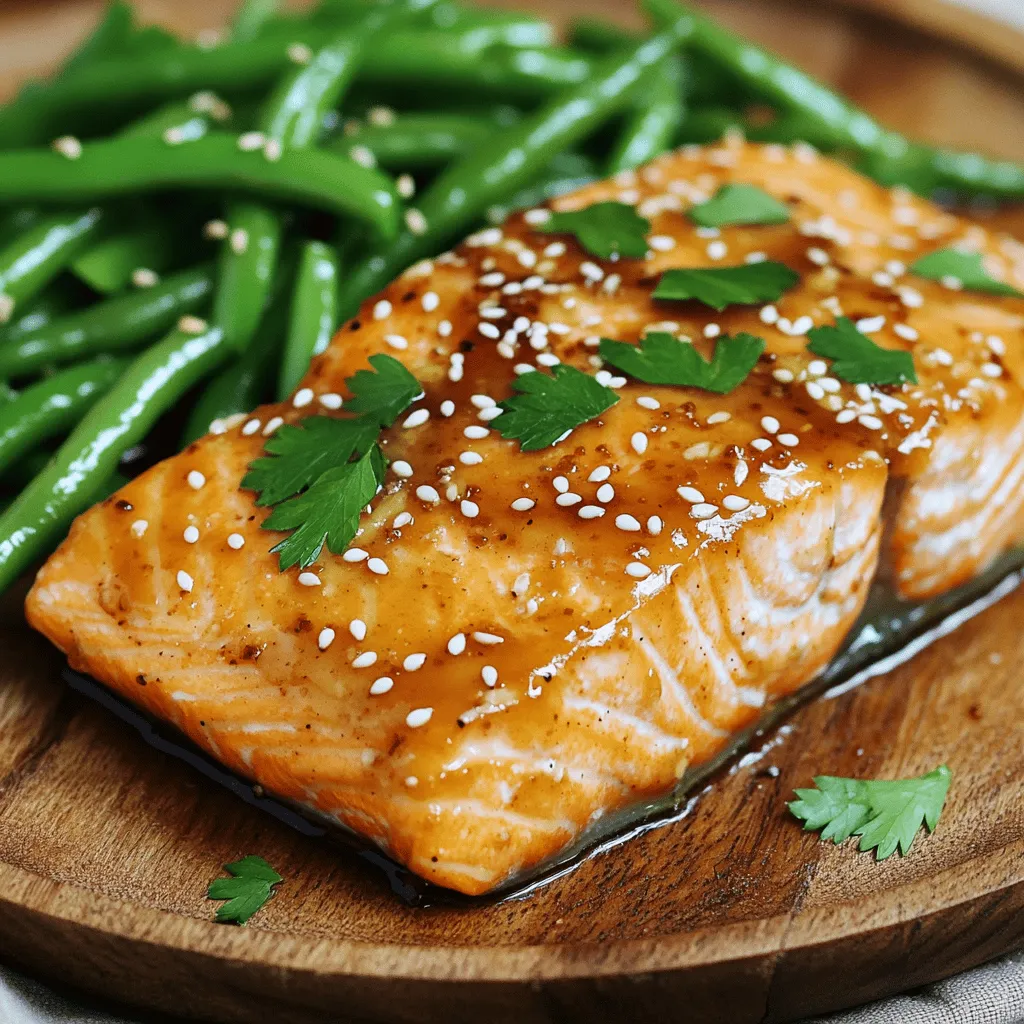
Honey Garlic Salmon and Green Beans Flavorful Meal
Are you ready to impress your taste buds? This Honey Garlic Salmon and Green Beans meal is bursting with flavor and simple to make. With
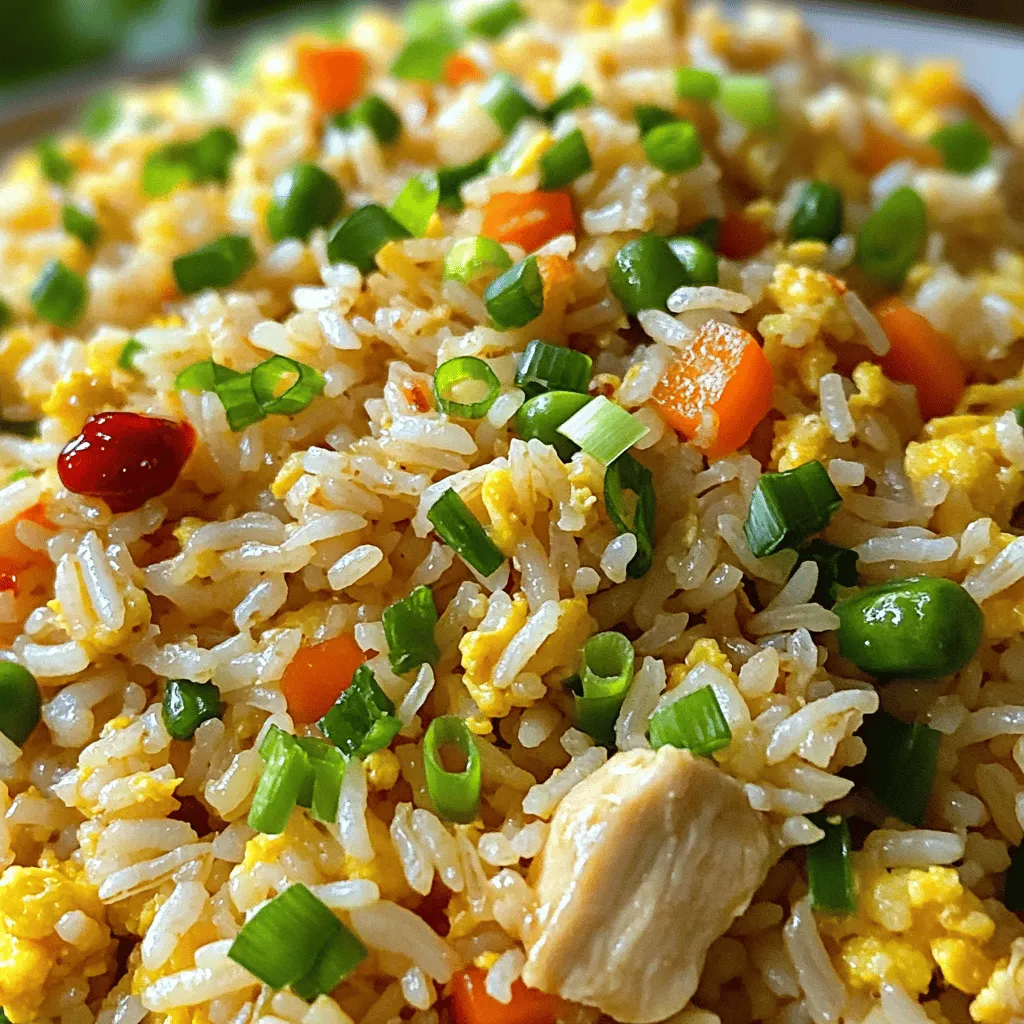
Spicy Garlic Chicken Fried Rice Quick and Tasty Meal
Are you craving a quick and tasty meal? Spicy Garlic Chicken Fried Rice is a burst of flavor in a bowl. This easy dish uses
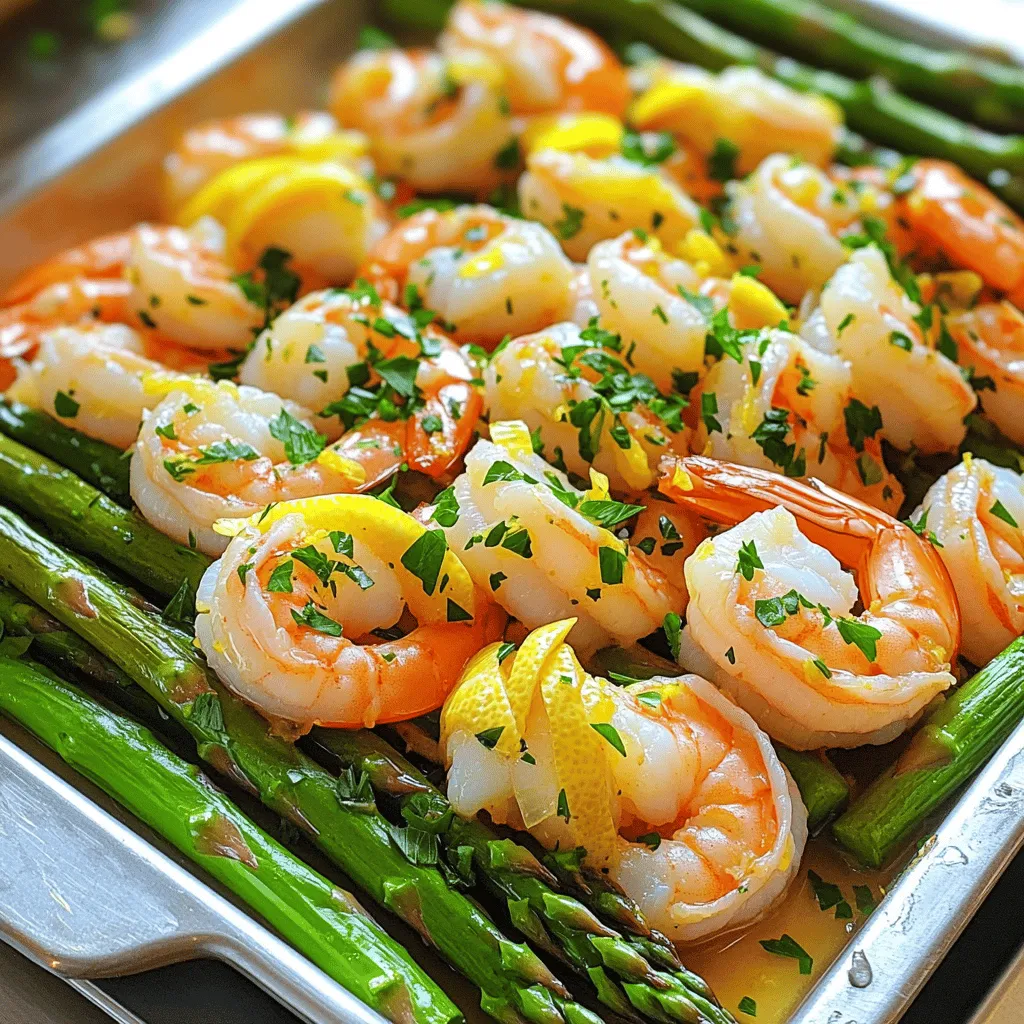
Sheet Pan Lemon Garlic Shrimp and Asparagus Delight
Looking for a quick and tasty dinner? This Sheet Pan Lemon Garlic Shrimp and Asparagus Delight is the answer! In just 30 minutes, you’ll create
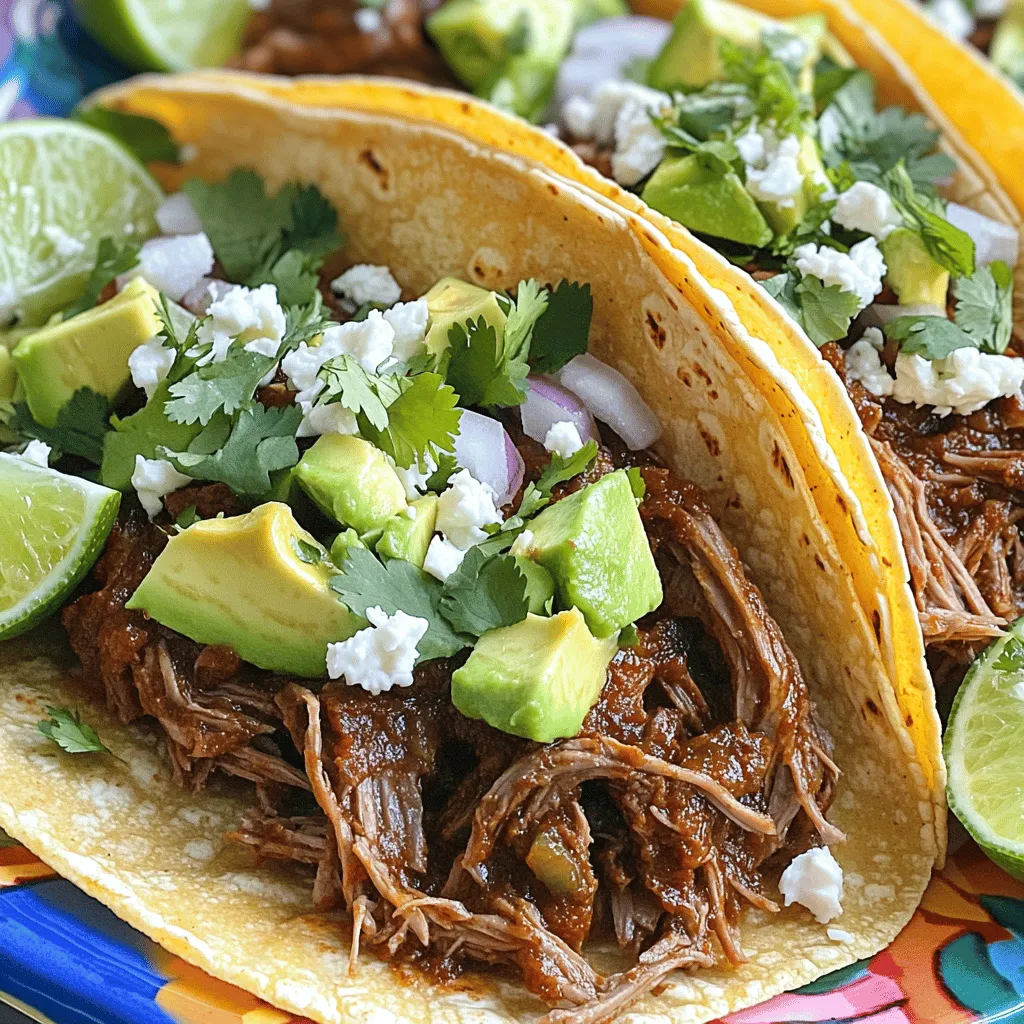
Slow Cooker Chipotle Barbacoa Beef Tacos Delight
Do you crave rich, flavorful tacos that are easy to make? Look no further! My Slow Cooker Chipotle Barbacoa Beef Tacos Delight will transform your
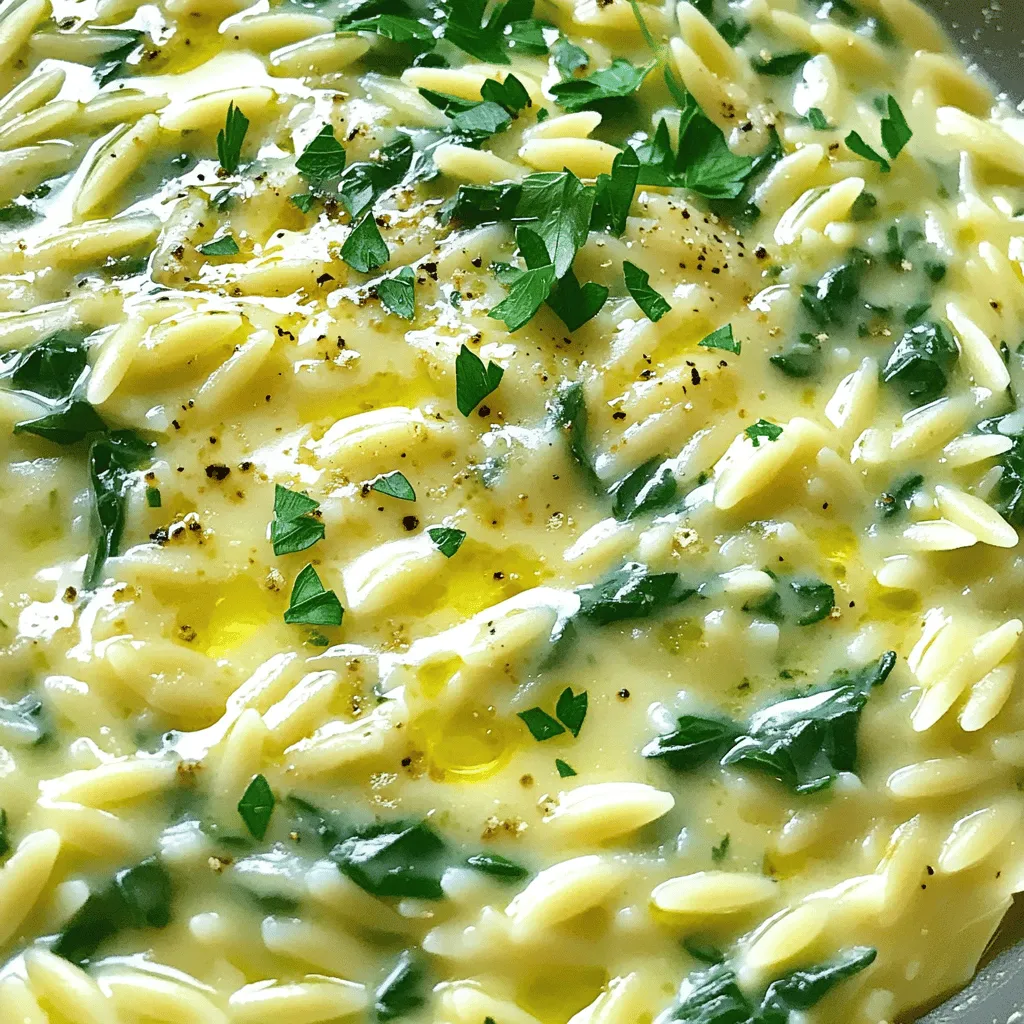
Creamy Garlic Parmesan Spinach Orzo Flavorful Dish
Looking for a rich, savory dish to impress your friends? This Creamy Garlic Parmesan Spinach Orzo has your back! With just a handful of fresh
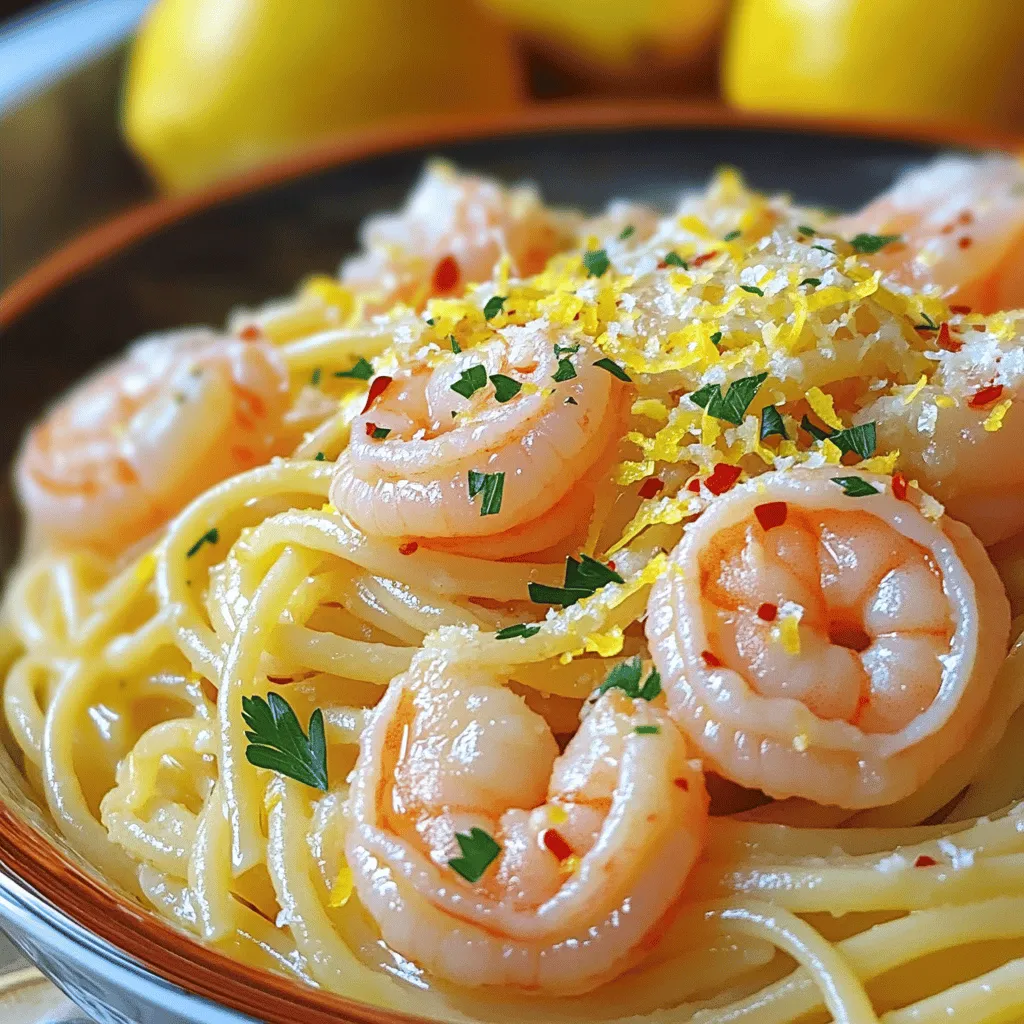
Minute Lemon Garlic Shrimp Pasta Quick and Tasty Meal
Looking for a quick and tasty meal? This Minute Lemon Garlic Shrimp Pasta is your answer! In just 15 minutes, you can whip up a

Sesame Ginger Beef Stir-Fry Quick and Simple Recipe
If you’re looking for a quick and tasty dish, you’ve found it! This Sesame Ginger Beef Stir-Fry is not only simple but also packed with
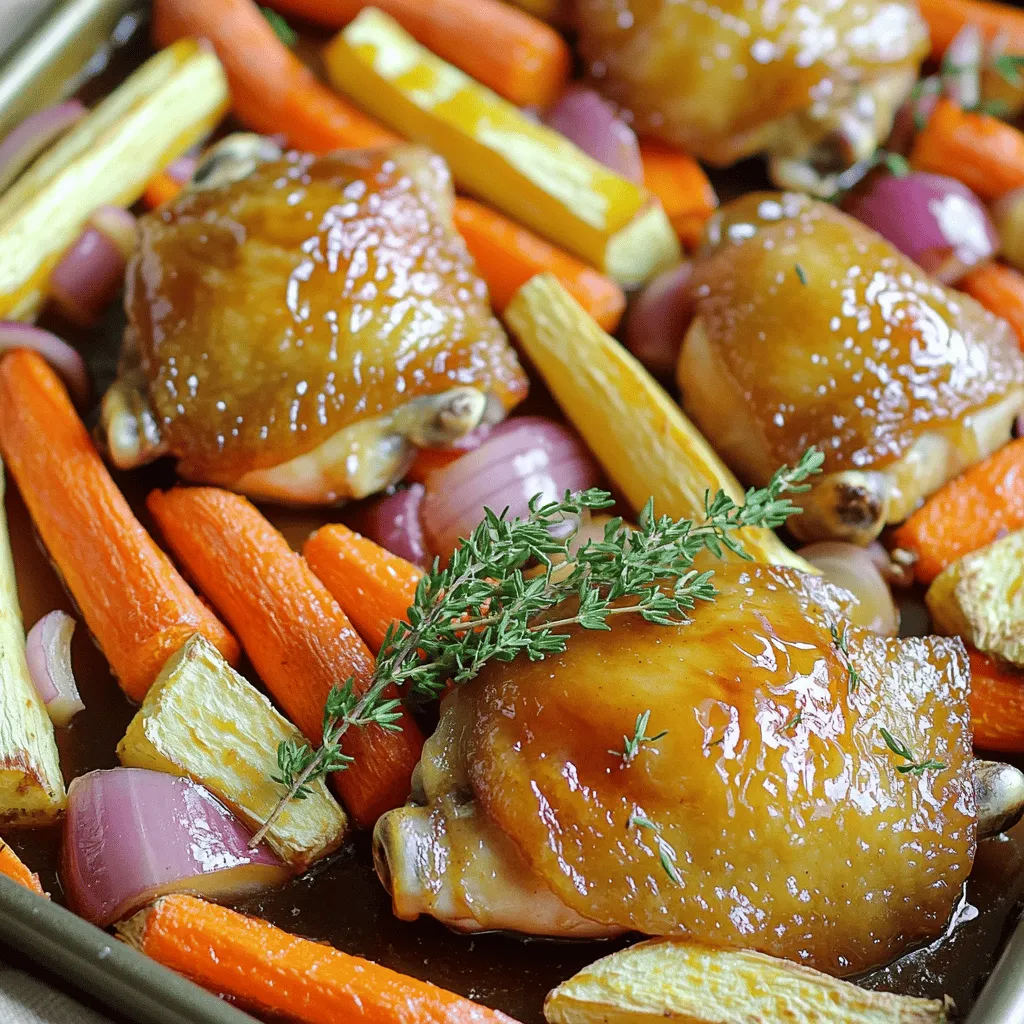
Sheet Pan Maple Glazed Chicken & Roots Flavor Boost
Ready to elevate your weeknight dinner? This Sheet Pan Maple Glazed Chicken and Roots dish is your ticket to a flavorful meal without the fuss.

Savory Slow Cooker White Bean Kale Soup Recipe
Welcome to my kitchen! I’m excited to share a comforting recipe for Savory Slow Cooker White Bean Kale Soup. This hearty soup is packed with