Dinner

Better-Than-Takeout Spicy Chicken Lo Mein Recipe
If you’re craving takeout but want something better, I’ve got just the recipe for you. This Better-Than-Takeout Spicy Chicken Lo Mein is packed with flavor
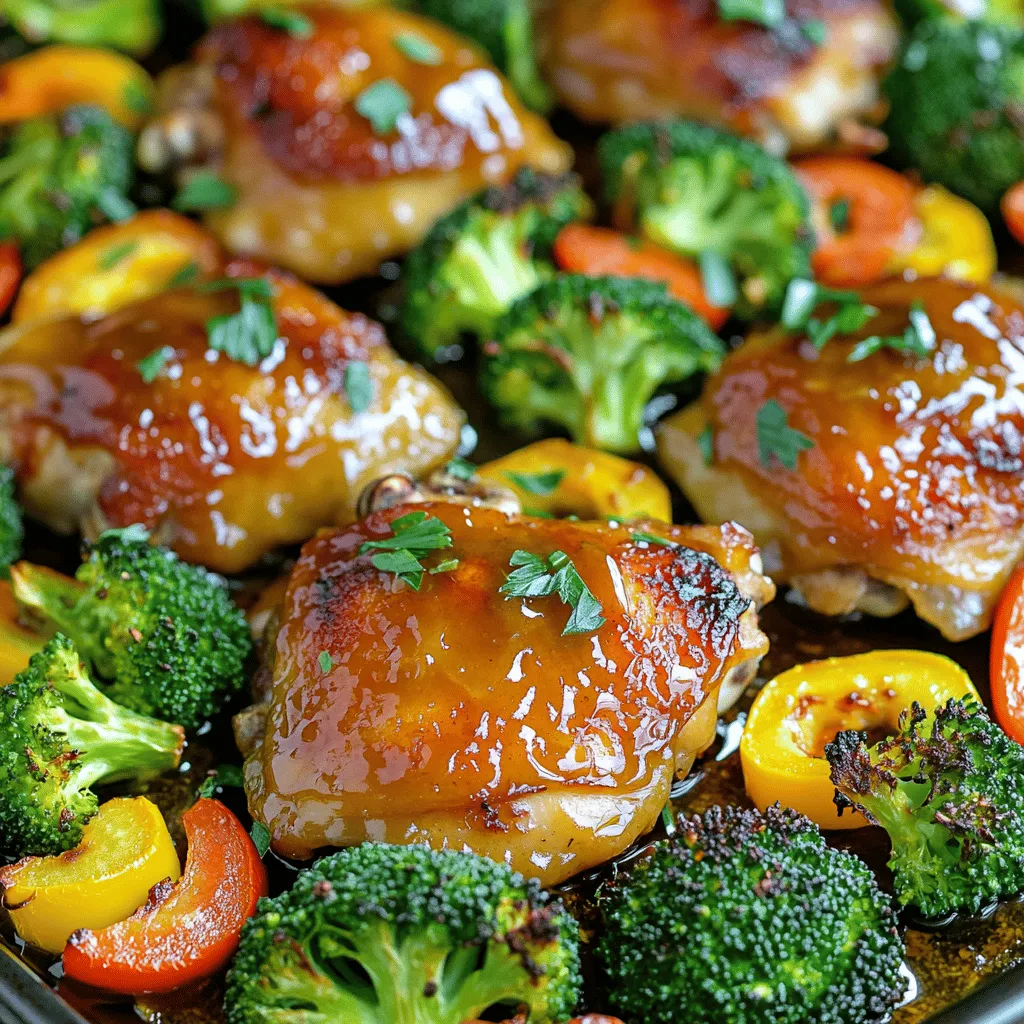
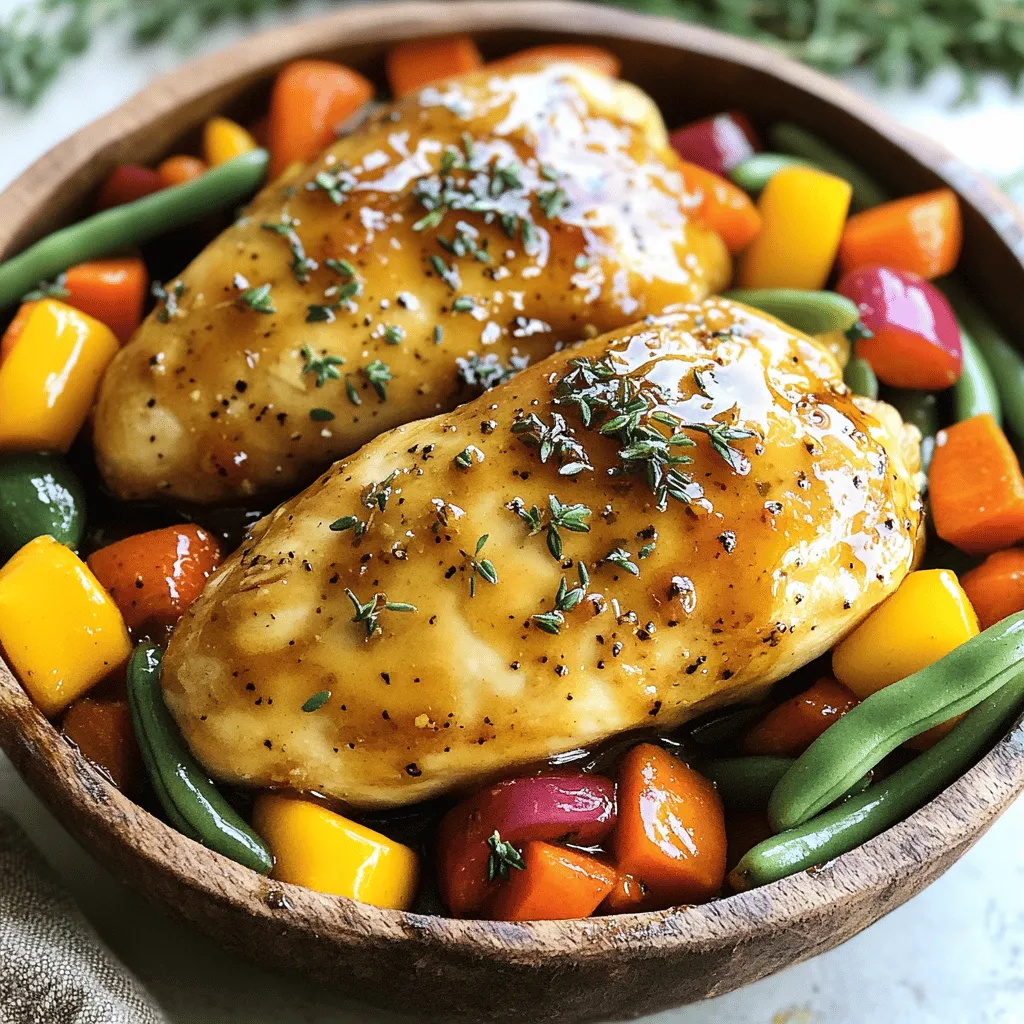
Sheet-Pan Honey Mustard Chicken with Roasted Veggies Delight
Ready for a tasty meal that’s quick and easy? This *Sheet-Pan Honey Mustard Chicken with Roasted Veggies Delight* brings flavor to your table without the
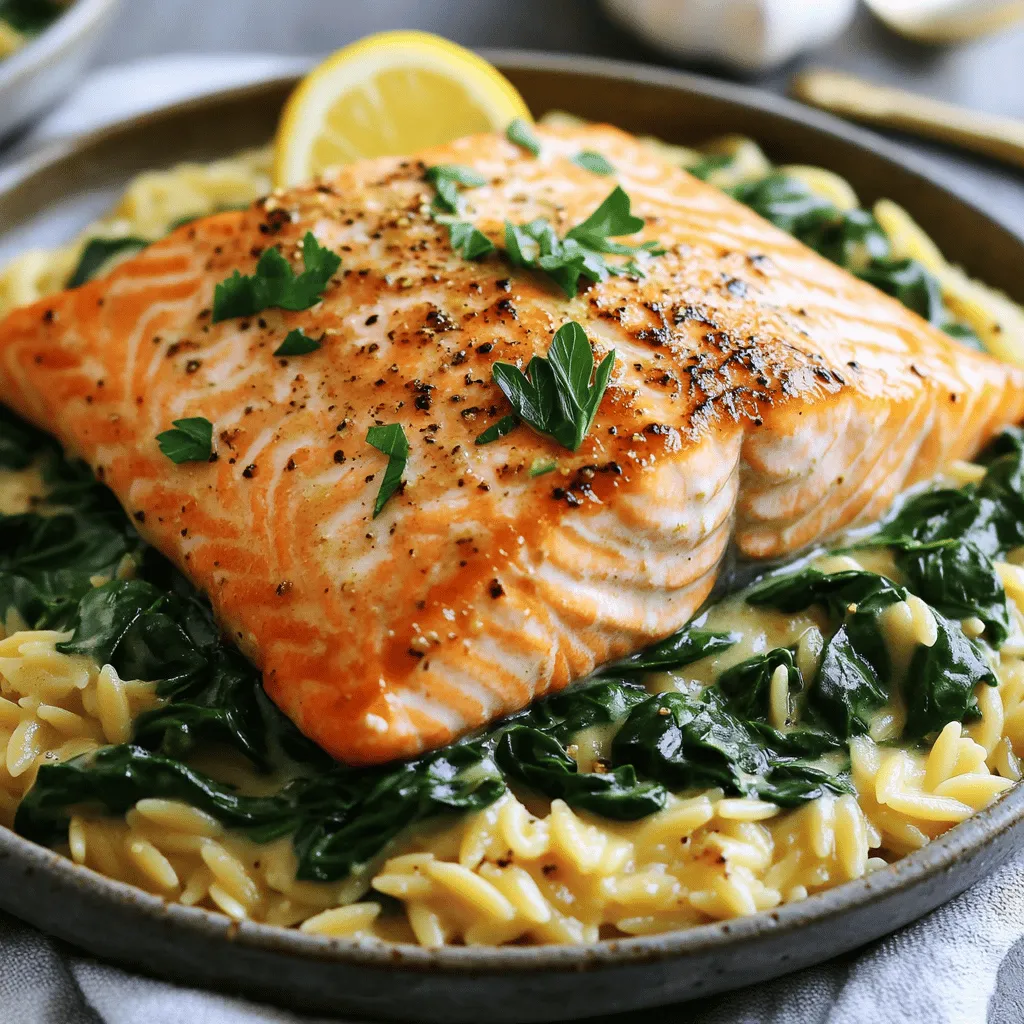
Creamy Garlic Butter Salmon with Spinach and Orzo Dish
Get ready to impress your taste buds with my Creamy Garlic Butter Salmon with Spinach and Orzo dish. This meal pairs tender salmon fillets with
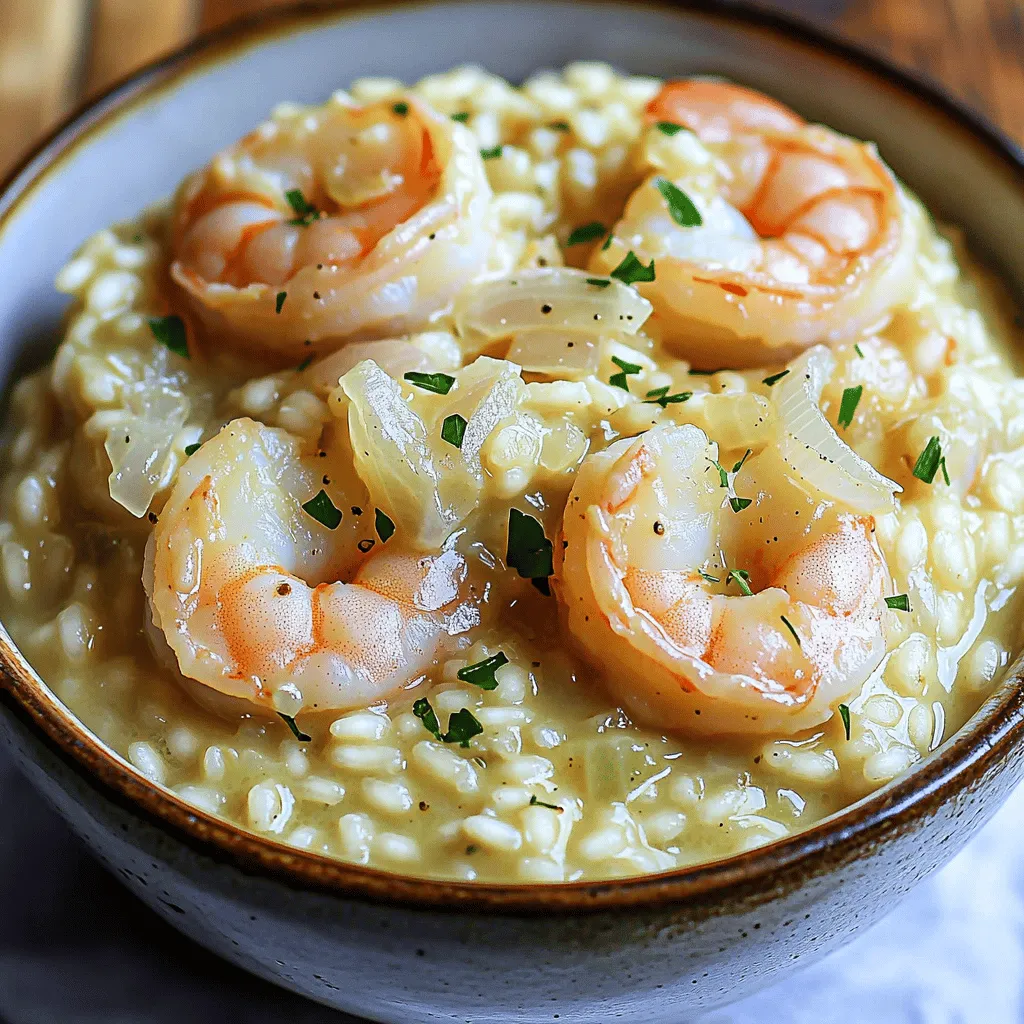
Minute Creamy Garlic Shrimp Risotto Flavorful Dish
Welcome to a delicious journey where we whip up a Minute Creamy Garlic Shrimp Risotto. This dish is perfect when you crave comfort food that’s
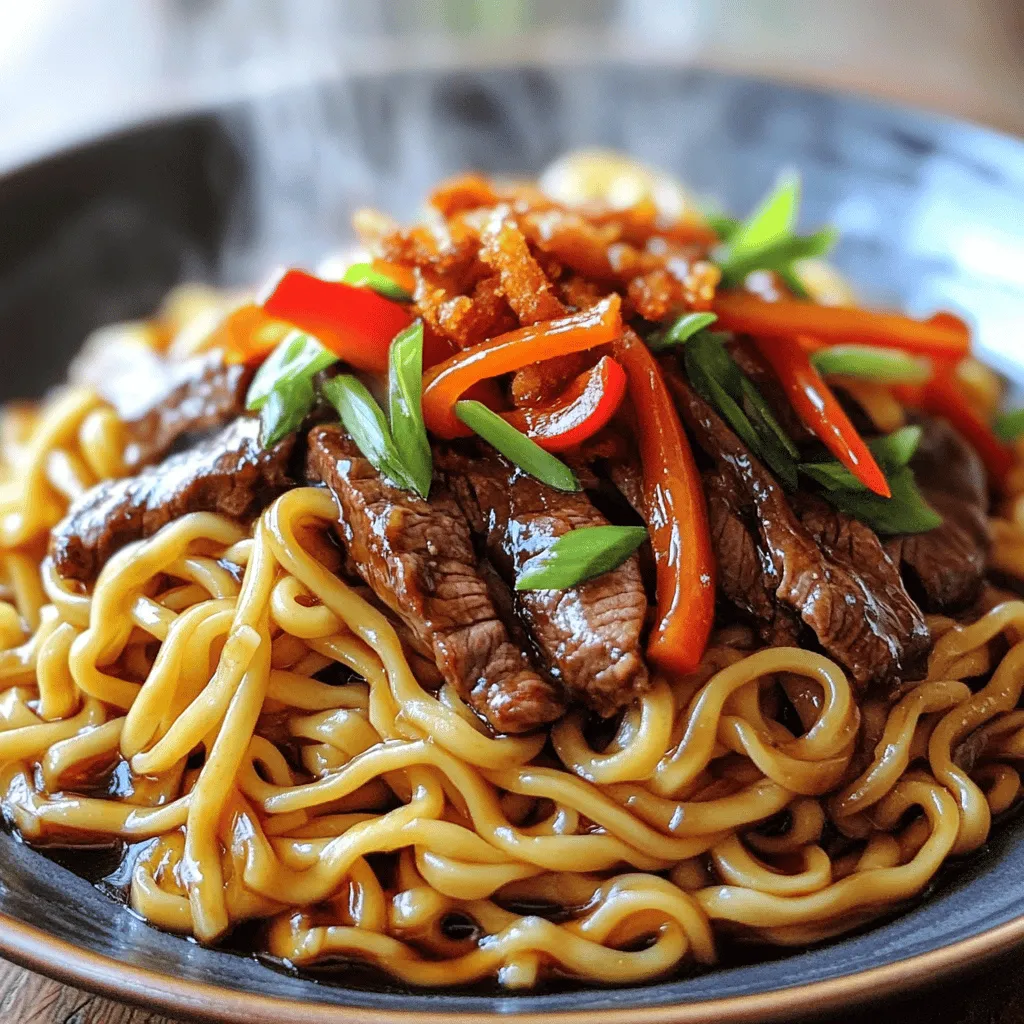
Better-Than-Takeout Mongolian Beef Noodles Delight
Are you tired of ordering the same takeout every week? Let’s change that! My Better-Than-Takeout Mongolian Beef Noodles are not just quick to make; they
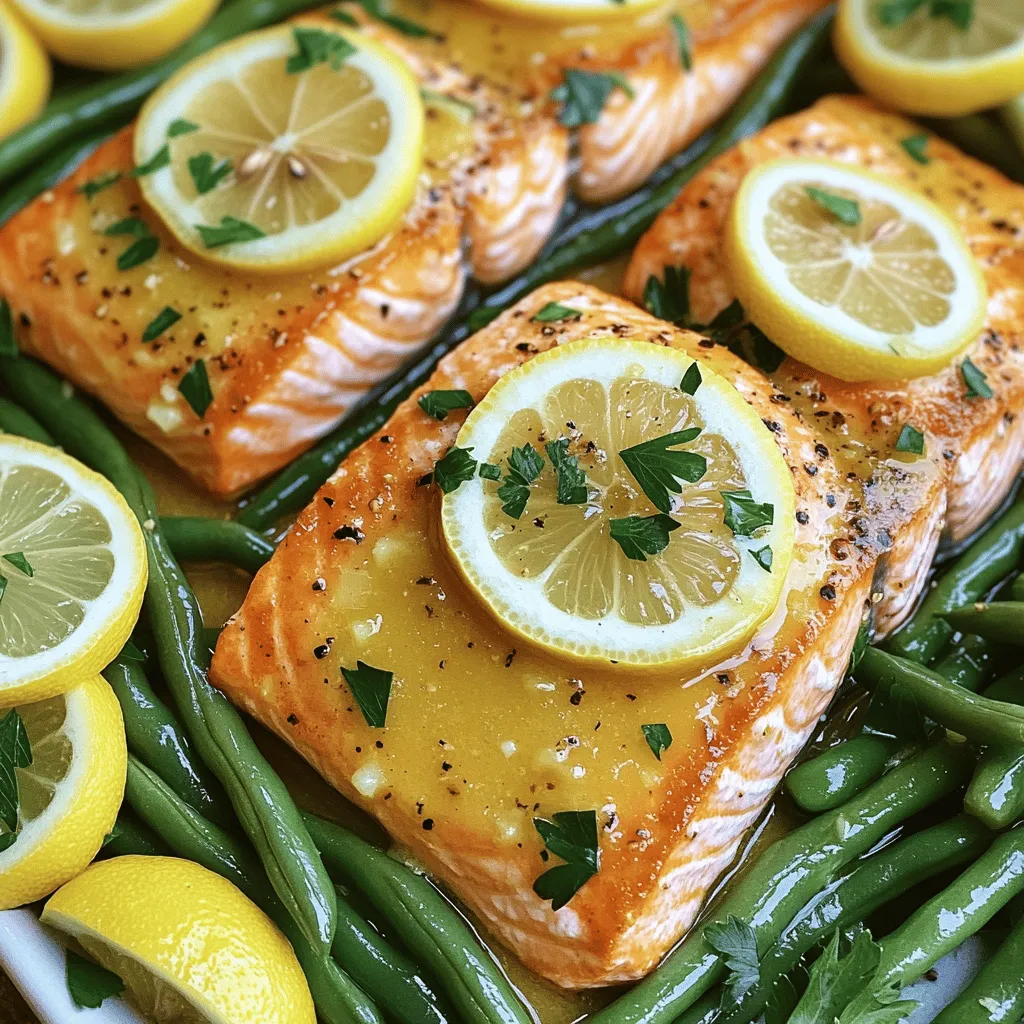
Sheet Pan Lemon Butter Salmon & Green Beans Delight
If you’re craving a dinner that’s both tasty and easy, look no further! My Sheet Pan Lemon Butter Salmon & Green Beans Delight is here
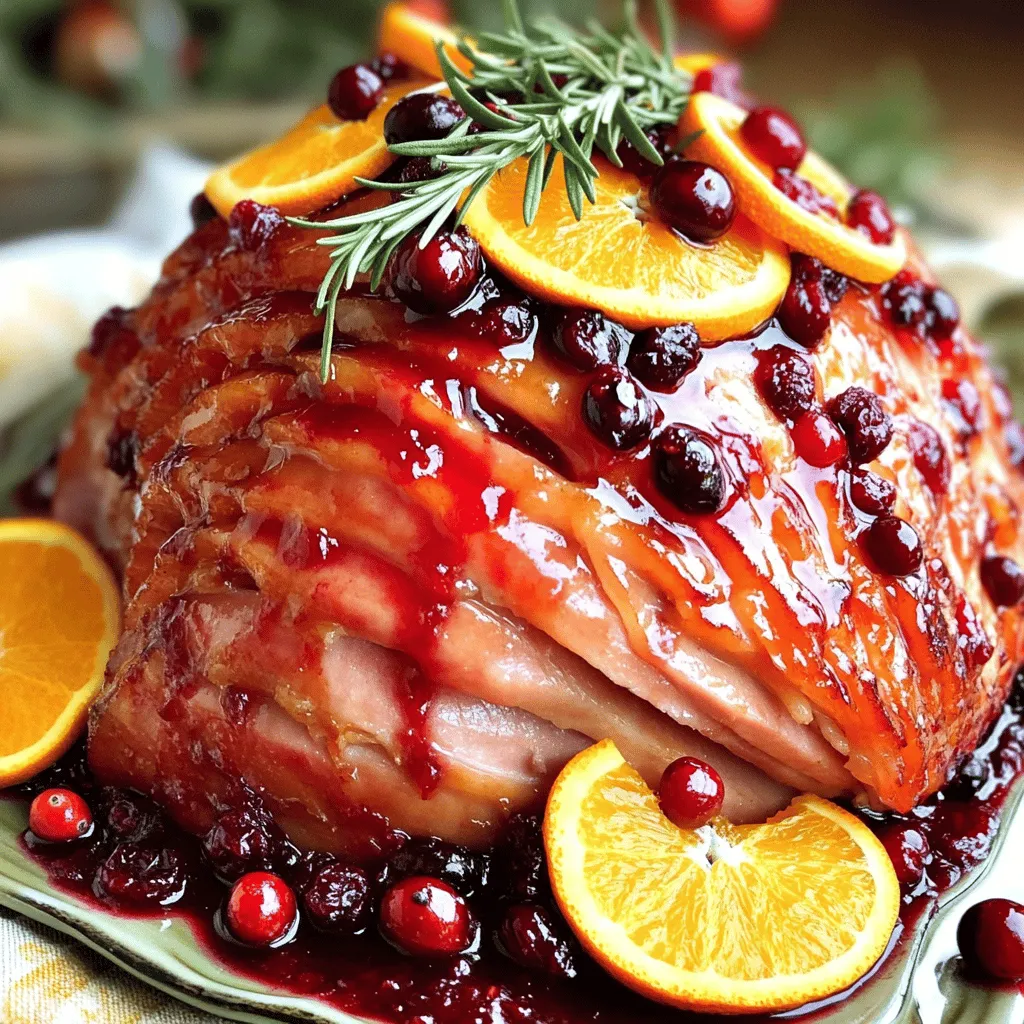
Cranberry Orange Slow Cooker Holiday Ham Delight
Get ready to impress your holiday guests with my Cranberry Orange Slow Cooker Holiday Ham Delight! This dish combines the sweet taste of cranberries and
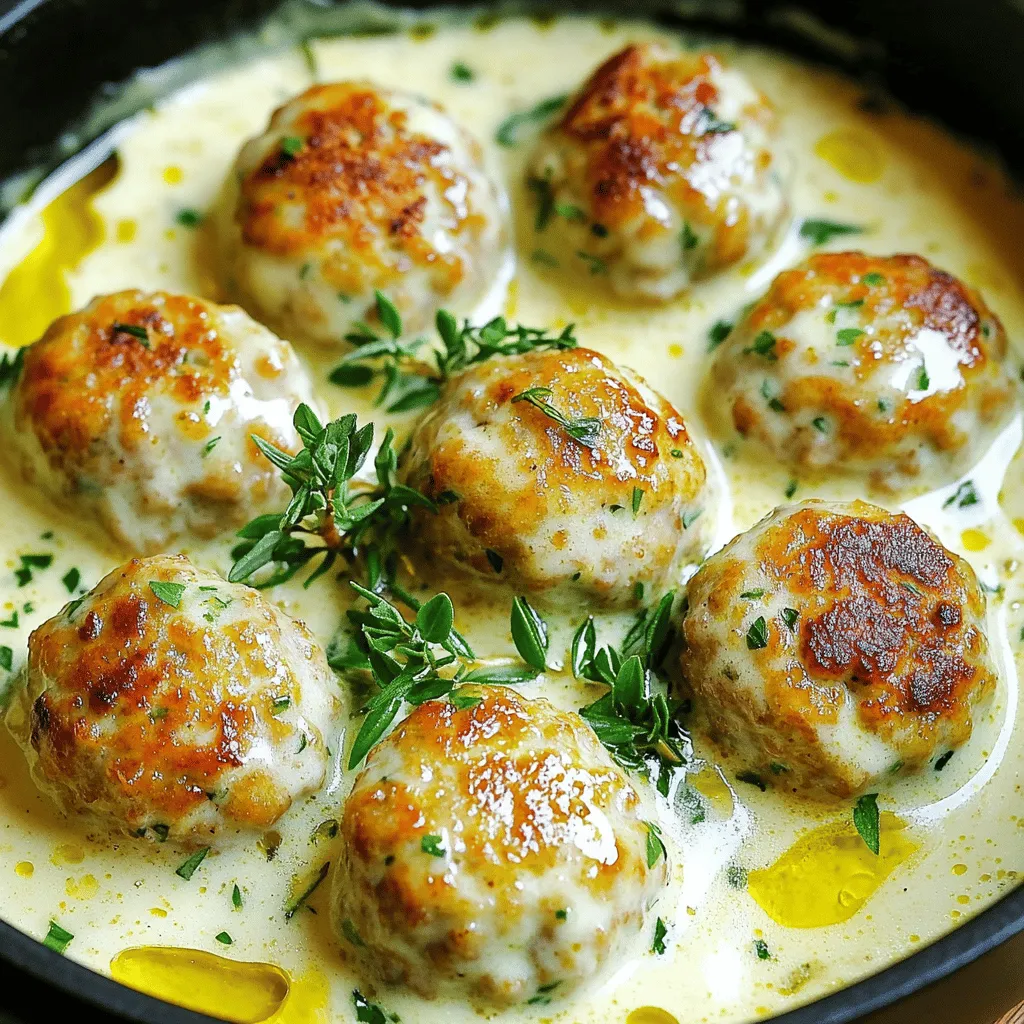
Skillet Creamy Garlic Herb Turkey Meatballs Recipe
Looking for a quick and tasty dinner? You’ll love my Skillet Creamy Garlic Herb Turkey Meatballs recipe! This dish combines juicy turkey meatballs with a
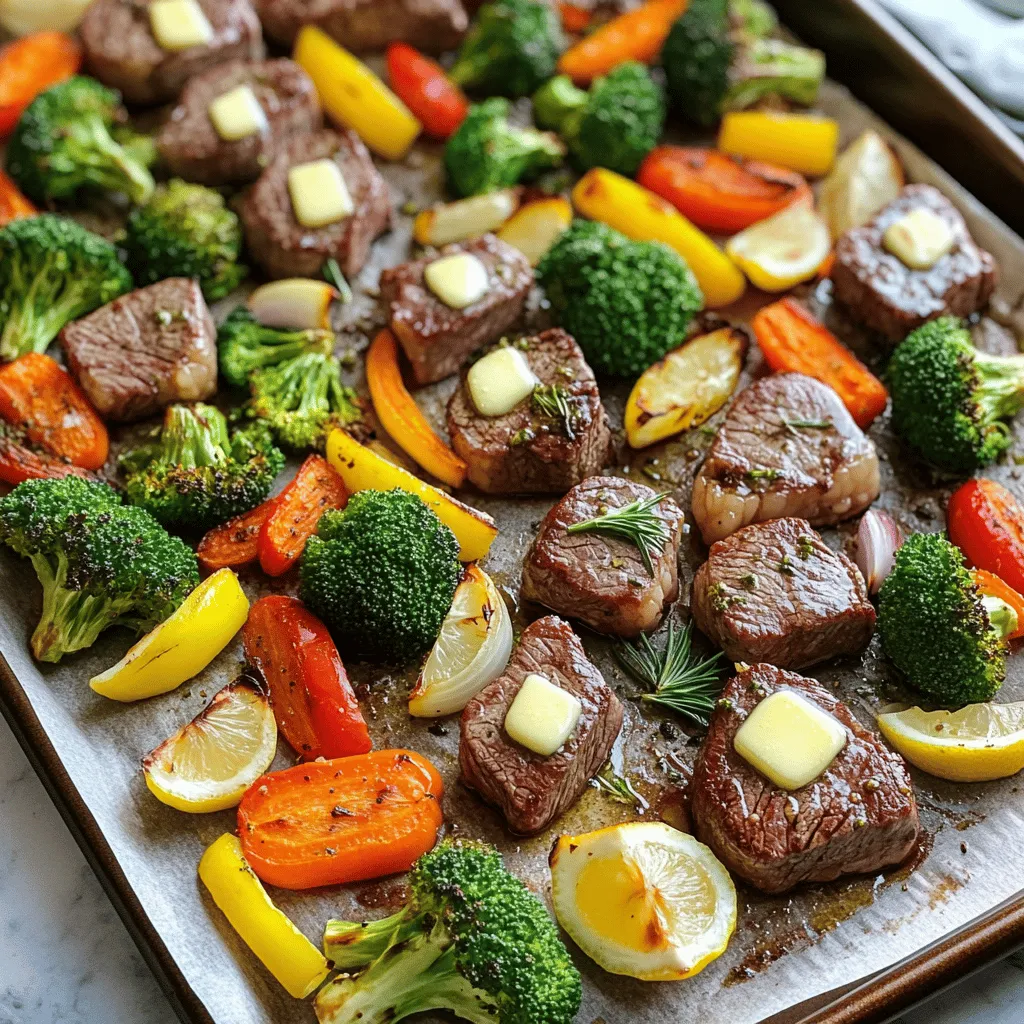
Garlic Butter Steak & Veggie Sheet Pan Delight
Craving a tasty dinner that’s simple and satisfying? I have just the recipe for you! This Garlic Butter Steak & Veggie Sheet Pan Delight combines
Maple Dijon Chicken & Veggies Flavorful Slow Cooker Dish
Are you ready to try a meal that’s both easy to make and full of flavor? My Maple Dijon Chicken & Veggies is the perfect