Dinner
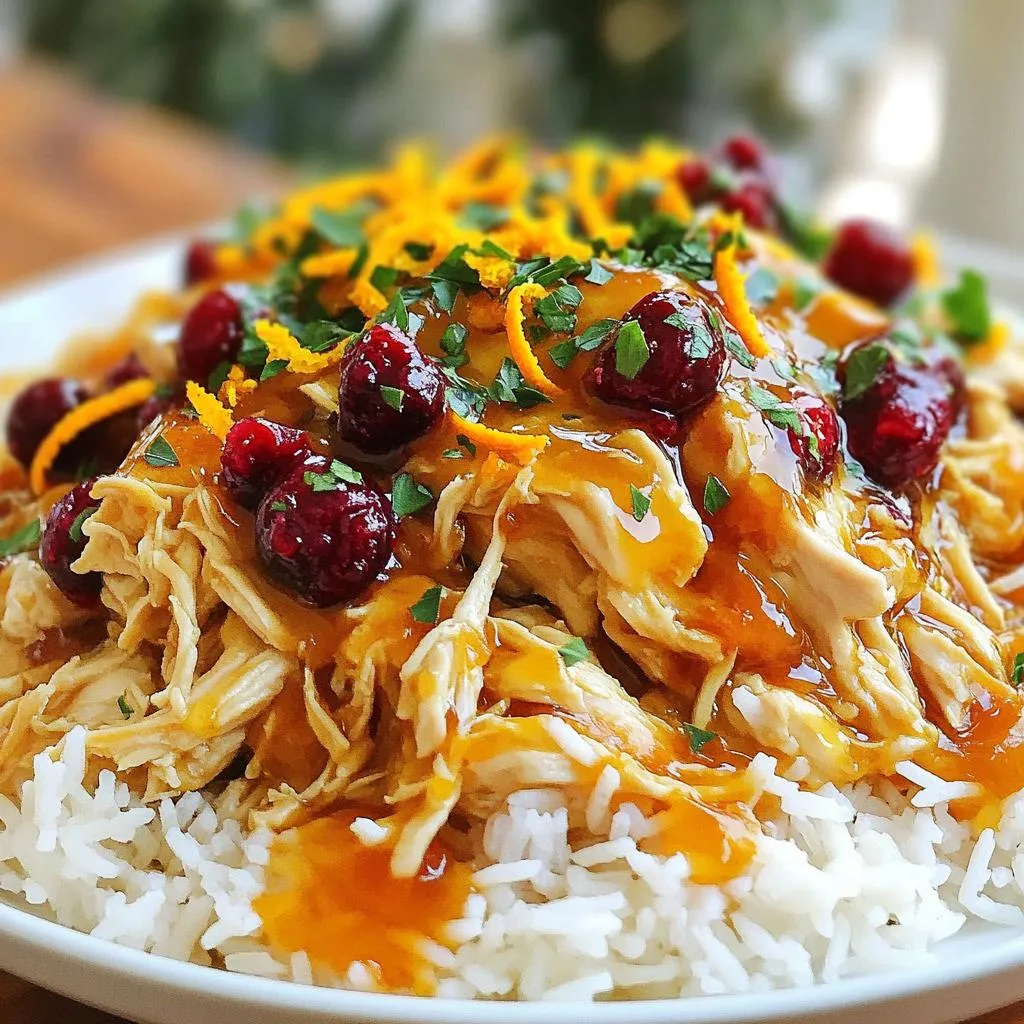
Slow Cooker Cranberry Orange Chicken Flavorful Delight
Looking for a dish that bursts with flavor? You’ll love this Slow Cooker Cranberry Orange Chicken! This recipe combines tender chicken with a sweet and

Skillet Garlic Butter Shrimp Alfredo Rich and Creamy Treat
Are you ready to dive into a dish that screams comfort? My Skillet Garlic Butter Shrimp Alfredo is rich, creamy, and can be on your
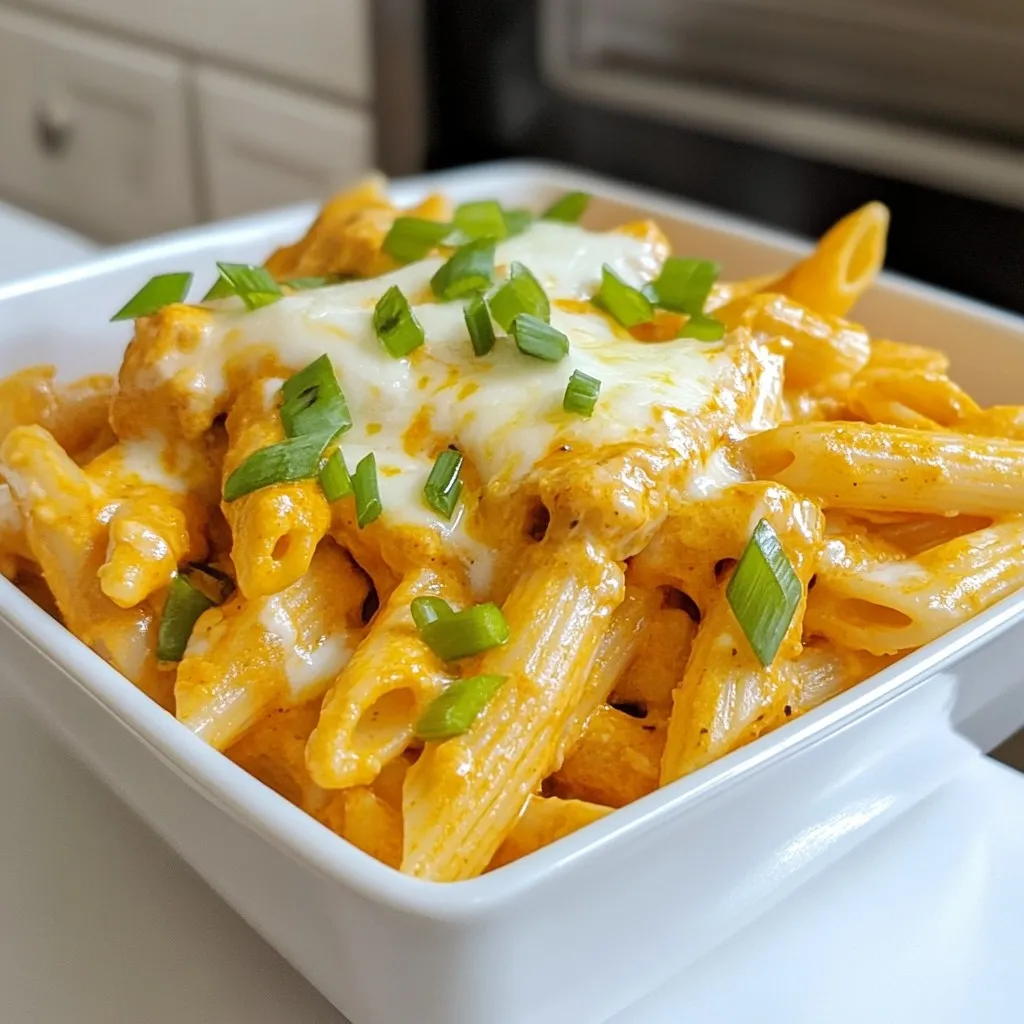
High-Protein Buffalo Chicken Pasta Flavorful and Easy
Are you ready to spice up your dinner routine? My High-Protein Buffalo Chicken Pasta is not just flavorful but also easy to make. Packed with
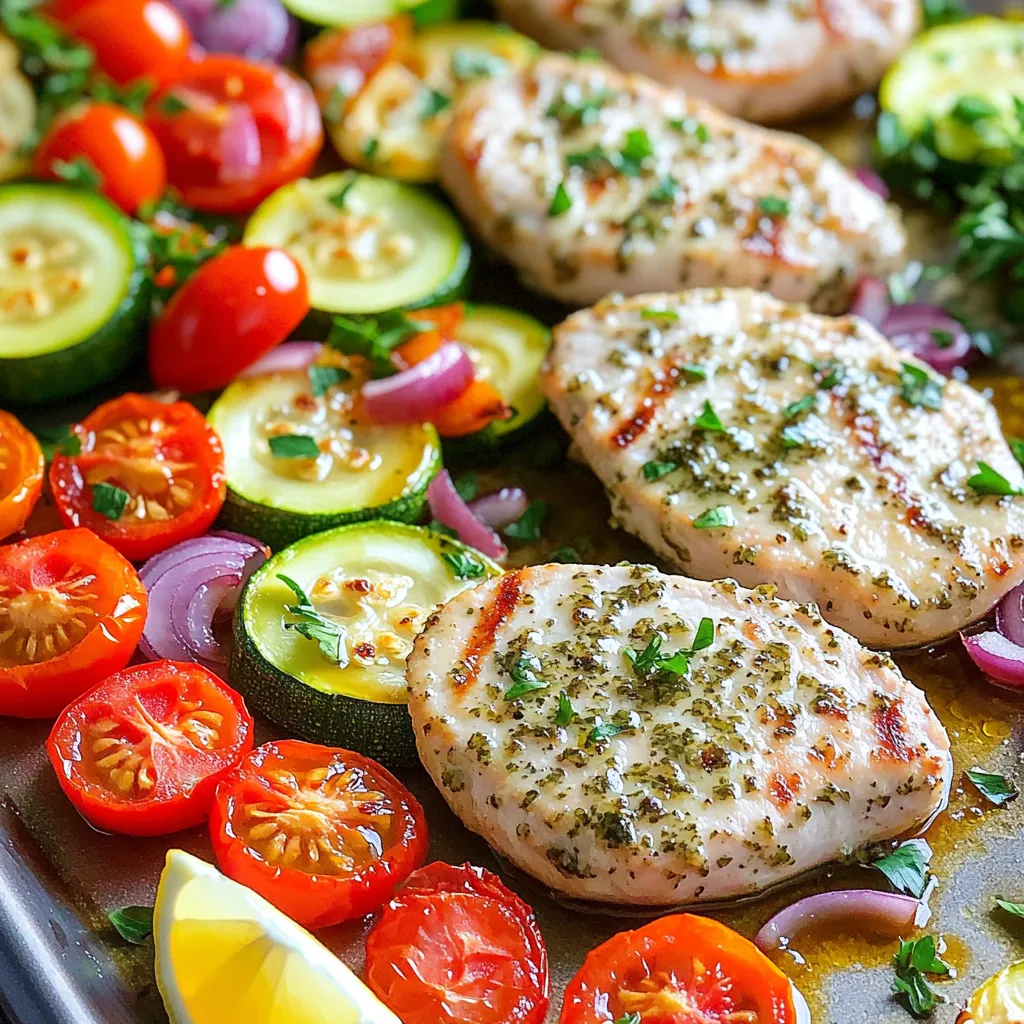
Sheet Pan Garlic Herb Turkey Cutlets & Veggies Delight
Looking for a simple yet delicious dinner option? Let me introduce you to my Sheet Pan Garlic Herb Turkey Cutlets & Veggies Delight. This one-pan
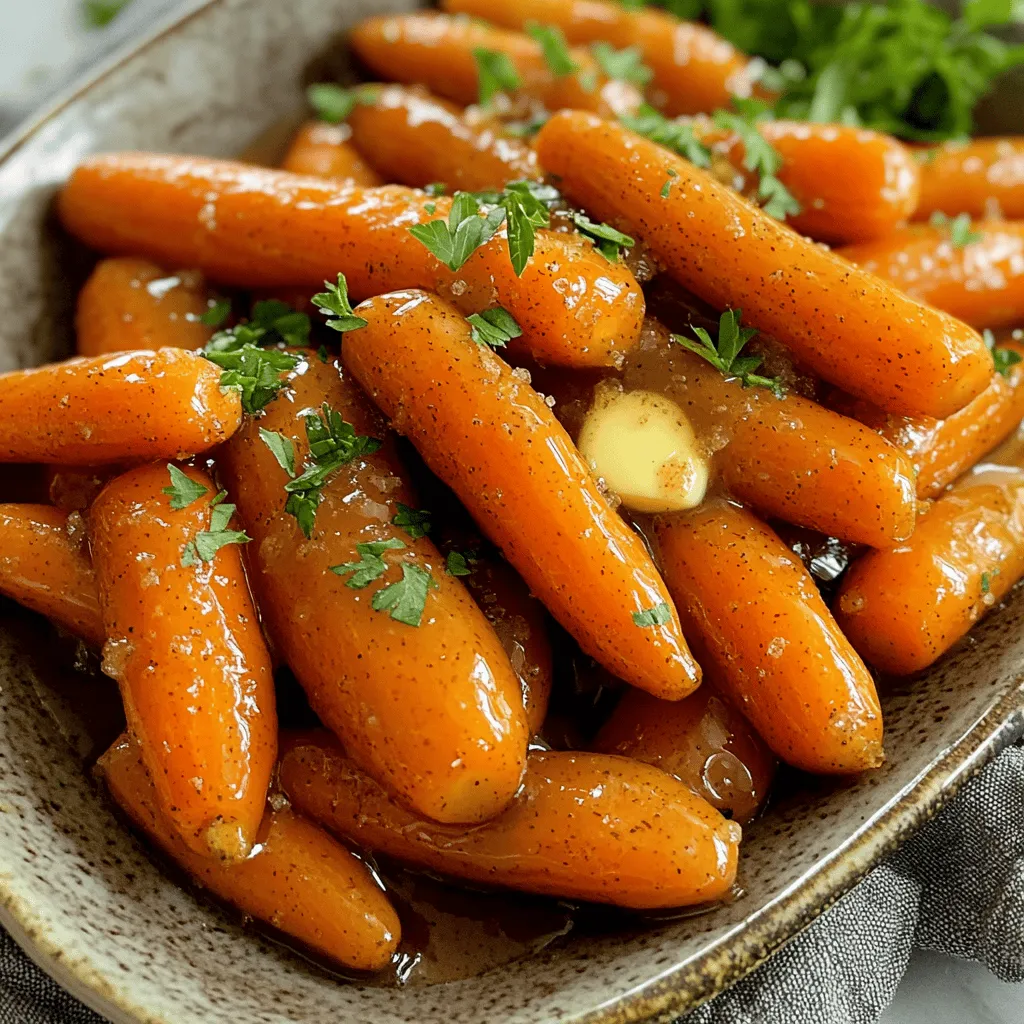
Slow Cooker Maple Brown Sugar Glazed Carrots Delight
Craving a sweet and savory side dish? Try my Slow Cooker Maple Brown Sugar Glazed Carrots! These tender, glazed carrots are easy to make and
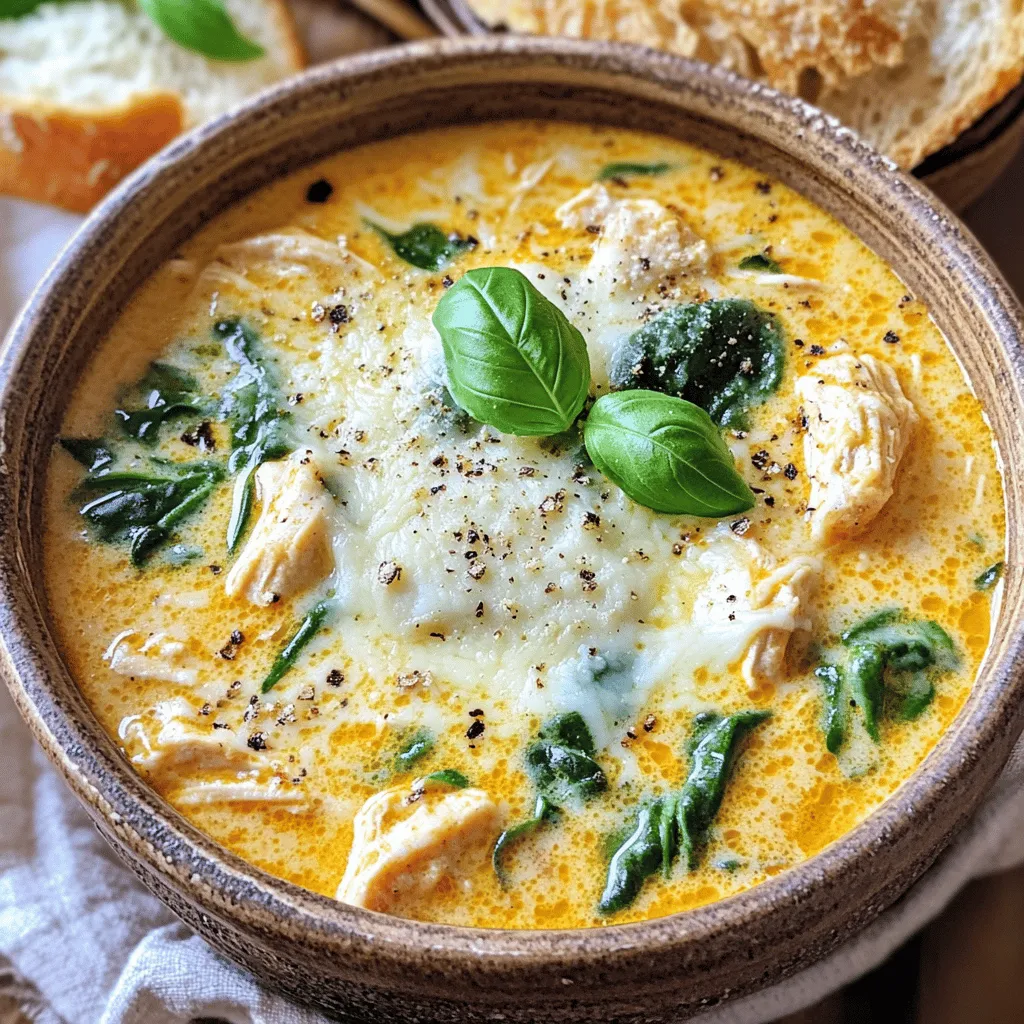
One-Pot Creamy Garlic Parmesan Chicken Lasagna Soup Delight
Warm up your dinner routine with my One-Pot Creamy Garlic Parmesan Chicken Lasagna Soup Delight! This hearty dish combines tender chicken, rich cheese, and vibrant
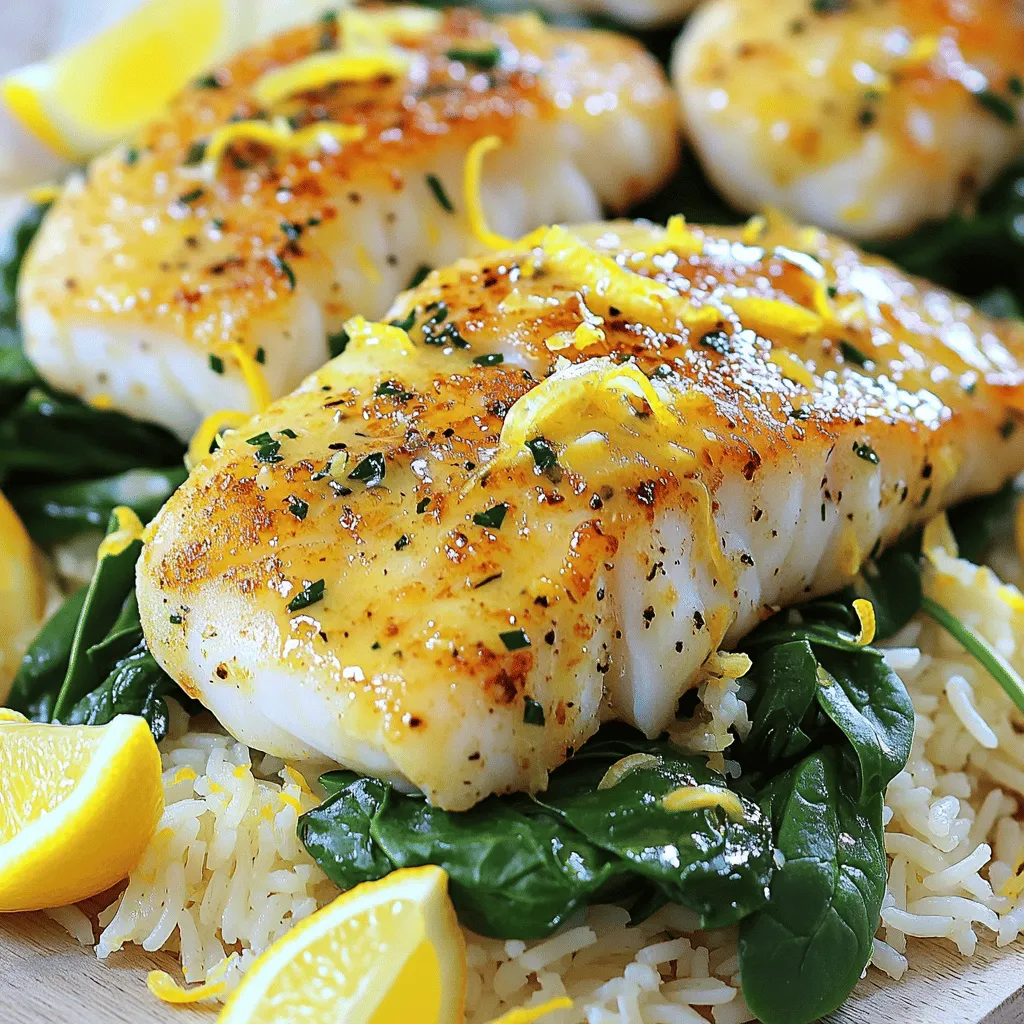
Minute Garlic Butter Cod & Lemon Rice Delightful Dish
Looking for a quick, tasty meal? You’ll love my Minute Garlic Butter Cod & Lemon Rice! This dish is easy to make and packed with
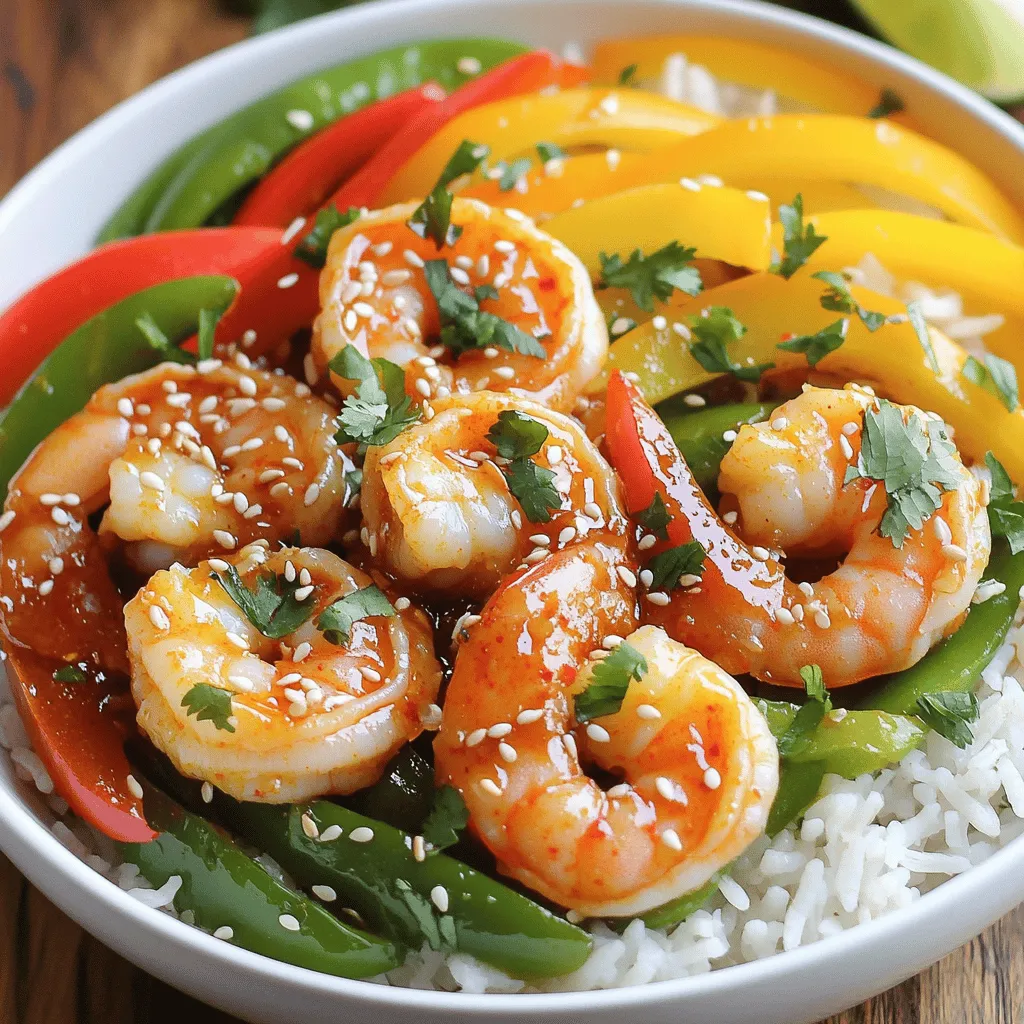
Sweet Chili Shrimp Bowls Flavorful and Easy Recipe
Looking for a quick and tasty meal? My Sweet Chili Shrimp Bowls are packed with flavor and super easy to make! In this guide, I’ll
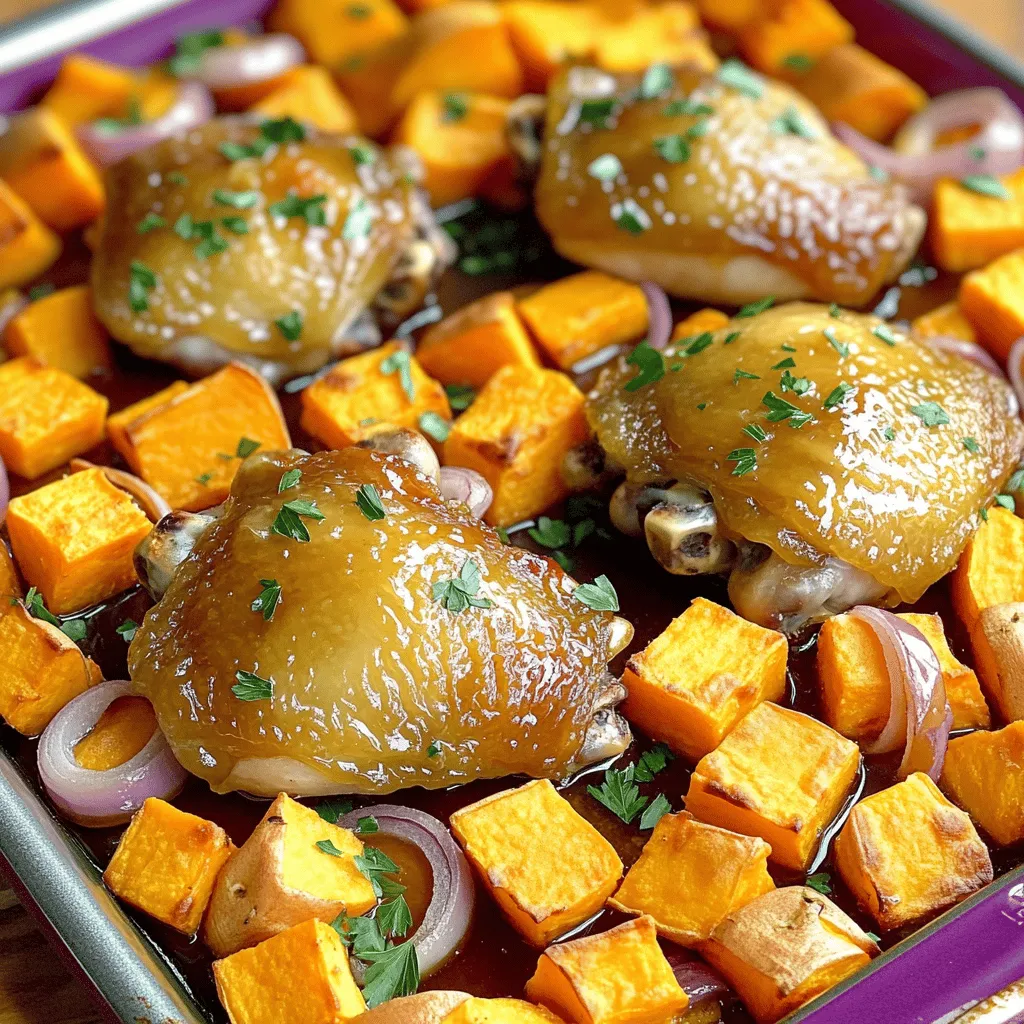
Maple Glazed Chicken & Sweet Potato Sheet Pan Delight
Looking for a simple, tasty meal? Try my Maple Glazed Chicken & Sweet Potato Sheet Pan Delight! This dish blends juicy chicken thighs with sweet
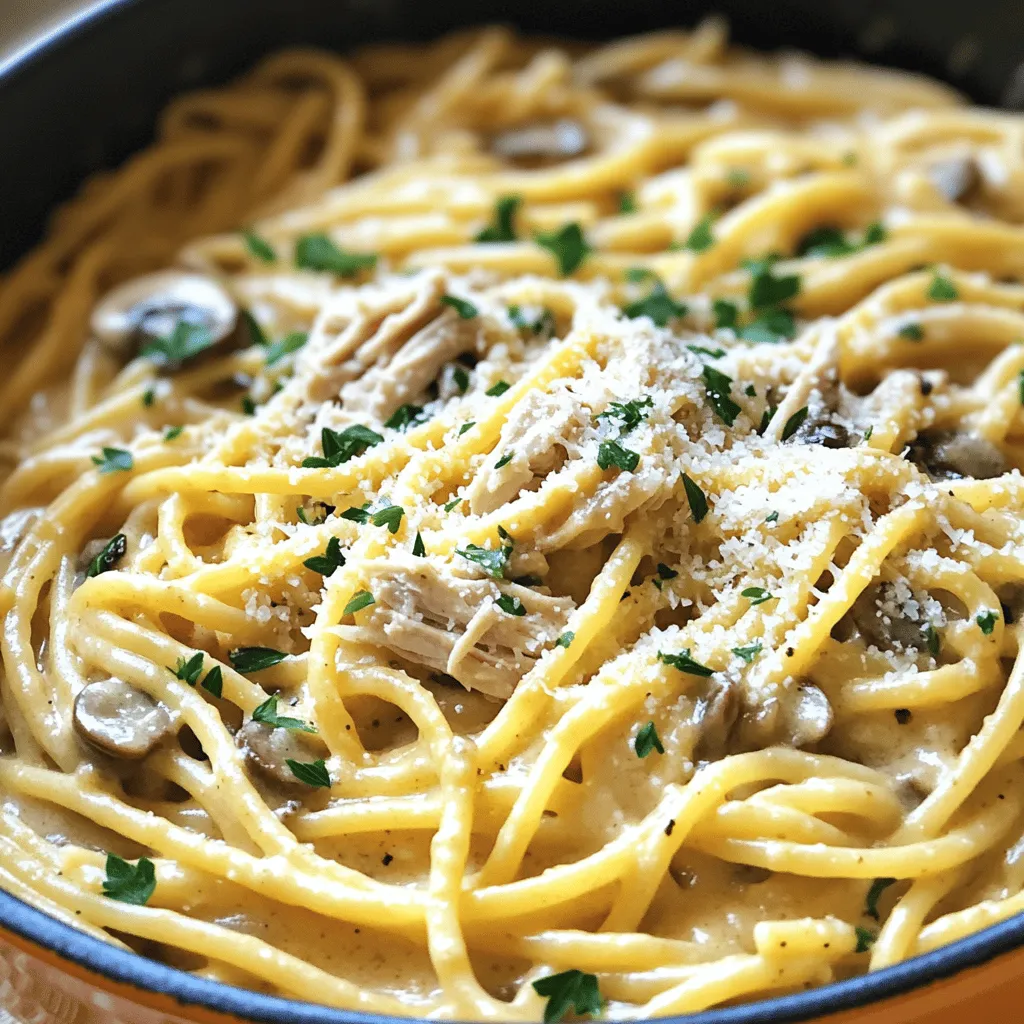
One-Pot Creamy Garlic Parmesan Turkey Tetrazzini Dish
Ready to elevate your weeknight dinners? This One-Pot Creamy Garlic Parmesan Turkey Tetrazzini is your new go-to comfort food. It’s rich, creamy, and comes together