Dinner
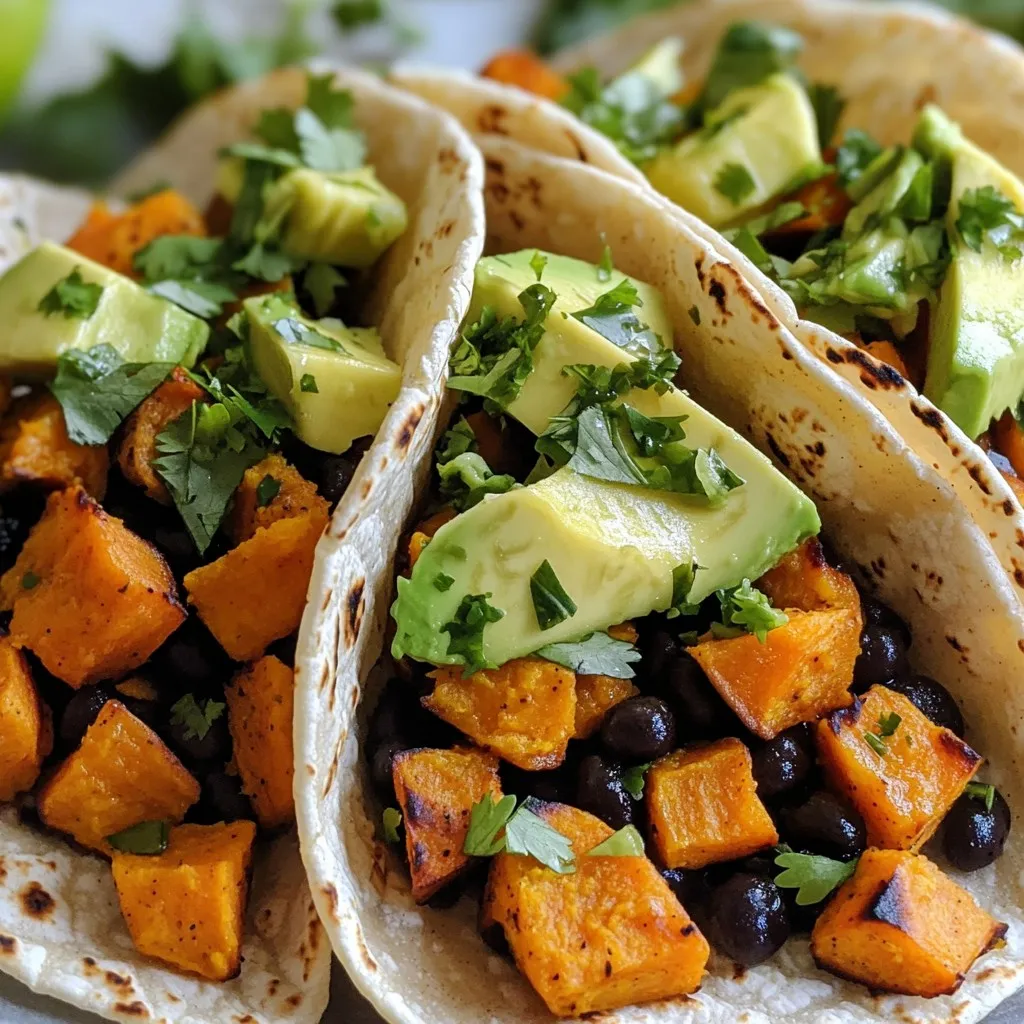
Air Fryer Sweet Potato & Black Bean Tacos Delight
Looking for a tasty and healthy meal? You’ll love these Air Fryer Sweet Potato & Black Bean Tacos! They blend sweet potatoes and black beans
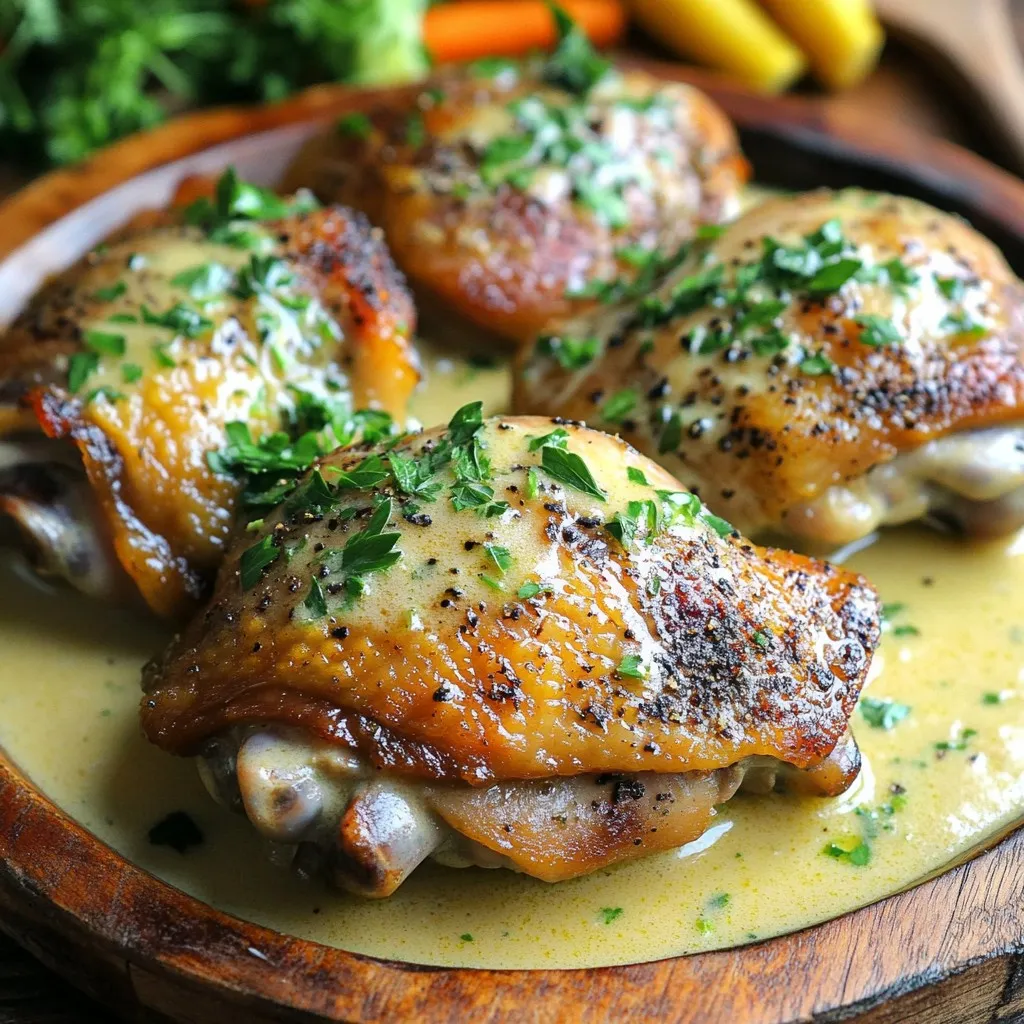
Skillet Creamy Garlic Herb Chicken Thighs Irresistible Meal
Are you ready to whip up a mouthwatering meal that’s quick and easy? Skillet Creamy Garlic Herb Chicken Thighs are here to impress! This dish
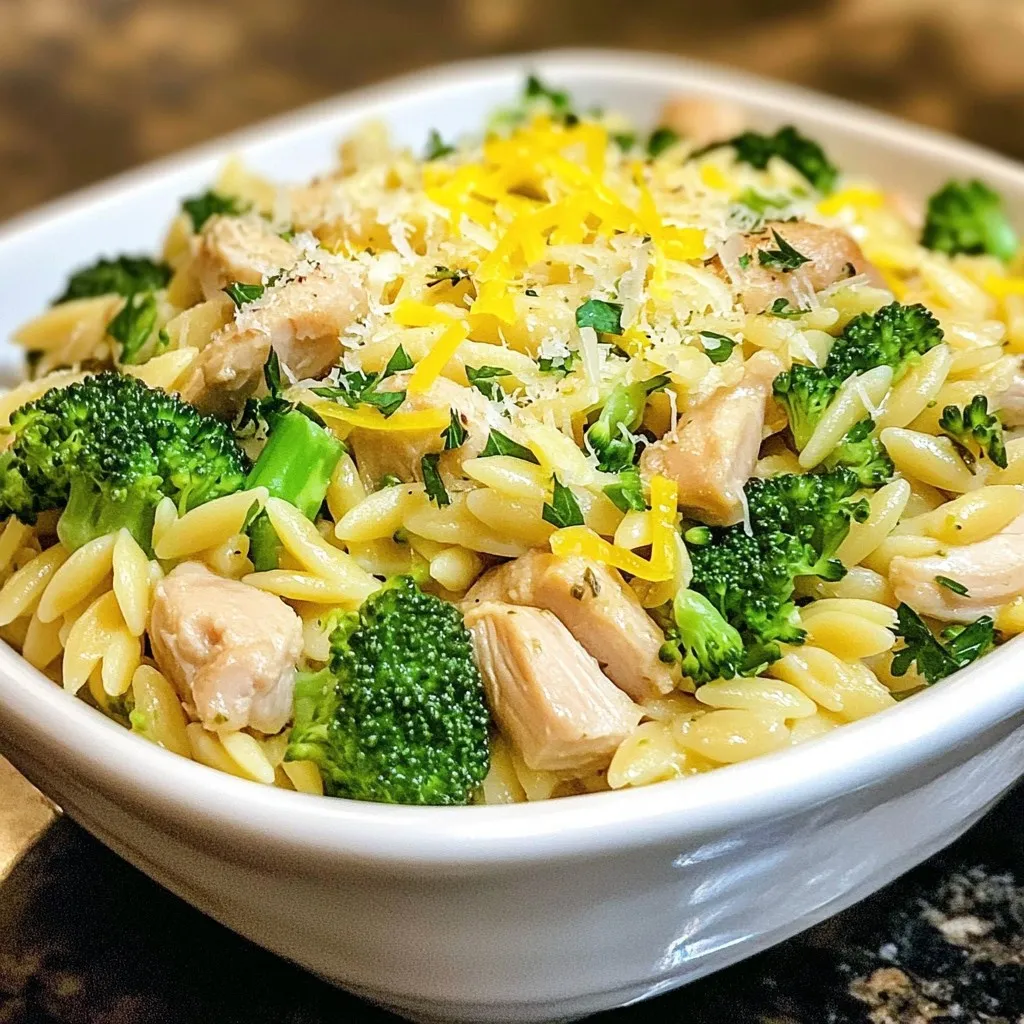
Chicken and Broccoli Orzo Flavorful Weeknight Meal
Looking for a quick, tasty dinner? Chicken and Broccoli Orzo is the answer! This meal is a breeze to cook and packed with flavors. You’ll

Sheet Pan Balsamic Brussels and Sausage Delight
Are you ready to make a meal that’s both tasty and easy? My Sheet Pan Balsamic Brussels and Sausage Delight combines crispy Brussels sprouts with
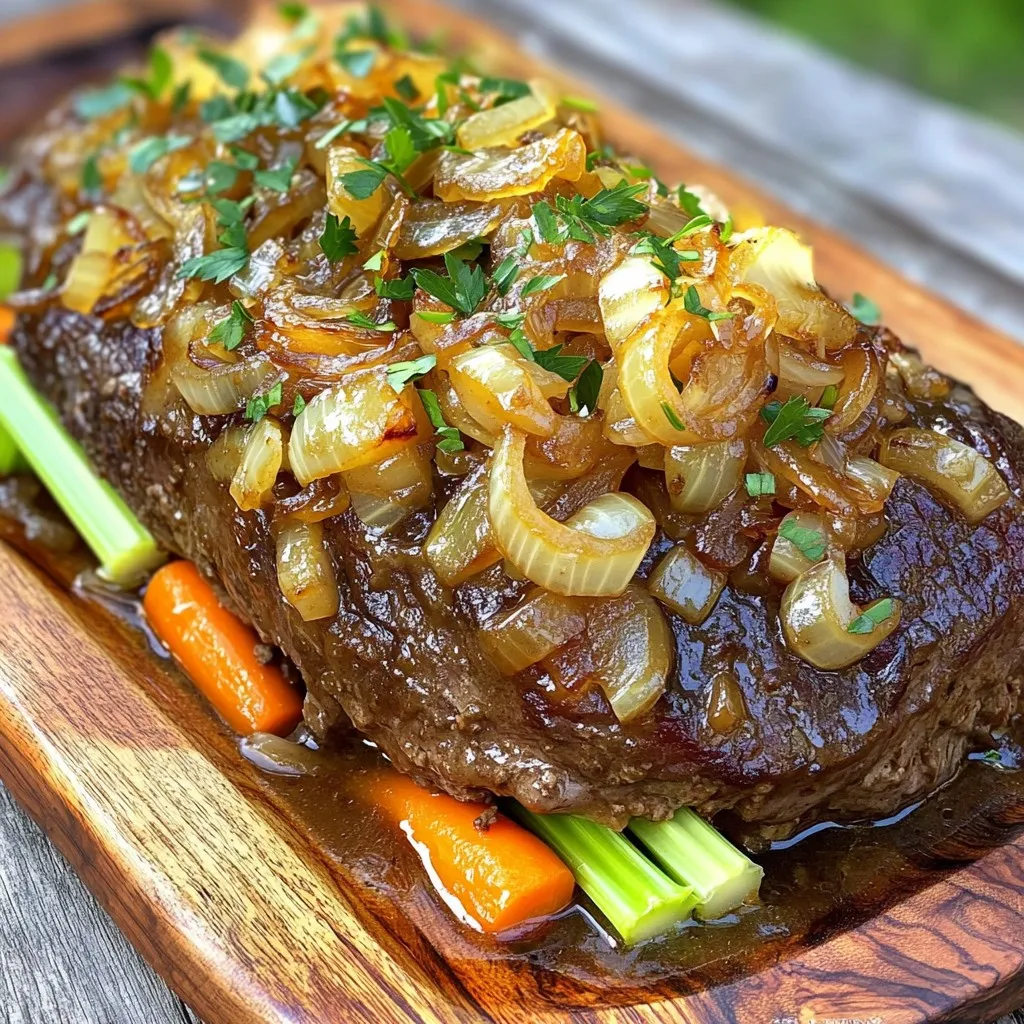
Slow Cooker French Onion Pot Roast Flavorful Delight
Are you ready to elevate your dinner game? My Slow Cooker French Onion Pot Roast combines melt-in-your-mouth beef with fragrant caramelized onions and savory herbs.
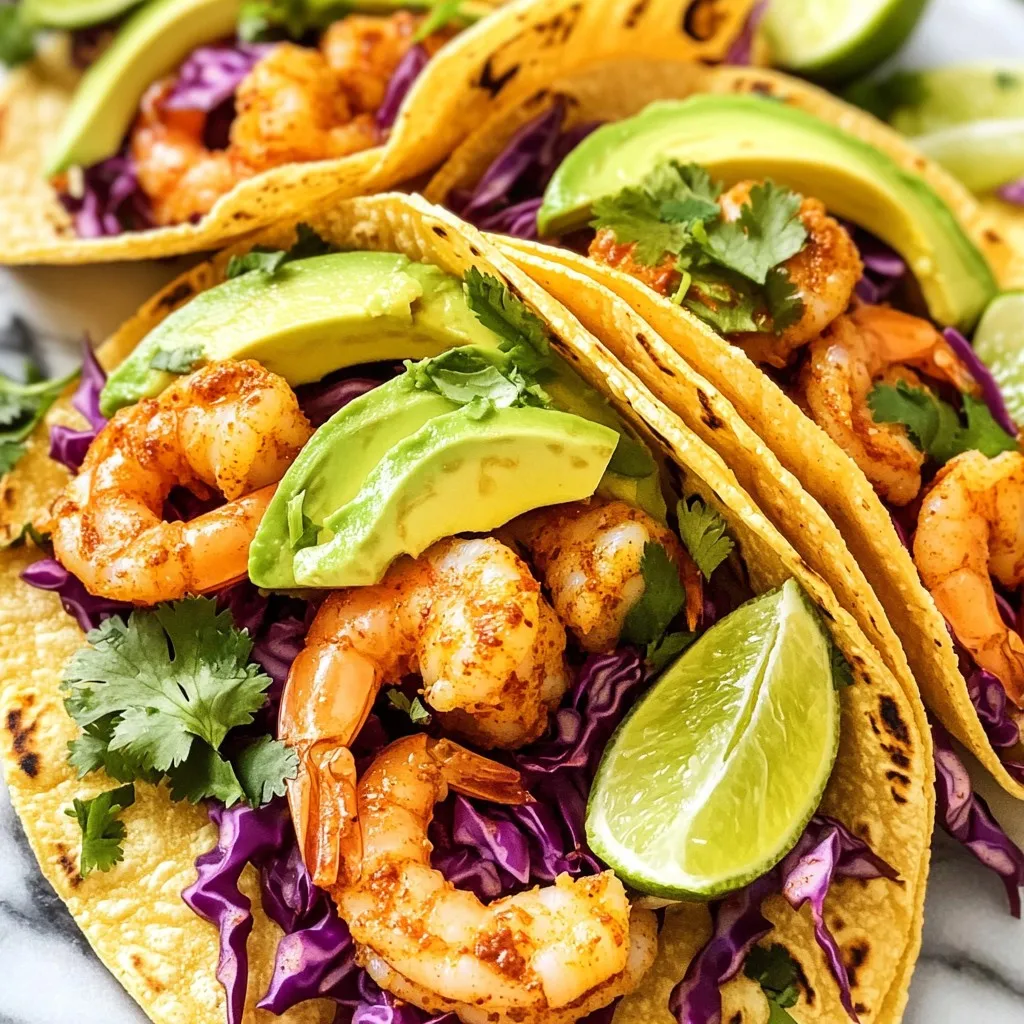
Flavorful Air Fryer Chili Lime Shrimp Tacos Recipe
Looking for a simple and tasty meal? Let me introduce you to my Flavorful Air Fryer Chili Lime Shrimp Tacos! These shrimp are marinated with
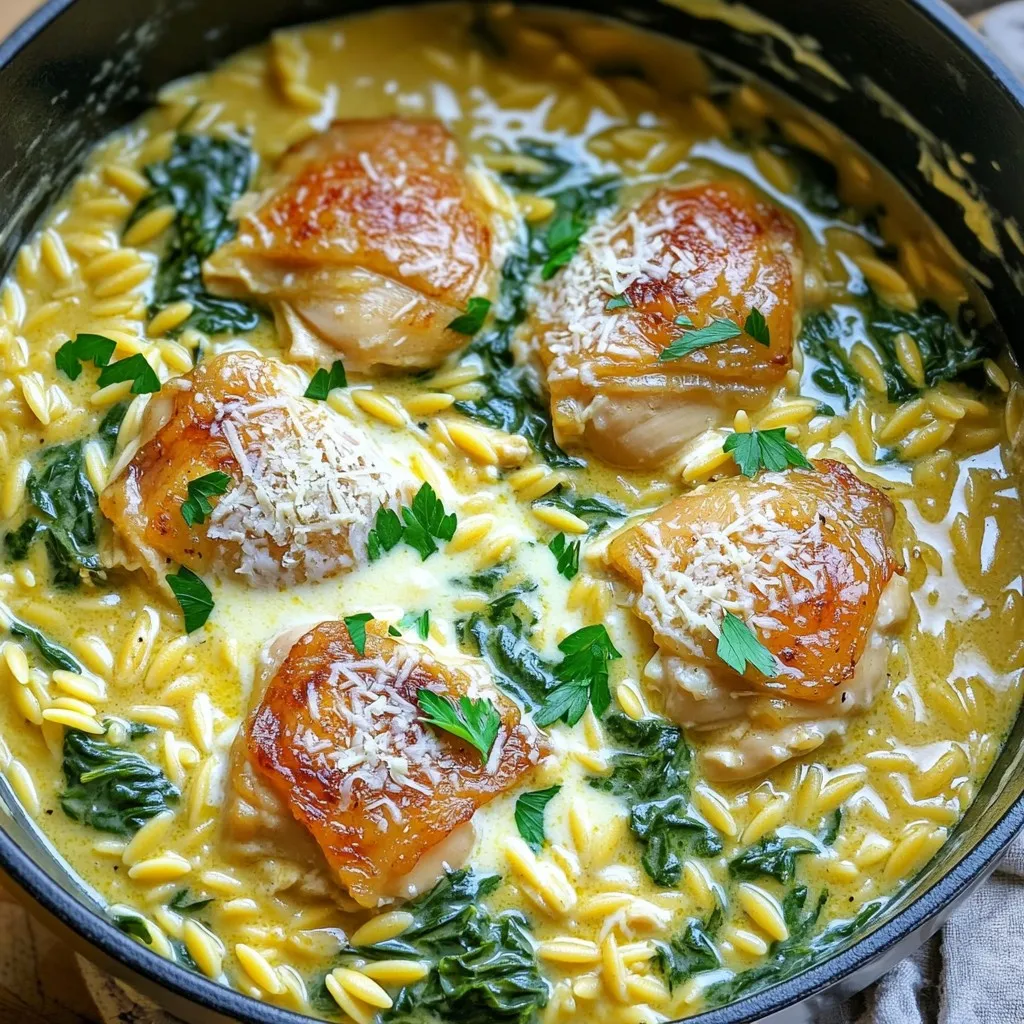
One Pot Creamy Garlic Butter Chicken Orzo Delight
Looking for a quick and tasty dinner? Try my One Pot Creamy Garlic Butter Chicken Orzo Delight! This dish packs rich flavors in every bite
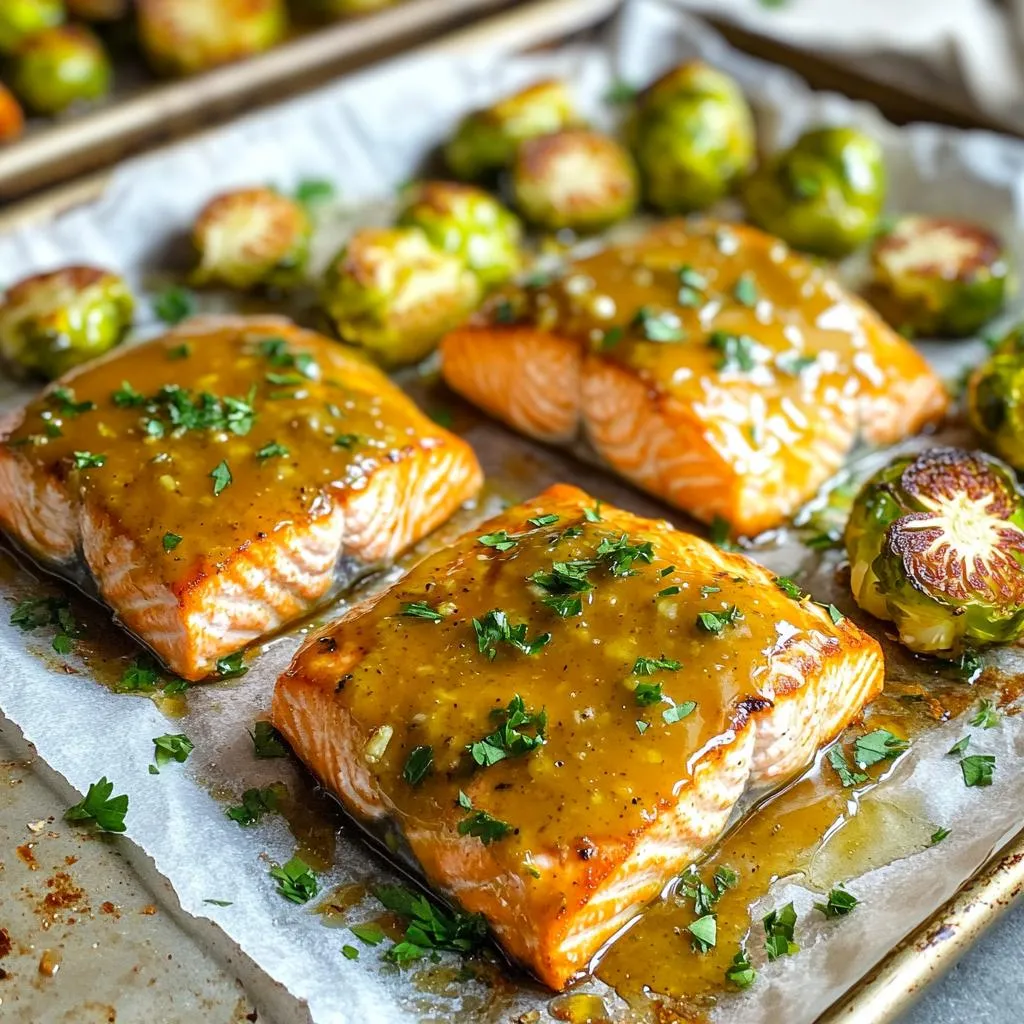
Powerful Sheet-Pan Honey Mustard Salmon & Sprouts Recipe
If you’re looking for a simple, healthy meal, you’re in the right place! This Powerful Sheet-Pan Honey Mustard Salmon & Sprouts Recipe will have your
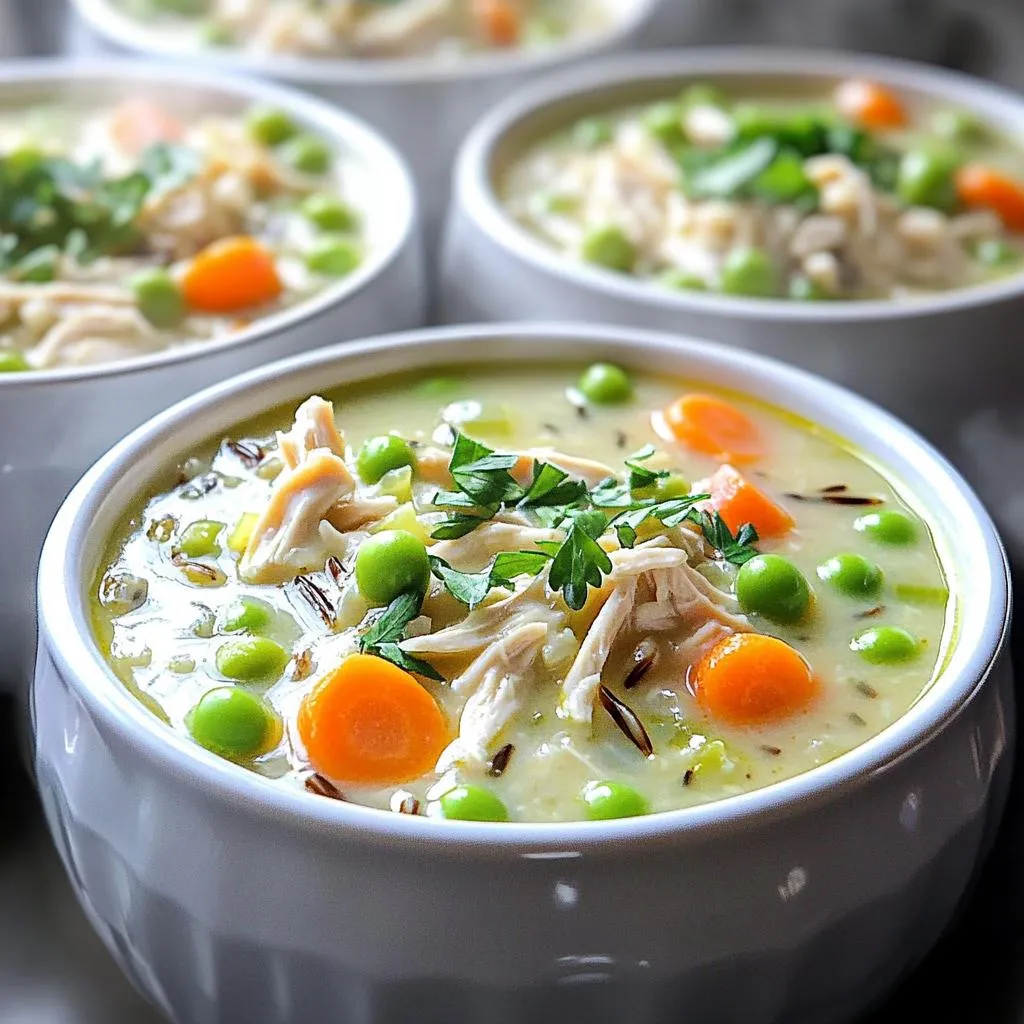
Slow Cooker Creamy Chicken Wild Rice Soup Delight
Welcome to the world of comfort food with my Slow Cooker Creamy Chicken Wild Rice Soup Delight! This soup is packed with flavor and warmth,
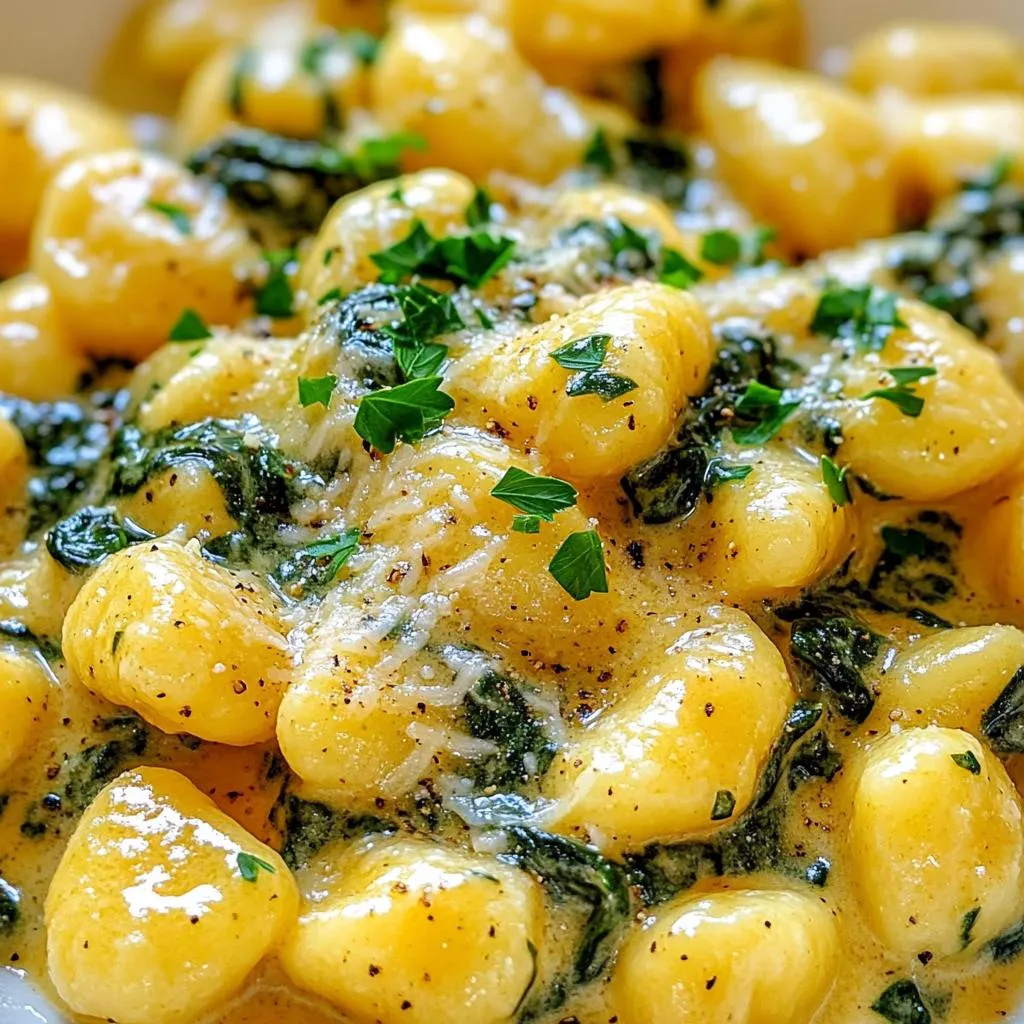
Creamy Garlic Butter Spinach Gnocchi Simple Recipe
Are you ready to indulge in a comforting bowl of Creamy Garlic Butter Spinach Gnocchi? This simple recipe combines soft gnocchi with rich garlic butter