Dinner
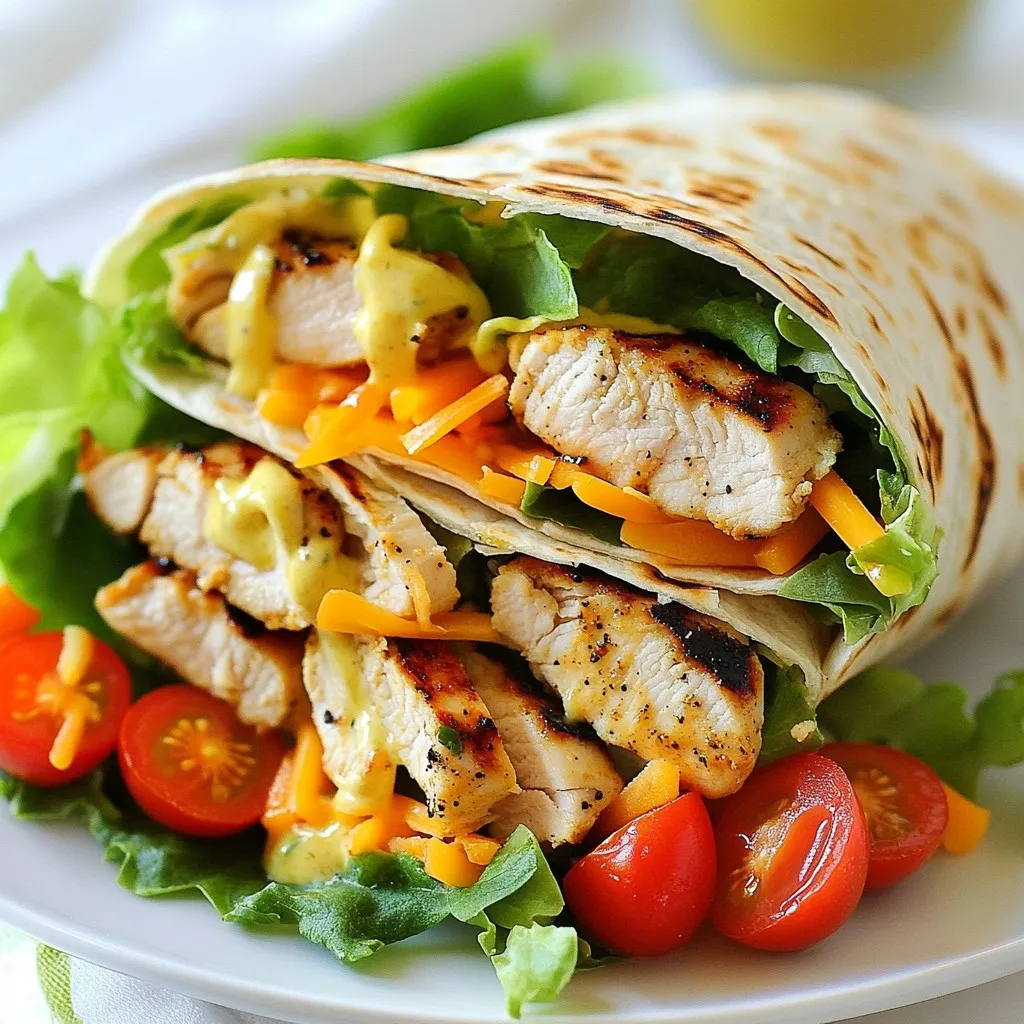
Grilled Chicken Ranch Wraps Tasty and Simple Meal
Looking for a quick and tasty meal? Grilled Chicken Ranch Wraps are your answer! With simple steps, you can create a delicious dish that’s perfect

Slow Cooker Loaded Baked Potato Soup Delight
Welcome to Slow Cooker Loaded Baked Potato Soup Delight! If you love creamy, hearty soups, this recipe is for you. Imagine a warm bowl of
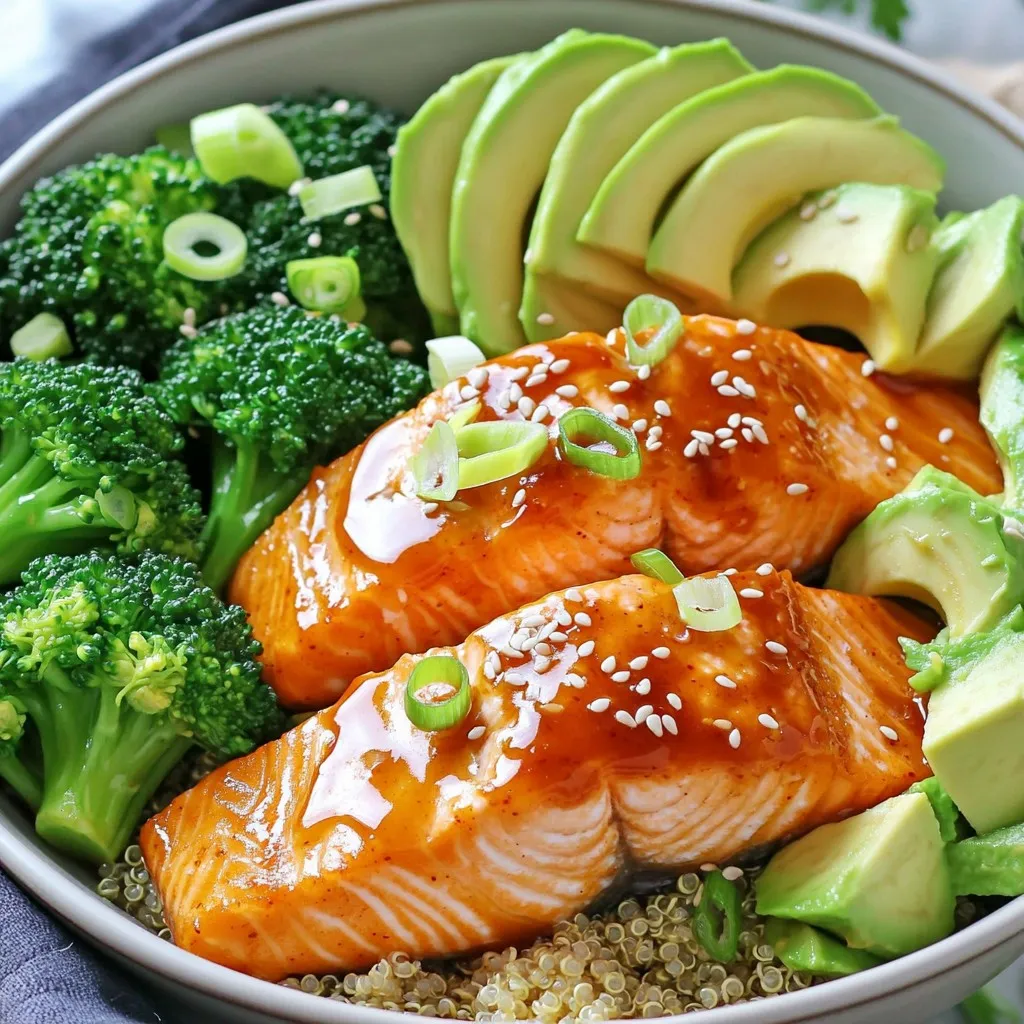
Air Fryer Honey Sriracha Salmon Bowls Flavorful Dish
Looking for a quick and tasty dinner? You’ll love these Air Fryer Honey Sriracha Salmon Bowls! Packed with flavor, they blend sweet honey and spicy
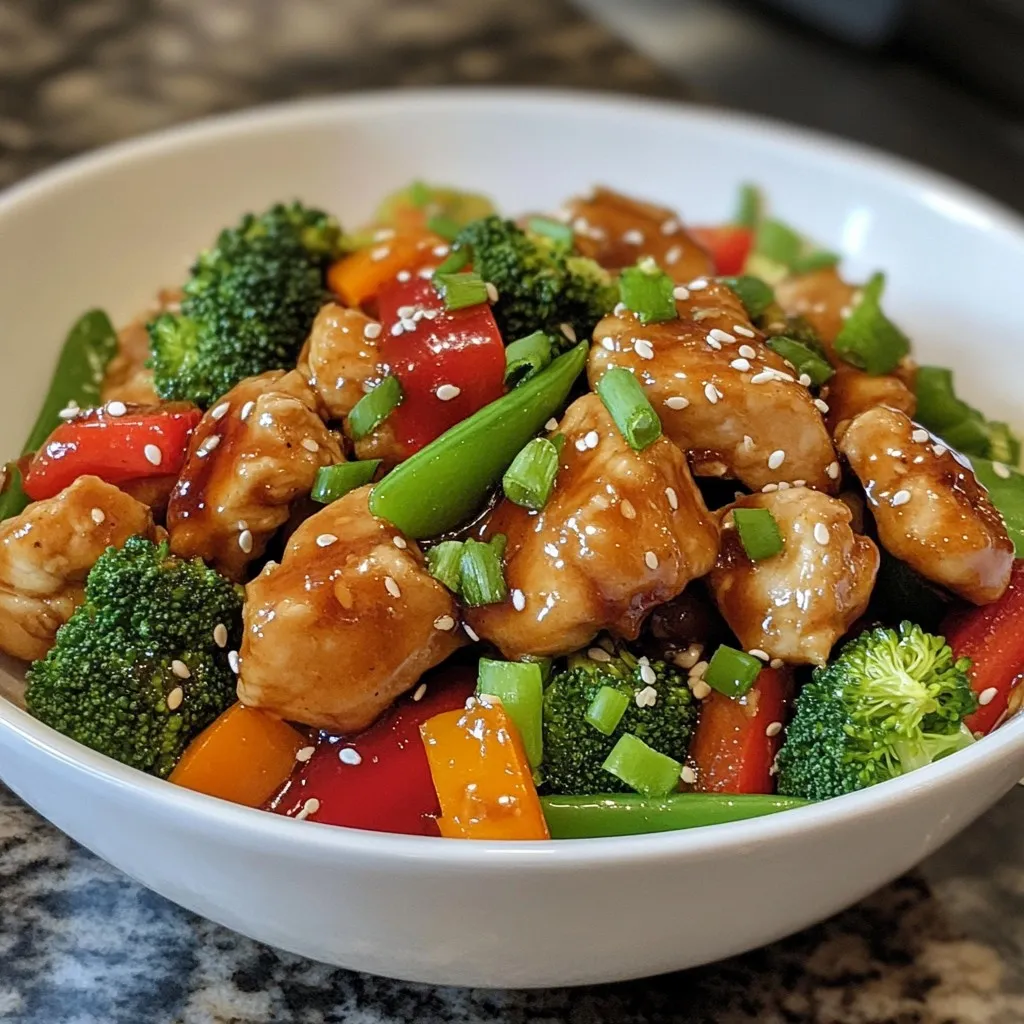
Chicken Broccoli Stir Fry Simple and Tasty Dinner
Looking for a quick and tasty dinner? Chicken Broccoli Stir Fry is the answer! In just one pan, you can whip up a meal packed
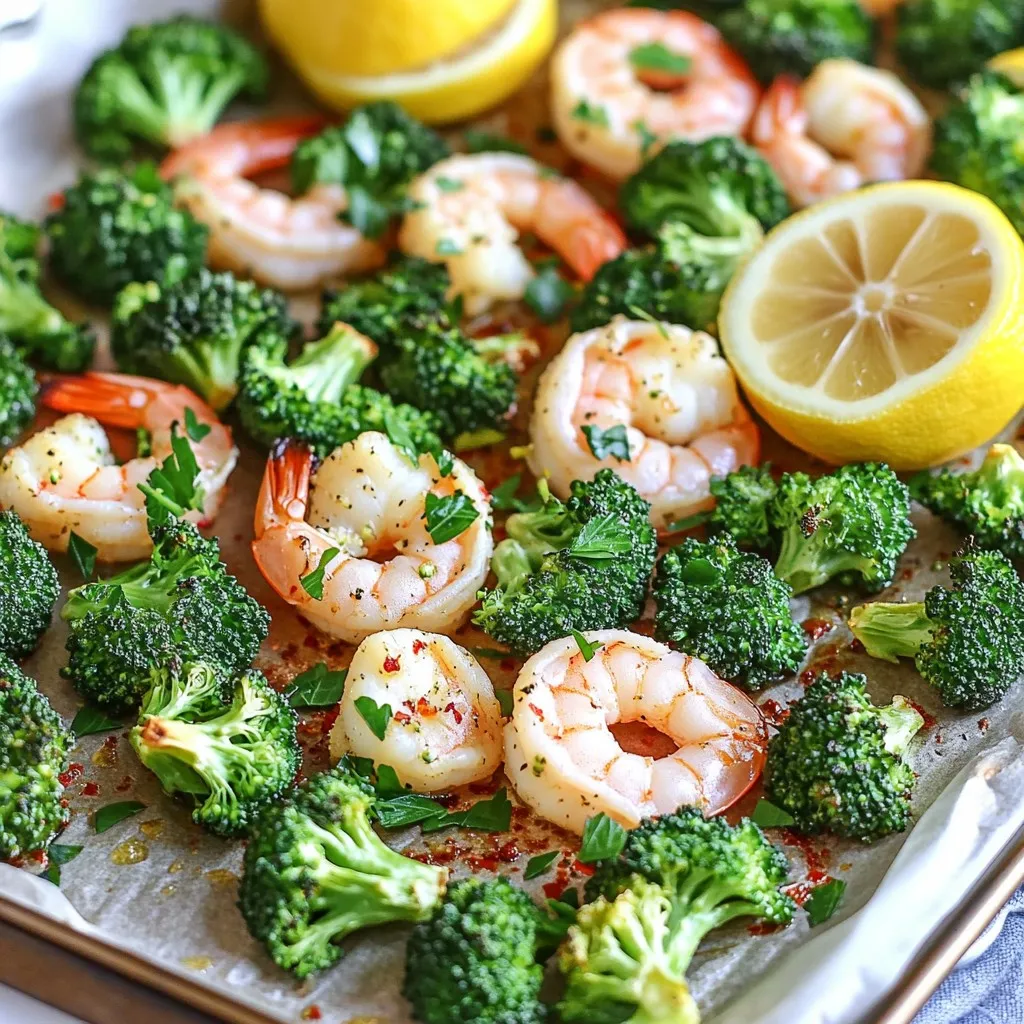
Sheet Pan Lemon Garlic Shrimp and Broccoli Delight
Looking for a quick and tasty meal? Try my Sheet Pan Lemon Garlic Shrimp and Broccoli Delight! This dish combines sweet shrimp and crisp broccoli,
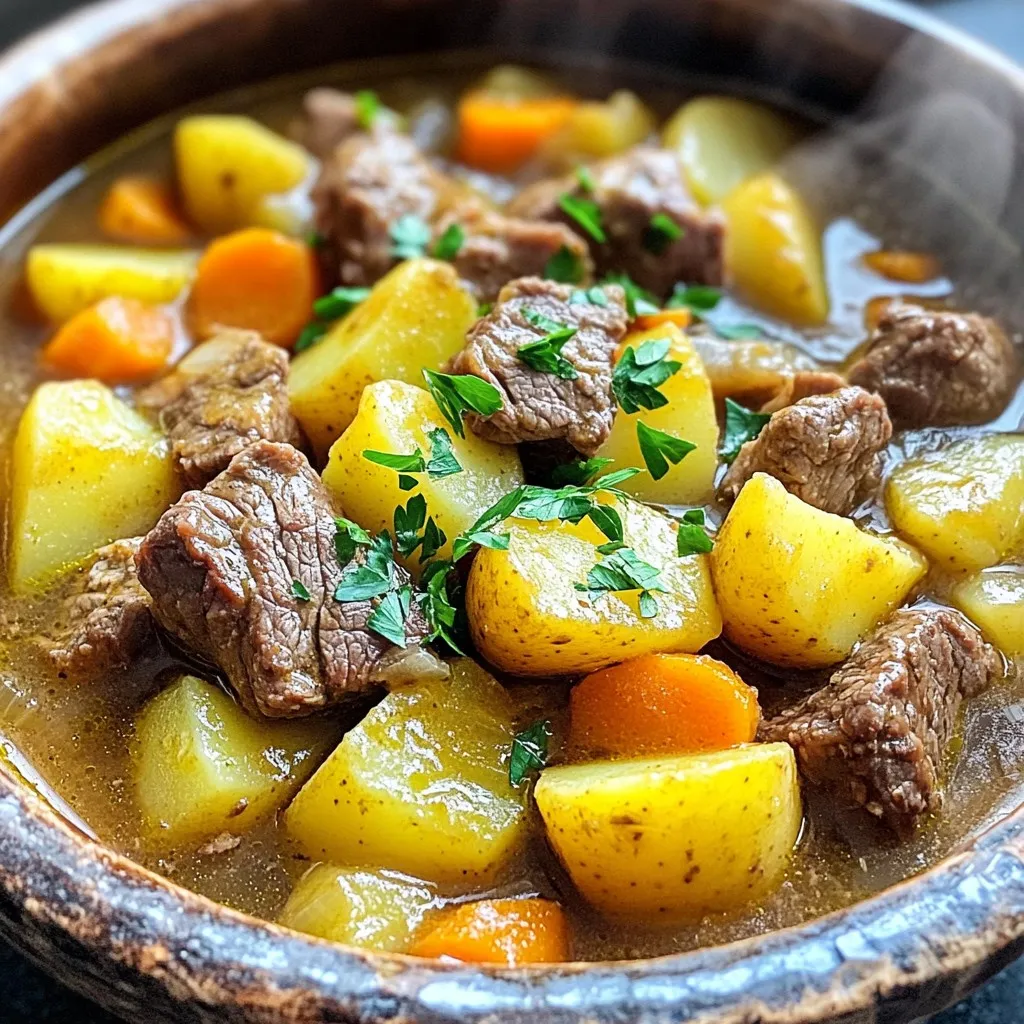
Slow Cooker Beef and Potato Stew Easy Comfort Meal
Looking for a warm, tasty meal that cooks itself while you relax? You’ve found it! This Slow Cooker Beef and Potato Stew combines juicy beef,
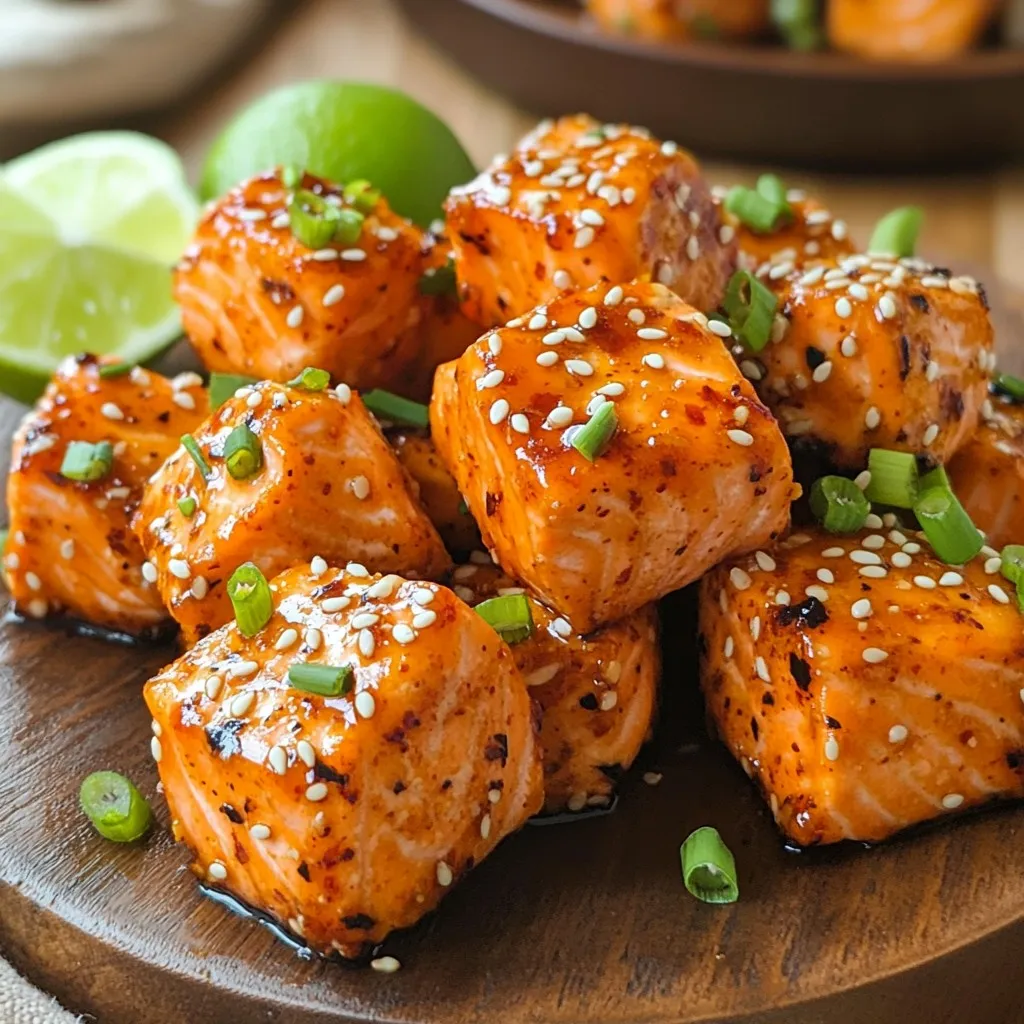
Air Fryer Sweet Chili Salmon Bites Flavorful Delight
Looking for a simple yet flavorful dish that will impress? Air Fryer Sweet Chili Salmon Bites are the perfect choice! These juicy salmon cubes coated
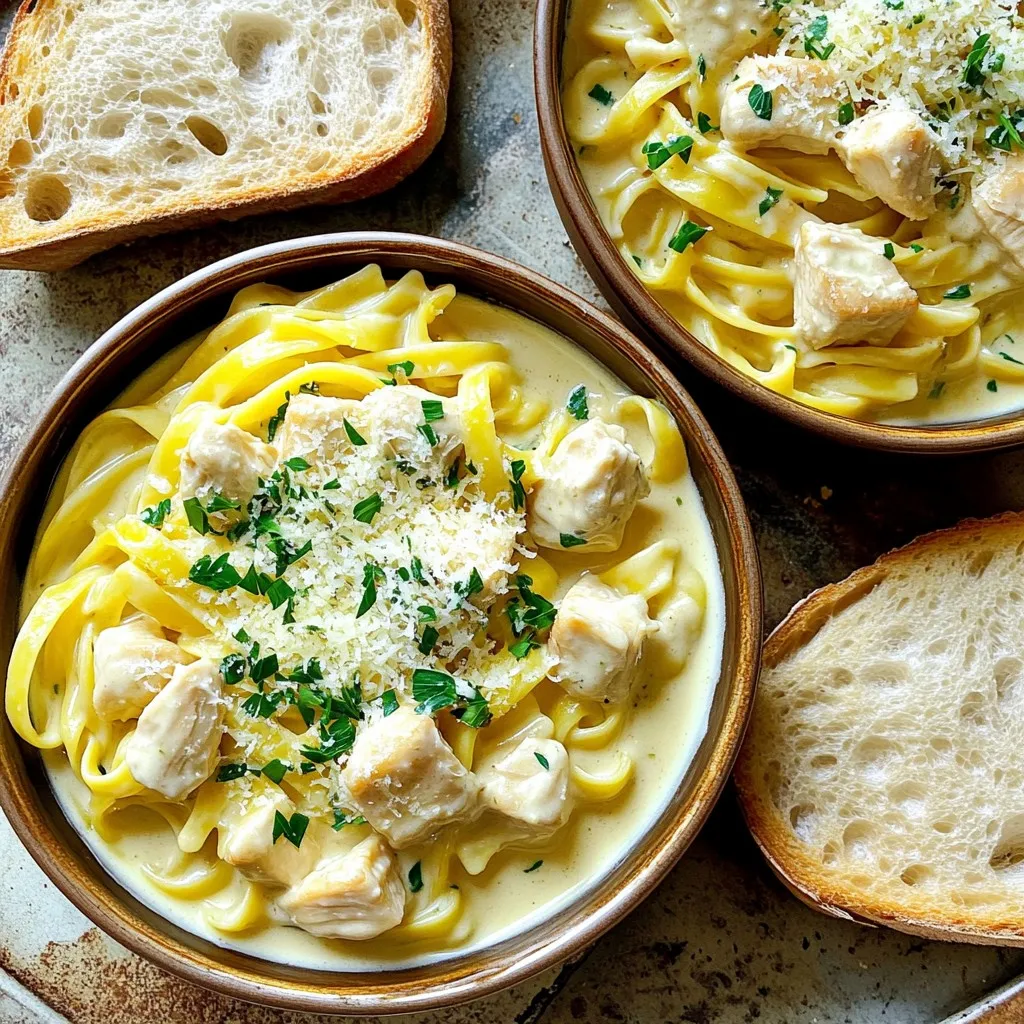
Creamy Garlic Parmesan Chicken Pasta Skillet Delight
Get ready for a dinner winner with my Creamy Garlic Parmesan Chicken Pasta Skillet Delight! This dish combines tender chicken, creamy sauce, and your favorite

Cheesy Tater Tot Burritos Flavorful and Easy Recipe
Are you ready to transform your next meal into a cheesy, crunchy delight? In this blog post, I’m sharing my easy and flavorful recipe for
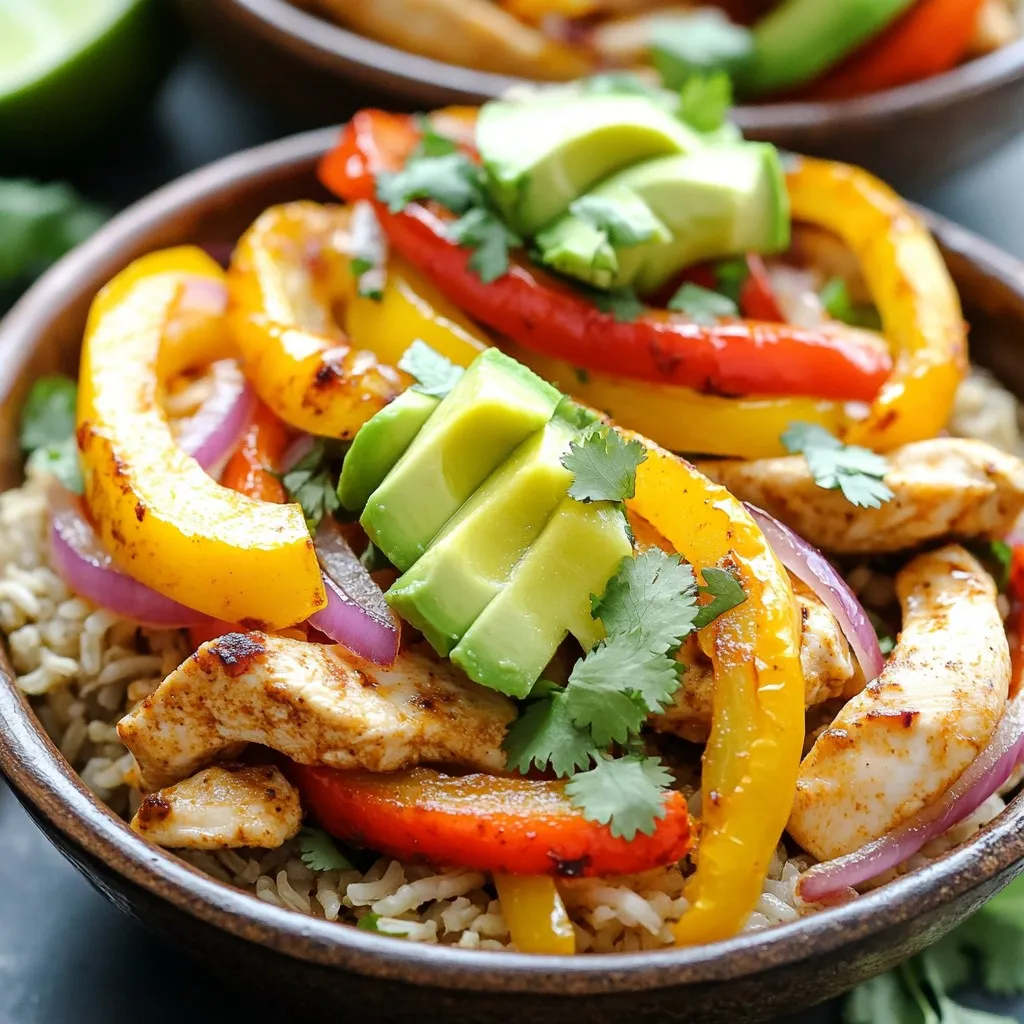
Sheet Pan Chipotle Chicken Fajita Bowls Easy Recipe
Looking for a quick and tasty dinner? Try my Sheet Pan Chipotle Chicken Fajita Bowls! This easy recipe combines juicy chicken, colorful veggies, and bold